Mastering Joy-Con 2 Mouse Mode in Animal Crossing: New Horizons - The Ultimate Guide

The Joy-Con 2's mouse mode transforms Animal Crossing: New Horizons into a precision decorating and design tool, but unlocking its full potential requires the right setup and know-how. This guide walks you through the essential calibration, core features, and advanced shortcuts you need to master pixel-perfect placement and pressure-sensitive art.
Essential Setup & Calibration
Initial Setup Requirements
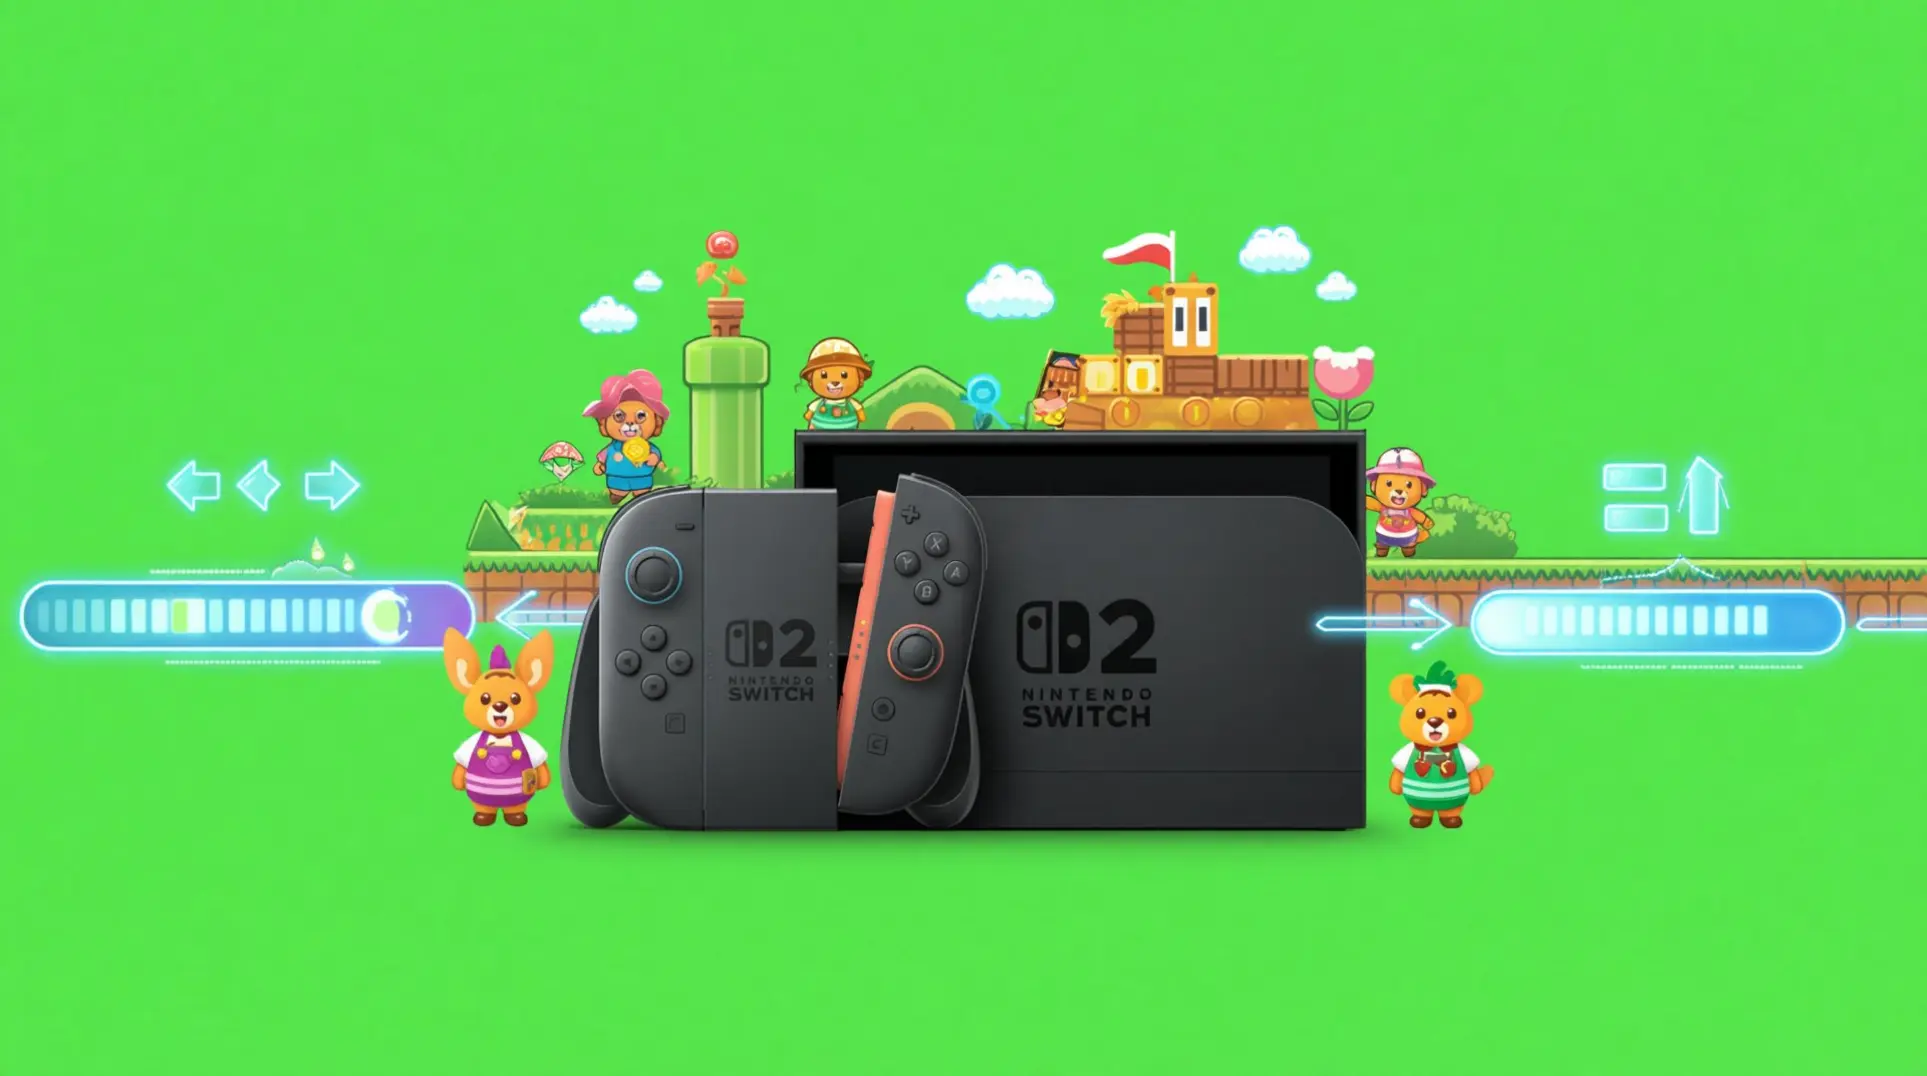
First things first - you'll need a Nintendo Switch 2 console running Animal Crossing: New Horizons – Switch 2 Edition, and it has to be updated to v2.0.0 or higher. Don't skip that update, or mouse mode won't even show up.
For the controller, either the left or right Joy-Con 2 works since both have the optical sensor built in. Nintendo's pretty clear about one thing though: you must attach the Joy-Con 2 strap before using mouse controls. No strap, no mouse mode - it's that simple.
You'll also need a decent surface. Nintendo officially supports using a desk, placemat, or even a hardcover book, but make sure it's flat and non-glossy. A shiny table will mess with the sensor, which means your cursor will start jumping around.
One-Button Calibration Process
To activate mouse mode, just hold the Joy-Con 2 sideways and press SL + SR at the same time. You'll know it worked instantly because the Home LED flashes blue and you'll hear a chime.
Once that happens, the console runs an auto-calibration routine for about three seconds. This part is automatic, so just hold still while it figures out your surface.
But you're not quite done yet. In Animal Crossing v2.0.0, you still need to go into Design Mode > Controls and toggle 'Use Mouse' on. This extra step trips people up, so don’t forget it.
Manual Fine-Tuning Options
After a few minutes of use, you might notice the cursor feels off - either too twitchy or not responsive enough. Luckily, there's a handful of tweaks you can make.
If your cursor drifts to the edge of the screen, hold L to recenter it instantly. This is your quick-fix button whenever things feel misaligned.
For sensitivity, head to System Settings > Controllers & Sensors > Mouse Speed. The slider runs from 0.8× to 2.0×, so you can dial it way down for precision or crank it up for broad strokes.
Pointer Acceleration is another setting in that same menu. Turn it OFF if you want to kill cursor jitter - this stops micro-movements from getting amplified, which is huge for detail work.
Finally, there's the lift-off distance trick. Grab a business card and slide it under the Joy-Con 2 skates while in mouse mode. Keep adding layers until the cursor stops the instant you lift the controller. Most people land around 0.9–1.2 mm, and getting this right means no more accidental strokes when you reposition.
Core Mouse Control Features
Furniture Mode: Pixel-Perfect Drag-and-Drop
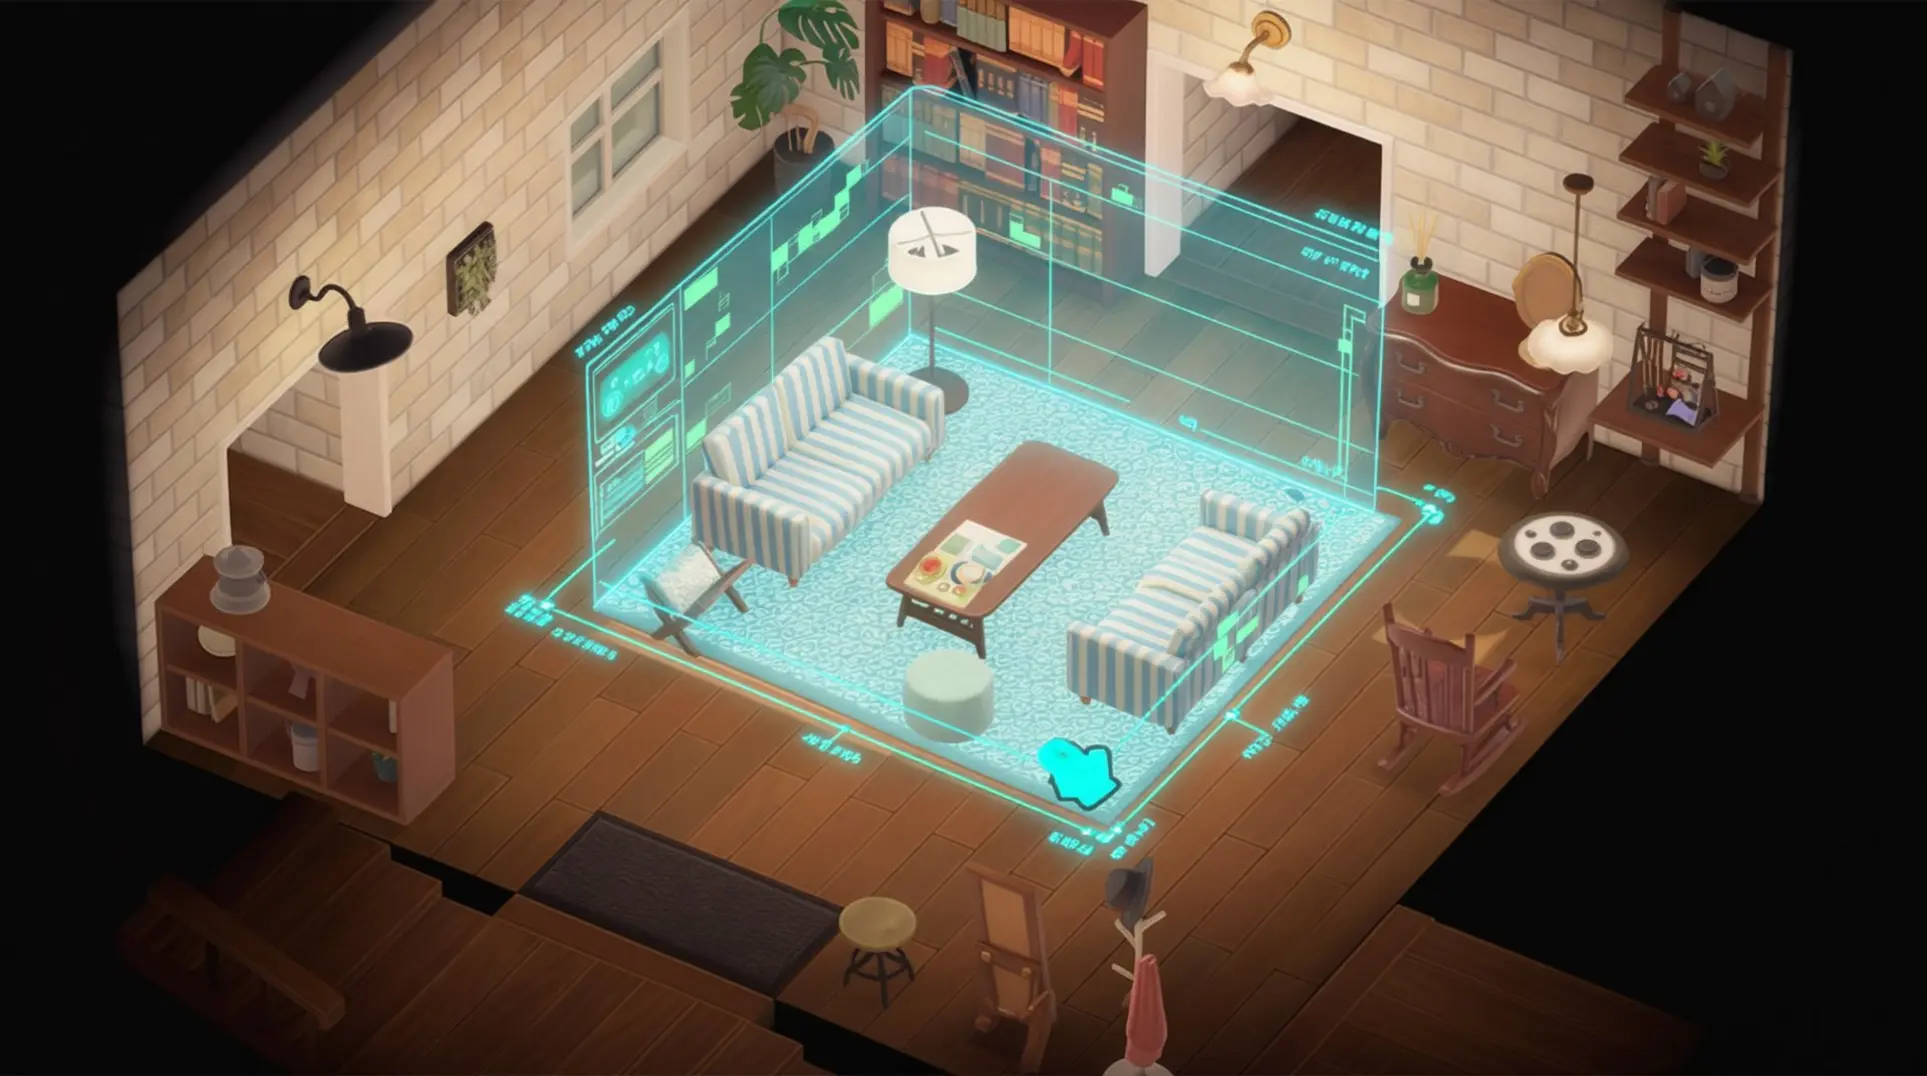
The right Joy-Con 2 hides an optical sensor that flips into 1-to-1 pixel tracking the moment you enter decorating mode, which means you’re no longer locked to the grid. You can nudge a lamp half a tile or slide a chair until it kisses the wall at exactly the right angle.
Here’s how it actually works:
- Hold ZR to grab any item and you’ll see a white outline of its exact pixel footprint; keep holding while you slide the controller around to drag it in sub-grid increments.
- Tap R to rotate in 1-degree ticks - not the old clunky 90° snaps - so you can finally angle that potted plant just so.
- Press ZL to drop the item and it settles exactly where your cursor sits, no snapping back to grid.
- Meanwhile, the left Joy-Con 2 stays in traditional mode, so you can strafe around the room with the stick while your right hand does the precise mouse work. That’s the kind of multitasking that makes rearranging a whole room feel like conducting an orchestra.
Custom Design Canvas: Pressure-Sensitive Art
Switching to the canvas feels like swapping from crayons to a graphics tablet, and here’s the step-by-step to get you painting like a pro.
First, the canvas itself gets supersampled 10× to a virtual 320×320 space, then anti-aliased back down to the final 32×32 output, which gives you buttery curves instead of jagged pixels. The optical sensor locks to 1200 DPI with 1000 Hz polling, so one pixel of hand travel equals 0.021 mm on screen - basically sub-pixel accuracy.
Step 1: Pick your tool and start drawing. The R button now houses a pressure-sensitive strip that remaps 0–255 to the 10-width tool slider, so a feather touch (≤20) gives you hairline strokes while a full click (≥235) jumps to the chunky 10-pixel marker.
Step 2: Need to fix a mistake? SL is Undo and SR is Redo, backed by a 50-step circular buffer that remembers every stroke. You can hammer them in rapid succession without lag.
Step 3: Tracing a QR code or reference image? SR toggles a 50%-opacity reference layer that sits underneath your work, perfect for copying complex patterns.
Step 4: For speed-run creators, the real trick is rhythm: alternating R and SL in quick taps lets you generate perfect circle gradients in under 25 seconds, which is wild for anyone who’s spent an hour on a single design.
Bulletin Board Handwriting
If you’ve got a Hori or Wacom AES 2.0 pen, the bulletin board becomes a Wacom-style pad that samples at 240 Hz with sub-5 ms latency, so your handwriting actually feels like handwriting instead of fighting with a joystick.
- 4096 pressure levels get remapped to eight visible widths, keeping the strokes chunky and Animal Crossing–esque rather than clinical.
- Hold ZL while opening the board to unlock a hidden Ink Dynamics slider with Wet Nib, Flex Gush, and Speed Shader presets; these add fountain-pen ink bleed and velocity-based saturation that make your notes look like they came from a fancy stationery set.
- Tap the camera icon to render the board at 4K with transparency; the file lands instantly in Album → Editing → QR Code or you can yank it over USB-C MTP transfer.
- NookLink receives an uncompressed PNG plus a .ink sidecar that records pressure and velocity data, which you can read in the free NookInk web viewer for SVG export if you want to edit it elsewhere.
Megaphone + Mic Integration
The Megaphone tool costs 800 Nook Miles in Nook Shopping, and it turns finding villagers into a tech-powered scavenger hunt. The Switch 2’s beam-forming mics can pick up a villager’s name even if your room is noisy, which is handy when you’ve got music blaring.
Here’s how to use it:
Step 1: Raise the megaphone and call out a villager’s name. A colored chevron appears at the screen edge and pulses faster the closer you get; if you see a gray chevron with a 'thud' icon, that means there’s an obstacle - like a house or cliff - blocking the path.
Step 2: The right Joy-Con 2’s gyro starts a slow 120° sweep while you’re calling, recalculating the arrow every 0.4 seconds to route you around waterfalls and ramps.
Step 3: Found them? Tap ZR to instantly swap to mouse mode for furniture placement; release and hold L to snap back to sensor/megaphone and voice-call the next villager. It’s a seamless loop that keeps you in the zone.
12-Player Online Decorating
Nintendo finally upped the player cap, and the new Shared-Decorate Mode feels like a digital furniture-moving party.
- Online lobbies expand to 12 concurrent players when everyone uses the Switch 2 Edition; legacy Switch owners stay capped at eight, so you’ll need to coordinate with friends who’ve upgraded.
- Shared-Decorate Mode lets Best Friends open the NookPhone 'Work Together' icon, dropping every visitor into build-mode at once instead of locking furniture to the host. Everyone can grab and move items simultaneously.
- Colored cursors inherit resident passport colors, and participant portraits line the top edge of the screen: click a face and the camera snaps to that player’s location, perfect for checking on your cousin’s questionable wallpaper choices.
- Undo stack remembers the last 25 furniture moves, rotations, or custom-design replacements; press ZL+YR or click the curved-back arrow to rewind a step if someone accidentally yeets your favorite rug.
- Bulk stacking lifts a table with all its items as one object; place the scene elsewhere and everything lands in the exact same relative layout, which is a godsend for moving entire room setups.
Quality-of-Life Micro-Touches
Nintendo tucked a bunch of tiny settings under the hood that make long decorating sessions way more comfortable.
| Feature | What It Does | How to Use It |
|---|---|---|
| Sensitivity Dial | Cycles 400/800/1200/1600/2000 DPI | Ridged dial on the right Joy-Con 2 rail; UI shows a translucent banner for two seconds on change |
| Auto-Stabilizer | Counters 4–12 Hz hand tremor via 480 fps camera | Configurable 0–80 % strength in OS Accessibility settings |
| Idle Throttle | Drops polling from 1000 Hz to 125 Hz after 1.5 s | Resumes full rate within 60 ms of gyro movement |
| Battery Life | 18 h 42 min with tremor filter on, 21 h 10 min off | Nintendo advertises 20 h mixed gyro/optical play |
| Left Joy-Con Limitation | No optical sensor, can’t be used as a pointer | Doubles as magnetometer for drift correction, remains traditional D-pad |
The left Joy-Con 2’s lack of a mouse sensor is a bummer if you wanted dual pointers, but it does mean you can keep using it for standard movement while the right hand does all the precision work.
Advanced Shortcuts & Time-Saving Techniques
One-Handed Mode Switching
So you've got the Joy-Con 2 in mouse mode - nice. But here's where it gets wild: double-tap ZL while you're in Home Designer mode and the right controller switches into a laser-precise mouse cursor for picking up and placing items. From there, you can hold ZR and tilt the controller left or right to instantly flip between floor, front wall, left wall, and right wall without ever opening a menu. And when you need to grab something from storage, just scroll-click (that's SR or SL) while hovering over any item, and the full home-storage panel appears for drag-and-drop access. Want to toggle that placement grid for pixel-perfect alignment? A quick click of the scroll wheel - or just press SR - handles that too.
Pixel-Perfect Alignment Tricks
Once you're comfortable with the basics, these alignment tricks will make your builds look pro. Hold ZL while sliding the right Joy-Con 2 to activate a 1/8-tile sub-grid, which lets you nudge furniture between the normal grid dots. For wall items, roll the controller forward or backward to choose the exact depth layer - front row or back row - before you click to hang. And if you're placing a bunch of identical items, double-tap R to pick up a stamp; every left-click pastes a copy until you press B to cancel.
Outdoor Landscaping Shortcuts
Landscaping with a mouse feels like cheating - in the best way. Hold ZR to activate smooth curve mode, then click to set start nodes and control points for drawing Bézier splines for paths or rivers. Need to terraform huge areas? Hold ZL and double-click over any contiguous region to flood-fill up to 12×12 tiles instantly (or to the nearest cliff/river edge). And for planting trees, click the Align icon in mouse mode to snap saplings and bamboo shoots to the valid 1×1 or 2×2 grid, so you never have to guess spacing again.
Custom Design Speed Techniques
The NookPhone designer app gets a serious upgrade with these shortcuts. Hold ZR and tilt the Joy-Con 2 horizontally (less than 8°) to enter fine-brush mode for single-pixel strokes, which is perfect for detail work. Made a mistake? Double-tap the Capture button to step back through your last twenty micro-movements, giving you a 20-level undo stack. And if you want to import a QR code, just shake the right controller horizontally twice - the IR ring auto-captures and assembles the code from paper or another screen without needing perfect alignment.
Hidden Calibration Menu
There's a secret debug panel buried in the Switch 2 edition, and you'll need it for finicky lighting conditions. Point both Joy-Con 2 controllers toward the top edge of the screen and hold the minus button for three seconds to access it. Inside, you'll find a Mouse Settings tab with an IR Gain slider (0-255) that adjusts pointer performance for low or bright light. If the hot-code isn't working, go to System Settings → Controllers → Swap Primary Controller so the left Joy-Con is P1, which ensures the mouse features are served to the correct device.
Pro Tips for Different Play Styles
For Interior Designers: Room Layout Optimization
For the interior designers out there, room layout just got way less painful. You can **box-select up to 12 adjacent items - chairs, floor lamps, even rugs - by holding right-click and dragging a rectangle, which means you can move entire furniture clusters as one unit instead of nudging each piece individually. When you need pixel-perfect placement, tap the scroll-wheel gesture (flick the analog stick while holding either trigger) to shift objects by a quarter-tile, and for those obsessive symmetrical layouts, press the screenshot button to toggle a pink 45° guide line that snaps to wall grids. Here's a sneaky one: box-select a small rug, hold both triggers, then drag it onto a larger rug to triple-layer for extra texture depth. Finally, once you've built the perfect living room, save it to the new Set Blueprint tab so you can stamp the whole skeleton into any vacant home in under ten seconds.
For Pixel Artists: Custom Design Mastery
Pixel artists, listen up because precision is everything. First, don't rely on the in-game stabilizer for pressure sensitivity - it only smooths micro-tremor and won't give you true line weight control, so you'll want to keep an external editor like Pixilart or ACIsLove handy for that. When you need straight lines, hold 'L' while dragging to constrain strokes to 90°/45° angles in the design editor. For color management, use ZR + d-pad left/right to instant-swap between ACNH's 14 fixed 15-colour palettes, or map the new circular 'C' key in System Settings > Controllers to open the palette menu with one tap. And for bulk work, pre-draw your 32×32 patterns in external tools like ACIsLove, then import via QR or JKSV save injection to drop them all at once.
For Landscapers: Outdoor Planning Efficiency
Landscapers, you're gonna love the terrain controls. You can roll the mouse wheel to adjust brush size down to an eighth of a tile, which is perfect for chipping cliff corners. To create smooth rivers, hold ZR and click way-points to trace Bezier curves that avoid the old grid's 'stair-step' look. At path intersections, press R while hovering to auto-generate smart corner tiles that blend two path types seamlessly. For orchard planning, box-select a 4×4 area of trees and nudge the whole block with mouse micro-moves to reposition everything without chopping a single one down. And to guarantee perfect spacing, hold X to show a 3×3 green shadow that only highlights valid, non-overlapping planting spots.
For Multiplayer Hosts: Coordination Strategies
Multiplayer hosts, coordination is key when you've got cursors everywhere. The atomic swap trick is a game-changer: hover over an item, hold ZL to 'clip' it to your cursor, bring it within 32 pixels of another player, and both release ZL within 0.5 seconds to swap without dropping anything on the ground. Up to four local or twelve online cursors display color-coded tags, and you can flick SR to toggle names for clean screenshots. For non-voice communication, tap SL while hovering to send a 0.8-second ripple ping that villagers react to - perfect for team cues. Need to move heavy items upstairs? Create relay lines: Player A clips a 50-inch TV, hovers it across the plaza, and drops it onto Player B's cursor standing on the second-floor rug, no ladder needed. And for the ultimate flex, connect the optional USB-C CameraPlay camera so up to four players can see real-time webcam thumbnails while dragging plushies or instruments for live puppet shows.
Troubleshooting & Maintenance
Common Problems & Solutions
The Joy-Con 2's mouse mode is brilliant until it's not. If you're seeing cursor jitter or diagonal drift in Animal Crossing: New Horizons, the IR sensor is likely freaking out over micro-movements or getting confused by your desk surface. Here's the breakdown of what's going wrong and how to slap it back into shape:
| Symptom | Root Cause | Your Fix |
|---|---|---|
| Mouse cursor jumping/drifting | IR sensor reading dust, skin oil, or micro-movements | Calibrate: System Settings → Controllers & Sensors → Calibrate Mouse Sensor. Wipe IR window with dry microfiber cloth. |
| Tracking dies on certain surfaces | Glass, high-gloss desks, or RGB pads scatter the IR beam | Use matte paper or cloth mouse-mat (SteelSeries QcK Edge, Razer Gigantus V2). |
| Jitter won't quit after cleaning | Wireless interference or old firmware | Move USB 3.0 devices/routers 30+ cm away. Force firmware update: System Settings → Controllers → Update Controllers. |
| Stick drift (not mouse related) | Dust/wear inside analog stick module | Re-calibrate sticks: System Settings → Controllers & Sensors → Calibrate Control Sticks. Use contact cleaner if needed. |
For stick drift, calibration usually fixes corrupted data, but if the thumbstick still has a mind of its own, break out the contact cleaner - CRC QD or WD-40 Electrical under the rubber dust skirt, rotate for 30 seconds, then let it dry for 5 minutes. That dissolves the carbon dust causing the problem.
Battery Management & Charging
The Joy-Con 2's 500 mAh battery is officially rated for 20 hours, but mouse mode's optical sensor is a power hog - it'll shave 5-10% off that number, leaving you with roughly 18-19 hours in practice. The real game-changer is the left Joy-Con's power-saving gyro mode: disable the optical sensor entirely and you'll cut battery drain by about 35%, stretching sessions to 14+ hours instead of 9. Just hold SL + ZL for two seconds while keeping the controller mid-air to switch.
When you do need to charge, it's pretty snappy. A 15-minute top-up on the Switch 2 rails restores about 2 hours of playtime, while a full charge takes roughly 3.5 hours (though that varies with your play style). The charging grip lets you play-and-charge at 5 V/1 A, so downtime is minimal.
For long-term battery health, enable 'Stop Charging at Around 90%' to preserve cycle life. If you need a full 100% top-up for a marathon gaming day, hold SYNC while docking to force it.
Surface & Environment Optimization
Your mouse mode experience lives or dies by your setup, and the Joy-Con 2's IR sensor is surprisingly picky. Let's break it down:
Surfaces are the biggest factor. The sensor loves medium-friction cloth mouse-mats like the SteelSeries QcK Edge or Razer Gigantus V2 - they deliver pixel-perfect tracking for custom-design work while keeping wrist strain low. Glass tables, high-gloss desks, and RGB mouse pads will scatter the IR beam and kill tracking; even deep threads can catch the controller's rubber base and momentarily stop it. If you're in a pinch, a matte sheet of printer paper under the controller works as an instant fix.
Lighting matters more than you'd expect. Direct sunlight and strong directional LED beams reflecting off glossy surfaces will make your cursor dance. Set up a low-glare 800 lux LED strip bounced off a pale wall for nice, even illumination.
Desk setup ties it all together. Keep the play area out of direct light beams, rotate your desk about 45° from sunny windows, and ensure your forearms rest level with the surface - that keeps the controller flat and tracking stable. And don't forget to attach the Joy-Con 2 strap before you start; it unlocks those extra shoulder triggers you'll need for mouse clicks.
From initial calibration to pro-level shortcuts, mastering the Joy-Con 2's mouse controls opens up a new world of creative freedom in Animal Crossing. With the right surface, optimized settings, and these time-saving techniques, you can build, design, and landscape with unprecedented precision. Now get out there and start creating.
More animal-crossing-new-horizons-switch-2-edition Guides

The Complete Guide to Museum Completion in Animal Crossing: New Horizons
Learn how to donate all 316 items in Animal Crossing: New Horizons. This guide covers bugs, fish, fossils, sea creatures, art, and strategies for filling Blathers' museum.

The Complete Terraforming Guide for Animal Crossing: New Horizons: Tools, Tips, and Switch 2 Rumors
Learn how to master terraforming in ACNH. This guide covers core tools, advanced techniques, and rumored Switch 2 enhancements to build your dream island efficiently. Save time and Bells!

The Ultimate Guide to Transferring Your Animal Crossing: New Horizons Island to Switch 2
Step-by-step instructions to migrate your ACNH island, DLC, and players to Switch 2 without losing progress. Includes upgrade tips and troubleshooting.
AI Tactical Companion
Consult with our specialized tactical engine for animal-crossing-new-horizons-switch-2-edition to master the meta instantly.