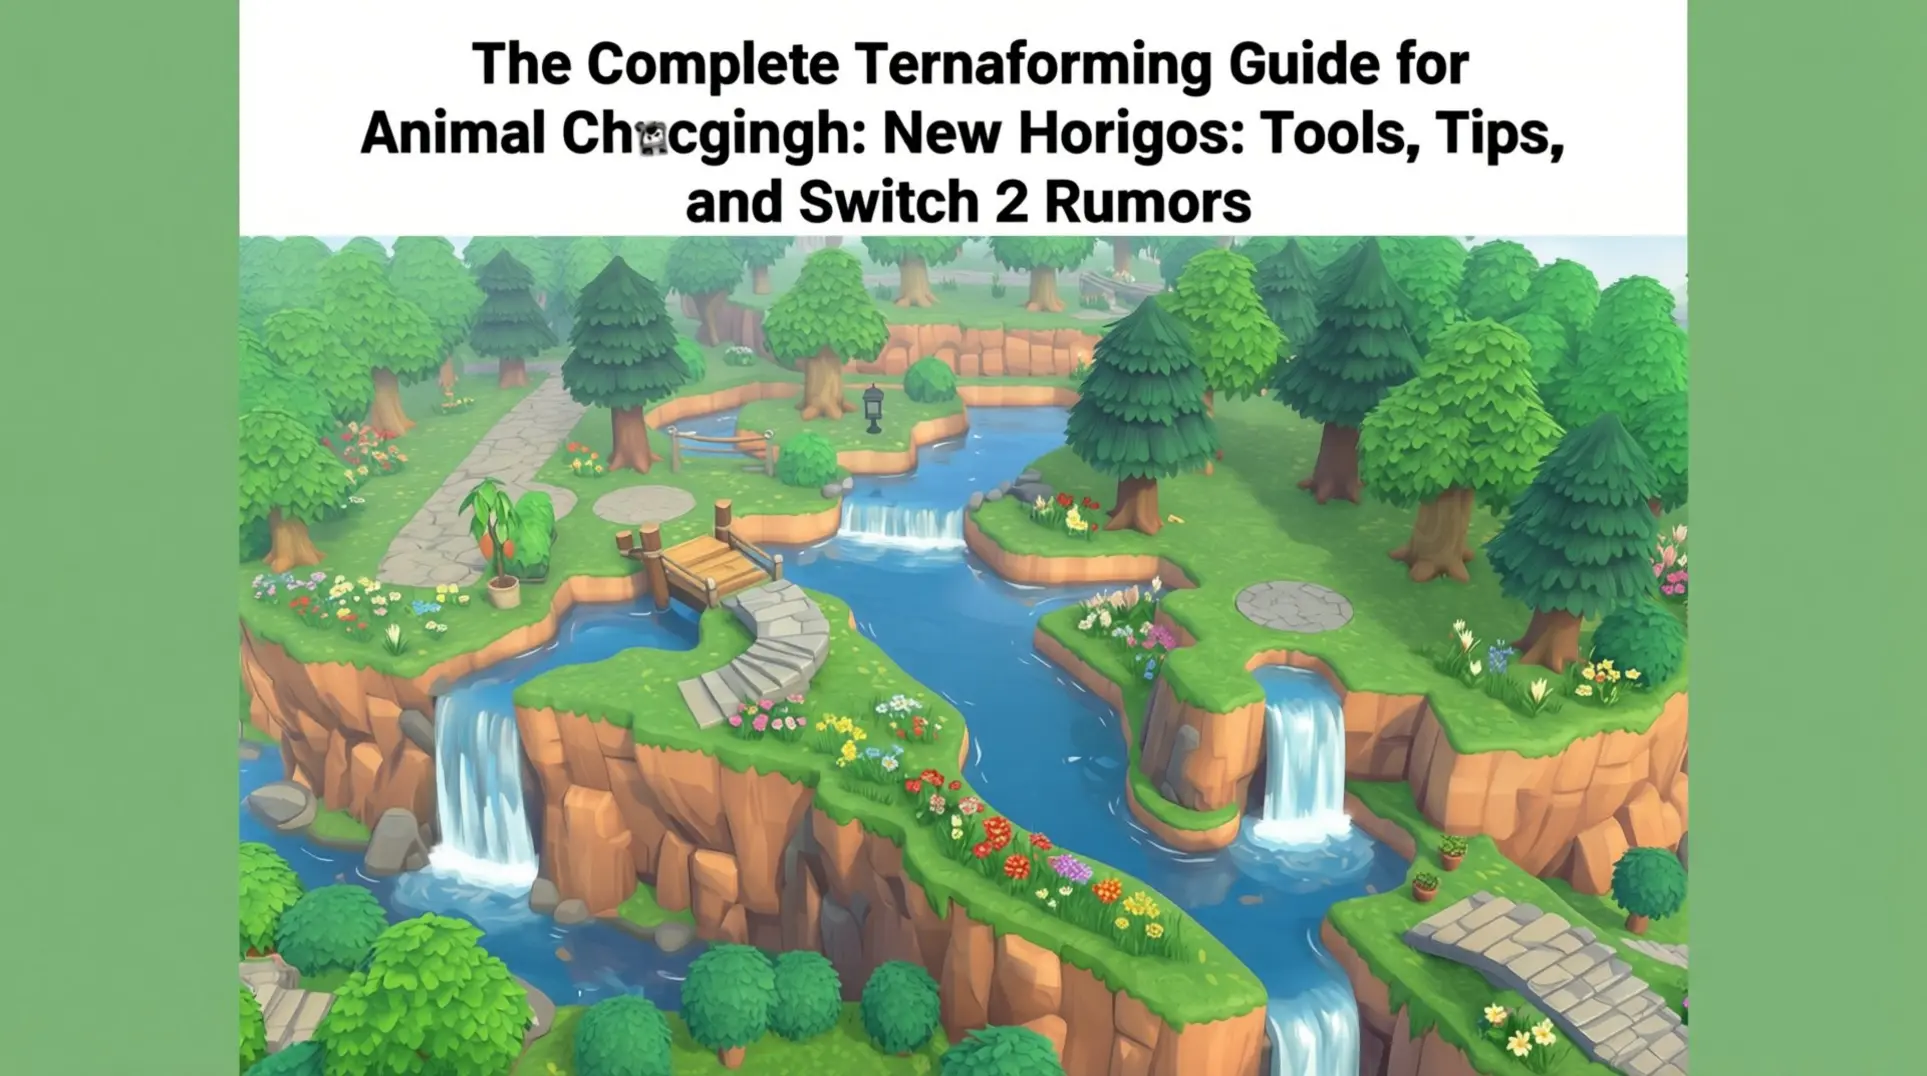
The Complete Terraforming Guide for Animal Crossing: New Horizons: Tools, Tips, and Switch 2 Rumors
Introduction
Terraforming in Animal Crossing: New Horizons can transform your island from a simple getaway into a masterpiece, but its clunky controls and performance limits often turn creativity into frustration. This guide breaks down the core tools, advanced techniques, and rumored Switch 2 enhancements to help you build efficiently and avoid common pitfalls.
Core Terraforming Tools & Permits
How to Unlock Terraforming (3-Star Island Rating)
Don't expect to reshape your island on day one - terraforming is locked behind a 3-star rating from Isabelle, which means you'll need to put in some serious work first. She evaluates your island based on several factors, and unfortunately, there's no cheat code to skip this part.
You'll need to hit a few key milestones: recruit at least 8 villagers, litter your island with furniture (around 50+ pieces), and make sure you've pulled every weed and planted flowers everywhere. Fencing helps too - Isabelle loves seeing properly fenced-off areas, so spam those puppy plushies with little wooden fences around them if you have to. The rating updates daily, so check in with her each morning until she finally cracks and gives you that sweet 3-star approval.
Island Designer App Interface
Once you hit that threshold, Tom Nook hands over the Island Designer app, and this is where the actual magic happens. The app lives on your Nook Phone, and you can switch between different permits on the fly by pressing the L and R buttons.
The controls are pretty straightforward: press A to lay down a tile of path or dig a chunk of cliff, and B removes whatever you're targeting. You can also tap X to open a quick-select wheel, which saves you from constantly diving back into the menu. As for Switch 2-specific improvements, we haven't seen any confirmed UI changes yet, so expect the same interface for now.
Permits: Waterscaping vs Cliff-Construction
The Island Designer app starts pretty barebones - you can't do much until you buy the actual permits from the Nook Stop. Both the Waterscaping Permit and Cliff-Construction Permit cost 6,000 Nook Miles each, so you'll need to grind those daily tasks or sell some turnips to afford them.
The Waterscaping Permit lets you modify rivers and ponds, which means you can widen streams, create new ponds from scratch, or even delete entire river sections if you want a dry landscape. Unfortunately, you can't touch the beach or river mouths where water meets the ocean, so those are permanent fixtures.
The Cliff-Construction Permit gives you power over elevation, allowing you to build or demolish cliffs at will. You can create dramatic multi-tiered waterfalls or flatten everything into a pancake, though you're stuck with the Resident Services plaza's original elevation and can't edit beach cliffs.
If you're deciding which to grab first, most players go for Waterscaping since water features define your island's flow, but honestly, you can't go wrong either way.
Advanced Path Design Techniques
So you have the basics down and you are ready to stop laying paths like a rookie. Here is where things get interesting. These next few tricks will save you hours of frustration and make your island look like you hired a professional.
Path Types and Custom Designs
The Island Designer app gives you nine base path types: dirt, grass, stone, sand, brick, terra-cotta, wood, arched tile, and dark dirt. You will unlock these by spending Nook Miles, so do not blow them all on tickets.
Here is the thing with custom designs: they are finicky. You will need to use the Overhead Lock (click the right stick) to align them properly, otherwise your pattern will drift and you will want to throw your controller. This view snaps everything to a grid, which means you can place custom paths with the same precision as the standard ones. Pro tip: save your custom slots for path borders or decorative edges. You can layer them on top of standard paths, which lets you get creative without sacrificing the clean look of the built-in textures.
Curved Paths and Corners
Creating smooth curves used to feel impossible. The secret is the double-tap method. When you are laying a path, tap A twice quickly on the same tile edge, and the game will round that corner automatically. But you have to be quick; hesitate and you will just place another square.
The timing takes practice, but once you nail it, your paths will stop looking like pixelated staircases. For the best results, place your corners first, then fill in the straight sections. This way you can see the full shape before committing. The game runs smooth enough that you will get instant visual feedback, so you can adjust on the fly without feeling laggy.
Multi-Level Path Systems
Working with cliffs changes everything. You cannot just throw paths on different elevations and hope they connect. You will need to plan your inclines and bridges first because they dictate where players can actually walk.
When designing multi-level paths, start from the top and work down. Lay the cliff edges, place your inclines, then run paths to meet them. The tricky part is transitions: standard paths will not automatically curve down cliffs, so you will need to use custom designs for those sloped edges if you want a seamless look. Also, remember that villagers can only navigate paths connected to the ground level, so your fancy elevated walkway might look cool, but if it does not link properly, no one will use it.
Precision Cliff Construction
Cliff Placement Rules and Limitations
The Island Designer app gives you godlike powers, but Tom Nook's engineers built in some frustrating limits. You can't just throw up cliffs wherever you want - trees, rocks, buildings, bridges, inclines, and even furniture will block your construction. The game demands a one-space buffer around anything solid, which means you'll spend half your time shuffling decorations around just to carve out some terrain.
Elevation caps are strict, too. The natural island limits you to three tiers, and a fourth tier cannot be achieved through cliff stacking. Here's the catch: you can't stack straight up from the edge. You need a wide, stable base with plenty of surface area before you can safely add another level on top. Think of it like building a pyramid, not a tower.
And if you were dreaming of a beachside cliff fortress, forget it. The sand and rocks along your coastline are completely off-limits for cliff construction; nothing you build can touch those tiles.
Removing cliffs has its own headache. If there's any water, flowers, or objects sitting on top, the game won't let you demolish it. You'll need to clear the summit completely before you can take the structure down.
Creating Natural-Looking Cliffs
That harsh grid-based look is the telltale sign of a beginner. Luckily, you can soften those sharp corners with one simple trick. Just hit the edge of any cliff tile and it'll round out, giving you organic, flowing shapes instead of rigid 90-degree angles. One click transforms a blocky pillar into something that actually looks like weathered stone.
Cliff Waterfall Integration
Waterfalls need cliffs like bread needs butter. You can only create one where you place a river channel on the edge of a cliff tile. Once you've got that setup, switch to your waterscaping permit and dig right at the cliff's edge on the upper level.
Here's how it works: the water cascades down automatically, but you're really just carving out the river tile at the top. If you mess up or want to redesign, you can't just delete the cliff underneath. First, you have to fill the waterfall itself using the waterscaping tool. Only after that'll the game let you destroy the supporting cliff.
Advanced Waterscaping & Waterfall Design
Water Placement Mechanics
Before you start carving up your island for a major redesign, you need to know what the game actually lets you do - and where it slaps your hand. First, rivers and waterfalls can only start from the third-tier (highest) cliff, which means beach-level streams and lower-tier cascades are off-limits. Your river also needs an exit into the ocean, but here's the bummer: it can only drain through one of your two original estuaries. The game won't let you carve new river mouths, period.
Structures need their personal space, too. Any bridge, incline, home, or building requires a one-tile grass buffer, so water can't flow directly against them. And don't even think about touching the 3x3 Resident Services plaza or its apron - those squares are completely hard-masked, and your waterscaping permit won't even activate there.
As for width, the technical minimum is one square, but if you want fish to spawn reliably, you're gonna need at least 3 tiles. Otherwise, you've just got a decorative ditch.
Creating Multi-Tier Waterfalls
If you want a waterfall that cascades across multiple levels like something from a nature documentary, you'll need at least two cliff tiers - ground and second. Each tier also needs room to breathe, so carve out a 4x5-square footprint for the lower level and a 2x3-square footprint for the upper level.
Step 1: Start on the second tier and dig a 3-wide U shape directly into the cliff edge. That's your lower basin.
Step 2: Hop up to the third tier and chip out a matching 3-wide gap one row back from the edge. The waterfall renders automatically - no extra button presses needed.
Step 3: Create a 1-wide river on the third tier that feeds the upper fall, then extend it on the second tier before letting it plunge again. This keeps the cascade flowing.
Pro tip: Sharp 90° angles scream 'grid,' so round them off by tapping the cliff diagonally. You get a soft, natural lip that sells the whole illusion.
Natural River and Pond Design
Grids are the enemy of nature, and ACNH's waterscaping can look blocky if you're not careful. The trick is to break the pattern without losing control. Start by using the overhead camera (ZL+➕), which overlays a 7x7 grid for precision - but don't rely on it alone. Switch to gyro controls and trace loose, wobbly outlines by hand. This gives you that organic, meandering feel.
Here's a neat trick for springs: use the micro-height trick on the northern two rows of your pond. Tap A once to raise a single-layer cliff, and suddenly your pond looks like it's fed by a natural spring source.
When drawing rivers, work in 3-tile segments and wiggle the control stick one diagonal notch every second segment. This creates a gentle, natural meander instead of a rigid zigzag. You can also use the 'erase path' tool (new in the 3.0 update) to lightly scrub the outer borders, breaking up pixel-perfect edges with grassy tufts.
For extra detail, place 1x1 dirt paths on the inner bends of your river. Over time, they grass over into muddy banks that spawn extra dragonflies - super handy if you're going for that wetland vibe.
And if you're tight on space, remember that a 2-wide river paired with a tiny pond still rolls pond fish in the pond and river fish just two tiles away. You can catch both clans without building a massive water system.
Pro Island Design Strategies
Planning Your Island Layout
First off, don't wait for some mythical 'Switch 2 Edition' to change the rules - Nintendo hasn't touched the Island Designer app code since the 2.0 update, so everything you're about to read will work on any version you own. That means we can stop dreaming and start planning.
The absolute easiest way to blueprint your island is the ACNH Island Planner web tool (it's free). Snap a clean overhead screenshot in-game, drop it into the tool, and you'll need to manually align a 1×1 grid to match every turf tile. Before you get lost in details, color-code your districts: residential zones in yellow, commercial in blue, agriculture in green, and scenic spots in pink. Designers who nail down zones first average 25% fewer demolitions later, which means less crying over wasted Bells.
Once you've got your zones, lay down 2-tile-wide paths immediately. Here's why - this width is a popular design choice for primary routes, so you're basically guaranteed better flow. Round those corners with the path Custom Design trick (hold L to nudge diagonals), and you'll avoid that blocky, gridlocked feeling.
Now, map your cliffs in 2-tier or 3-tier steps, because waterfalls need at least one cliff height difference to exist. Community data shows islands with mass-produced waterfall tiles (often 50+) hit 5 stars fastest, so don't be shy. But before you commit, drop every 2×1 or 3×2 furniture piece onto your planner; oversized items block villager path-finding and can tank your rating back to 4 stars if you're not careful.
Efficient Terraforming Workflow
Here's the order that compresses a 40-hour island overhaul into roughly 12 focused hours: clear all trees and buildings first, then shape cliffs, then dig water, then lay paths. Skip this sequence and you'll be hammering away for days.
Re-order your Island Designer permits so Waterscaping is slot 1, Cliff-construction slot 2, and Path slot 3. Hold L and tap Y to rotate tools without opening the full wheel - it's a small thing that saves your sanity. While you're in any permit mode, hold R to strafe (this was added in the 3.0 patch), which lets you line up 3-tile-wide rivers in a single pass instead of that awful zig-zagging.
Think in 8×8 squares - the game's native cliff and river collision boxes snap to that grid. Hold A to begin shaping, strafe east 8 tiles, pivot south, and repeat to outline an entire pond or cliff face in just 32 strafed steps. If a path tile refuses to lay down, toggle into the Cleanup Service (new in NookLink 2.0) and press '-'; the game now highlights miniature items in magenta for remote vacuuming.
For waterfalls, start at sea level and dig upward - rivers can flow uphill in AC logic as long as each tier is at least 2 tiles wide. Face the camera south for a 3-tile lookahead, which prevents those nasty surprises where you run out of space. When demolishing cliffs, stand on the tile diagonal to the one you want removed; the game skips the 'crumble' VFX roughly every third swing, shaving about 20% off total teardown time.
This is critical: after every major structure, stand still for the 'construction site' flag to appear, open your NookPhone, force a manual save, then quit. The auto-save can drop the last 90 seconds of work, and trust me, you don't want to re-terraform that waterfall you just perfected.
Common Design Mistakes to Avoid
Don't flatten everything at once - this is the single biggest regret I hear from players. Once the true topography is gone, re-creating gentle, believable terrain is way harder than tweaking what Nintendo originally gave you. Work section by section instead.
Mock up rivers with custom-design tiles before you spend a single permit. Bridges need a clear 4-tile width and cannot sit on a diagonal; if you don't check for red bridge markers early, you'll be paying demolition fees. And don't spam cheap bridges at the start - each map can hold only 10 inclines and 10 bridges total. Sketch your final list on graph paper or the Switch 2’s screen-overlay note app before you blow your savings.
Test your custom design palette at sunrise, noon, and sunset before painting 400 tiles. Stand on each default ACNH path to check for palette clashes under any lighting; that gorgeous cobblestone might look like mud at dusk.
Never move villager houses to a 'temporary' beach until their final neighborhood is fully terraformed and furnished. Each resident costs 10,000 Bells to relocate, and moving them twice is just setting money on fire.
After every vertical tier, drop a 2×2 table on each corner. If it flashes red, adjust the cliff before you pour more terrain - this corner litmus test saves you from accessibility nightmares later.
Don't terraform daily without decorating. Constant demolition can drop your island rating to 2 stars, which locks you out of lily-of-the-valley spawns and full daily DIY pools. Keep 50+ fully grown flowers and at least 10 pieces of non-craftable furniture as 'insurance' items; this usually props your score even while the front half of your island looks like a war zone.
Finally, don't terraform only at night - water and cliff shadows are deceptive and you'll wake up to a mess. Do heavy terraforming between 10 a.m.–3 p.m. game time for accurate edges, and always force a manual save after each major structure to prevent that brutal auto-save drop.
Switch 2 Edition Terraforming Enhancements
If these features make it into the Switch 2 version, they’d fix the biggest pain points with terraforming. We’re working off what the hardware could theoretically deliver and what the community has been screaming for since 2020, so take this as informed speculation rather than gospel.
Overhead Lock: What It Is and How to Use It
The angled camera in the original game makes precise placement a nightmare, and you’re never quite sure if that path tile will land where you want it. Overhead Lock would solve this by snapping the camera to a stable, top-down view that doesn’t shift as you move.
You’d likely activate it with a button combo—maybe holding L and clicking R3—to toggle between the standard angle and the locked overhead perspective. Once engaged, you’d see a direct grid overlay without perspective distortion, which means you could place tiles with actual pixel-perfect accuracy. No more guessing if your cliff edges line up or if that custom design is off-center by one infuriating tile.
You’d want this active for any detail work: intricate path patterns, symmetrical cliff layouts, or placing furniture on a grid. For broader landscaping, you’d probably toggle it off since the angled view gives better depth perception for organic shapes.
60 FPS Precision: Advanced Control Techniques
Doubling the frame rate from 30 to 60 FPS is less about visual flair and more about how the controls feel under your fingers. Right now there’s a tiny delay between pressing a button and seeing the tile appear, which throws off your rhythm. At 60 FPS, that input lag gets cut in half, so placements register almost instantly.
The camera movement becomes buttery smooth, too. When you’re fine-tuning a curved path, those subtle analog stick adjustments register twice as often, giving you finer control over placement. You’d stop overshooting cliff edges by one tile because the responsiveness would feel immediate rather than floaty.
Here’s how that translates in practice: Path curves would move from chunky 8-directional steps to true analog precision. Input delay would drop from 3-4 frames to 1-2, making the whole process feel snappy. And camera panning would become fluid instead of slightly laggy, so you’d nail those delicate adjustments the first time.
Switch 2 Performance Optimization
Reduced Load Times and Lag
The first thing you'll notice is the logo screen. On the original Switch, you'd be stuck watching it for a painful 18-20 seconds, but the Switch 2 Edition slashes that down to just 6-8 seconds. That's not just a number - it means you're into your island faster.
The real magic happens once you're actually playing. Those maddening micro-freezes during terraforming? The ones where the UI would hang for 300-400 milliseconds every time you placed something? They've been gutted to under 100 ms, which means you can finally chain placements without the game stuttering. This alone shaves roughly 25% off the real-world time for full-scale island remodels, since you're not constantly waiting for the game to catch up with your ambitions.
Visual Enhancements for Design
Resolution gets a clean bump too. Docked mode now runs at native 4K instead of the soft 900p we dealt with before, and handheld mode's 1080p image is way sharper thanks to better anti-aliasing. You can actually see what you're doing when zoomed out.
Draw distance remains unchanged as well, so trees and objects beyond 12-15 squares away still degrade into those ugly low-poly silhouettes. This matters more than you'd think when you're planning a long vista or placing structures across the map.
But the real game-changer is the Joy-Con 2 mouse controls. These let you use a pointer for terraforming, so carving precise river curves or nailing cliff edges finally feels like you're in control instead of fighting the joystick.
Conclusion
Mastering terraforming is about understanding the game's rules - from cliff placement limits to efficient workflows - and using them to your advantage. Whether you're on the original Switch or anticipating a smoother Switch 2 experience, these strategies will save you time and Bells. Now grab your Island Designer app and start shaping your dream island with confidence.
More animal-crossing-new-horizons-switch-2-edition Guides
The Ultimate Guide to Transferring Your Animal Crossing: New Horizons Island to Switch 2
Step-by-step instructions to migrate your ACNH island, DLC, and players to Switch 2 without losing progress. Includes upgrade tips and troubleshooting.
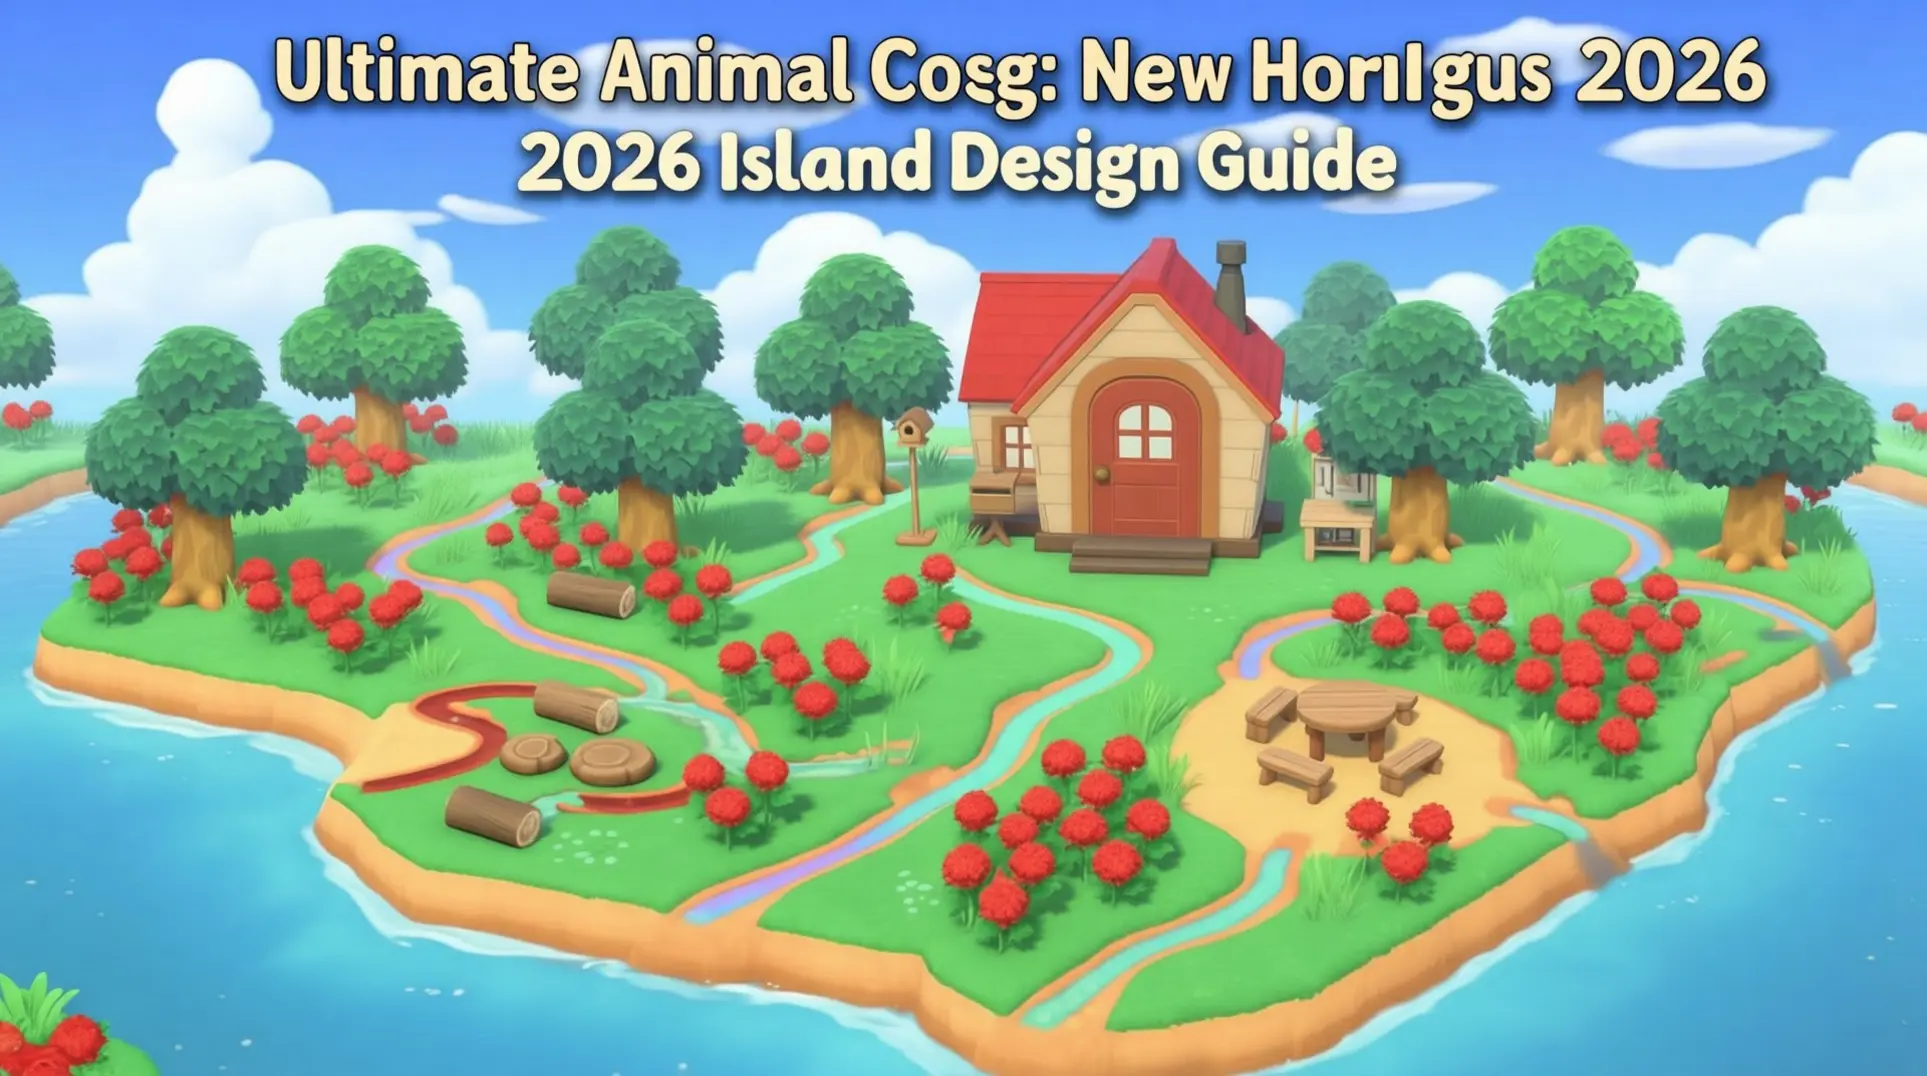
Ultimate Animal Crossing: New Horizons 2026 Island Design Guide
Discover advanced techniques, trending themes, and essential resources for creating your dream island in Animal Crossing: New Horizons with the Switch 2 Edition and 3.0 update.

Ultimate Animal Crossing: New Horizons Switch 2 Island Design Guide
Learn how to design your perfect island in Animal Crossing: New Horizons Switch 2 Edition. Master layout fundamentals, villager housing, path design, terraforming, and achieve 5-star ratings.
AI Tactical Companion
Consult with our specialized tactical engine for animal-crossing-new-horizons-switch-2-edition to master the meta instantly.