Ultimate Guide to Elemental Status Effects in The Outer Worlds 2
Introduction: Why Elemental Status Effects Are Game-Changing
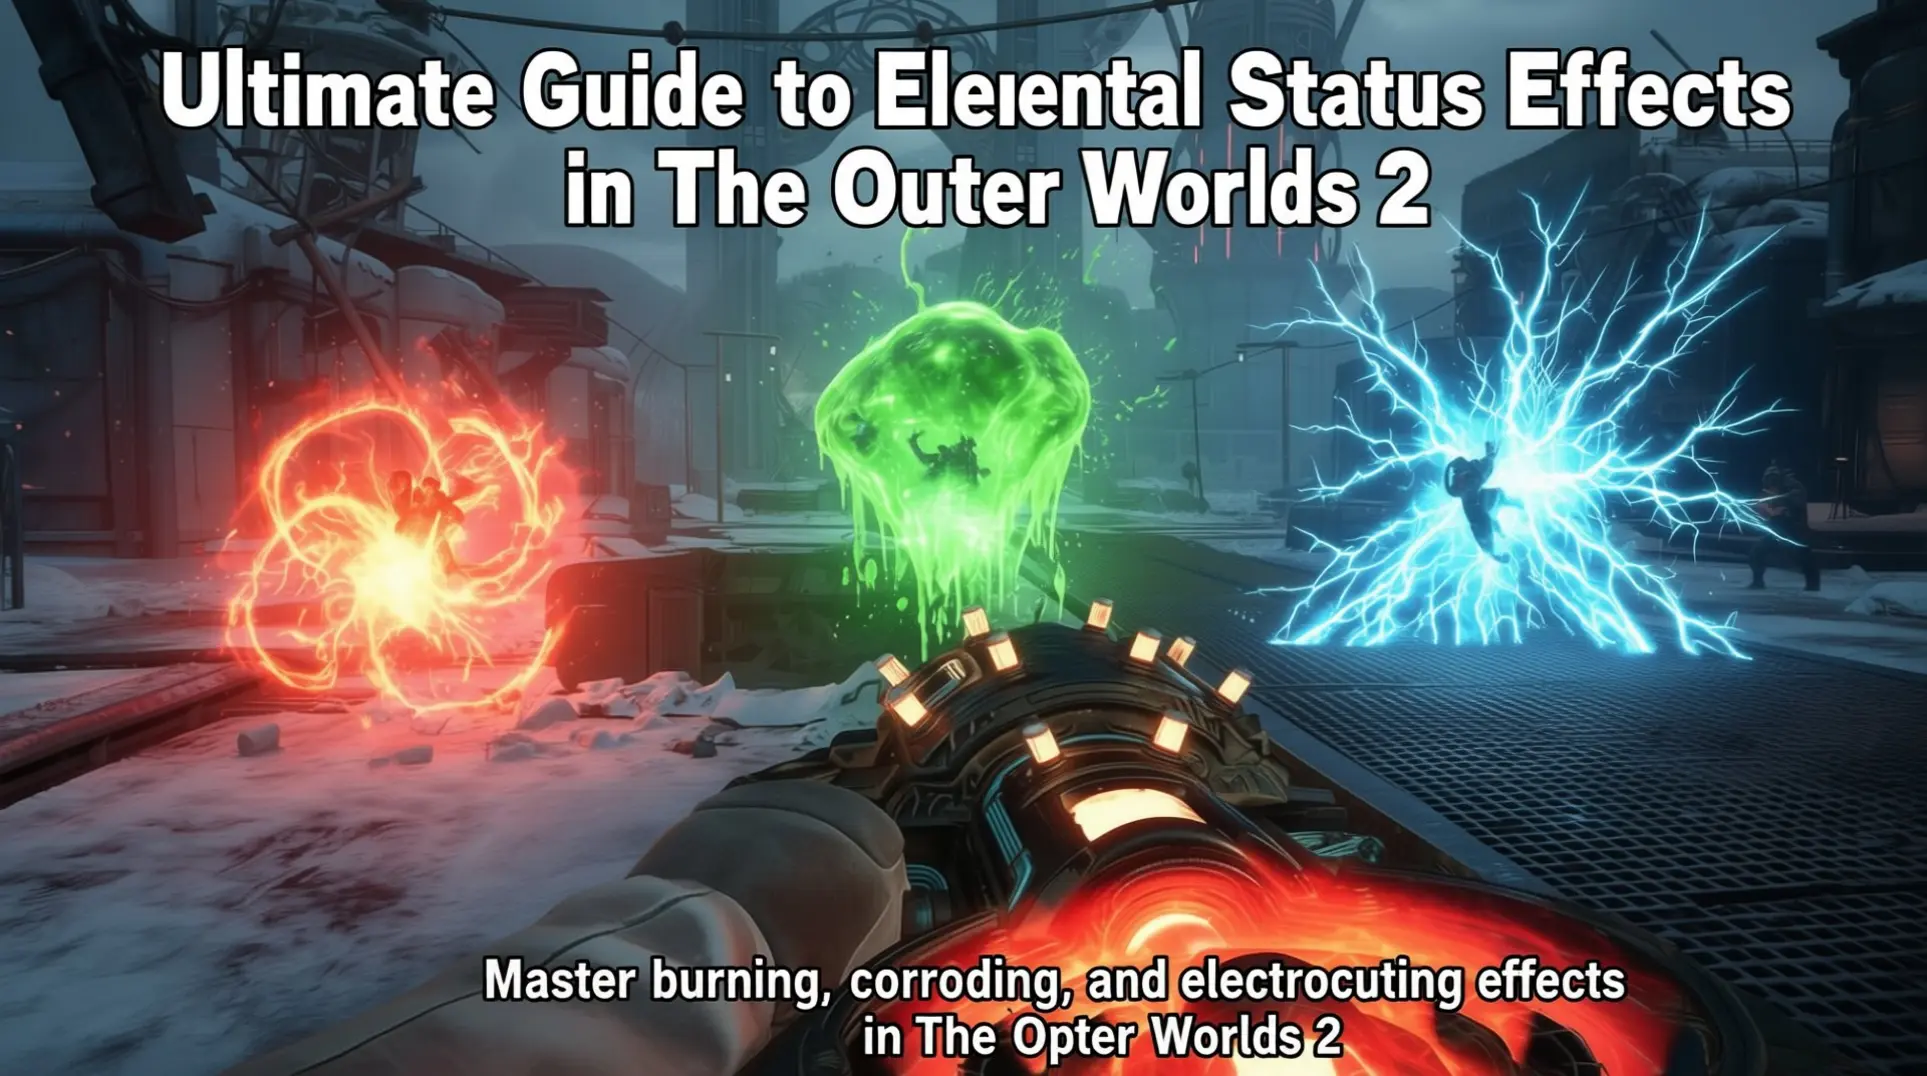
Forget chasing bigger damage numbers - in The Outer Worlds 2, elemental status effects are the real game-changers. These effects offer instant battlefield control from the first hit, shaping encounters before enemies react. This guide breaks down the mechanics of burning, corroding, and electrocuting to help you master tactical combat on Supernova difficulty.
Most players treat elemental damage as a prettier number on their stat sheet. They chase bigger digits while ignoring the real prize: instant battlefield control that begins the moment your first bullet lands.
The Outer Worlds 2 doesn't just tack on burn damage or shock stuns as afterthoughts. Every plasma round, every shock bolt, every corrosive spray triggers its own persistent status effect from frame one. This means your weapon choice becomes a tactical decision that shapes the entire encounter before the enemy even reacts.
Burning, Corroding, and Electrocuting aren't damage flavors - they're your opening move in a chess match. Master them, and you'll dictate positioning, disable key threats, and turn overwhelming odds into calculated victories on Supernova difficulty.
Understanding Core Status Effect Mechanics
Elemental Status Effects Fundamentals
In The Outer Worlds 2, six damage types are intrinsically tied to status effects that apply instantly from the moment you land a hit. The elemental trio - Burning (Plasma), Corroding (Corrosive), and Electrocuting (Shock) - forms the backbone of advanced combat strategies.
Burning delivers immediate thermal damage followed by fire damage over time, often causing panic in organic enemies. Corroding deals acid damage over time while significantly reducing the target's armor rating for the duration. Electrocuting provides periodic shock damage and stuns enemies, making it invaluable for crowd control scenarios.
Special Effect vs. Damage Type Mods: The Critical Distinction
A critical rule governs status application: the Special Effect listed on your weapon determines which status you can apply - not the damage type mods you attach. Simply adding a corrosive magazine to a gun with "Stagger" as its Special Effect will NOT enable Corrosion DoT.
To apply Corrosion specifically, you need a weapon that lists "Corrosion" as its inherent Special Effect. This distinction is crucial for build planning - you can't simply convert any weapon to elemental use by swapping damage type mods.
Tactical Time Dilation (TTD) and Status Application
Most weapons require unlocking TTD (Tactical Time Dilation) and targeting specific body parts with TTD hits to trigger their Special Effects. TTD slows time around your targeted area, giving you precise control over where and when status effects apply.
- Chest shots with TTD hits typically trigger weapon Special Effects
- Headshots may override Special Effects with critical hit bonuses
- Limb shots often provide minimal status application but offer mobility advantages
Once applied through TTD, you can stack different DoTs simultaneously - burn + bleed + corrosion combinations create devastating damage-over-time scenarios.
Skill Dependencies and Scaling
- Medical skill increases buff duration (150 Medical grants +80% DoT damage, 60 Medical provides +50% DoT duration)
- Dodge skill decreases debuff duration applied to your character
- Elemental Damage stat affects all DoT damage scaling
DoT damage scales with weapon level and remains proportional to the weapon's single-hit damage, making weapon upgrades essential for maximizing elemental effectiveness.
Quick Reference: Elemental Status Effects
| Element | Damage Type | Optimal Targets | Key Mechanics | Duration | Special Use |
|---|---|---|---|---|---|
| Burning | Plasma/Fire | Organic, unarmored enemies | DoT damage, panic effects, explosion at max stacks | Scales with Medical skill | Area denial, crowd control |
| Corroding | Corrosive/Acid | Armored, robotic enemies | Armor reduction, vulnerability stacking | Persistent until armor breakdown | Tank melting, defense shredding |
| Electrocuting | Shock | Mechanical, shielded enemies | Movement slow, attack speed reduction, stun potential | Short duration, chain capable | Crowd control, engagement windows |
Burning (Fire Damage): The Persistent Threat
Core Mechanics: DoT, Stacking, and Explosion
Burn is a debuff applied via Plasma damage in The Outer Worlds 2. Each application adds a stack, and the damage per tick increases with every additional stack. When the debuff reaches maximum stacks, it converts into an explosion that damages nearby enemies.
This mechanic makes Burn particularly devastating against flesh-based enemies - unarmored biological targets - when paired with Plasma weapons. The Beam Splitter muzzle can trigger multiple stacks per shot, dramatically accelerating the buildup toward detonation.
Tactical Applications
Burn excels at controlling the battlefield through sustained pressure:
- Chokepoint Control: Place Burn sources at entry points to funnel enemy movement
- Area Denial: Combine with environmental hazards for maximum zone control
- Stack Synergy: Layer Burn with other DoTs for exponential damage scaling
- Panic Induction: Organic enemies affected by burning often retreat or act erratically
The Beam Splitter can trigger multiple burn stacks per shot, making sustained fire devastating. After three plasma strikes, damage per tick can triple from 29 to 88, transforming plasma weapons into area denial tools.
Note: A known bug can cause Burn to become infinite in certain situations, though this may be patched in future updates.
Strategic Applications
- Crowd Control: Enemies caught in sustained plasma fire will either retreat or perish
- Chokepoint Management: Force enemy repositioning through persistent fire zones
- Combo Potential: Burns stacks synergize with other DoT effects for massive damage
Pair plasma weapons with high-impact companions or heavy weapons. While enemies panic from burning damage, your team can deliver focused fire to eliminate priority targets before they escape the flames.
Corroding (Acid Damage): Armor Destruction Specialist
Corrosion stands as one of six primary damage types in The Outer Worlds 2, distinguished by its green icon and singular purpose: dismantling armored defenses. This specialized damage type transforms combat encounters against heavily fortified enemies from prolonged slugfests into strategic dismantling operations.
Core Mechanics and Enemy Effectiveness
Corrosion damage excels against Automechanicals, Mantisaurs, and any enemy sporting heavy armor plating. The damage type's effectiveness isn't just about raw numbers - it systematically breaks down enemy defenses through a unique debuff system.
Each corrosive hit has the potential to apply the Vulnerable debuff, which directly reduces armor effectiveness and can stack with continued application. When Vulnerable stacks reach maximum capacity, they transform into the Dissolved debuff, representing complete armor breakdown.
Damage Over Time and Stack Progression
Corrosion weapons deliver both immediate impact and lingering effects through their Damage over Time (DoT) component. The Special Effect stat on weapons determines whether they can apply the corrosion DoT, making weapon selection crucial for dedicated corrosive builds.
- Vulnerable stacks: +10% damage taken per stack
- Dissolved state: Complete armor breakdown, maximum vulnerability window
- DoT component: Scales with Elemental Damage stat and Medical skill
Skill Synergies and Build Optimization
Skill investments dramatically enhance corrosive effectiveness:
- Medical 150: +80% DoT damage amplification
- Medical 60: +50% DoT duration extension
- Dodge: Reduces debuff duration when enemies attempt to corrode your defenses
These synergies create opportunities for specialized builds focused on sustained pressure rather than burst damage, making corrosion particularly effective in prolonged engagements against elite armored targets.
Tactical Implementation
The tactical application is straightforward but devastating: lead with corrosive weapons to maximize all subsequent damage. Once corrosion stacks build, switch to high-damage weapons or companion abilities to exploit the amplified vulnerability.
This approach transforms even basic attacks into lethal strikes against previously tanky enemies. Coordinate with your team to maintain corrosion stacks while delivering burst damage for devastating focus-fire combos.
Electrocuting (Shock Damage): The Crowd Control Master
Electrocution is the status effect applied by Shock Damage in The Outer Worlds 2. It immediately slows enemy movement and attack speed, creating safe engagement windows for tactical repositioning or follow-up attacks.
Core Mechanics and Optimal Targets
Shock damage excels against robots and mechanical enemies, making it a priority choice when facing synthetic foes. The Auto-Hacker 5000 is a unique weapon that deals shock damage, serving as an excellent primary for tech-focused builds.
The Overloaded status causes enemies to emit damaging pulses every five seconds, creating chain reaction effects where groups of robotic or shielded enemies damage each other. This effectively turns enemy formations against themselves.
Tactical Applications
- Crowd Control Chains: Combine shock with other elements to maximize battlefield control
- Robot Mastery: Prioritize shock damage against mechanical enemies for maximum efficiency
- Engagement Windows: Use electrocution's slow effect to create safe reload or healing opportunities
- Chain Reactions: Group robotic enemies before applying shock for devastating area damage
Advanced Strategies
Master tacticians can leverage this by clustering robotic enemies before applying shock damage. The resulting electrical storm devastates grouped targets while you maintain safe positioning.
The battlefield often demands versatile approaches, but electrocuting provides crucial crowd control when you're outnumbered or need breathing room during intense firefights. The slow effect makes it easier to land precision shots and manage multiple threats simultaneously.
Strategic Elemental Combinations and Synergies
The Shock-Then-Corrosion Sequence
Start every fight by Shocking the pack. The Electrocuting status slows movement and attack speed, buying you a 3-4 second window to line up the next tactical move.
Once the field is pacified, switch to Corrosion to strip armor. The Vulnerable effect reduces enemy defenses, turning even elite targets into soft targets for follow-up shots.
The Corrosive Shock Machine Gun removes the need to swap weapons. This heavy gun fires rounds that carry both Shock and Corrosive payloads, letting you execute the entire sequence with sustained fire.
Burning After Crowd Control
After armor is melted, ignite the target with Burning. Plasma or Fire damage applies a damage-over-time tick that scales against the now-exposed health pool.
Burning continues to chip away while you reposition or engage new threats. This passive pressure is especially useful against clustered enemies, as the DoT keeps pressure on the entire group.
Melt Synergy: The Ultimate Combo
Melt occurs when Fire Damage strikes an enemy already afflicted with Corroding, resulting in massive amplified damage. The optimal sequence involves:
- Apply Corroding first to weaken armor
- Switch to Fire-based weapons to trigger Melt
- Exploit the vulnerability window for devastating damage
This combination proves particularly lethal against armored targets that would otherwise resist direct Fire Damage.
Elemental Maelstrom Achievement
The Elemental Maelstrom achievement demands a single kill on an enemy affected by every damage type in the game. Plan your loadout to cycle through Shock, Corrosion, Burn, N-Ray, and Physical within one encounter.
The Prismatic Hammer is the most reliable tool for this task. Its alternate fire mode rotates through elemental damage types with each swing, letting you stack every required effect before landing the final blow.
Build Optimization for Elemental Mastery
Stat Prioritization
All elemental status effects scale with the Elemental Damage stat, making it the cornerstone of any elemental build. Strategic targeting maximizes your effectiveness:
- Fire Damage: Prioritize organic enemies lacking armor
- Acid/Corrosive Damage: Focus on armored or robotic targets
- Shock Damage: Target shielded enemies and synthetic units
Skill Investment Priorities
- Medical 150: +80% DoT damage (essential for burning builds)
- Medical 60: +50% DoT duration (good foundation for all elemental builds)
- Dodge: Reduces incoming debuff duration
- Elemental Damage: Primary stat for all status effect scaling
Weapon Selection Criteria
Understanding weapon Special Effects is crucial for elemental builds:
- Look for weapons that natively list your desired status effect as their Special Effect
- Don't rely on damage type mods alone - they don't enable status effects
- Consider TTD requirements for status application
- Prioritize weapons with area effects for crowd control scenarios
Dynamic Loadout Adaptation
Understanding enemy weaknesses allows you to adapt your loadout dynamically:
- Flesh-heavy encounters: Prioritize Burning (Plasma weapons)
- Armored/robotic foes: Focus on Corroding (Corrosive weapons)
- Mixed groups with shielded units: Emphasize Electrocuting (Shock weapons)
- Elite encounters: Combine multiple elements for maximum effectiveness
This adaptive approach ensures you're always optimized for the current battlefield situation rather than sticking to a single damage type.
Conclusion
Elemental status effects turn combat into a strategic chess match, where burning, corroding, and electrocuting dictate positioning and disable threats. Master the fundamentals:
- Special Effects determine status application, not damage type mods
- TTD targeting is crucial for reliable status effect triggers
- Skill synergies dramatically amplify elemental effectiveness
- Strategic combinations create exponentially powerful combat scenarios
Start combining them to control the battlefield and achieve the Elemental Maelstrom. The key to mastery lies not in bigger numbers, but in understanding how these effects transform every encounter from the first shot onward.
More the-outer-worlds-2 Guides
The Outer Worlds 2 Weapon Mod Synergy Guide: Master Builds & Combinations
Complete guide to weapon mod synergy in The Outer Worlds 2. Learn sniper, DPS, elemental, melee, hybrid, and companion builds with optimal mod combinations.
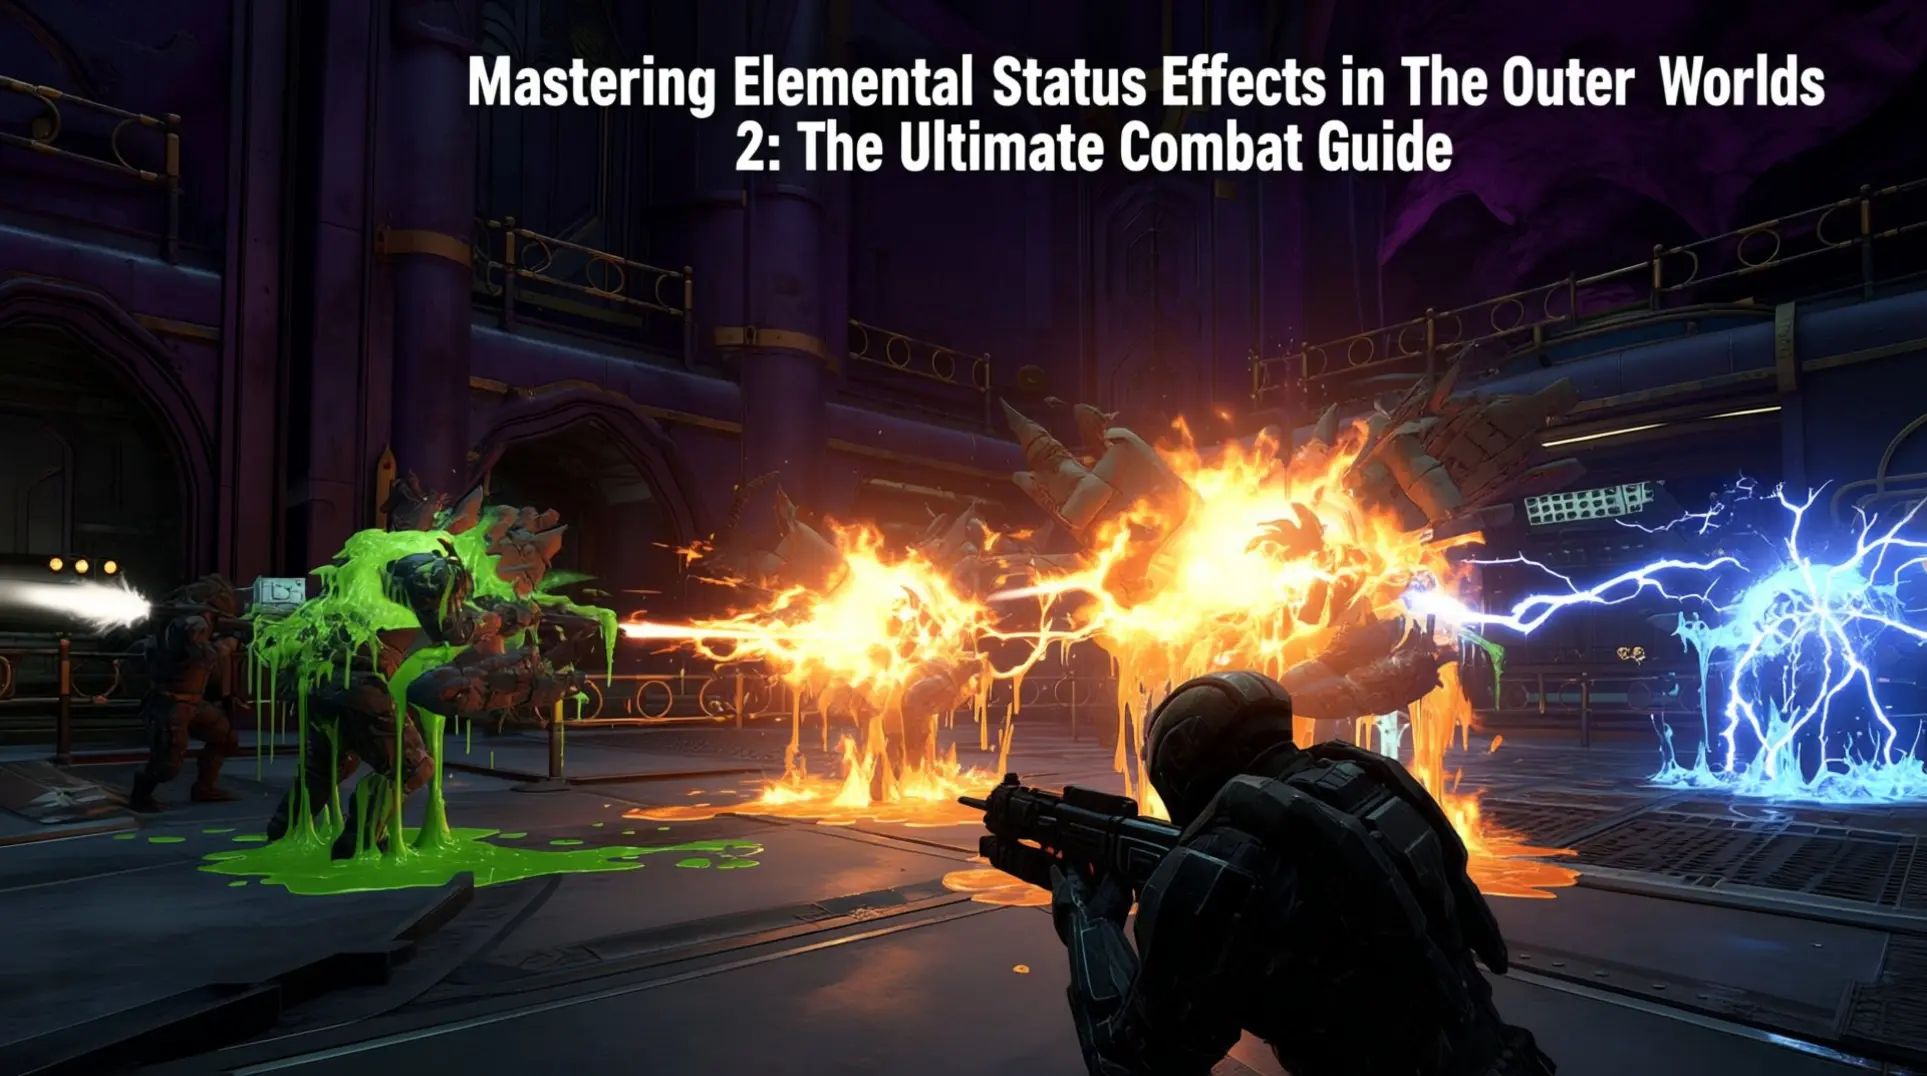
Mastering Elemental Status Effects in The Outer Worlds 2: The Ultimate Combat Guide
Learn how to dominate The Outer Worlds 2 combat by mastering Plasma, Corrosion, and Shock status effects. Discover enemy vulnerabilities, tactical loadouts, and advanced debuff strategies.
Mastering Tactical Time Dilation in The Outer Worlds 2: Advanced Strategies and Bug Fixes
Complete guide to TTD mechanics, meter management, advanced combat techniques, and Patch 1.0.6.0 bug fixes for optimal tactical gameplay.
AI Tactical Companion
Consult with our specialized tactical engine for the-outer-worlds-2 to master the meta instantly.