Mastering Elemental Status Effects in The Outer Worlds 2: The Ultimate Combat Guide
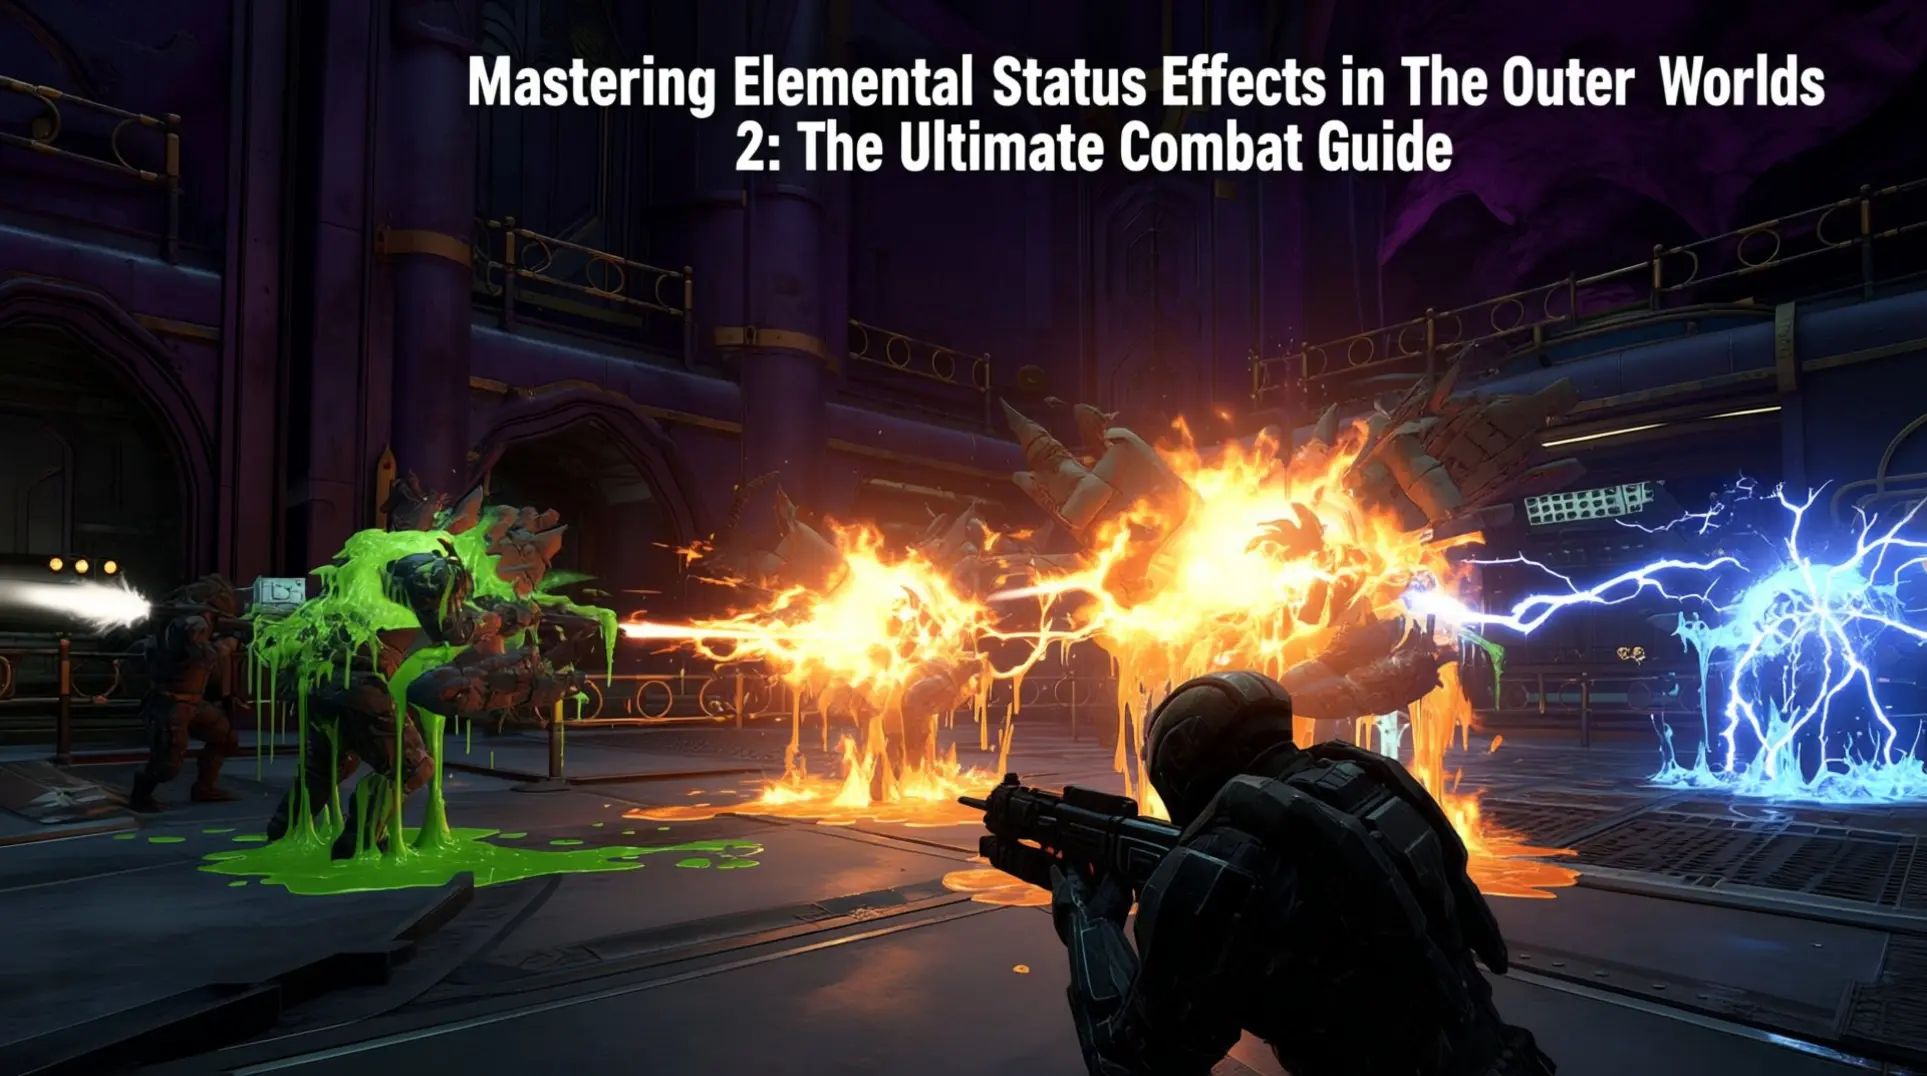
In The Outer Worlds 2, raw firepower is a blunt instrument. True combat mastery lies in exploiting the elemental status effects that control the battlefield. This guide breaks down the core trinity of Plasma, Corrosion, and Shock, showing you how to identify vulnerabilities, layer debuffs, and build tactical loadouts to dominate any encounter.
Why Elemental Status Effects Dominate The Outer Worlds 2 Combat
The Crowd Control Advantage: More Than Just Damage Numbers
Raw DPS only gets you so far when you're facing a dozen angry marauders. Status effects flip the script by letting you control the battlefield itself.
Each element brings a unique form of crowd control that creates breathing room in chaotic fights:
- Frost: Freezes enemies solid, completely stopping their movement and attacks
- Shock: Stuns targets, giving you precious seconds to reload, reposition, or focus elsewhere
- Corrosive: Melts enemy armor, making every subsequent hit more devastating
- Plasma: Burns through unarmored flesh with devastating efficiency
The real magic happens when you combine these effects. Corrode a heavily armored foe first, then freeze them solid. You'll have a defenseless target ready for easy critical hits. Against mechanical enemies, shock weapons don't just damage-they paralyze robots entirely, turning deadly turrets into harmless scrap.
How to Identify Enemy Vulnerabilities Before Engaging
Quick Reference: Damage Type Effectiveness
| Enemy Type | Best Damage Type | Damage Multiplier |
|---|---|---|
| Heavy Armor | Corrosive | 150% |
| Primals/Raptidons | Plasma | 140% |
| Mechanical | Shock | 150% |
| Medium Armor | Corrosive | 110% |
| Unarmored Humans | Plasma | 140% |
| Mantisaurs | Corrosive | 120% |
Three-Step Vulnerability Check
- Activate TTD: Hold the aim button to enter Tactical Time Dilation
- Scan the Target: Look for highlighted damage type weaknesses in the scanner display
- Switch Weapons: The scanner shows exact percentages-swap to your most effective damage type immediately
When facing something like a primal, the TTD scanner reveals their 140% plasma vulnerability instantly. No guesswork required-just switch to your plasma rifle and watch them melt.
The Core Elemental Trinity: Burning, Corroding, Electrocuting Explained
Plasma & Burning: The Organic Crowd Controller
Plasma damage applies the Burn status effect, a damage-over-time debuff that stacks with each hit. When Burn reaches maximum stacks, it triggers an explosion that spreads plasma damage to nearby enemies. This explosion forces enemies to flinch and reposition, breaking their formations through area denial.
- Organic Multiplier: Primals and Raptidons take 140% plasma damage, making plasma the go-to choice against biological enemies.
- Soft Control: The Burn explosion creates natural crowd control by making enemies scatter and abandon coordinated attacks.
- Versatility: Plasma remains effective against most living targets, establishing it as a reliable general-purpose damage type.
Corrosion & Corroding: The Armor Shredder for Heavy Units
Corrosion damage applies the Vulnerable status effect, which dissolves enemy armor and increases damage taken from all sources. This makes corrosion the premier choice against heavily armored opponents.
The Armor Shredding Process
- Initial Application: Hit armored enemies with corrosion to apply Vulnerable
- Armor Breakdown: The debuff actively dissolves armor, reducing protection
- Damage Amplification: All subsequent attacks deal increased damage to the weakened target
- Finisher Switch: Swap to high-damage weapons for maximum effectiveness
Strategic Note: Heavy armor takes 150% corrosive damage, making corrosion definitively more effective than plasma against armored enemies. However, corrosion loses effectiveness against unarmored organic targets, where plasma's raw damage multiplier shines.
Shock & Electrocuting: The Ultimate Robot and Melee Stun
Shock damage applies the Electrocuted status effect, capable of stunning or paralyzing enemies. The DTG guide explicitly labels Shock as "The Machine Killer" due to its devastating effectiveness against mechanical units.
- Mechanical Vulnerability: Automechs, turrets, and shielded enemies take 150% shock damage
- Action Interruption: Shock effects interrupt enemy attacks and disable shields
- Early Game Dominance: The Shock Machine Gun earns its reputation as the best early-game weapon for robotic encounters
- Stun Utility: Weapons like the Piezoelectric Stun Baton deliver high-voltage strikes that can completely disable mechanical foes
Frost & N-Ray: Supplemental Crowd Control Tools
While not part of the core trinity, Frost and N-Ray offer unique crowd control options that complement the main damage types.
- Frost Control: Applies Chilled to slow enemies, then Frozen to completely immobilize targets
- N-Ray Contagion: Creates stacking blast damage with area explosions, particularly effective against melee swarms
- Armor Penetration: N-Ray ignores armor entirely, though mechanical enemies resist its secondary damage component
- Creature Specificity: N-Ray excels against raptidons and mantisaurs through its unique secondary damage mechanics
Tactical Loadouts for Specific Crowd Control Scenarios
Controlling Melee Swarms (Primals, Raptidons, Canids)
Three level-2 Primals can wipe an early-game party; four level-3s are "pretty much death."
Use Frost first to apply Chilled, cutting their speed and attack rate.
Follow with Plasma for the 140 % bonus against biological flesh.
Finish with area denial to keep the pack from flanking.
Step-by-Step
- Open with a Frost Grenade at the choke point to blanket the group in Chilled.
- Switch to a Plasma rifle or pistol and focus-fire the closest target; the burn ticks will finish weakened enemies.
- If you have Cold Blooded, shatter kills explode in another Frost pulse, chaining the slow to any stragglers.
- Kite backward while the DoT works; never let more than one Primal reach melee range at once.
Shutting Down Armored Infantry & Heavy Units
Corrosion strips armor fast, then raw damage ends the fight.
Community consensus calls it the "one-two punch."
- Corrosion first: Melt status dissolves armor and amplifies all follow-up damage.
- Heavy hitter second: Swap to a high-impact physical or Shock weapon once the armor is gone.
- Perk synergy: The Corrosive Terminator build pairs a corrosive HMG with heavy gunner skills for sustained armor shredding.
- Universal rule: Against armored humans, "Corrosion by miles" beats every other element regardless of Science investment.
Neutralizing Robot & Automaton Groups
Robots hate electricity.
Shock stuns them, exposes glowing blue weak spots, and keeps turrets offline long enough for safe dismantling.
Step-by-Step
- Equip a Shock rifle or carbine and aim for the bright blue joints; two or three shots usually paralyze.
- If mechs are plated, tag them with Corrosion first to crack the armor, then Shock to lock them down.
- Bring Marisol-her Chain Lightning perk arcs Shock to nearby bots, turning clustered groups into sitting ducks.
- Activate the Elemental Weapon Specialist perk on companions so their guns also carry Shock, doubling your crowd control output.
Managing Mixed Enemy Groups (The Most Common Scenario)
You'll rarely face a single enemy type.
Carry three elemental tools and swap on the fly.
- Shock: Default choice against robots and automechanicals.
- Corrosion: Breaks heavy armor on human troopers and Mantisaur shells.
- Plasma: Melts fleshy creatures like Primals and Raptidons.
- Quick-swap tip: Map each element to a different weapon slot; mid-fight swaps are faster than reloading.
- N-ray wildcard: If enemies are tightly packed, N-ray bypasses armor and spreads between bodies-great for messy, mixed brawls.
Advanced Tactics: Layering Effects & The Elemental Maelstrom Framework
How to Chain Status Effects for Maximum Debilitation
Status effects in The Outer Worlds 2 aren't just flashy-they're a tactical language. Mastering the order in which you speak that language can turn a chaotic firefight into a controlled execution.
Step-by-Step Combos from the DTG Synergy Vault
Shock → Corrode → Plasma
- Shock paralyzes robotic or shielded targets, locking them in place.
- While stunned, Corrosive strips armor, multiplying all incoming damage.
- Finish with Plasma to ignite the now-unarmored enemy, letting burn damage finish the job.
Frost → N-Ray
- Frost slows or freezes fast melee attackers.
- Tag the frozen target with N-Ray radiation; on death it explodes, spreading radiation to nearby slowed foes for a chain reaction.
Corrode → Anything
- Open every armored engagement with Corrosive to melt defenses.
- Swap to your highest raw-damage weapon-physical, plasma, or even melee-to exploit the sudden vulnerability.
These sequences aren't theory; they're lifted straight from the DTG guide's "synergies" section and tested against Mega Mantiqueens and Primal Beasts alike.
Using the 'Elemental Maelstrom' Achievement as a Combat Blueprint
The Elemental Maelstrom achievement demands that a single enemy die while suffering every damage type in the game. Treat it not as a checklist, but as a masterclass in turning one target into a walking debuff zone.
Practical Boss-Fight Blueprint
Prep the Arsenal
- Slot one weapon for each element: Physical, Plasma, Shock, Corrosive, N-Ray.
- Keep damage modest-don't upgrade the Spectrum Gatling until after the achievement to avoid premature kills.
Execution Order
- Shock to stun and interrupt boss abilities.
- Corrosive to fracture armor.
- Plasma for stacking burn-over-time.
- Frost to slow movement and attack speed.
- N-Ray to irradiate the target, ensuring it explodes on death and spreads chaos to adds.
Target Choice
- High-health enemies like a Mega Mantiqueen give you the window needed to layer all five effects.
- Adds surrounding the boss will catch the N-Ray detonation, effectively crowd-controlling the entire arena.
Once the achievement pops, the technique remains: one enemy can carry every debuff simultaneously, weakening itself and everything nearby.
Companion & Skill Synergies for Enhanced Status Effects
Your build is only half the equation; companions are portable buff stations that can supercharge elemental play.
Skill & Perk Matrix
| Companion Focus | Key Perk / Skill | Effect on You |
|---|---|---|
| Science specialist | Science! skill | Boosts energy & corrosive damage you deal |
| Shock build | Electro-Therapist | Faster Shock application, chance to charm Automechs |
| Corrosion build | Caustic Researcher | Amplifies armor-melting against heavy targets |
| Frost build | Cold Blooded | Extends freeze duration and slow magnitude |
| Radiation build | N-Radiator | Increases N-Ray chain range for better area denial |
Quick Loadout Tips
- Quarter Rule: Companions add 25 % of their adjusted skill to yours-stack Inspiration to push that bonus even higher.
- Complementary Elements: If you run Shock, hand your companion a Plasma rifle; if you wield Corrosive, let them carry Frost to cover all bases.
- Armor Synergy: Equip companions with armor mods that raise their Science or Inspiration; the passive boost flows straight back to your own status-application rate.
With perks like Electro-Therapist and Caustic Researcher running in parallel, you'll apply every elemental condition faster, longer, and with deadlier results.
Common Mistakes & How to Optimize Your Elemental Arsenal
Why Physical Damage Is Often the Wrong Choice (And When It Isn't)
Physical damage is the basic damage type in The Outer Worlds 2. It causes no special status effects and offers zero tactical utility-no crowd control, armor reduction, or damage-over-time effects.
Reddit users aren't wrong when they call it the "loser's damage type." Enemy armor reduces physical damage significantly, since armor rating × 2.5 = damage reduction. This makes physical weapons struggle against armored foes.
However, physical damage has niche uses:
- Low Science builds can pair it with magazine size mods for consistent output.
- Early-game Primals and Raptidons take more damage from physical than corrosion until you hit 60 Science skill.
- Generalist fallback when you lack elemental mods or perks.
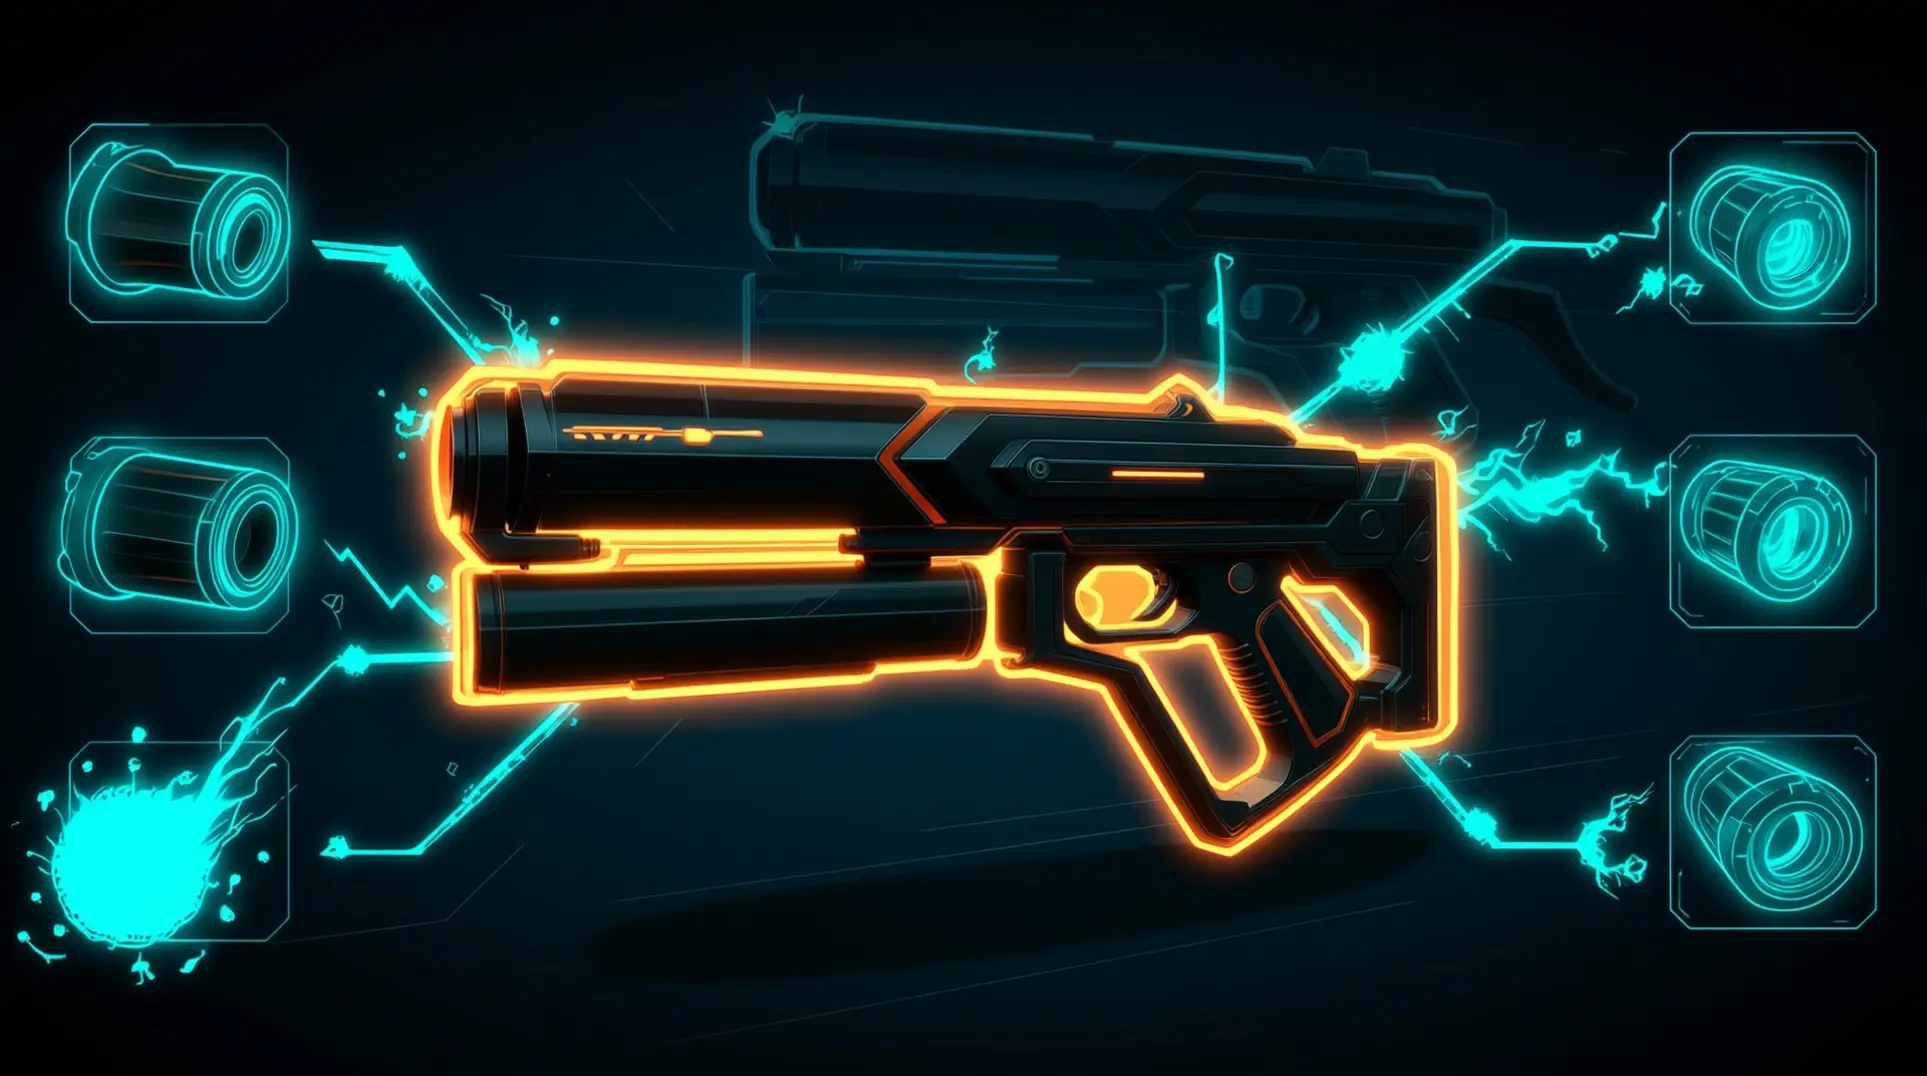
Modding for Flexibility: How to Adapt Any Weapon for Crowd Control
Weapon mods let you change damage types entirely. The Mag-2-Power mod, for example, converts physical damage to Plasma. Here's how to stay adaptable:
- Stockpile mods for Shock, Corrosion, and Plasma at workbenches.
- Install mods strategically-mods can't be reused once replaced.
- Build elemental arsenals: keep separate weapons modded for each element.
- Prioritize LMGs for Shock/Corrosion crowd control-Shock stuns robots, Corrosion melts armor.
Prioritizing Targets: Which Enemy to Debuff First in a Group
Use this decision tree when facing mixed enemy groups:
- Stun first: Hit robotic heavy gunners with Shock to disable them.
- Weaken tanks: Apply Corrosion to the most armored target to reduce all incoming damage.
- Burn rushers: Tag fast melee enemies with Plasma for damage-over-time.
- Freeze priority threats: Use Cold to immobilize high-value targets.
- Spread debuffs: N-Ray works best on clustered groups of rushers.
Equip companions with crowd control weapons to manage groups while you focus on priority targets.
Elemental status effects are the key to turning chaotic fights into controlled engagements. By understanding enemy weaknesses, chaining debuffs, and optimizing your loadout, you can shut down entire groups with precision. Stop relying on physical damage and start commanding the battlefield with fire, acid, and lightning.
More the-outer-worlds-2 Guides

The Outer Worlds 2: The Ultimate Scrap Economy Guide
Master the breakdown system in The Outer Worlds 2. Learn top farming routes, essential perks like Innovative and Scrapper, and advanced strategies to turn junk into victory.
The Outer Worlds 2 Weapon Mod Synergy Guide: Master Builds & Combinations
Complete guide to weapon mod synergy in The Outer Worlds 2. Learn sniper, DPS, elemental, melee, hybrid, and companion builds with optimal mod combinations.

The Outer Worlds 2 Endgame Guide: Mastering Resource Management After Level 30
Learn how to overcome The Outer Worlds 2's permanent resource crisis at level 30. Master farming, crafting, and strategic decisions for the best ending.
AI Tactical Companion
Consult with our specialized tactical engine for the-outer-worlds-2 to master the meta instantly.