The Outer Worlds 2 Weapon Mod Synergy Guide: Master Builds & Combinations
Weapon mods in The Outer Worlds 2 are more than just stat boosts; they're the key to crafting a playstyle that's uniquely yours. Whether you want to be a ghost, a walking arsenal, or a master of elemental chaos, the right combinations are what separate a good build from a legendary one. This guide breaks down the fundamentals and provides powerful, synergistic loadouts to dominate any encounter.
Understanding Weapon Mod Synergy Fundamentals
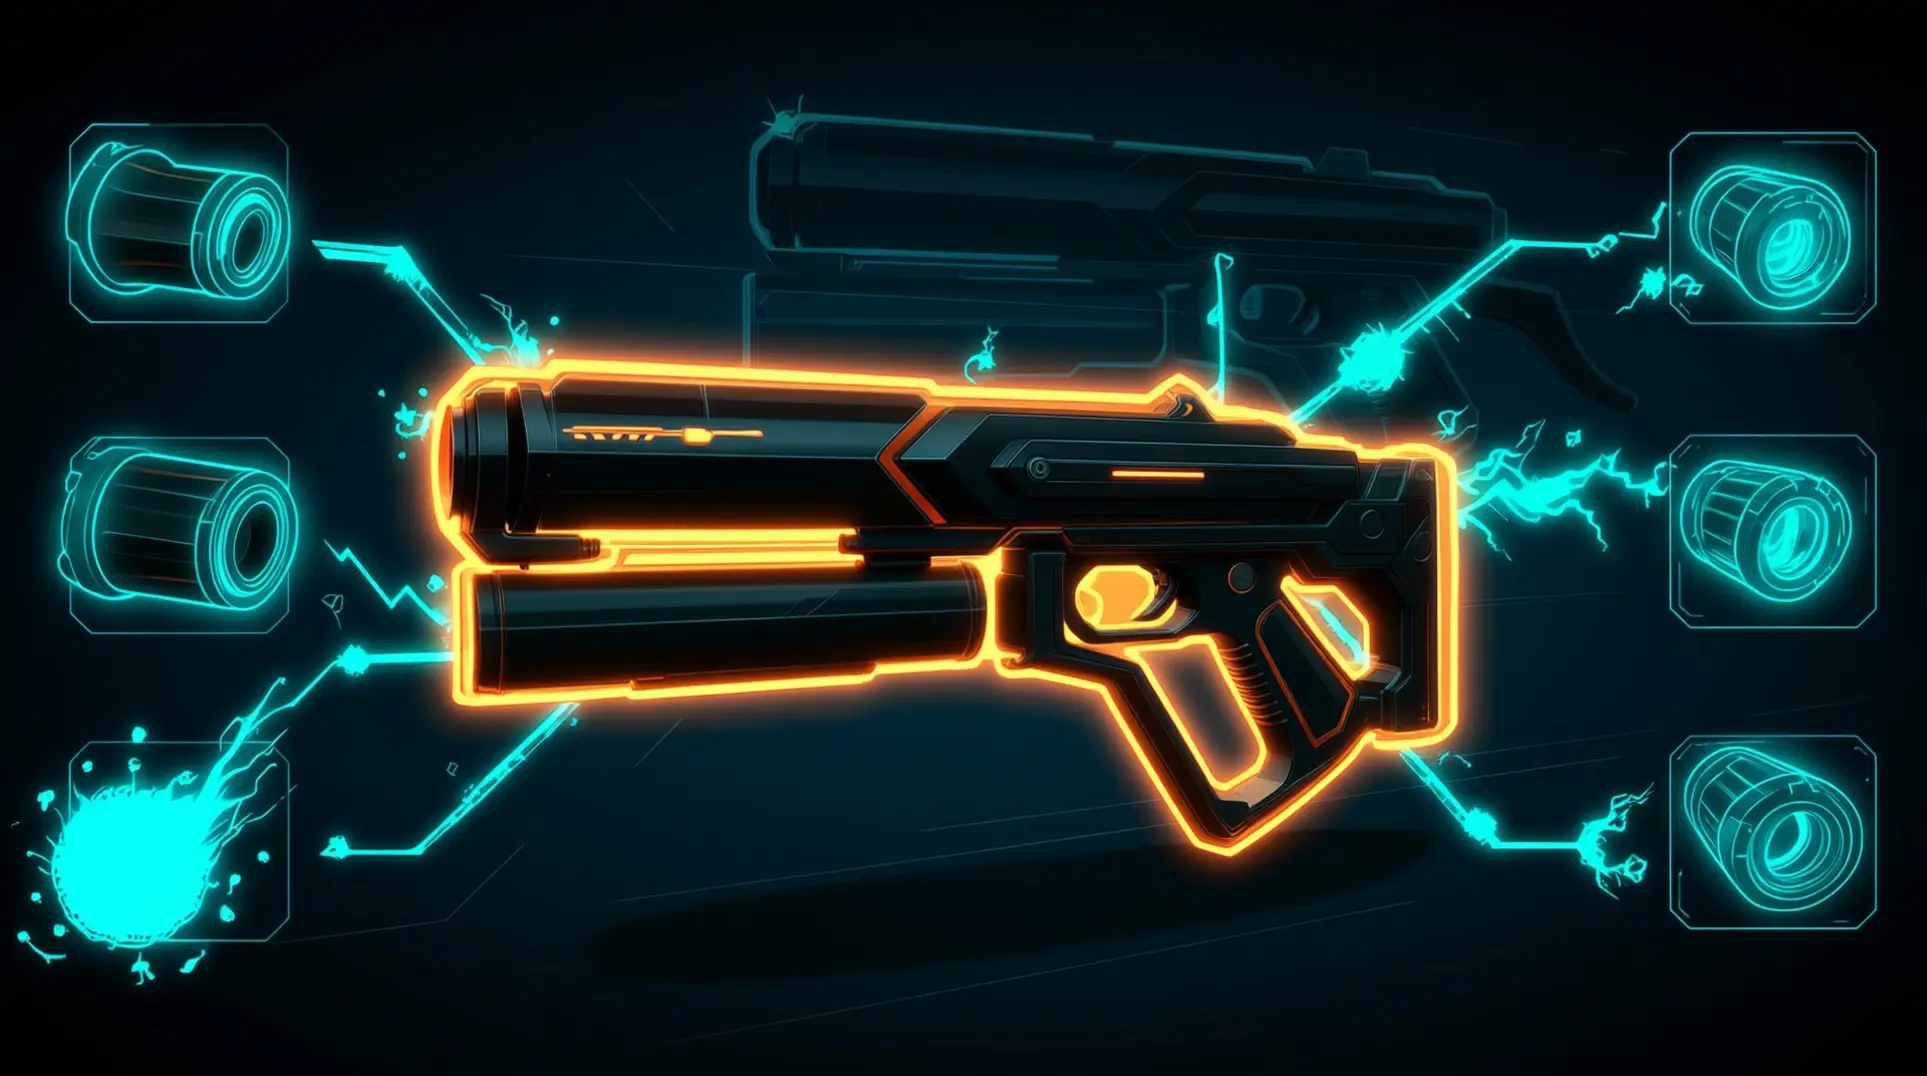
The 5 Mod Part Types and Their Functions
To really make your weapons sing, you need to understand the five types of mod parts you can slap on them. It all starts with Barrel mods, which fundamentally change how your gun fires. A Reinforced Barrel might boost your range and calm the recoil, but if you want to get aggressive, a Sawed Off Barrel lets you fire on the move at the cost of stability.
From there, Add-On mods completely reimagine a weapon's purpose. You're not just tweaking stats here; you can convert an entire gun to a new damage type with a Frost Converter or Plasma Barrel, or rework its firing mechanics into a deadly 3-round burst with Accelerated Bursts, which even ramps up your crit chance.
On the other hand, Optic mods are all about precision. These range from simple hologram sights that grant a modest 1.25x zoom and a bit of extra weakspot damage, all the way to powerful Telescopic Sights offering 2.5x magnification and tamed recoil for long-range dominance. How you hold the gun matters just as much, which is where Grip mods come in. They don't just improve handling; a Combat Grip can add a devastating cone of damage to your power attacks, while a Utility Grip is a straight-up damage dealer, pumping your crit chance and crit damage through the roof.
Finally, if you prefer getting up close and personal, Attack mods are for your melee weapons. These are where you apply brutal status effects, transforming a simple weapon into a tool of terror with a Serrated Blade that inflicts Bleed or a Heavy Head that Stuns enemies on your charged attacks.
How Mods Interact with Weapon Types
Here's the part that trips everyone up: mods aren't universal. You can't just take a mod from your rifle and slap it on a pistol and expect it to work. Every single mod has strict requirements for a specific weapon type, category, and slot, and this goes double for unique weapons, which often have their own special rules and might reject mods that work on their standard counterparts.
So, how do you figure out what goes where? Luckily, the game gives you a foolproof way to check. Just hit up a workbench and select the weapon you want to modify. The modification menu will do the work for you, only displaying the compatible mods in the center panel. You'll see exactly what works, what doesn't, and get a detailed description of the effects before you commit.
If you can't craft what you need, your only other option is to hunt for better gear at vendors. The game uses a tier system, meaning high-end, powerful mods are locked behind vendors in more dangerous, high-level locations. You'll need to progress and take on tougher challenges to gain access to the best weapon modification vending machines.
The Outer Worlds 2 Weapon Mod Synergy Combinations
Alright, let's talk about turning your sniper rifle into a ghost's whisper and your sidearm into the hammer that breaks the glass. The right weapon mod combinations are how you go from just playing the game to dictating its pace.
Core Weapon: Sniper Rifle Mod Combinations
This build is all about being unseen, unheard, and incredibly lethal from a distance. The goal here is the one-shot, one-delete playstyle.
Start with the Sniper Rifle Telescopic Sight. This isn't just a 2.5x scope; it's your foundation. It provides the magnification needed to line up headshots from across the map while also taming the recoil, which is crucial for staying on target.
Now, let's make it silent. The Sniper Rifle Silencer is what really makes this build sing. It doesn't just muffle the shot; it cranks up your sneak attack damage, meaning your first shot from the shadows will absolutely devastate unsuspecting foes. This is the core of your damage loop.
But what if they're grouped up? This is where the synergy gets beautiful. Swap in a Shock Barrel. This changes your damage type to Shock, which doesn't just hit your target—it chains to nearby enemies. This is incredibly effective against groups of robotic enemies, letting you thin the herd from a safe distance before they ever know where you are.
Secondary Weapon: Heavy Revolver for Close Quarters
Your rifle is for perfection, but let's be real: plans fall apart. When the enemy closes the distance and your stealth is blown, you need a panic button.
This is where a Heavy Revolver comes into play as your emergency room clearer. You need to tailor it for desperate, close-to-medium range fights, and that starts with the Prism Sight. Its 2.0x magnification is perfect for snapping onto enemy weakspots in a hurry, and the reduced sway makes those panicked shots more likely to connect.
To make this combo actually work at more than point-blank range, you need the Reinforced Barrel. It buffs the gun's effective range and reduces the recoil, which means you can actually hit something beyond five feet away. It turns a situational panic weapon into a legitimate and terrifying fallback strategy.
Skill & Perk Synergies
All that fancy hardware is worthless without the skills to back it up. This build is extremely skill-dependent, but the payoff is absurd damage output.
You absolutely must pour points into Long Guns, Sneak, and Science. Maxing Long Guns is non-negotiable, as it directly buffs your sniper's damage, range, and, most importantly, its weakspot multiplier. You also need to max Sneak, because that's what enables the insane sneak attack multipliers that this entire strategy is built around. Finally, Science is your key here; it's not just for unlocking the weapon mods we just talked about, but it also provides a critical damage bonus through your gear.
Now, pour gasoline on the fire with the right perks. The Sharpshooter perk is the best-in-slot for this build, literally doubling your sneak attack damage and adding a massive +30% to weakspot damage on top of that. To finish it off, grab Trophy Hunter. The +5% critical damage is nice, but the real prize is the extra +15% against unique, high-health targets—that's what'll let you one-shot the bosses you really want to delete from the map.
The Lead Wall: Sustained DPS Machine Gun Build
Alright, let's talk about turning yourself into an unstoppable lead-spewing monument. This build is all about constant, overwhelming pressure, forcing your enemies into a corner with an endless stream of bullets.
Primary: Heavy Machine Gun with Full Cylinder Setup
The heart of this setup is a Heavy Machine Gun, a weapon designed from the ground up for sustained fire. To keep that pressure dialed to the max, you need the Heavy Machine Gun Advanced Mag. This add-on boosts your magazine capacity and adds penetration, which means you won't have to stop for a reload and can shred through enemy armor like it's paper. Unfortunately, heavy guns like this usually make you a slow-moving target, but that's where the Heavy Machine Gun Sawed Off Barrel comes in. It dramatically improves your handling and mobility, letting you keep your aim on target while strafing to avoid incoming fire.
Backup: Autospray SMG for Mobility
Let's be real, sometimes the enemy is going to rush your position, and your main gun won't be enough. For those "oh crap" moments, you'll need an Autospray SMG as your backup. To make this weapon absolutely terrifying, you're going to mod it with the Double Barrel and Explosive Rounds. The Double Barrel mod doubles your fire rate and pellet count, and the Explosive Rounds turn every shot into a mini-grenade. When a group of mobs gets too close, switching to this shotgun-blast-from-an-SMG will clear them out in a flash, buying you the space you need to get back to your main strategy.
Armor & Companion Synergies
This playstyle means you're going to be drawing a lot of fire, so you need a way to sustain yourself. The Self-Repairing Armor Mod is your answer. This mod creates a temporary defensive boost that automatically repairs itself after you haven't taken damage for a few seconds, essentially rewarding you for smart positioning and brief disengagements. To make your targeting even more effective, bring along a Companion who has completed their personal quests and unlocked the Spotter perk. This ability marks and highlights enemies, making it trivially easy to line up headshots and prioritize the biggest threats. With your companion spotting and your Automatic Weapons skill maxed out, you'll become an incredibly efficient and deadly force on the battlefield.
The Elemental Specialist: Science Weapon Loadout
Plasma Build: Burn Damage Over Time
Let's talk about turning your enemies into ticking time bombs. The core of a plasma build is the burn status effect, a nasty damage-over-time effect that chips away at their health. It's perfect for softening up groups or dealing with heavily armored targets, since the damage just keeps coming.
The real strategy starts when you get creative with your weapon mods. Take a Plasma Pistol and slap a Frost Converter on it. The initial plasma hit will start the burn, but the follow-up Chilled effect will slow them to a crawl, making it impossible for them to escape the damage. It's a brutal one-two punch of持续伤害 and crowd control. For your second weapon, try a Plasma Beam Caster with a Shock Barrel. This lets you apply electrocution stacks, and when paired with your plasma DoT, you'll be hitting them with multiple elements at once. To really make this sing, you'll want to pick up the Hot Blooded perk; it's a game-changer that boosts your burn damage and how often you apply it, turning your weapons into true instruments of chemical warfare.
Shock Build: Chain Lightning Specialist
If your idea of a good time is watching a group of enemies seize up and fall over, a shock build is for you. This hands-down disgusting playstyle focuses on applying the electrocuted status effect, which interrupts enemy actions. Stacking this effect eventually leads to full paralysis, leaving your foes completely helpless.
Your loadout should look something like this:
- Shock Assault Rifle with a Reinforced Barrel and Charged Burst for concentrated, high-impact shocks.
- Shock Rifle with a Biomass Converter. While this might seem odd, it's a clever way to start melting armor while you focus on applying shock stacks.
High fire-rate weapons are your best friend here, as they can apply stacks of electrocution faster than almost anything else. For a big single-target boom, keep an eye out for unique weapons like the Feedback Cannon, which has the Sonic Hertz mod to store power and unleash it in a devastating shock burst that can instantly paralyze even the toughest targets.
Corrosive & Frost Hybrid Builds
This is where strategy gets really devious. A hybrid build combines the raw power of corrosion with the tactical advantage of frost, creating a loadout that disarms and disables enemies before you even land the killing blow. It's less about burst damage and more about systematic dismantlement.
First, you have corrosion damage. This builds the 'Vulnerable' status, which directly attacks and weakens enemy armor. If you can push it far enough, the status upgrades to 'Dissolved' and completely strips their armor away, turning a tanky target into a glass cannon. Mods like the Mag-2-Melt are tailor-made for this, stacking corrosion damage incredibly fast. But why stop at just removing their defenses? That's where frost comes into play. By using a Frost Converter on a weapon or leveraging frost-based perks, you apply the Chilled status, which slows their movement and attacks to a snail's pace. The result is a terrifying combination: you first remove their ability to take punishment, then you remove their ability to fight back, leaving them as nothing more than sitting ducks for your squad to clean up.
The Melee Brawler: Close-Quarters Combat Specialist
Defensive Tank: Impact Hammer with Defensive Grip
If you wanna be the unkillable center of attention that your squad rallies behind, this is your build. The core of this setup starts with the Impact Hammer equipped with a Defensive Grip. This specific grip is what makes the whole thing work, giving you a massive 50% damage resistance, but only while you're blocking. This means you can wade into a fight and actively absorb incredible amounts of fire for your team, drawing enemy aggression away from your more vulnerable companions.
But just standing there and taking hits isn't enough; you need to fight back. That's where the Heavy Head mod comes in. This doesn't just increase your power attack damage; its real value is its ability to stun enemies. By combining these two pieces, you create a terrifying frontline bruiser who can tank damage for the team and shut down priority targets. It's a classic, balanced setup for a reason, letting you control the chaos of a fight like a true tank.
Stealth Assassin: Sentry Blade Covert Build
Prefer to be a ghost rather than a tank? The Sentry Blade with a Covert Grip is the ultimate tool for silent takedowns. The concept here is beautifully sinister: every time you score a kill from stealth, this grip automatically camouflages you, letting you chain eliminations without ever revealing your position. You can effectively wipe out an entire encampment one by one, leaving them confused and terrified.
Unfortunately, this isn't a mod you'll just find lying around; you have to earn the recipe. The Covert Grip is a specific reward for completing the side quest "The Routine Reconnaissance of Rarefied Resources." Once you've got that, you can focus on making your hits count. This is where your choice of blade mod comes in, letting you customize your weapon for your preferred playstyle:
- Serrated Blade: This mod adds a nasty damage-over-time bleed effect, which is perfect for hitting a target and then letting them bleed out while you move on to the next one.
- Frost Blade: Alternatively, you can use the Frost Blade mod to slow enemies, making it much easier to land follow-up attacks or reposition if you're spotted.
Elemental Melee: Plasma Cutter & Trip-Blade Combos
Sometimes, brute force or stealth doesn't cut it, and you need to hit enemies where they're weakest. That's where elemental damage comes in, turning your melee weapons into specialized tools for obliterating specific enemy types. These builds are high-skill but incredibly effective when used correctly. Here are two examples of how to weaponize enemy weaknesses:
| Weapon Combo | Why It Works |
|---|---|
| Plasma Cutter with Shock Blade + Focus Grip | The Shock Blade converts your damage to electricity, which absolutely shreds robotic enemies. Paired with the Focus Grip, which restores energy on power attacks, you can keep up a relentless assault. |
| Trip-Blade with Plasma Blade + Utility Grip | The Plasma Blade mod changes your damage type to plasma, making it devastating against organic targets. The Utility Grip improves your critical chance and damage, ensuring you get the most out of each hit. |
The Versatile Hybrid: Adaptive Combat Loadout
Primary: Burst Assault Rifle with Tracing Unit
Your go-to problem-solver is a Burst Assault Rifle, and let's be real, what makes it truly dangerous is the Tracing Unit mod. This is the core of your whole strategy. When you land a shot on an enemy's weakspot, the Tracing Unit paints them for your companions, which means your squad can focus fire and take down priority threats with terrifying efficiency. The burst-fire mode of the rifle already helps you land those crucial weakspot hits, but you can push this even further by adding a Plasma Barrel for some nasty elemental damage. To top it all off, slap on a Prism Sight to make weakspots pop. If you can't find this mod, it's a Common rarity recipe, so just keep an eye out for it at your nearest workbench.
Secondary: Bio-Mass Shotgun for Close Range
When things get up close and personal, you'll want the Bio-Mass Shotgun ready to go. The beauty of this weapon is how you can adapt it on the fly with different mods for the situation. If you're staring down a single, beefy elite, the Charged Burst mod is your answer. It lets you charge up a massive volley of shots that can melt a high-health target's armor. On the other hand, when you're swarmed by a crowd of weaker enemies, switching to the Hextuple Barrel turns the gun into a crowd-control nightmare, spreading a devastating cloud of projectiles. You can't have both mods equipped at the same time, so think of them as tactical tools for different problems. A Reinforced Barrel is a solid, reliable choice if you want a consistent damage boost without relying on a specific mod.
Skill Distribution & Perk Selection
To make this hybrid build truly sing, your skill points need to support its flexibility. Your main combat skill should be Long Guns, since that's your primary damage dealer. Don't sleep on Science, though; it's the key to making your weapon mods cheaper and more effective, directly boosting your elemental damage with perks like Laser Hacker. Finally, sprinkle some points into Handguns to cover your bases with a secondary firearm.
Your perk selection should focus on breaking enemy defenses and enhancing your adaptability.
- The Tougher They Are and Penetrating Shots are non-negotiable for shredding armor and health pools, regardless of what weapon you're using.
- To tie your whole strategy together, grab Quick Swap. Being able to instantly switch between your rifle for mid-range and your shotgun for close-range threats is what makes this loadout so deadly.
The Companion Commander: Support-Focused Loadout
Weapon Mods for Companion Synergy
Alright, let's be real: the heart and soul of this entire build is the Tracing Unit weapon mod. This thing is an absolute game-changer. When you land a shot on an enemy's weakspot, it marks them so you can track their location through walls, and it gives a flat +15% damage boost against them from all sources. This isn't just a bonus for you; it's a giant neon sign for your companions.
This is where the strategy clicks into place. That mark supercharges specific companion abilities, creating devastating combos. For example, Vicar Max's Discipline perk grants him stacking critical chance on weakspot hits, which you're now landing constantly. The same goes for Nyoka's Snipe ability, allowing her to one-shot priority targets when they're marked. To make the whole machine run even smoother, you should run a companion with the Spotter perk. It doesn't just reveal enemies on your minimap; it also lowers the enemy's detection radius, which means you can get the drop on them and set up these powerful plays without alerting the entire base.
Companion Weapon Modding Strategy
Okay, you're marking targets and setting up plays, but your companions need the right gear to execute. This is how you mod their weapons to match their roles and turn your crew into a real threat.
- For DPS Companions (like Vicar Max): Your go-to is the Ballistic Overdrive mod kit. This viciously increases their rate of fire and boosts their weakspot damage, which directly benefits from the marks you're placing with the Tracing Unit.
- For Tank Companions (like Parvati): Don't neglect your frontline. A Reinforced Plating mod kit is essential. It heavily boosts their armor and, more importantly, reduces their threat generation, letting them soak up damage while you and your other companions safely pick off marked, high-value targets.
- Universal Mod Kits: The Adaptive Mod Kit is incredible for this build. It grants a flat +10% damage against any target that has been marked, which is a universal damage boost for any companion you have equipped.
- Exploiting Weaknesses: Don't forget about elemental damage. Slapping on Plasma, Shock, or Corrosive mods to counter specific enemy types can be a massive force multiplier, letting your AI companions punch way above their weight class.
By properly modding your companions' gear, you stop treating them like AI followers and start commanding a coordinated strike team.
Leadership Skills & Perk Combinations
This whole setup falls apart if your own character doesn't have the skills to back it up. This build is completely dependent on you maxing out the Leadership skill tree. Period. This is what passively increases your companions' base health and damage, which is the foundation of their effectiveness. From there, you're investing in skills and perks that make their abilities more frequent and powerful.
| Skill/Perk | What It Does | Why It's Critical |
|---|---|---|
| Inspiration | Reduces companion ability cooldowns and increases their damage. | Lets your team use their powerful abilities way more often. |
| Determination | Increases companion health regeneration. | Keeps your squad alive through prolonged, brutal firefights. |
| Inspiring Commander | Fills companion ability meters by 5% per party kill. | Chains kills together to rapidly prime your companions' next abilities. |
| Rolling Thunder | Reduces companion ability cooldowns by -20% for each of your kills. | Synergizes with the above perks for near-constant ability uptime. |
| Determination Master | Grants +50% health per kill for companions. | Your entire party becomes exponentially more durable as you clear the room. |
Choosing these skills and perks isn't just about stacking numbers. It fundamentally transforms your role from a simple shooter into a true commander on the battlefield, making your entire party the most dangerous crew in the system.
Advanced Mod Acquisition & Optimization
Key Vendor Locations for Build-Specific Mods
Alright, let's talk about where to actually find the mods that will define your build. You can't rely on luck; you need to know which vendors to camp. If you're searching for high-impact mods like the Telescoping Staff Defense Grip or the Trip-Blade, your search is focused on two key locations: the vending machines in Matriarch's Mercy and those at Free Market Station. Both places stock these specific, powerful upgrades, so if one is a bust, check the other.
Now, for something a bit different, the ACS Undisputed Claim is a unique hub with several vendors, including an "Unrelated Bric-a-Brac" merchant who deals in unique weapons. While not a direct mod source, it's worth a look if you're searching for a one-of-a-kind base to modify. You might notice a theme here; Free Market Station itself is built from the wreckage of an Auntie's Choice freighter, a corporation that rose to power after a hostile takeover. It's a grim reminder that even in the market for weapon parts, you're dealing with the fallout of corporate wars.
Mod Tier System & Progression
This game does something completely backward with its mod tier system, and you need to understand it to avoid crippling your build. Forget what you know from other games. In The Outer Worlds 2, Tier 1 mods are the most powerful, while Tier 5 are the weakest. This isn't a gradual upgrade path where you move from Tier 5 to Tier 1; it's a scavenger hunt for the best from the very beginning.
So, what does this mean for your progression? It means you should be hunting for Tier 1 mods at all stages of the game. A Tier 1 mod you find in Act 1 will remain superior to any Tier 2, 3, 4, or 5 mod you find for the rest of your playthrough. Don't "settle" for a weaker mod assuming you'll get a direct upgrade later. Your goal from day one is to find the best possible version, and that means prioritizing Tier 1. While you're obsessing over your gear, don't forget your companions do their own scaling, gaining upgrade options at levels 5, 10, 15, 25, and 30, so keep an eye on their progress, too.
Crafting & Dismantling for Mod Components
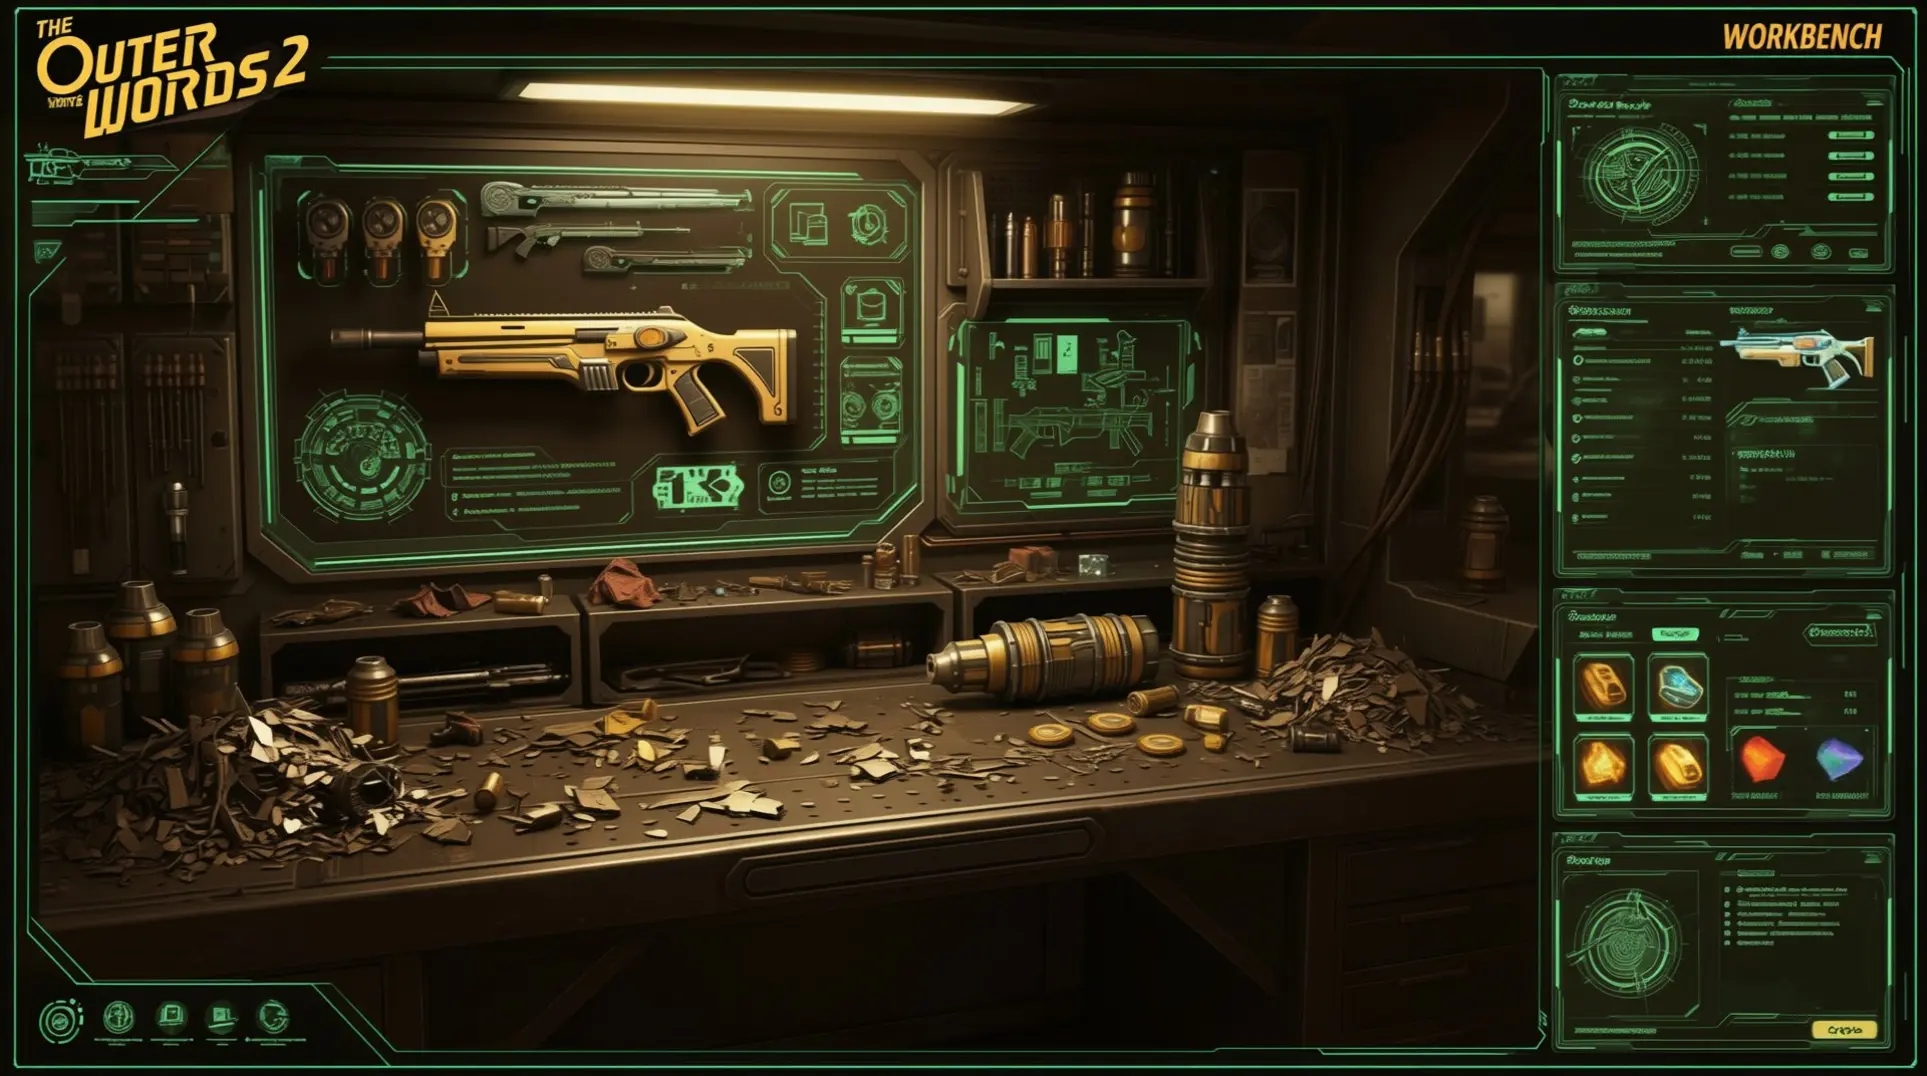
When vendors let you down, it's time to get your hands dirty. Your primary tool for this is the Crux 2000 Workbench. This is where you'll tinker, repair, and, most importantly, break down gear. The game's crafting system isn't about building whole weapons; its focus is on creating mods, consumables, and other utility items.
To get the components you need, you'll dismantle unwanted gear. This process turns a weapon into Weapon Parts and armor into Armor Parts. Before you start scrapping everything, you need to know two critical things. First, items the game has automatically flagged as "junk" are generally safe to sell directly—you don't need to dismantle them. Second, and this is a major warning, there is a nasty bug. If you attach a mod to a weapon and then scrap or auto-junk that item, the game can permanently delete the mod you installed. It just vanishes. So, be extremely careful with any gear you've personally modified and always remove your mods before breaking down the base item.
Loadout Summary Tables
Sniper/Stealth Loadout Summary
| Loadout Component | Details |
|---|---|
| Primary | Sniper Rifle |
| Primary Mods | Telescopic Sight + Silencer + Shock Barrel |
| Secondary | Heavy Revolver |
| Secondary Mods | Prism Sight + Reinforced Barrel |
| Key Skills | Long Guns, Sneak, Science |
The core of this build is staying unseen and eliminating threats from a distance. Your Sniper Rifle needs a Telescopic Sight, which you can find at places like Matriarch's Mercy, because it provides a massive 2.5x magnification and, more importantly, reduces recoil. This means you can land your first shot and quickly line up a follow-up without your aim jumping all over the place. To maintain your stealth, you'll pair that with a Silencer, which completely suppresses the noise, so nearby enemies won't be alerted when you take down their friend.
For when things get too close for comfort, your Heavy Revolver is your get-out-of-jail-free card. The Prism Sight might not be for sniping, but it drastically improves your aim-down-sights speed, allowing you to acquire targets instantly in a panic. Slap on a Reinforced Barrel, and you get a huge boost to the weapon's base damage while also stabilizing the recoil, making it a deadly and reliable sidearm.
DPS/Suppression Loadout Summary
| Loadout Component | Details |
|---|---|
| Primary | Heavy Machine Gun |
| Primary Mods | Advanced Mag + Plasma Barrel + Sawed Off |
| Secondary | Autospray SMG |
| Secondary Mods | Double Barrel + Explosive Rounds |
| Key Skills | Automatic Weapons, Determination |
This playstyle is all about aggressive, in-your-face pressure, and it starts with the Sawed Off Barrel for your Heavy Machine Gun. This insane mod, which you can snag at The ACS Undisputed Claim, lets you keep firing even while you're sprinting, sliding, or mantling over cover. The trade-off is a massive increase in recoil and spread, but who cares when you're a literal blur of death? To really capitalize on the chaos, load Explosive Rounds, which add an area-of-effect element to every bullet, allowing you to suppress and damage entire groups of enemies at once.
Your Autospray SMG serves as the rapid-fire cleanup crew. Equip it with a Double Barrel mod, which doubles the number of shots fired with each pull of the trigger. When you combine this with Explosive Rounds, every trigger press unleashes a horrifying barrage of miniature explosives that will melt even the toughest clusters of enemies in seconds.
Elemental/Science Loadout Summary
| Loadout Component | Details |
|---|---|
| Primary | Plasma Pistol |
| Primary Mods | Frost Converter + Silencer |
| Secondary | Shock Rifle |
| Secondary Mods | Biomass Converter + Reinforced Barrel |
| Key Skills | Science, Hack, Engineering |
If you'd rather debilitate your enemies before they can even fight back, this elemental synergy is for you. Your first step is to grab a Frost Converter for your Plasma Pistol, which you can find on Matriarch's Mercy. This changes your damage type to Frost, applying a Chilled effect that slows enemies' movement and attack speed to a crawl. It's the ultimate crowd control tool, making every target an easy shot.
While they're frozen helpless, you bring in the Shock Rifle with a Biomass Converter. This nasty mod swaps the weapon's damage to Corrosive, which stacks a Vulnerable status effect on your target, drastically reducing their armor. Using a Reinforced Barrel here is key because it doesn't just increase the weapon's base damage—it makes your Corrosive application more potent, ensuring you shred through enemy defenses as quickly as possible. The combination of Frost and Corrosive is a brutal one-two punch that is exceptionally effective against heavily armored foes.
Mastering weapon mod synergy transforms you from a simple scavenger into a tactical force. From silent sniping to elemental devastation, the right combination of parts, skills, and strategy lets you dictate every fight. Now, head to a workbench, apply these principles, and forge your own path to victory.
More the-outer-worlds-2 Guides
The Ultimate Weapon Modding Guide for The Outer Worlds 2: Builds & Synergies
Master weapon customization in The Outer Worlds 2 with our complete modding guide. Learn synergistic builds, playstyle loadouts, and mod combinations for maximum combat effectiveness.
The Outer Worlds 2 Workbench Guide: Complete Crafting, Mods & Resource Management
Master The Outer Worlds 2 workbench system with our complete crafting guide. Learn essential recipes, weapon mods, armor upgrades, and resource management strategies to dominate combat in Halcyon.

The Outer Worlds 2: The Ultimate Scrap Economy Guide
Master the breakdown system in The Outer Worlds 2. Learn top farming routes, essential perks like Innovative and Scrapper, and advanced strategies to turn junk into victory.
AI Tactical Companion
Consult with our specialized tactical engine for the-outer-worlds-2 to master the meta instantly.