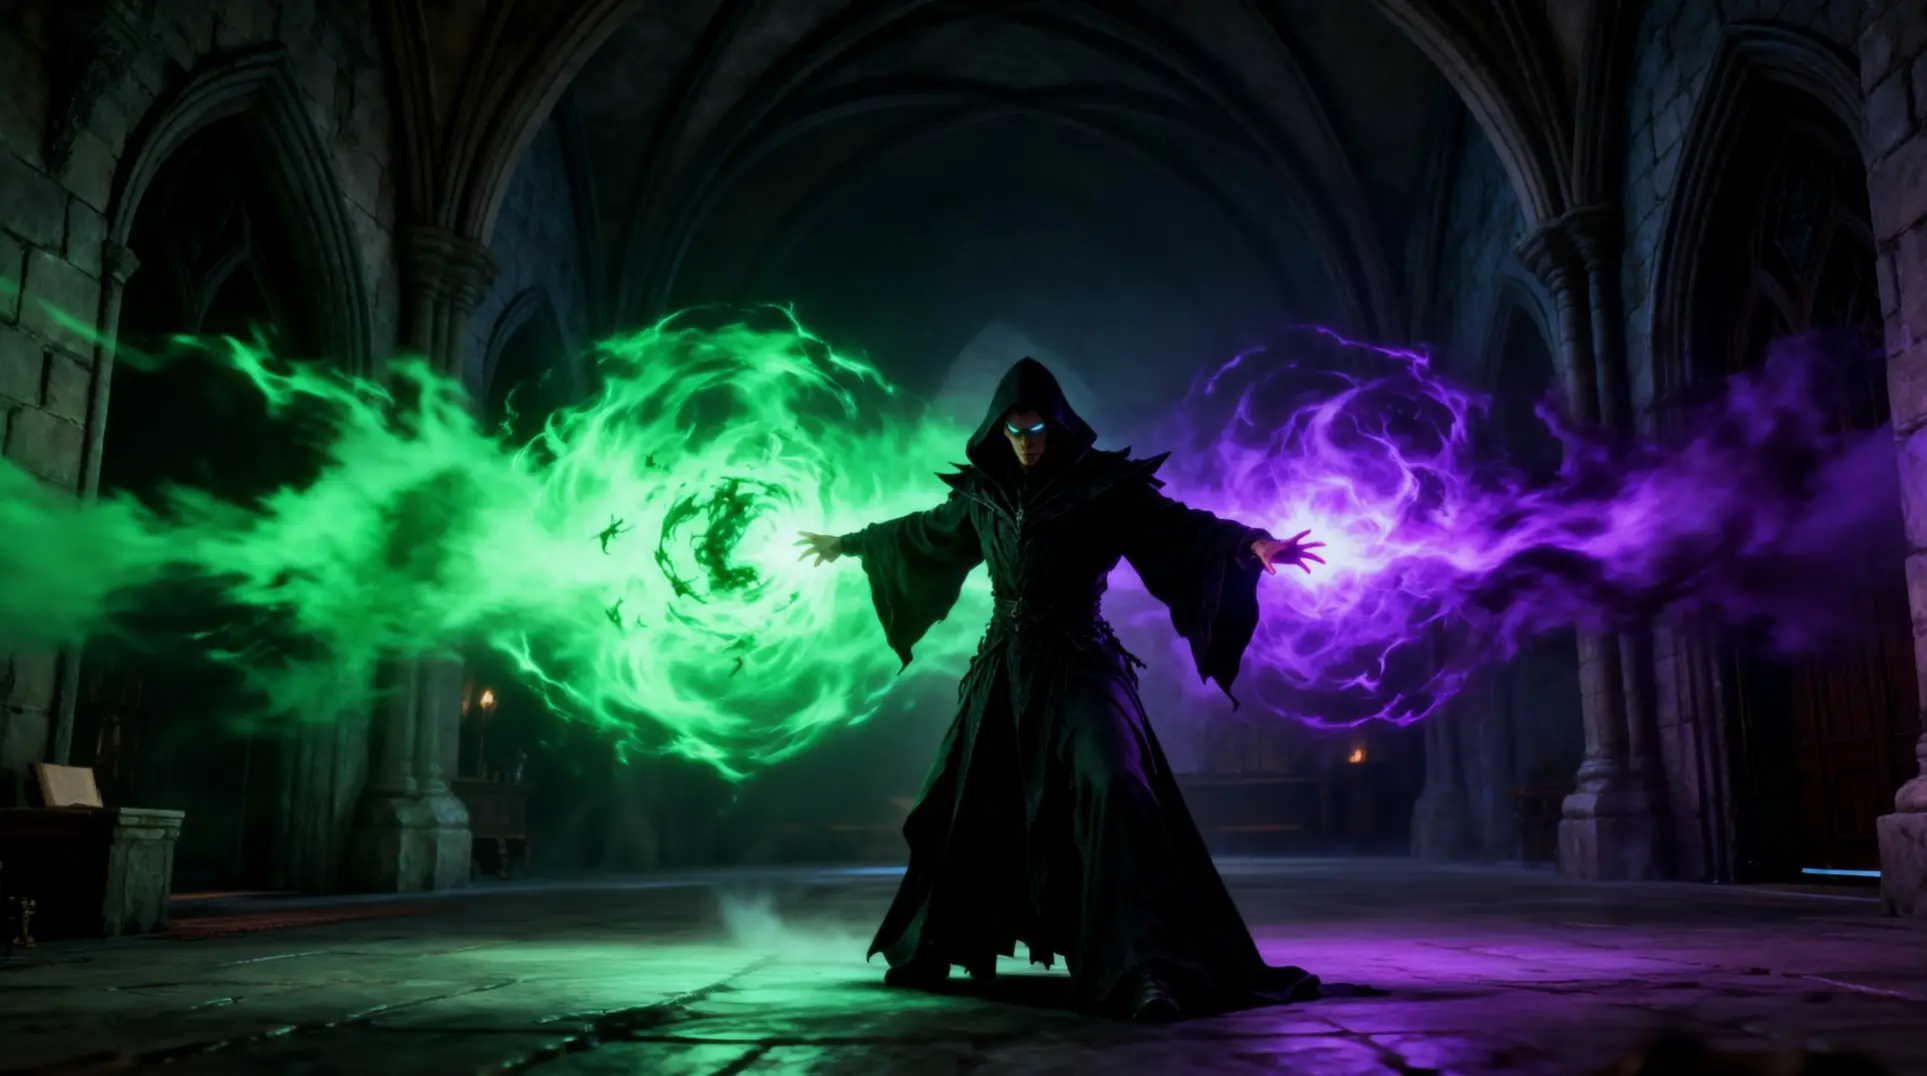
Hogwarts Legacy Hard Mode Guide: Builds, Talents, and Survival Strategies

Hard Mode in Hogwarts Legacy isn't just a difficulty bump - it's a brutal test of your build and strategy. Enemies hit harder, your damage is nerfed, and every talent point becomes a life-or-death decision. This guide breaks down the essential talents, gear, and combat fundamentals you need to survive and dominate the toughest challenges.
Hard Mode Fundamentals: What Changes in The Collected Edition
Combat Adjustments You Must Master
The jump to Hard mode isn't just a numbers game, but the numbers definitely hit harder. Enemies start dealing 1.3x damage while cranking up their aggression - Dark wizards will chain-cast spells at you without mercy, and Ashwinders turn into Olympic-level dodge champions. You'll feel the difference immediately in every duel.
Here's the good news that might surprise you: the parry window for Protego stays the same at roughly half a second, which means you can still block almost everything once you've internalized the visual tells. Unfortunately, that generous timing gets tested by the sheer volume of attacks, so you can't afford many mistakes.
If you're diving into community mods, things get even spicier. The 'Enemy Balance' mod compresses that parry window down to about 0.40 seconds, while 'Harder Mode(s)' bumps enemy damage to 2x and drops their health to 0.8x, making fights quicker and deadlier for everyone. Some overhauls like Hogwarts Ultimate add stamina penalties for dodge spam - after three consecutive rolls you'll be locked out for 1.2 seconds with a 60 stamina pool - which makes parrying the safer route, but you'll need to nail that tighter timing.
Talent Point Economy: 36 Points, 48 Talents
Let's talk about the math that'll haunt your entire playthrough. You'll finish with exactly 36 talent points, but there are 48 separate talents spread across five trees. That's not a typo - you're forced to leave 12 talents untouched, so every single choice permanently locks you out of something else. No respec, no take-backs.
The five talent trees break down like this:
- Spells: Raw damage and utility upgrades
- Dark Arts: Unforgivable curses and curse synergy
- Core: Universal QoL (Ancient Magic, Basic Cast, Protego)
- Stealth: Sneak attacks and detection avoidance
- Room of Requirement: Potions, herbology, beast harvesting
The system doesn't chain prerequisites, but you must hit level gates at 5, 16, and 22 to access higher-tier talents. This means you're free to pick whatever you want - within those level restrictions - but mathematical inevitability forces specialization over generalization.
For Hard mode, you'll want to prioritize a universal core package that most builds agree on, which already eats up around 18 points: Spell Knowledge I, II, III for extra spell slots; Basic Cast Mastery and Protego Mastery; Stupefy Mastery and Expertise; plus Protego Absorption. If you're going Dark Arts - and let's be honest, it's Hard mode so you might want the edge - Crucio, Imperio, and Avada Kedavra Masteries plus Curse Sapper chew through another 6 points. That leaves you with barely enough to dip into one other tree, so choose your identity early and commit.
Hard Mode Survival Essentials: Universal Talents & Gear
Hard Mode hits different. Enemies don't just hit harder - they become combo machines that'll delete you in three seconds flat if you're not prepared. This isn't about learning patterns; it's about stacking every possible advantage. Here's what you absolutely need to survive.
Mandatory Defensive Talents
You can't dodge everything, so your block game needs to be generating resources while keeping you alive. These three talents aren't optional on Hard - they're the foundation.
| Talent | What It Does | Why It's Non-Negotiable |
|---|---|---|
| Protego Absorption | Perfect blocks feed your Ancient Magic meter | Meter cycling is your main damage phase, so wasted blocks mean longer fights |
| Protego Expertise | Perfect blocks blast enemies for free damage | You need every bit of damage you can get while staying defensive |
| Wiggenweld Potency | +25% heal per potion (stacks to +50%) | Ranrok's AOE can take 70% of your health; weak potions won't cut it |
Critical note: Wiggenweld Potency II stacks with the first rank, so grab both. Without them, you're chugging two potions just to recover from one mistake, which leaves you vulnerable.
Gear Optimization for Hard Mode
Here's where most players mess up: they see a Legendary drop and equip it immediately. Bad move. A Rare item with Imperius Resistance III will save your life against Dark Wizards, while a Legendary without it is just a shiny coffin.
Your Hard Mode Gear Priority:
- Imperius Resistance III on every armor piece (45% curse damage reduction)
- Protego Shielding III for 30% damage reduction while blocking
- Combined mitigation reaches 55% when stacked with talents
- Never let gear drop more than 2 levels behind your character
- You'll get the Enchanted Loom after 'The Elf, the Nab-Sack, and the Loom'
- Only weave traits into Legendary gear - lower tiers aren't worth the resources
The Enchanted Loom is your best friend here, but it shows up mid-game. Until then, prioritize traits over rarity and keep upgrading.
Potion & Plant Strategy for Hard Fights
Let me be blunt: if you're not using potions on Hard Mode, you're trolling yourself. Thunderbrew and Maxima aren't buffs - they're mandatory damage checks. The trick is stacking them correctly.
| Situation | What You Need | How to Execute |
|---|---|---|
| Camp Assault | Maxima → Thunderbrew | Drink Maxima first to snapshot +50% damage onto the 6-second vortex |
| Boss DPS Window | Maxima → Spell combo | Pop it before Ancient Magic combos; 20 seconds covers 2-3 casts |
| Emergency Escape | Invisibility Potion | 10 seconds of true invisibility to heal, reposition, or get a Petrificus Totalus opener |
Thunderbrew deals ~120 damage per second and stunlocks entire groups. Maxima buffs that damage by 50% for 20 seconds. Invisibility is your get-out-of-jail-free card when you pull too many enemies. These aren't optional - they're your rotation.
Build Progression: Early to Late Game Talent Path
Levels 5-16: Foundation Talents
Your first 12 talent points need to build a foundation that actually keeps you alive while giving you tools to deal damage. At level 5, pick up Human Demiguise so you can sprint while invisible, which means repositioning for stealth kills or just escaping when things go sideways. Level 6's Petrificus Totalus Mastery is where stealth gets disgusting - you can chain-kill two nearby enemies, which lets you clear entire outpost patrols without ever entering open combat.
Once you hit level 7, Basic Cast Mastery drops your cooldown to 0.8 seconds, so your filler spell stays spam-able even when you're tapped out on mana. At level 8, Protego Absorption is mandatory - it gives you +20 Ancient Meter on every perfect block, which is hands-down the fastest way to build Ancient Magic on Hard mode.
Level 9's Ancient Magic Throw Expertise increases throw damage by 50%, letting you one-shot mongrels and spiders while saving your full Ancient Magic charges for captains. Then level 10's Levioso Mastery gives you AoE suspend, which groups up 3-4 melee grunts for a follow-up Bombarda or Glacius shatter combo.
From here you start ramping up. Incendio Mastery at 11 turns your flame vortex into a double-hit that deletes shield-skeletons in those narrow goblin trenches, while level 12's Confringo Mastery gives you a double-impact fireball - your best long-range opener against archers when you can't close the gap.
Ancient Magic Hotshot at 13 is a game-changer: an extra charge means you'll walk into every boss fight with two full bars, which equals a guaranteed 50% HP delete on Hard trolls and absconder spiders. At 14, Stupefy Mastery cranks your block-counter damage to +200%, letting you kill most grey-tier enemies with a perfect Protego alone.
Revelio Mastery at 15 is pure QoL - 50m range through walls reveals every collection chest, balloon, and field-guide page without you having to spam the spell repeatedly. Finally, level 16's Bombarda Mastery doubles the explosion radius, making it your go-to finisher for those five-man poacher packs south of Hogwarts.
Levels 17-28: Specialization Phase
Once you hit level 17, you're done with the basics and it's time to hard-commit to a specialization. The Spell-Weaver path eats 16 points but completely defines your mid-game power - you'll want Basic Cast Mastery, Levioso Mastery, Accio Mastery, Incendio Mastery, Confringo Mastery, and Bombarda Mastery. This turns you into a combo machine where you Accio a group, suspend them with Levioso, double-tap Incendio, spam Basic casts until Bombarda resets, then cleanup with Confringo. That's your field loop for deleting five-man poacher packs.
But offense means nothing if you're dead, so you also need the Survivor's Ward package (8 points): Protego Mastery, Stupefy Mastery, both Wiggenweld Potency talents, and Ancient Magic Throw Mastery. This keeps your heals chunky and your block-counters lethal enough to matter.
For your remaining points, grab utility flex picks that match your style. Depulso Mastery lets you kick enemies off cliffs for instant kills, Transformation Mastery turns objects into barrel bombs for area damage, and Invisibility Potion Stealth gives you an emergency reset when things spiral. Don't forget gear traits either - farm Puffskein, Kneazle, and Graphorn traits for +20% spell damage, +15% Protego defense, and +10% Ancient Magic damage.
Levels 29-40: Optimization & Min-Maxing
You're in the home stretch now - levels 29 to 40 give you a final talent budget of 36 points total, but only about 12 of those are for true min-maxing. For Core DPS, drop 5 points into Ancient Magic Throw Mastery, Ancient Magic Mastery, Crucio Mastery, Avada Kedavra Mastery, and Imperio Mastery; these are your boss-melters. For Survivability (3 points), grab Protego Mastery, Stupefy Mastery - which costs 2 points - and Enduring Shield to make your blocks last 5 seconds longer. The final 4 points go to Utility: Invisibility Potion Potency for 100% crit from stealth, Edurus Potion Mastery for 5 seconds of damage immunity, Depulso Mastery for environmental kills, and Descendo Mastery for AoE slam on kill.
Your endgame gear needs to hit these targets:
- Crit Chance: 42-45%
- Crit Damage: 180%
- Ancient Magic Focus: 90-100
- Spell Damage: 25%
- Cooldown Reduction: 12-15%
Hit those numbers and you'll walk through Hard mode like it's story difficulty.
S-Tier: Dark Arts Curse Tyrant (Maximum Burst Damage)
This is the build that makes Hard Mode feel like Story Mode, but only if you respect the setup. You're not just casting spells - you're conducting a symphony of curses that wipes entire rooms in one green flash. Here's how it actually plays.
Core Spell Loadout & Rotation
You only need four spells on your bar: Avada Kedavra, Crucio, Imperio, and Confringo. That's it. The magic isn't in the variety; it's in the execution.
The rotation is Crucio → Confringo → Avada Kedavra, and here's why that order matters. Crucio lands first because its Mastery spreads the curse to every enemy nearby, so you're not just tagging one target - you're priming the whole pack. Confringo follows because it hits multiple cursed enemies at once, which refunds cooldowns via your talents and builds Ancient Magic meter. By the time you slam Avada Kedavra, every single cursed enemy is eligible for the chain kill.
And that chain is disgusting. With Avada Kedavra Mastery (level 28), the first kill makes the green lightning bounce to all cursed targets, regardless of distance. On Hard Mode, where enemies are damage sponges, this is your 'delete encounter' button. Imperio is your wildcard - it mind-controls an enemy, and every target they hit gets cursed, which means more fuel for the chain.
Essential Talent Allocation (22 Points)
You've got 22 points, and there's zero flexibility until you hit the capstone. Here's the mandatory priority:
Stunning Curse and Blood Curse at level 5 are your foundation. They make your crowd control and multi-target hits apply curses automatically, which means you're building your kill chain without thinking about it. Next, Disarming Curse (also level 5) lets Expelliarmus tag targets early-game before you have Crucio, feeding both your healing and your eventual Avada chain.
At level 16, you must grab Crucio Mastery and Imperio Mastery. Crucio's AoE curse spread is non-negotiable - without it, you can't prime large packs fast enough. Imperio Mastery extends the mind-control duration and makes your puppet curse even more efficiently.
Curse Sapper at level 22 is what keeps you alive. Every cursed kill restores health, which means on Hard Mode you're basically invincible as long as you maintain your rotation. You won't need Wiggenweld Potency if you're playing correctly.
Finally, Avada Kedavra Mastery at level 28 is your win condition. This is the talent that turns a single-target nuke into a room-wide annihilation. Until you have it, the build functions - but once you unlock it, you're a god.
Gear Traits & Stat Optimization
For traits, you're hunting Unforgivable III first and foremost. It amplifies all cursed damage, which is 90% of your output. Concentration III is your second priority because it buffs all damage spells, including Confringo's role in the rotation. Cruelty III is third, giving Crucio extra punch for the initial curse spread.
Potions aren't optional - they're your execution enablers. Focus Potion cuts spell cooldowns by 50% for 10 seconds, which drops Avada Kedavra to a 7-second cooldown. That means you can chain-cast it in prolonged fights. Invisibility Potion gives you six seconds to open with a guaranteed crit Crucio or reset aggro when you mess up the rotation. For bosses like Pensieve Sentinels or Ranrok - who are immune to Avada's instant death - pop a Maxima Potion for +50% spell damage and burn them down with amplified curse damage instead.
A-Tier: Ancient Magic Demolisher (Non-Dark Arts OP)
Spell Combo: Levioso → Depulso → Descendo Chain
Here's the bread and butter that'll carry you through the entire game: Levioso into Depulso into Descendo. First, you lift them with Levioso, which sets up everything else. Depulso Mastery then kicks in and widens the push angle, so when they're already floating, you're almost guaranteed to slam them into a wall. That wall slam triggers a hidden physics hit worth about half their health on Hard difficulty - it's an impact velocity check the game doesn't tell you about.
But it gets better. Descendo grabs that floating enemy and rockets them straight down, and if the floor is within three meters of a wall - and most arenas are designed this way - they'll ricochet sideways and trigger that same hidden damage packet again. Oh, and the whole chain shatters purple Protego shields since both follow-ups count as force spells, which means you're breaking their guard while deleting their health bar.
Talent Priority for Ancient Magic Generation
Your talent priority is all about fueling that Ancient Magic meter as fast as possible, especially if you're skipping the Dark Arts stuff. You need raw generation to compensate for the damage nerf on Hard Mode.
- Ancient Magic I & II are your foundation, but you absolutely need Ancient Magic Focus too. That +25% meter gain from all sources stacks with Ancient Magic III gear traits, which means you'll be popping finishers way more often.
- Levioso Mastery lets you float multiple targets at once, and when you combine that with Basic Cast Mastery, your Basic Cast bounces to tag a second foe for free meter. More targets, more fuel.
- Depulso Mastery and Descendo Mastery aren't just for damage - they guarantee those wall collisions and physics multipliers we talked about, which feed meter even faster.
- Ancient Magic Throw Expertise adds a mini-AoE when you catch your throw, and if you hit three or more enemies, you're looking at around 8% meter back instantly.
- If you're not running Protego Absorption, Stupefy Mastery becomes your safety net. It doubles meter gain from follow-ups on stunned targets, which is way safer when you can't rely on perfect parries.
Hard Mode Adaptation: Surviving Without Curses
Hard Mode in Hogwarts Legacy isn't just a numbers tweak - it's a complete mindset shift. Enemies hit about 40% harder and you hit 40% softer, which means every mistimed dodge or broken Protego actually matters now.
The Collected Edition bundles Protego Absorption, but you're not forced to use it. Speed-runners will tell you it makes the late game feel trivial, so disabling it brings back that real threat. Unfortunately, that means resource management becomes critical again. You'll need Focus Potions for cooldown reduction, Edurus Potions for shields, and Venomous Tentacula plants for safe damage while you build meter - they all matter now.
Boss fights get trickier without that crutch. You can't bank two Ancient Magic throws per phase anymore, so you'll need an extra cycle of dodging those red-beam AoEs. Only commit your finisher when the target is wall-stunned or airborne - that physics multiplier is non-negotiable for making up your lost damage.
You'll still want Protego Expertise and Stupefy Mastery even without Absorption. They give you that defensive control and still refund meter on parry or stun, keeping you alive while you charge up the big hits.
Specialist Builds: Stealth & Control Archetypes
Stealth Assassin: Zero-Risk Infiltration
The Stealth Assassin lives up to its name by letting you ghost through entire enemy camps without ever starting a real fight. At the heart of this build is Petrificus Totalus, which is one of the few abilities that completely ignores enemy-level scaling and defense, meaning it one-shots every non-boss humanoid on Hard Mode right up to the final missions.
The Collected Edition kicks this into overdrive with Petrificus Totalus Mastery, a Tier-5 talent that converts your single-target spell into a 360° radial blast for chain kills within 8 meters. But you need to get close first, and that's where Human Demiguise comes in - this talent lets you sprint while invisible, so you can gap-close without breaking Disillusionment. Stack Sense of Secrecy I & II to shrink enemy detection radius by up to 40%, and you're basically untouchable.
Your stealth window comes from Invisibility Potions, which start at 10 seconds but hit 17 seconds with the Invisibility Potion Potency talent and can stretch even further with the right gear. The best part? A single dose is enough to reposition between packs and reset the global alert meter, which means you can chain infiltrations without ever leaving stealth. For your cloak, you'll want the enchant that gives Petrificus Totalus Damage +25% - it stacks multiplicatively with the Mastery blast for disgusting damage. Farm ilvl-90+ stealth cloaks and rings at Feldcroft Catacomb from the Coltress quest line.
Cryo-Lightning Controller: Perma-Freeze Lockdown
The Cryo-Lightning Controller turns combat into a frozen meat grinder where enemies never get to act. Your bread-and-butter is simple: Glacius freezes the target and increases follow-up damage, then Diffindo auto-crits on frozen enemies for massive shatter damage.
But the real power comes from the masteries. Glacius Mastery (Tier-4) chains the freeze to a second nearby enemy, while Diffindo Mastery makes your blade hit an additional target, which means you're locking down two threats with one rotation. Keeping this loop going is Basic Cast Air Absorption - a Tier-1 Core talent that reduces ALL spell cooldowns by 0.5 seconds per basic hit, so after 4-5 quick attacks your Glacius and Diffindo are ready again.
Shielded enemies can be a pain, but Levioso Mastery solves that by lifting them and applying a +20% damage taken debuff, setting up a perfect Glacius chain. For AoE, Incendio Mastery provides point-blank burn coverage, while Confringo serves as your long-range red-shield breaker and can detonate frozen targets from safety. You'll want Control I–III traits on your robe to extend freeze duration, and Destruction I–III on cloak and gloves to pump Diffindo damage.
The secret tech is dodge-counter into basic-cast chain - it's the fastest cooldown refund loop, and the iframe window is generous enough on Hard Mode that you can spam it. For bonus XP, finish enemies with aerial Glacius → Diffindo combos since the game counts them as aerial attacks. Maxima Potion is your emergency boss DPS button, but honestly, you won't need Focus Potion when Air Absorption keeps your spells ready.
Mastering Hard Mode requires a ruthless focus on synergy. Whether you're deleting rooms with the Dark Arts Tyrant, controlling the battlefield with Ancient Magic, or ghosting through camps as a Stealth Assassin, your success hinges on optimizing every talent, trait, and potion. Commit to your build, respect the mechanics, and you'll turn the game's hardest content into your playground.
More hogwarts-legacy-the-collected-edition Guides

Hogwarts Legacy Performance Guide 2025: Fix Stutters, Boost FPS & Optimize Settings
Complete optimization guide for Hogwarts Legacy in 2025. Learn how to fix stutters, crashes, and boost FPS with driver updates, graphics settings, mods, and system tweaks.

Hogwarts Legacy Evil Ending: Complete Consequences and Sequel Theories
Explore the full impact of choosing the evil ending in Hogwarts Legacy, including immediate fallout, long-term gameplay, lore implications, and future sequel possibilities.

Mastering the Room of Requirement - The Ultimate Gold & Potion Factory Guide
Transform your Hogwarts Legacy workshop into a hyper-efficient gold mine. Learn the 90-second circuit, vertical layouts, and beast breeding loops to maximize your conjuration budget and profit per minute.
AI Tactical Companion
Consult with our specialized tactical engine for hogwarts-legacy-the-collected-edition to master the meta instantly.