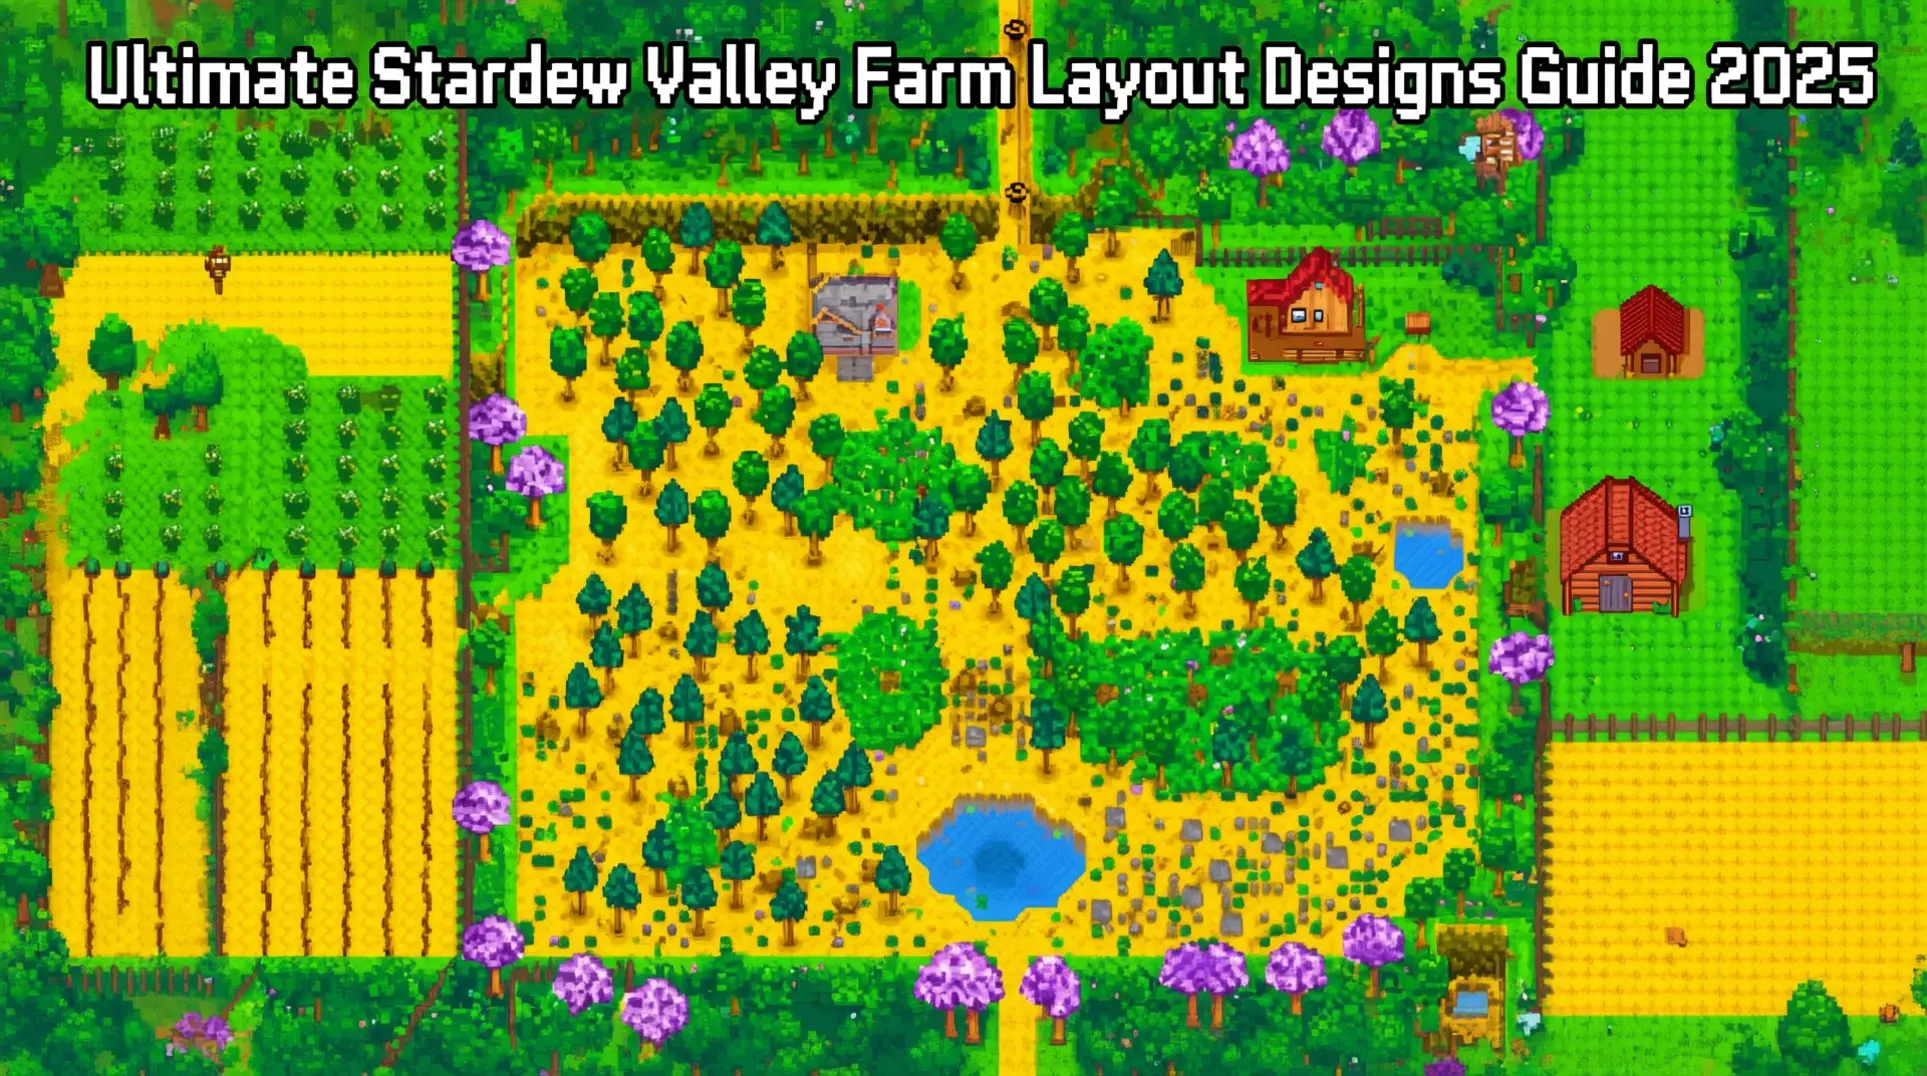
Ultimate Stardew Valley Farm Layout Designs Guide 2025

Creating the perfect farm layout in Stardew Valley is both an art and a science. Whether you're aiming for maximum profit, aesthetic beauty, or functional efficiency, your farm design can dramatically impact your gameplay experience. From choosing the right farm map to implementing advanced optimization techniques, every decision matters in transforming your plot of land into a thriving agricultural paradise.
Foundational Farm Layout Principles
The foundation of any successful Stardew Valley farm is built upon strategic map selection and long-term planning optimization.
Strategic Map Selection
Your very first choice—selecting from eight distinct farm maps—fundamentally shapes every layout decision you'll make. Each map offers unique advantages, from the maximum farming space of the Standard Farm ideal for beginners, to the Beach Farm with its fishing focus and critical sprinkler limitations. This initial decision sets the stage for your entire farming journey, influencing your approach to space, resources, and daily workflow.
Efficient Space Utilization
Once your map is chosen, efficient space utilization becomes paramount. Start by designing crop fields in modular patterns, typically 3x3 or 5x5 grids, to perfectly accommodate sprinkler upgrades.
- Quality Sprinklers cover an 8-tile area.
- Iridium Sprinklers optimize larger 24-tile grids.
Always remember to leave permanent 3x3 clear areas for fruit trees, ensuring they remain free from path or object interference to grow properly.
Workflow Optimization
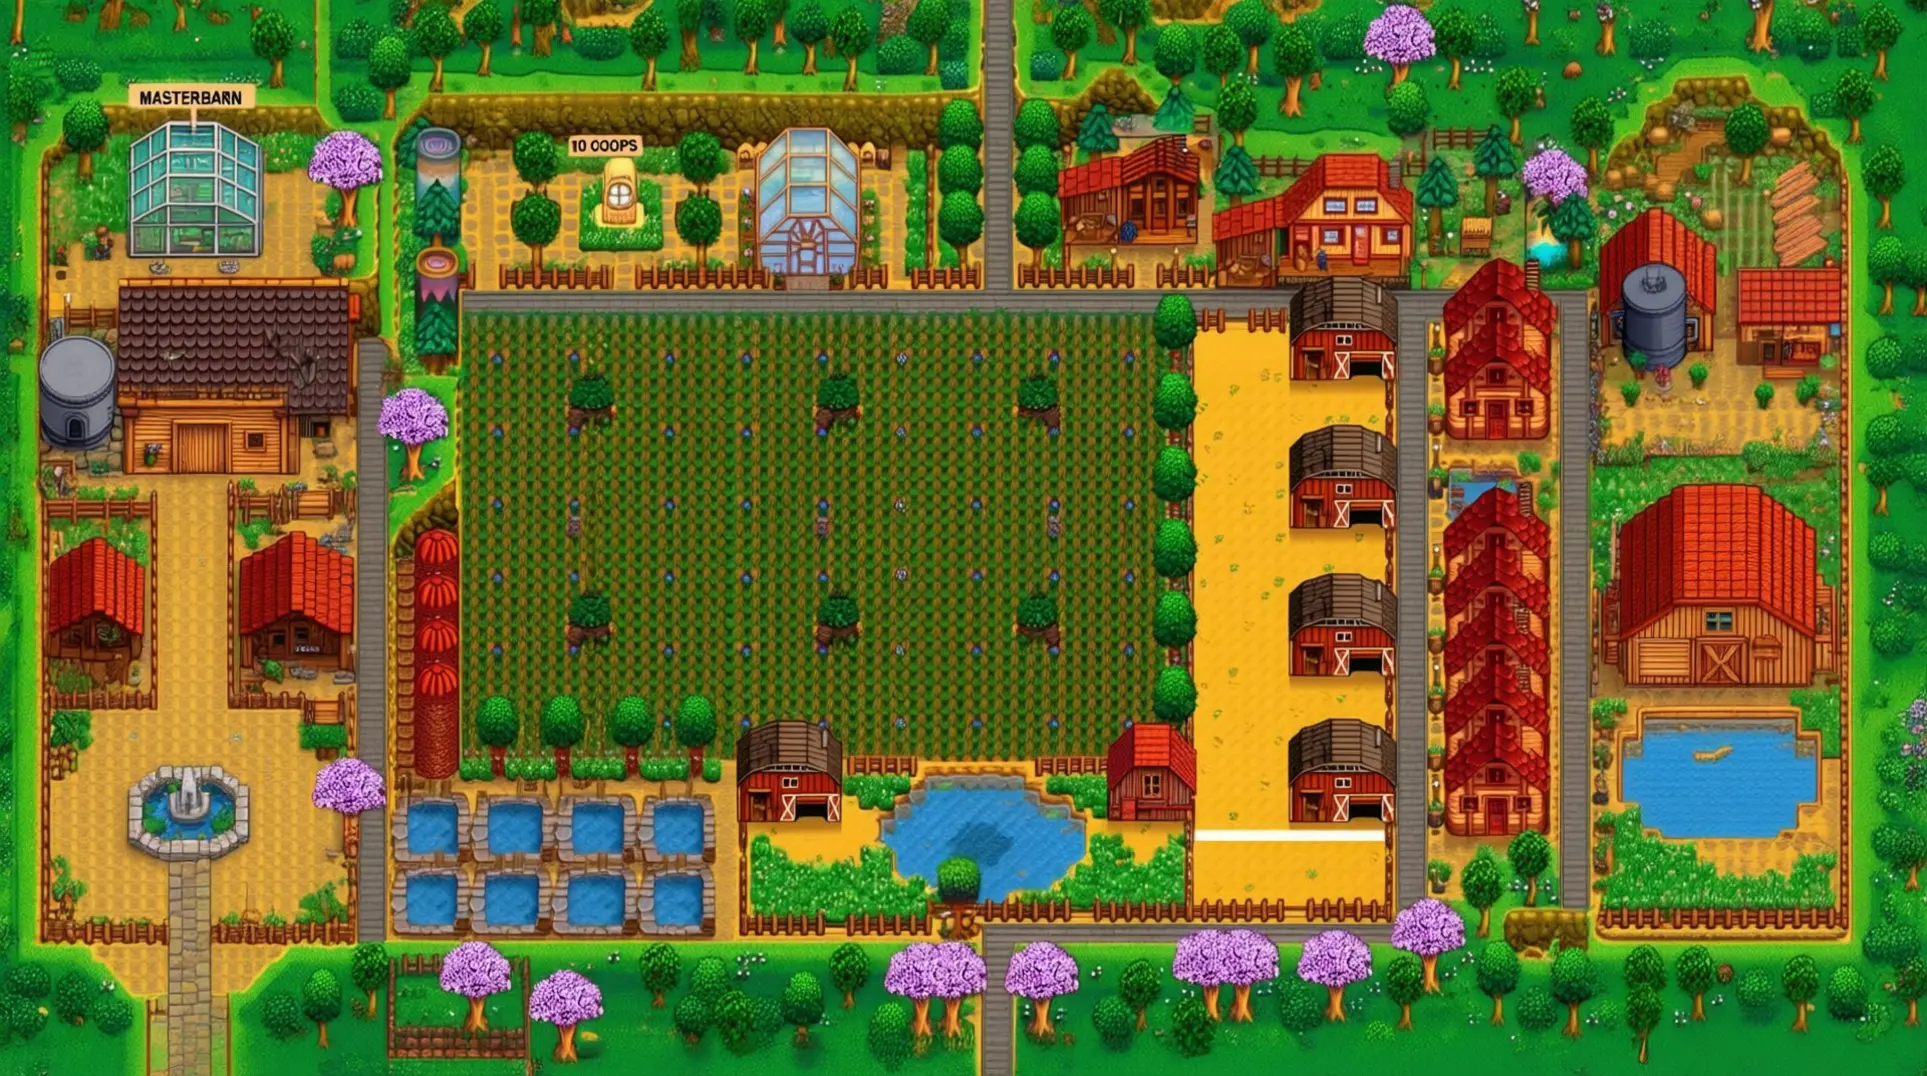
Workflow optimization is the final cornerstone of a foundational layout. Position frequently used buildings like barns, coops, and your farmhouse in centralized locations to minimize daily travel time. Create clear pathways and use fencing to define specific zones for agriculture, animals, and artisan production. This thoughtful organization, combined with a strategy of starting simple and expanding gradually, allows your farm to evolve efficiently alongside your tools and resources. The community consensus strongly advocates for this progressive approach, enabling you to adapt your layout to your discovered playstyle rather than striving for perfection from day one.
Profit-Optimized Layout Designs
To maximize your weekly income, the synergy between ancient fruit cultivation and keg processing is unparalleled.
Greenhouse Ancient Fruit Setup
The foundation of this strategy begins in the greenhouse, where an optimal layout using six Iridium Sprinklers can support 116 ancient fruit plants. A recent optimization using Pressure Nozzle attachments can push this even further to 119 plants, while also allowing for 18 fruit trees to be planted around the perimeter for additional revenue. This setup is ideal because ancient fruit regrows weekly, eliminating replanting costs and creating a continuous production cycle with no downtime.
Keg Processing Optimization
This massive weekly harvest is perfectly timed for your kegs, which take exactly seven days to produce wine. For processing, a Large Shed can be optimized to hold approximately 195 kegs; clever layouts prioritize both maximum capacity and easy accessibility. An pro tip is to place a single "indicator" keg outside the shed to track when the entire batch is ready. With the Artisan profession, each bottle of ancient fruit wine yields a profit of 1,760g, resulting in a stellar daily revenue rate of 236g per keg.
Scaling for Maximum Profit
By aligning the greenhouse's weekly harvest with the kegs' processing time, you create a seamless, highly scalable operation. A single large shed processing ancient fruit can generate significant income, and expanding to multiple sheds or vast outdoor fields with Junimo Huts can push weekly profits well over 460,000g. This powerful synergy between a perfectly planned greenhouse and efficiently organized sheds is the cornerstone of ultra-profitable, low-maintenance farming.
Aesthetic & Thematic Farm Designs
When planning your farm, the choice between a charming cottagecore retreat, a hyper-efficient industrial operation, or an enchanted forest refuge is one of the most exciting decisions you'll make.
Cottagecore Aesthetic
The cottagecore aesthetic has surged in popularity, especially with the version 1.6 introduction of the Meadowlands Farm. This style prioritizes a natural, countryside-inspired layout filled with abundant grass, soft paths, and cozy decorative elements, creating a peaceful and visually appealing experience over pure min-maxing.
Industrial Designs
For the opposite approach, industrial designs are a masterclass in optimization. Following a strict three-stage progression, players utilize tools like interactive layout planners to maximize efficiency, evolving from basic 3x3 grids to late-game iridium sprinklers covering precise 5x5 patterns for ultimate productivity.
Forest Farm Resurgence
Meanwhile, the Forest Farm map is enjoying a major resurgence. Players are embracing its innate charm to create witchy and mystical aesthetics, crafting enchanted woodland atmospheres perfect for creative self-expression. This trend is often enhanced by popular aesthetic mods, with the community frequently sharing these visually distinctive creations on platforms like Pinterest and Reddit for inspiration.
Farm-Specific Layout Strategies
Mastering Stardew Valley's specialized farm maps means embracing their unique constraints and advantages rather than fighting against them. Each layout demands a tailored approach to unlock its full potential.
Riverland Farm Strategy
The Riverland Farm offers the least optimal farming space, making efficient use of its many islands crucial. Success here hinges on island specialization—designating different landmasses for specific purposes—and a strong aquatic focus through strategic fish pond placement. Prioritizing high-yield, water-adjacent crops like cranberries and using creative pathing to navigate the bridges are key to profitability. Many dedicated players have found long-term success by leaning into this farm's fishing strengths rather than attempting traditional, large-scale crop farming.
Wilderness Farm Strategy
For the Wilderness Farm, the strategy shifts toward combat. With only 2,131 tillable tiles and just one-third of normal combat experience gains, layout is vital for survival. Use the terrain to funnel monsters into controlled zones and create safe areas by positioning structures strategically. Focus your crop planting in the more suitable southern areas and in front of your house. A pro tip is to relocate the greenhouse after completion to open up the top of the map for better combat maneuvering against rare, loot-dropping Wilderness Golems.
Four Corners Farm Strategy
Designed for co-op, the Four Corners Farm excels when players specialize. Each quadrant mirrors a different farm type: the top-left for foraging, the top-right for traditional crops, the bottom-left for fishing, and the bottom-right as a quarry. The optimal strategy is for each player to claim a corner based on their preferred playstyle, reducing overlap and maximizing the distinct advantages of each zone through clear communication and resource sharing.
Advanced Optimization Techniques
Junimo Hut Placement
Mastering the placement of Junimo Huts is a game-changer for late-game farming efficiency. Each hut has a 17x17 tile collection radius, and the most effective layout replicates a standard iridium sprinkler pattern, creating a perfect 5x5 square around it. This configuration, with scarecrows placed at each corner, allows a single hut to manage up to 192 crops. For even greater coverage, utilize pressure nozzles on sprinklers to expand their range to a 7x7 square. Remember to position deluxe scarecrows to the left or right of the hut's entrance and accept that leaving a few tiles uncovered is often more resource-efficient than striving for absolute perfection. Be mindful that Junimos won't work during festivals, and they can occasionally miss crops in the corners.
Mobility: Return Scepter vs. Obelisks
When it comes to mobility, the choice between the Return Scepter and Obelisks is crucial.
- The Return Scepter, purchased from Krobus for 2,000,000g, offers instant return to your farmhouse door.
- The four destination-specific Obelisks cost a similar amount but provide versatile travel points.
For single-player saves, the Return Scepter is often the superior first purchase, as it extends your productive day by allowing you to mine or farm on Ginger Island until the very last minute. However, in multiplayer, obelisks provide far better value as a single investment benefits all players on the farm. Strategically place mini-obelisks near key exit points, like one toward town and another toward Cindersap Forest, for quick access to frequent destinations.
Creating Your Perfect Stardew Valley Farm Layout
The journey to creating your ideal farm layout is deeply personal and evolves with your gameplay experience. Start with the foundational principles that match your chosen farm map, then progressively refine your design as you unlock new tools and resources. Whether you prioritize maximum profit through ancient fruit and keg synergy, embrace a specific aesthetic theme, or optimize for specialized farm types, remember that the most successful layouts balance functionality with personal enjoyment. Don't be afraid to experiment, adapt, and draw inspiration from the vibrant Stardew Valley community—your perfect farm is waiting to be designed, one season at a time.
More Stardew-Valley Guides

The Ultimate Stardew Valley Farm Building Blueprint: Master Barn, Coop & Silo Placement for Maximum Efficiency
Complete guide to Stardew Valley farm building placement, upgrade paths, and layout optimization. Learn strategic barn, coop, and silo positioning for maximum profit and efficiency.

Stardew Valley Sebastian Romance Guide: Gifts, Heart Events & Marriage
Discover how to romance Sebastian in Stardew Valley with our spoiler-free guide covering his favorite gifts, heart event triggers, and marriage requirements.

Stardew Valley Demetrius Friendship Guide: No-Spoiler Tips
Learn how to build friendship with Demetrius, Pelican Town's scientist. Discover his favorite gifts, daily schedule, and conversation strategies without spoilers.
AI Tactical Companion
Consult with our specialized tactical engine for Stardew-Valley to master the meta instantly.