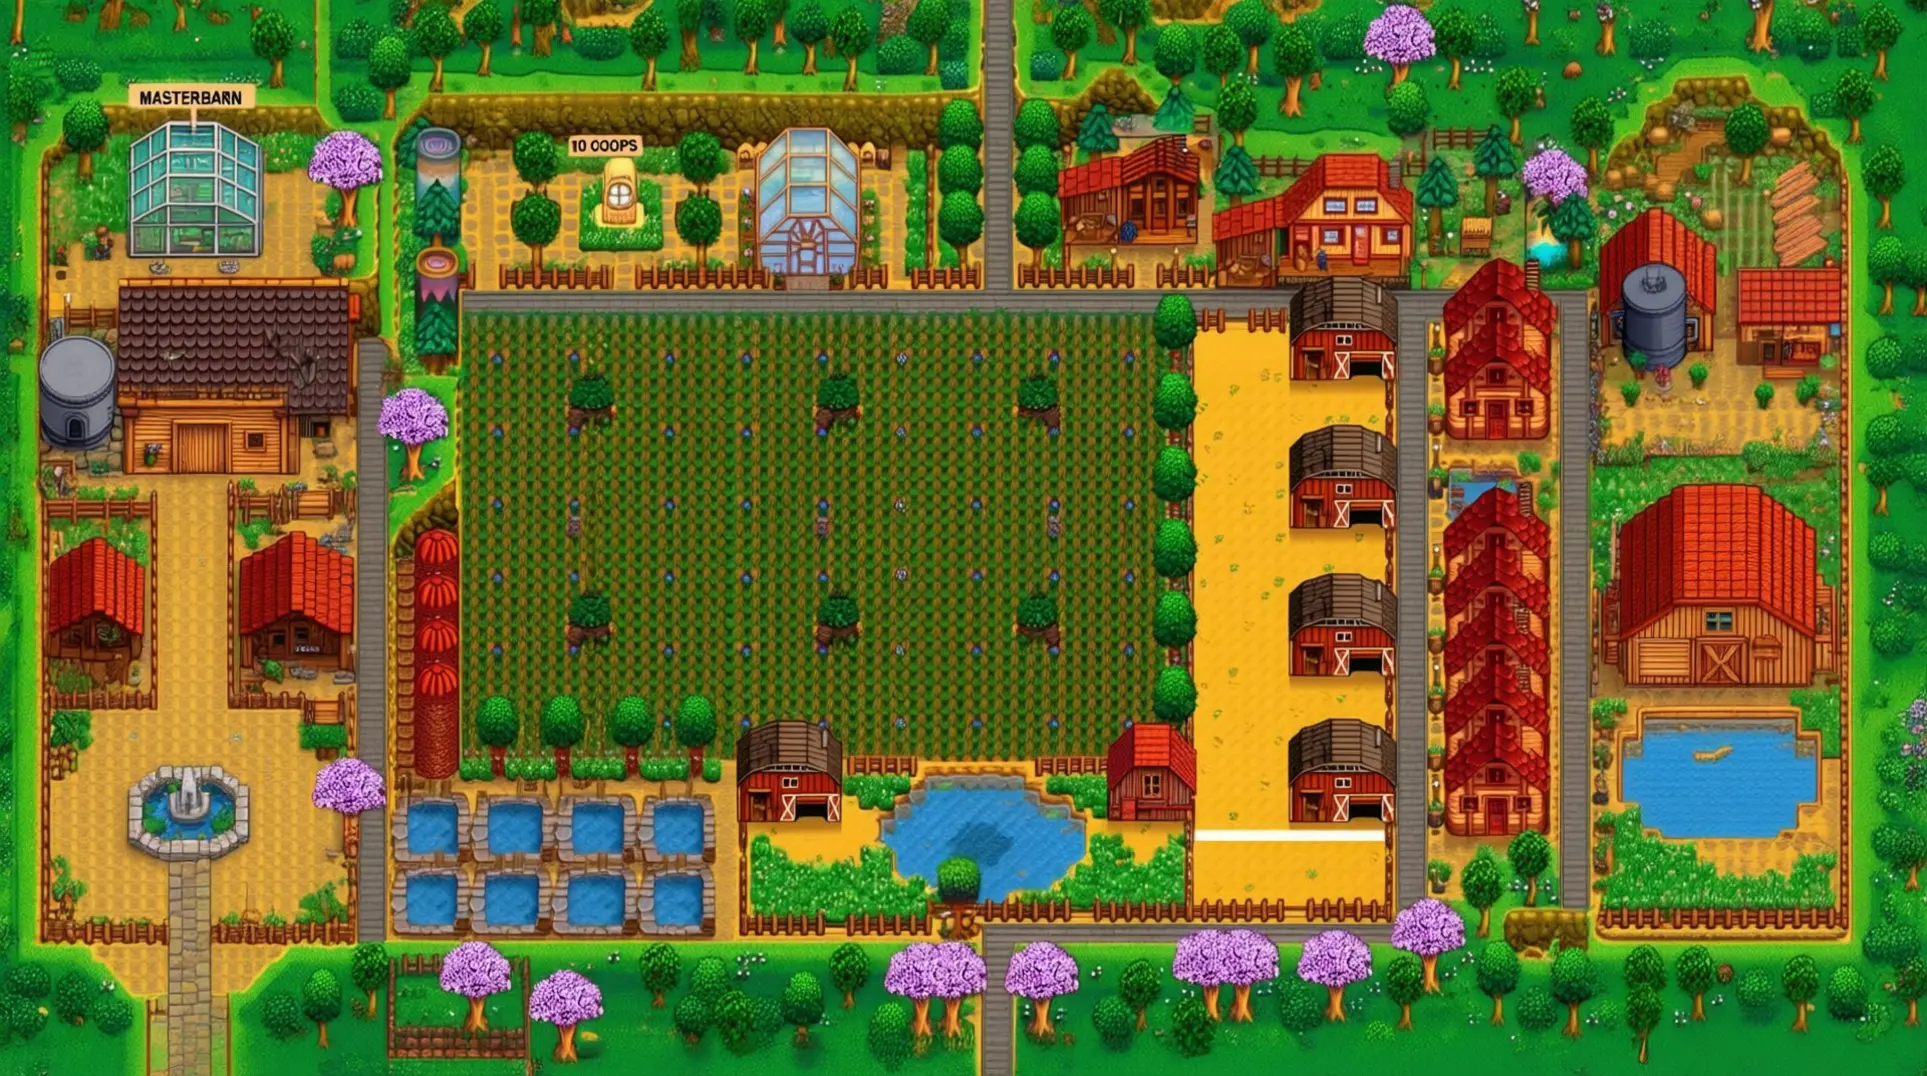
The Ultimate Stardew Valley Farm Building Blueprint: Master Barn, Coop & Silo Placement for Maximum Efficiency
In the idyllic world of Stardew Valley, the blank canvas of your overgrown field holds immense potential. While the impulse to place buildings spontaneously is strong, mastering farm building fundamentals is the true key to transforming your plot into a model of efficiency and profitability.
Strategic placement is far more than an aesthetic choice; it is a core component of a thriving agricultural empire. Essential structures like the Barn, Coop, and the often-overlooked Silo form the backbone of a lucrative farming operation, housing the animals that provide valuable artisan goods.
A well-considered layout minimizes daily transit time, ensures animals have clear access to grass, and seamlessly integrates with crop fields and processing sheds. For both newcomers and seasoned farmers, understanding these principles is the difference between a chaotic scramble and a smoothly running, highly profitable homestead.
This guide will explore how a little foresight in your construction plans can dramatically enhance your farm's output and your enjoyment of pastoral life.
Building Upgrades: Barns and Coops
In Stardew Valley, upgrading your barns and coops is a foundational strategy for expanding your farm's profitability and unlocking valuable artisan goods. Both structures follow a clear three-tier upgrade path, with each level requiring greater investment but offering significant new capabilities.
Coop Upgrade Path
The initial Coop (4,000g, 300 Wood, 100 Stone) houses four chickens. Its first upgrade to the Big Coop (10,000g, 400 Wood, 150 Stone) adds incubators for hatching dinosaur and void eggs and enables the purchase of ducks.
The final Deluxe Coop (20,000g, 500 Wood, 200 Stone) introduces an auto-feed system, linking to the farm's silos, and allows for the purchase of rabbits.
Barn Upgrade Path
The basic Barn (6,000g, 350 Wood, 150 Stone) holds four cows. Upgrading to the Big Barn (12,000g, 450 Wood, 200 Stone) unlocks goats only, and allows cows to produce Large Milk.
The ultimate Deluxe Barn (25,000g, 550 Wood, 300 Stone) permits the purchase of pigs, which unearth valuable Truffles.
Strategic Planning
Each upgrade requires Robin's construction services and takes two days to complete. The total investment for a fully upgraded Deluxe Barn is 43,000g and 1,350 Wood/650 Stone; a Deluxe Coop requires 34,000g and 1,200 Wood/450 Stone.
Strategically, planning these upgrades is crucial. Prioritizing a Big Coop early provides a steady, low-maintenance income from mayonnaise machines. Conversely, investing in a Deluxe Barn for pigs requires a significant upfront cost but yields one of the game's most profitable artisan goods via truffle oil. Managing resources, time, and barn/coop population is key to optimizing your farm's efficiency and revenue stream.
Silo Placement and Hay Management
A key advantage of silos is their complete lack of physical distance limitations. They function as a global, farm-wide storage network; a single silo placed in any corner of the map automatically supplies hay to every animal building, regardless of how far away it is. This centralized storage system eliminates the need for logistical planning based on proximity to coops or barns.
Feeding Mechanics
The method of feeding, however, depends entirely on the building type. Basic Coops and Barns require manual feeding. Each morning, you must enter the building and place hay from the silo's supply onto the feeding bench by hand.
In contrast, Deluxe Coops and Barns feature an automated feeding system. These advanced buildings automatically pull hay from the global silo network each morning and place it in the feeding troughs, eliminating the daily chore and ensuring animals are fed even if you are elsewhere.
Strategic Positioning
While placement is irrelevant for functionality, strategic positioning is still recommended for player convenience. The most efficient placement is directly beside or between your barns and coops. This central location streamlines the process of manually feeding basic buildings and allows for easy visual checks on hay levels when passing by.
To calculate the number of silos needed, consider that each silo holds 240 pieces of hay. Each animal consumes one hay per day when not grazing on grass outside. A simple formula is:
Number of Silos = (Total Animals) / 240
This calculation provides the number of silos required to store enough hay to feed all animals for one season (28 days). For a full year's supply, particularly through the 28-day winter, you would multiply this result by four. Most players find maintaining 1-2 silos, regularly filled from harvested wheat, is sufficient for a standard-sized farm.
Farm Layout Archetypes for Every Playstyle
Choosing a farm layout is a foundational decision that shapes your entire Stardew Valley experience. While each map offers unique resources, they cater to distinctly different playstyles.
Standard Farm
The Standard Farm is the quintessential choice for min-maxers and profit-driven players. Its vast, open, flat terrain provides the maximum available space for crops and optimized sprinkler layouts.
This allows for immense, hyper-efficient fields that generate unparalleled gold through Artisan Goods. The primary drawback is its lack of unique resources and a purely utilitarian aesthetic that some find bland. For new players, its simplicity is a forgiving canvas to learn core mechanics without added complexity.
Forest Farm
In contrast, the Forest Farm prioritizes aesthetic design and a relaxed, forage-heavy lifestyle. Its charming layout features grassy clearings surrounded by immutable trees, seasonal forage items, and renewable hardwood stumps.
This map is ideal for players who enjoy crafting a visually cohesive and natural-looking farm, integrating pre-placed elements into their design. The trade-off is significantly less tillable land for massive crop operations. It is highly recommended for experienced players seeking a creative challenge or those who prefer a slower, more immersive pace over profit maximization.
Meadowlands Farm
Finally, the Meadowlands Farm is the premier choice for animal husbandry. It starts with a unique coop and two chickens, immediately jumpstarting a ranching operation.
The map includes chewy blue grass that animals love, ensuring high happiness and productivity with less manual feeding. However, its special grass consumes tillable land, making large-scale crop farming more challenging. This farm is excellent for both new players who want a focused animal-raising experience and veterans looking to specialize in a lucrative ranch without the initial grind.
Advanced Building Synergy: Efficiency Through Layout
Forget proximity bonuses; true farm synergy is born from intelligent layout design that minimizes daily travel time and streamlines routines. The core principle is simple: place structures you interact with daily along your most frequented paths, while tucking away those requiring only occasional visits.
Optimizing Daily Routes
Barns and coops are the heart of your daily circuit. Position them directly along the route you take from your farmhouse to the shipping bin, town, or mine carts. This ensures animal care is seamlessly integrated into your journey, not a detour.
A cleverly placed barn near a field can also serve a dual purpose: its interior chests are perfect for storing harvested crops, tools, and animal products, creating a powerful, multi-functional workstation that eliminates backtracking to the farmhouse for supplies.
Strategic Clustering
Conversely, structures like silos, which only need emptying every few seasons, belong in remote corners of your farm. Their passive function doesn't warrant prime real estate.
Grouping related structures is paramount. Cluster all coops and barns together. This creates a single, efficient stop for petting, milking, and shearing.
Place sheds containing processing equipment—like mayonnaise makers and cheese presses—directly adjacent to these animal hubs. This allows you to collect resources and process them into higher-value goods in one fluid motion, transforming raw milk into cheese without a single wasted step. This thoughtful placement is the key to a highly efficient and profitable daily workflow.
Common Farm Layout Mistakes and Solutions
A poorly planned farmstead can significantly hinder daily operations and long-term productivity. Three frequent errors involve the misplacement of animal structures, inefficient storage building placement, and the underutilization of interior space.
Remote Animal Structures
A common mistake is exiling animal barns and coops to remote corners of the property. This placement drastically increases daily chore time, as you must travel farther for feeding, watering, and collection, while also complicating utility line runs.
The solution is to integrate these structures along your primary travel routes, closer to your farm's core. This creates an efficient chore loop, saving time and energy, and ensures animals are conveniently monitored.
Obstructive Storage Placement
Similarly, storage buildings like silos and sheds are often placed for convenience rather than function. Positioning a large silo in the very center of a field may seem logical, but it creates a major obstacle for large equipment trying to cultivate or harvest the surrounding land.
Instead, place these structures on the periphery of fields, ideally near access roads. This "edge placement" maximizes usable field space and facilitates easier loading and unloading without impeding machinery.
Underutilized Barn Interiors
Finally, many farmers neglect the potential of their barns' interiors, leaving valuable square footage empty. This underutilization forces the construction of additional external sheds for processing equipment, tool storage, or hay.
A simple solution is to dedicate specific bays or lofts within existing animal barns for these functions. Shelving for supplies or space for a milk pasteurizer and feed grinder transforms wasted space into a highly efficient, multifunctional area, reducing the need for extra buildings and keeping essential tools protected and close at hand.
Case Study: The Four Corners Farm Layout
The Four Corners farm map in Stardew Valley is a masterclass in intentional design, offering a pre-defined structure for optimal organization. Its four distinct quadrants—forest, quarry, water, and standard farmland—naturally facilitate a strategy of specialized zone division. This layout transforms the challenge of farm management into an efficient and visually cohesive operation.
Specialized Quadrants
The primary strength of Four Corners lies in its inherent building cluster optimization. Each quadrant's unique resources and topography dictate logical placement.
- The grassy southwest quadrant, with its large, open space, is ideally suited for the main farming operation, accommodating large crop fields and sprinkler systems.
- The forest quadrant to the northwest naturally hosts buildings like the Stable and Sheds, nestled among forageable items and hardwood stumps.
- The mining quadrant to the southeast is the obvious home for Geode Crushers, Furnaces, and Crystalariums, positioned directly next to a renewable stone and ore resource.
- Finally, the small pond in the northeast quadrant designates itself as the fishing and crab pot hub.
Multiplayer and Solo Benefits
This zoning is connected by a cruciform path network, with the central intersection housing the Greenhouse and shipping bin for maximum efficiency. Stone or hardwood paths along these natural routes minimize travel time between specialized zones, ensuring that daily chores—from processing ore to checking crab pots—are conducted with minimal backtracking.
For a single player, this layout provides unparalleled organization, compartmentalizing different gameplay loops to reduce clutter and mental load. In multiplayer, however, its benefits are magnified. The map's division allows up to four players to claim a quadrant and specialize, whether as a dedicated miner, forester, angler, or farmer. This encourages collaboration while granting each player autonomy over their domain, making the Four Corners farm the ultimate design for both structured solo play and cooperative specialization.
Future-Proofing Your Farm Layout
A truly efficient farm is one that can grow and adapt without requiring a complete redesign. Future-proofing your layout is an investment in long-term productivity, saving you time and resources as you unlock new content and technologies.
Modular Design
The core principle is modular design. Instead of planning one large, rigid farm, break it into standardized, repeatable units. This standardisation ensures compatibility with the most common sprinkler ranges (Quality and Iridium) and the Junimo Hut, whose 17x17 tile harvest area perfectly services a centralised hut surrounded by these modules. This grid-based approach creates a clean, scalable system.
Infrastructure-First Planning
Infrastructure-first planning is crucial. Before planting your first parsnip, map out the permanent pathways for movement and machinery. Design wide, clear lanes that connect key areas and, most importantly, leave deliberate expansion space between your modular plots.
These blank canvases of empty land or grass are not wasted; they are reserved for future automation buildings, new crop types from updates, or additional sheds for processing.
Planning for Automation
Finally, design with automation and updates in mind. Position potential Junimo Hut locations to maximize their coverage of your modular grids, ensuring that when you acquire them, they integrate seamlessly.
Plan main pathways that are wide enough to accommodate future vehicles or mechanics. By building a flexible, logical framework from the outset, your farm will effortlessly absorb new content, whether it's a new type of sprinkler, a late-game automation structure, or crops introduced in a future game patch.
Conclusion: Building Your Perfect Pelican Town Paradise
Creating an efficient Stardew Valley farm layout is both an art and a science that evolves with your gameplay experience. The journey from a basic coop and barn setup to a fully optimized agricultural empire requires strategic planning, but the rewards are substantial.
By understanding building upgrade paths, mastering silo placement mechanics, and implementing modular design principles, you can transform your farm into a highly profitable and visually appealing operation.
Remember that the most successful farms balance efficiency with enjoyment. While min-maxing for profit has its place, don't sacrifice the charm and personal connection that makes Stardew Valley special. Whether you choose the expansive Standard Farm, the resource-rich Four Corners layout, or the animal-focused Meadowlands, the key is creating a farm that reflects your playstyle while maximizing productivity.
With careful planning and the strategies outlined in this guide, you'll be well on your way to building the Pelican Town paradise of your dreams—one that grows and adapts with you through every season and every update.
More Stardew-Valley Guides
Ultimate Stardew Valley Farm Layout Designs Guide 2025
Discover expert Stardew Valley farm layout designs for maximum profit, aesthetic appeal, and efficiency. Learn optimal strategies for all farm types and advanced techniques.

Stardew Valley Sebastian Romance Guide: Gifts, Heart Events & Marriage
Discover how to romance Sebastian in Stardew Valley with our spoiler-free guide covering his favorite gifts, heart event triggers, and marriage requirements.

Stardew Valley Demetrius Friendship Guide: No-Spoiler Tips
Learn how to build friendship with Demetrius, Pelican Town's scientist. Discover his favorite gifts, daily schedule, and conversation strategies without spoilers.
AI Tactical Companion
Consult with our specialized tactical engine for Stardew-Valley to master the meta instantly.