Ultimate Guide to Resource Management in Pioneers of Pagonia

Introduction
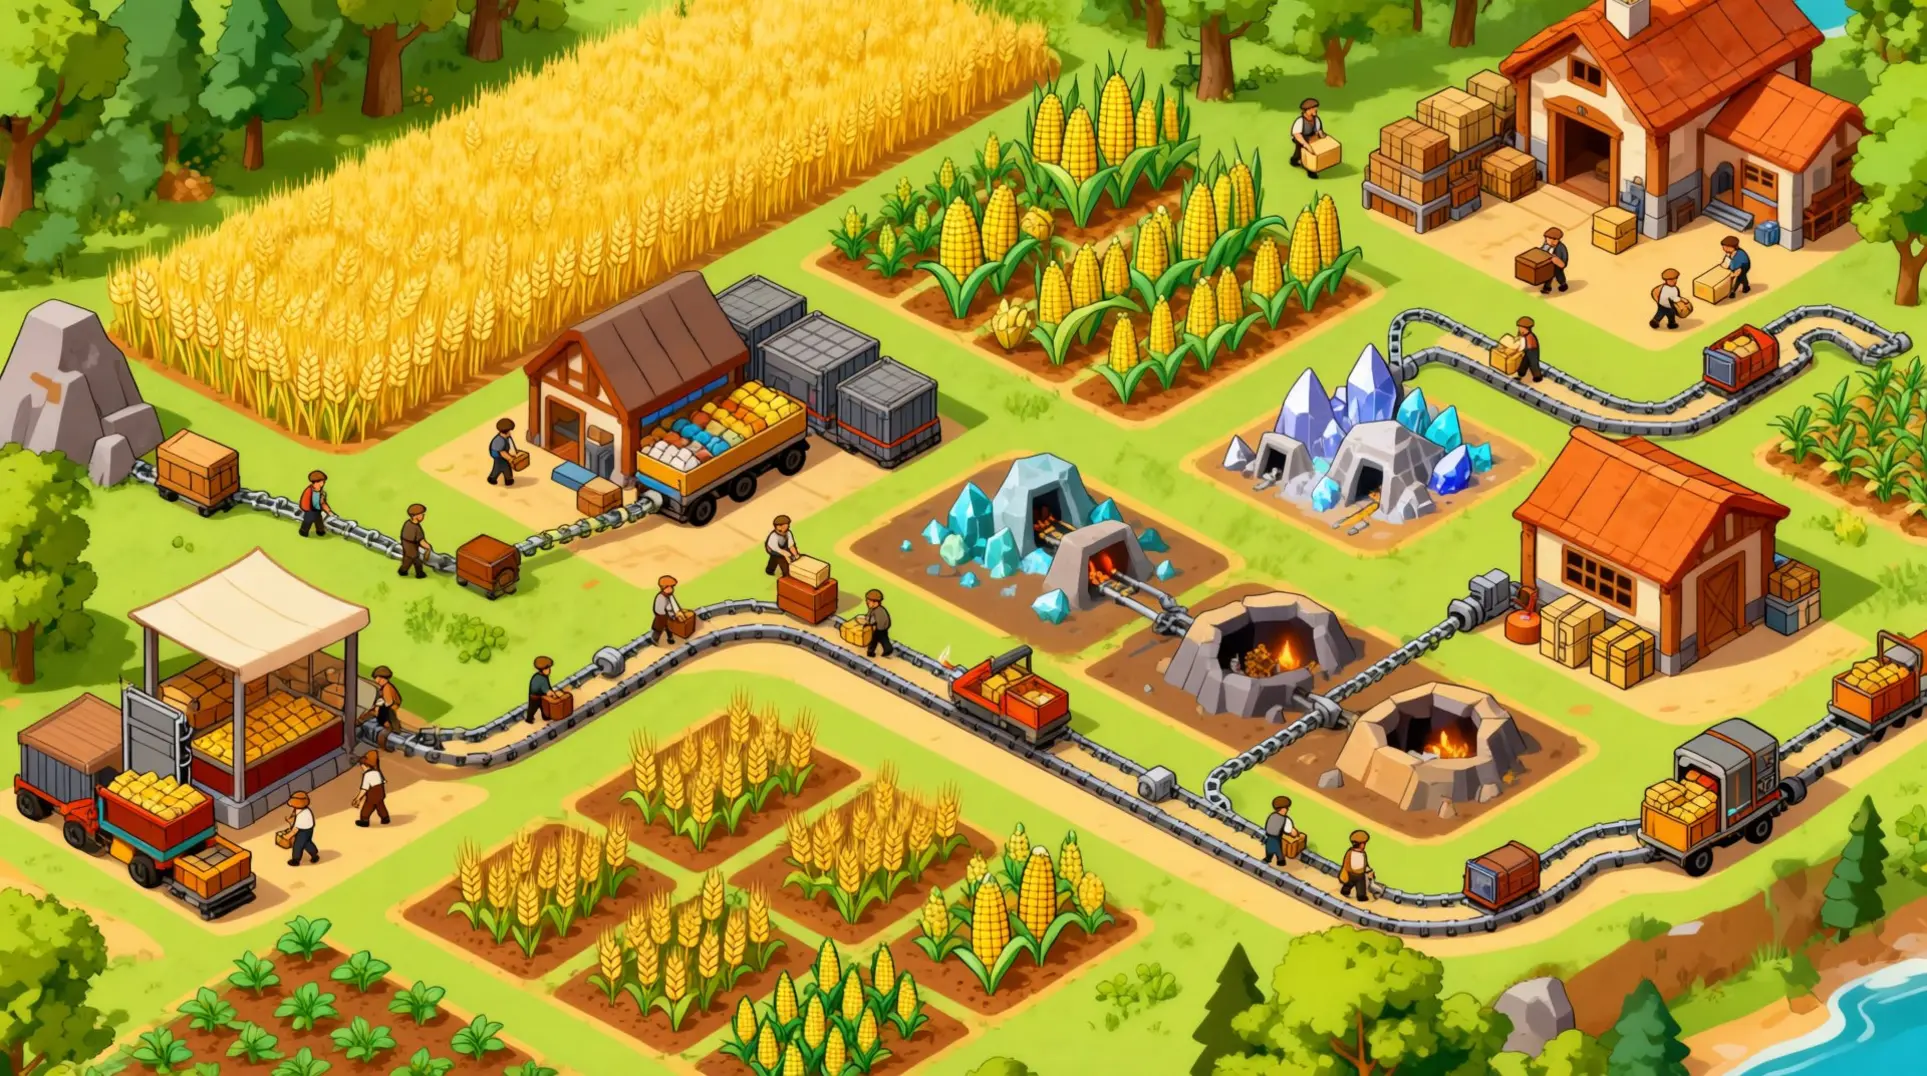
Mastering the resource ecosystem in Pioneers of Pagonia is the difference between a thriving settlement and a failing one. From the optimal field counts for your crops to the hidden rules of mineral extraction, every detail matters. This guide breaks down the 12 core materials, their terrain requirements, and advanced strategies to maximize your efficiency from day one.
Understanding Pagonia's Resource Ecosystem: 12 Core Materials
The 5 Farmable Crops: Wheat, Corn, Flax, Pumpkin, Cabbage
If you are going to farm, you might as well do it right. Each crop has a field count sweet spot that the community has tested to death, and hitting these numbers keeps your harvests smooth.
| Crop | Optimal Fields per Farm | Primary Uses |
|---|---|---|
| Corn | 11 | Animal feed, cornmeal |
| Wheat | 17 | Bread, flour |
| Flax | 17 | Linen, ropes |
| Pumpkin | 18 | Food storage, animal feed |
| Cabbage | 22 | Fermented foods, salads |
Pumpkin is the most forgiving if you go slightly over, but cabbage will absolutely hog space at 22 fields. Plan accordingly.
Wild Resources: Berries, Mushrooms, Water, and Wood
Your Forager's Hut is a lifesaver early on, pulling raspberries, porcini mushrooms, flax, and firewood from fallen branches within its radius. Unfortunately, not all of these are created equal when it comes to regrowth.
Berries are the worst deal: they do not regrow naturally after harvesting, so that raspberry patch will eventually tap out. Mushrooms are better since they slowly respawn on forest floor tiles, and their spawn rate actually improves if you keep tree cover dense. Flax is weirdly semi-renewable on open grassland, but mushroom spawns can muscle it out if forests encroach. Firewood is the real winner here - it regrows the fastest and does not care about flora density at all, so you will never run out of fallen branches.
Crop Terrain Matchups: Soil Quality Optimization
Reading the Soil Quality Overlay: The 5-Bar System
When you open the crop-farm build menu, you'll spot a tooltip in the bottom-right corner that updates in real-time as you move your cursor. This little meter ranks that specific tile from zero to five stars for every crop, so you can see exactly what would thrive where. Three bars means 'good,' four is 'great,' and five bars is 'perfect.' The key difference? Crops on perfect soil won't die from poor quality, but they can still rot if you forget to harvest them, so don't get too comfortable.
Terrain-to-Crop Cheat Sheet: Visual Identification
You can eyeball terrain types before placing a single field if you know what to look for. Fertile ground shows as dark green grass with tiny white and yellow flowers - that's your Wheat paradise, offering the fastest harvests and lowest spoilage risk. Sandy grassland looks pale yellow-brown and open, which is where Corn does its thing (it needs more space per plant but handles heat well). Dusty hard-pan is light brown, almost bare soil, and while Flax grows slowly there, it's still the best match. After rain near water, you'll find muddy/mossy terrain with a swampy green tint - that's Cabbage territory, with its long growing season. Regular grass (standard meadow green) works for Pumpkin, but it's a jack-of-all-trades situation with just okay yields. Pro tip: scout soil types on the minimap by pixel color - dark green for fertile, pale green for grass, brownish-green for moss, light yellow for sandy, and dull beige for dusty.
Field Management: Preventing Crop Death and Rot
Here's where things get brutal. Once crops hit 100% growth, you've got exactly 4 minutes before they start rotting - no exceptions. Most players stick to 15-20 fields per farmer, and exceeding that means your farmers spend more time walking or watering than harvesting. Even worse, sub-optimal soil with red or orange ratings slaps you with a permanent 30-40% rot penalty, even if your farmers are perfectly efficient. Pathing distance also matters more than you'd think - a 1-tile walkway versus 3 tiles can swing your throughput by 8-12%. Single-crop farms crush mixed farms because every farmer can harvest every field without skill delays. If you want precise numbers, here are the sweet spots assuming perfect soil and fields touching the barn: Corn: 11 fields, Wheat/Flax: 17, Pumpkin: 18, Cabbage: 22. And don't forget - crops start dying around 80% growth if they aren't watered, so a dedicated well inside your farm ring is non-negotiable.
Mineral Terrain Requirements: Where to Mine Effectively
Terrain Building Restrictions: What Can Go Where
Here's the first rule of thumb: quarries and mines won't drop just anywhere. You can only plant them on Grassland/Light Forest or Rocky Foothills, which means those boggy marshes are a complete dead-end for heavy industry.
Speaking of bogs, they're pretty much the worst. You can't build anything permanent except roads and those tiny 1-tile utility slots like the Reed Cutter's Hut, so don't waste time scouting swamps for your next mining operation.
Rocky Foothills are where things get interesting. They'll accept roads, warehouses, watchtowers, markets, and houses - but there's a critical catch with mines. You can only build a mine if your Geologist actually finds copper or iron lurking underneath. No minerals detected, no mine, simple as that.
The Geologist: Your Subsurface Mineral Detector
This unit is your best friend for finding the good stuff, but it comes with quirks you'll need to work around. The 30-minute cooldown per map tile means you can't just spam surveys across the whole map, and that 7-tile detection radius means veins sitting 8 tiles away or farther are completely invisible. You'll need to move your Geologist strategically to cover large areas.
The bright side? They'll sniff out Coal, Iron, Copper, Nickel, Gold, and Silver, then mark each discovery with a signpost and a handy notification. At least you won't miss what you can actually see.
Mineral Processing Chain: From Ore to Steel
Once you've got your ore, you've got two main paths forward, and they split pretty fast. Base smelting is handled by your Smelter - feed it 2 ore + 1 coal and it'll cough up 1 ingot. This works for iron, copper, and nickel.
The Furnace is where things get fancy for advanced steel production. You'll need to feed it 1 iron ingot + 1 nickel ingot + 1 coal to produce 1 steel ingot, which is your top-tier metal for the really good gear.
Gold and Silver are the lucky ones. They laugh at coal requirements and skip straight to ingots, then get refined into coins or trade items without any extra fuel. That's a nice break for your coal stocks.
Advanced Farming Strategies: Beyond Basic Placement
Green-Manure Rotation: The Fallow Field Reroll
Here's a weird little trick the game doesn't advertise: soil quality isn't fixed to the land - it's tied to the terrain seed itself. When you demolish a field and re-zone it, you force the game to recalculate that tile's suitability score, which means you can effectively reroll a plot's potential.
This isn't just theory. You can micro-adjust a field's position by a single tile until you see that sweet 'Excellent' rating pop up. The best part? Demolition and re-zoning cost nothing and happen instantly, even while paused. So while your settlement's footprint stays the same, you can push your outputs toward their theoretical maximum just by spending a few seconds clicking around. It's zero-cost optimization.
Water Adjacency Bonus: The pH Proxy Effect
First off, let's kill a common myth: there is no direct water-adjacency bonus in Pioneers of Pagonia. You'd think those lush shoreline tiles would boost crops, but the game doesn't care about proximity to open water. What it does care about is terrain texture.
Cabbage is the prime example - it loves the 'moss' ground texture (that muddy, wet-looking soil) and hits 100% yield there. Plant it on anything else and you're looking at roughly 70% output. Shoreline areas can actually screw you over since they often transition to sandy or sandy-dusty terrain, which kills that moss bonus entirely.
That said, you still need water access. Your farms must sit within about a 25-tile walking radius of a well or reservoir; coastline tiles don't count as a water source. So you're not farming the water itself - you're farming the right dirt that happens to look wet.
Cluster Farming: The Hidden Throughput Buff
This is where math gets fun. Placing 3–4 farms of the same crop together isn't just about aesthetics; it creates compounding efficiency gains. When fields share roads and warehouses, you cut construction wood and stone costs by roughly 30% right out of the gate.
But the real juice comes from buff stacking. A single Forester can keep up to 8 fields permanently boosted with a +20% fertility buff if you lay them out efficiently - their fertilize cycle (every 4 minutes) lines up perfectly with the 5-minute buff duration. Meanwhile, crop rotation hands you a hidden +3% stack bonus for planting the same crop two seasons in a row, capping at +9% after three seasons.
Worker logistics matter too: one farmer can comfortably tend 4 adjacent plots, and a fully staffed farm with 3 farmers hits optimal throughput at 12 plots in a tight 3×4 or 4×3 block. Cluster them right, and you're not just saving resources - you're building a self-reinforcing engine that prints food.
Common Resource Management Mistakes and Solutions - Pioneers of Pagonia
Crop Death and Rot: Diagnosis and Fixes
Nothing's more frustrating than seedlings vanishing overnight or full crops rotting at 100% growth. The game won't spell out the problem, so you have to diagnose it yourself.
| Symptom | Cause | Fix |
|---|---|---|
| Seedlings vanish at ~30% growth | Soil quality ≤25% on that tile | Relocate farm to bright green tiles (check suitability score) |
| Plants rot at 100% | Farmer pathing too far or >15 tiles per farmer | Split farms into 6-8 tile chunks per worker |
| Mixed quality harvests | Auto-seed conflict with new crops | Lock Allow Replanting for 30s after harvest |
The tile texture system makes this trickier. Bright grass gives pumpkins 100% growth, mossy patches favor cabbage at 95%, dusty ground suits flax at 90%, sandy spots work for corn at 85%, and that dark fertile green is wheat heaven at 110%. Plant the wrong crop and you'll tank growth by 20-35%, so match your seeds to the dirt.
Mineral Extraction Problems: Placement and Detection
Quarries and mines have their own logic, and the game doesn't teach it. The biggest trap? Visible ore signs mean nothing if there's no surface breach. Those signs are static decorations that never update, so even after you strip a vein bare, the sign stays. You need a geologist to resurvey and plant a fresh pole.
Mine placement fails when your territory ring doesn't overlap the ore tile - that's the colored border around your buildings. If the ring doesn't touch it, miners can't claim it. Even worse, Cliff -1 ore is unreachable from a Cliff 0 shaft, even when the circles overlap in 2D. You have to mind those Z-levels.
Place your geologist hut within six tiles of any mine you're planning. That survey buff needs to arrive before your miners finish their first shift, or they'll waste time twiddling thumbs.
Early Game Resource Deadlocks: Stone and Coal Shortages
Hinterland Bog is the worst offender for stone shortages. You'll only get 2-3 surface piles in your starting vision, but you need 40 stone just to survive: Warehouse (8), Toolmaker (6), Watchtower (10), Boundary Stones (12), and a four-stone reserve. Don't build anything else until you hit that threshold.
The bog itself is your enemy - pioneers wade through it at snail speed. Here's the workaround: build a single-tile dirt road into the fog, then drop a 1×3 stone-only stockpile at the end. Pioneers will dump stone onto the road instead of slogging through the muck, which means you can chain-road your way to rocky shelves.
For the first three to four minutes, assign six pioneers exclusively to stone collection. Pause everything else, tag every visible pile, and queue four extra shovels at your Toolmaker - you get a 50% carry weight boost that'll break the deadlock. Once you've got a quarry running, you can breathe again.
The coal situation got slightly better in patch 0.14.1 - that update buffed yields by 20%, so you'll feel less pressure on fuel once you secure a mine.
Future Updates: Roadmap and Coming Changes
Deeper Mining: Subsurface Layers and Vertical Shafts
If you've been mining in Pioneers of Pagonia, you've probably noticed the current system feels a bit… surface-level. That's because it was. Update 0.7.0 gave us the first real sub-surface mining where you can send your Geologist to tag underground veins of coal, iron, gold, and salt, then plop down a Sub-surface Mine right on the sign-post. It works, but it's clearly a foundation, not the finished house.
The good news is that Quality-of-Life Update 2 already dropped in February 2025, and it brought steam elevators that link up to four sub-levels without tearing up the terrain, plus mine rails with ore carts so your pioneers aren't hauling every single chunk by hand. That's a massive upgrade, but the devs are still digging deeper.
Looking ahead to Content Update 2025, the roadmap promises full vertical transport systems and underground galleries. Data-mined files already show inactive rail ties and mine shafts just waiting to be switched on, and future maps might stack two or three separate ore layers, each requiring its own vertical shaft to reach. The real kicker? Underground boss lairs are scheduled for the 1.0 Release in Late 2025, so you'll have bigger problems than just pickaxe durability.
Geologist Upgrades: Vertical Sonar and Enhanced Detection
Right now, finding deep ore is mostly guesswork, but the May 2025 roadmap adds a vertical-sonar detection kit for your Geologist that changes everything. This isn't just a minor buff - it paints a 60° downward cone reaching 20 tiles deep, and ore shows up as color-coded strata on a side-panel cross-section map. You'll see yellow for iron, red for copper, purple for silver and gold veins, blue for coal seams, and green for those rare mana crystals.
Even better, any scan you complete gets saved globally, so you can pull it up from any mine blueprint that overlaps the cone. No more wasted shafts on thin seams. The catch? The devs plan to add a sonar battery item in a Q2-2026 balance pass, which means you won't be able to spam scans infinitely. But when the full mining overhaul ships with the 1.0 Release in Late 2025, you'll also get Geologist promotions that widen the scan angle, making the whole system feel complete.
Conclusion
Success in Pagonia hinges on understanding the intricate systems governing crops, wild resources, and minerals. By matching crops to their ideal soil, strategically placing mines, and avoiding common pitfalls, you can build a sustainable and productive colony. Keep an eye on the roadmap - future updates promise to deepen these mechanics even further.
More pioneers-of-pagonia Guides

The Ultimate Guide to Trade in Pioneers of Pagonia: Mastering Logistics, Diplomacy, and Empire Building
A comprehensive guide covering everything from basic trade mechanics to advanced multi-island strategies in Pioneers of Pagonia. Learn how to optimize logistics, manage factions, and build a profitable empire.

Mastering Tribe Diplomacy in Pioneers of Pagonia: The Complete Guide
A comprehensive guide to mastering tribe diplomacy in Pioneers of Pagonia, covering trust meters, quests, alliances, and late-game strategies.

Pioneers of Pagonia: Complete Guide to Lore, Factions, and Gameplay
A comprehensive guide to Pioneers of Pagonia, covering the Great Calamity, factions, the Tower of Visions, artifacts, campaign acts, and strategies for survival and rebuilding.
AI Tactical Companion
Consult with our specialized tactical engine for pioneers-of-pagonia to master the meta instantly.