Mastering Tribe Diplomacy in Pioneers of Pagonia: The Complete Guide

Mastering tribe diplomacy in Pioneers of Pagonia is the key to unlocking powerful allies and surviving the late game. But with hidden trust meters, complex quests, and six unique tribes to manage, the system can feel overwhelming. This guide breaks down everything from first contact to optimal alliance strategies, giving you the knowledge to build a thriving settlement. ## Understanding the Tribe Diplomacy System ### How to Discover and Contact Tribes Tribes (neutral factions) are not shrouded in fog; the fog-of-war is a map mechanic that obscures unexplored terrain for all players. To expand territory, send Scouts to lift the fog, build a territory building (e.g., Frontier Outpost), and click 'Extend Border' to have a Pioneer place a border stone on an adjacent, fog-free tile. You can actually spot vague silhouettes through lighter fog, which means you can avoid wasting stones on dead-end directions. Once your border uncovers a tribal village, a diplomacy banner appears above their central hut. Click it and you'll see their demands: usually a mixed tribute of basic goods like bread, tools, or torches, plus a small one-time gift of some rarer resource. Contact is not automatic. You must first build a Trading Post within your own territory and then explicitly click 'Establish Trade Route' to open diplomatic relations. ### The Hidden Trust Meter Explained (0-100 Scale) Every neutral village tracks its own hidden trust meter, a 0-100 integer that rises when you help the locals and falls when you ignore or antagonise them. The UI only shows five vague labels - mistrustful, reserved, interested, trusting, willing - but behind those words are hard numbers that matter. Here's how you move that needle: Completed delivery contracts for tribes (specifically contracts 8-12 on the Trust Ladder) award significantly more trust points: Contract 8 ≈ 12, Contract 9 ≈ 15, Contract 10 ≈ 18, Contract 11 ≈ 22, and Contract 12 ≈ 25. Defending a village against bandits can provide a trust bonus, though the specific value varies and is not fixed at +20. But screw up and cancel an active contract? That's -10 trust. Let bandits raid their storage unchecked? A painful -15 hit. Once you push trust to around 80 and see 'willing,' a flag icon appears above the elder's hut. Click it, spend 50 influence (those purple laurels), and the settlement is yours instantly. ## Caravan Quest Types & Optimal Strategies ### Delivery Run Quests: Maximizing Efficiency Delivery runs look simple, but veterans have cracked a hidden trust system that can completely change your trade game. The caravan interface lists a 'Maximum accepted' amount - a fixed, hard-coded value per quest - and consistently hitting the high end gets you premium trade routes, cheaper prices, and even free military aid from allied villages. The sweet spot is 149% of the minimum request. This keeps you in the 'generous' bracket without wasting resources, and here's how the tiers break down: 110-124% gives +1 reputation, 125-149% gives +2 reputation, and 150% gives +3 reputation. So how do you manage this efficiently? Build micro-hubs - tiny 2×2 storehouses placed one territory tile away from each allied village. Stock them to 120% of the largest single quest you've seen for that specific good. This gives you a buffer without tying up your main supply chains. There's also a sneaky 'ghost caravan' trick: load your caravan to 149% of a larger request, send it toward a farther village first, pause en route, accept a second quest from a closer village, then redirect. The surplus automatically counts toward the second quest once you reroute. One final warning: high-value artifact deliveries are fragile and irreplaceable. Always assign a manual escort with a 4-soldier detachment, because failure tanks your reputation by -2 and you can't get those artifacts back. ### Rescue Escort & Sabotage Quests If there's one thing you absolutely cannot mess up, it's letting an escorted NPC die. The penalties are brutal and cascade across your entire settlement: you'll lose 25% regional morale, which can lower the global settlement attractiveness below the 30% threshold required for immigration. Recovery depends on player actions like building decorations or holding festivals. The root cause is almost always pathing failure. When you start an escort, the game snapshots the current path-finding graph, and any 30-meter segment becoming invalid - whether from flooding, regrowth, or a new bandit camp - causes the party to stop and eventually force-cancel the quest. So you need a route-clearing checklist. First, explore every yellow-fog polygon along the path to reveal ambush points, then trigger those ambushes manually. Ensure a continuous stone-road corridor within your territory. The stone road is a single tile wide. Guard towers are used to claim territory, and their placement is flexible based on the number of available guards. Before you even click 'Start Escort,' ensure you have sufficient travel rations. Note that there are no persistent 'companions' or repeatable 'escort quests' in Pioneers of Pagonia; the only escort-style content is the early-story rescue of Captain Kirk, where each rescued prisoner consumes 1 travel ration per in-game day. There's even a cheesy workaround for ghost villages: build a 1×1 Lumberjack flag just outside the village border. The rescue flag teleports the target to your flag once the escort starts, bypassing combat entirely. But here's the flip side - sometimes you want to pick a fight. Bandit tower sabotage quests are actually timed border-pushes using overlapping Guard Towers. Destroying a tower drops loot that varies by camp tier and game day. For example, coin drops are 30-50 (tier-1), 80-120 (tier-2), or 150-250 (tier-3). Weapons and tools have probability-based drops. Use the tower-stacking trick: place 3-4 Guard Towers within a six-tile radius, set only the centermost to 'Patrol' to pull aggro while the others fire safely. One caution: campaign missions track a hidden 'aggression counter.' Destroying a Bandit Tower does not lock out the 'Pacify, Don't Pillage' sub-objective. Destroying every Bandit Tower does not increase raid frequency; once all are destroyed, raids cease entirely. ### Specter Hunt Quests (Advanced) Don't even think about Specter Hunts until you're on Campaign Map 4. These quests only appear on the Ghost Village map and they're a gear check disguised as diplomacy - not something you can brute-force with numbers. Specter Hunts are a separate mechanic for dealing with night-spawned specters. The 15 Magical Artifacts are part of a separate quest chain (specifically Mission 4) where Treasure Hunters must dig up artifacts from three fixed locations: Abandoned Chapel, Old Graveyard, and Collapsed Tower. These artifacts only spawn inside treasure spots flagged as 'Haunted' (look for the soft-blue shovel with a ghost overlay). Normal treasure sites will never roll the quest item. First, research 'Spectral Lanterns' at Library I (cost: 12 parchment + 8 glass). This allows you to permanently pacify haunted sites (revealing hidden treasures) by placing a lantern and assigning scholars. Here's the problem: haunted nodes continuously spawn Specters (75 HP, 50% physical resist) until the artifacts are looted. You've got two paths forward. The military option requires 6-8 Rangers with Silver Arrows (crafted from 1 silver ingot + 1 feather). It's reliable but expensive. The smarter clerical solution is to research 'Arcane Gear' at Library II (requires 20 relics - and yes, those same artifacts count toward the cost). Arcane Gear gives your Apprentices a 'Banish' toggle that evaporates Specters and triggers a 60-second node cooldown. Here's the speed-run sequence: rush Library II, hand in the first 10 artifacts to meet the research cost, craft Arcane Gear, then use your upgraded Apprentices to secure the last 5 items without building a single Ranger. Two hidden fail triggers to watch: losing more than 2 Carriers to ghosts during artifact transport voids the bonus chest, so keep carrier paths short and prioritized. ## Advanced Trust Farming & Optimization ### Trust Decay & Diplomatic Cooldowns This is where most players get burned. Trust doesn't just sit there - it bleeds away quietly when you're not paying attention. Trust decay is -0.25 per hour for all non-allied tribes regardless of troop presence. Troops in tribal territory without an 'Open Border' agreement cause an additional, separate penalty: an instant -0.3 trust drain and a continuous -0.05 per minute drain. So what does this actually mean? Let your trust dip below 30 and the village label flips to orange - now they're doubtful of you - but drop under 10 and it goes red (hostile), where all interactive buttons (like 'Send Gift') are greyed out and cannot be used. Luckily, you've got options to stop the bleeding. Keep at least one active trade route and decay freezes completely. Station an Envoy and you'll gain +1 trust per hour while inside the safe radius of a watch-tower or border stone. Outside this coverage, trust decays at -1 per hour. Or just send a Diplomatic Gift every third day - 50 coins plus 20 beer or jewellery keeps them happy. The classic early-game mistake? Signing a trade route then forgetting about the village completely. The route only pauses decay, so your trust still drifts down to 30, the route auto-cancels, and you're stuck with a 30-minute re-invitation cooldown that feels like a bug. Don't be that person. ### Optimal Quest Selection Strategy Not all quests are created equal, and the difference between S-tier and C-tier is massive. Rescue Missing Pioneers sits at the absolute top - it gives you +15 trust in the shortest time possible, and every single pioneer you free joins your labor pool permanently. The trick is keeping one early-game Watchtower unfinished to force this quest to spawn constantly; it's zero downside, pure value. Delivery to Mysterious Location is your A-tier workhorse: a flat +20 trust and a chunky discount on future trade routes. You'll need to build roads, but there's no combat involved. Pro tip: pre-load 40 Boards, 20 Tools, and 10 Rations on idle Carriers so the moment you place the last road tile, the quest auto-completes. Then there's Sabotage Enemy Camp, which lands at B-tier. Completing this quest typically applies a trust debuff to your settlements and weakens the enemy camp. The reward is usually a fixed amount of iron ingots (e.g., 5-8, 18, 20, 30, or 40 depending on the camp), not in crate form. The catch is you need to micro two Scouts within 8 tiles at night to plant explosives, and there's a 15 in-game day cooldown. Worth it, but not early. And whatever you do, don't touch Specter Hunts until you're properly equipped. The correct way to deal with Specters is to train Fearnaughts (requiring Tier-3 Town Center, Silver Blades, and Light Armor) and set patrols near Specter camps. Your early flow should be: pause research right after unlocking Scouts, keep that Watchtower inactive for endless Rescues, chain Deliveries for infrastructure, ignore Sabotage until you have 4 Scouts (around minute 30+), and pretend Specter Hunts don't exist until Bombardiers show up at minute 90+. ### Caravan Stop Setup & Logistics Getting your caravan network right is the difference between smooth sailing and screaming at your screen, which is why the meta setup is a tight triangle of three Caravan Stops inside your starter walls. Put one behind your palisade at the Main Gate, another next to your Sawmill for Forestry, and a third south-east of your Stone Quarry. This gives you 9 mules total (3 per Stop), which includes that crucial one-mule buffer. Here's what trips people up: keep your roads gravel inside that triangle until the objective pops. Plank roads can cause mules to stall at junctions, and you'll sit there wondering why the counter won't tick. Place a Warehouse halfway between each pair of Stops to force continuous 2-tile corridors - this keeps the pathfinding clean. You'll want six scouts total, and you need to assign each to a separate flag on the triangle perimeter. This prevents them from clumping up when specters throw AoE attacks. The objective only checks living scouts plus tethered mules, so timing matters: finish that third Stop in the same tick both conditions are met to flip the quest instantly. If you're staring at a stuck counter reading 7/8 mules, one mule is probably mid-transit. Wait about 20 seconds, or just select the Stop and click 'Reset Trade Route' to force a re-tether. Oh, and specters love to re-path and murder your scouts the moment a Stop finishes. Place a temporary wooden wall segment diagonally in front of the Stop to make them re-path 2 tiles further away. It's a cheap insurance policy that saves you from disaster. ## All 6 Tribes: Benefits, Units & Alliance Requirements Picking a tribe in Pioneers of Pagonia isn't just about vibes - it's a commitment that shapes your entire playstyle. Some buffs look small on paper but snowball hard, while others demand serious resource investment before they pay off. Here’s what each group actually brings to your settlement. ### Mud-brick Clan: Construction Specialists If you hate waiting for builders to slap down walls, these are your people. The Mud-brick Clan provides a +20% construction speed bonus for every building placed on dry soil, steppe, or savanna sediment. That doesn’t sound flashy, but it means your defenses go up before the first bandit wave hits, which is huge. Their unique unit, the Mud-brick Watchman, is a solid mid-game guard. We’re talking 150 HP, 2 armor, and an 11-tile watch radius. They’re not cheap to keep fed - each one burns 0.4 food and 0.2 water per hour - but they’re reliable. The real payoff is the Sand Shield ritual. It requires 30 Arcane Sand, 10 Mana Crystals, and 200 Gold. Its effect is complete ranged damage immunity for buildings and pioneers inside the ritual radius for 12 in-game hours (≈6 real minutes). That’s not just nice - it’s the difference between your settlement surviving a siege or turning into a crater. ### Obsidian Kin: Smelting & Combat Experts These folks turn your smelters into molten obsidian factories. Base smelting gives you 15% yield, but with the Kin’s upgrades, you’re looking at 35% at Smelter II and a disgusting 55% at Smelter III. ### Feathered Nomads: Mobility Masters These are the speedrunners of Pagonia. Their caravans start at 0.9 tiles/s. Assigning a Hawk-Rider as an escort provides a flat +0.12 tiles/s to the caravan's speed. A single Hawk-Rider matches a stone-road caravan at 1.26 tiles/s, and with the Avian Agility/Avian Harness upgrade, reaches 1.38 tiles/s. But the real magic is their map mobility. Hawk-Riders can cross cliffs but cannot cross water; they still require bridges or shallows. Pre-scout a cliff edge and the elevation penalty vanishes; park a rider on the opposite shore and you get the Wind Over Water buff, letting your entire caravan skip across for 45 seconds. This means you can relocate your whole town to a better resource cluster 3–4 days faster than any other tribe. ### Pearl Divers & Amber Foragers: Resource Rivals These two tribes are all about raw materials, but they couldn’t play more differently. Pearl Divers build a three-tier infrastructure - Pearl Hut → Workshop → Sanctuary - harvesting a Raw Pearl every 45 seconds. Process those into Lustrous Pearls and Pearl Dust for jewelry and rituals. Amber Foragers are slower but tankier. Raw Amber is harvested from Amber Baneroot nodes by a generic 'Forager' role (or via the 'Amber Forager's Hut' building). The actual yield depends on node richness, hut placement, and tool upgrades. The Amber Golem has an estimated 80-120 HP. It does not drop Refined Amber or a Golem Core. | Feature | Pearl Divers | Amber Foragers | |---------|--------------|----------------| | Core Output | Pearls, fish speed | Refined Amber, golems | | Unit Buff | Tide Bond (+15% fish, +20% pearl respawn) | Golem Core crafting | | Combat Unit | Pearl Guardian (support) | Amber Golem (80-120 HP tank) | | Best Use | Fast economic snowball | Defensive resource walls | ### Sun Priests: Faith & Magic Support Sun Priests turn your temples into faith engines. Each Priest adds +1.25 faith per minute. A fully staffed Sun Temple (with 3 priests) generates 3.75 faith per minute in total. That sounds great until you see the upkeep: a Temple (Tier-1) has a daily upkeep of 6 gold coins, 3 incense, and 3 honeycakes (approx. 0.25 gold/min and 0.125 incense/min). Promoting a soldier to Sun Zealot costs 50 faith up front, but you get a 140 HP, 8 armor fighter with 4.2 tiles/s movement. Their Blinding Ray ability is the real star: for 60 gold, 12 incense, and 8 faith per shot, you fire a 60° arc range that blinds enemies, reducing their accuracy by 70% for 4 seconds. The economics are brutal, though. Four Zealots can permastun a chokepoint, but you’re burning 200 gold and 40 incense per minute without factoring faith regen. You’ll need a 300+ incense stockpile before you even think about recruitment, otherwise you’ll choke your economy dry. If you can afford it, Sun Priests break hard fights. If you can’t, they’ll break you first. ## Late-Game Alliance Strategy & Optimization ### Optimal Tribe Combination Strategy The key to surviving Pagonia's late game isn't picking one favorite tribe and calling it a day. Around Year 8, the November-content enemy starts hammering your storehouses, which means you need three things locked down: cash flow, quick response times, and military punch. Pioneers of Pagonia does not have formal alliance types (economic, mobility, military). The game's diplomacy system is simplified: you befriend neutral factions via a single delivery quest, after which they become permanent trading partners. Mixing tribes beats specializing because each duo covers gaps you didn't know you had, so let's talk combos that actually work: The Moon-Bloom Pairing is a distinct tribe of lunar gardeners, not a combination of Moonshade Rogues and Bloom Druids. Moonshade Rogues and Bloom Druids are separate tribes with their own diplomatic hooks. The Moon-Bloom Pairing offers orchard yield boosts (15-20%) through seed exchanges, while Moonshade Rogues provide stealth training and Bloom Druids offer yield enchantments through Grove Tokens. Meanwhile, Iron-Carriage (Ironhill Guild + Caravan Nomads) doubles your siege workshop speed for ballista carts and gives you cargo camels that ignore road penalties - absolute gold for moving ore across archipelago maps. Then there's Ember-Song: Emberkin Forgers grant flame traps that burn through enemy regeneration, and Songkeepers cut building repair costs by 25% when those storehouses are getting focus-fired. You'll want to time these alliances carefully. Activate your first one around Year 6 at a mid-map Tribal Embassy, and here's the trick - load a single caravan with gifts for both tribes and deliver within 24 hours. That triggers a joint feast and shaves 10% off unit hires for both factions. ### Sacred Relics & Tier 5 Rewards Reaching Tier 5 with a tribe feels good, but the real payoff comes after. These artifact quests demand Sacred Relics, which your carriers have to drag out of fog-of-war territories. Once you've got one, you can't just stuff it in any warehouse - you need a Trading Post with assigned traders to export it properly. When you finish a tier-5 quest, the tribe hands over a unique monument blueprint like a Tribal Stone Circle or Sun Obelisk. These aren't just decorations; they slap 15–30 attractiveness onto your settlement and pump out a small happiness aura. On campaign map 4, you must use a Treasure Hunter to excavate three specific artifacts from ruins. Only after recovering all three artifacts do the luxury monuments appear and the wealthy merchant milestone unlock. The perks don't stop there. Each tier-5 finish gives you a permanent +20% price bonus when selling that tribe's favorite good, plus a one-time reputation spike of 250–350 points. That opens up deeper diplomacy options you didn't even know existed. Watch out though - Relics hog space in your Treasury vaults. If every vault is packed, carriers dump Relics on the ground where they decay, and that'll fail the quest outright. ### Common Pitfalls & How to Avoid Them Alliances look straightforward until they break, and unconnected buildings are the first thing that'll trip you up. If a structure isn't linked by roads, haulers treat it like it doesn't exist, creating phantom shortages that murder timed quests. Double-check your road network before committing to any delivery. Warehouse management is another killer. Throughput caps at roughly 1.6 stacks per second per entrance tile, and once you hit 85% capacity, carriers start juggling barrels instead of moving them. That stalls production and guarantees failed deliveries. Keep one empty warehouse district for every 3,000 pioneers you have, and set your global stock ceiling to 75% to prevent the cascade. Caravans themselves can screw you. If two allied caravans show up on the same morning and your unloading bay is too narrow, the second one turns around after 30 in-game minutes. That registers as a failed delivery and nukes your reputation by -8. Build wider bays, or stagger your alliance activations. One more thing - don't dump surplus goods expecting faster reputation gains. Save that excess for when you need to re-roll alliances because your first pick ended up on the wrong side of the map. ## Campaign-Specific Diplomacy Tips ### Map 4: Specter Management & Tribe Order Map 4 is where diplomacy gets tricky, but there's a specific order that'll save you a ton of headaches. Map 4 ('Foes in the Fog') features two friendly factions: Whiterock Hamlet (northwest) and Violetvale (northeast). The recommended order is: 1) Whiterock Hamlet (by expanding territory to 70,000 m²), 2) Violetvale (by completing two of three objectives: Supply Outpost Village, Supply Expedition Camp, or Recruit Construction Workers). If you're chasing the 'Peacebringer' achievement, you'll need to be even more careful. You can't issue a single attack order the entire map, so you'll be bribing human bandit camps through the Parley timer instead. ### Using Specter Wards & Magical Immunity After you wrap up the 'Ghosts of the Past' quest, tribes will start selling Specter Wards - but only at 90 trust, which means some serious reputation grinding. Here's what you'll need for each one: - 400 gold - 20 stone - 10 crystals Yeah, they're expensive, but these wards project an 18-tile radius aura that deals 45 magic damage per tick. That magical immunity basically trivializes the final campaign missions, making them worth every penny. Success in Pagonia hinges on understanding the intricate dance of trust, quests, and tribal benefits. By strategically managing your reputation, selecting the right quests, and forming complementary alliances, you can secure the economic and military power needed to dominate the late game. Now, go forth and build your empire with confidence.
More pioneers-of-pagonia Guides
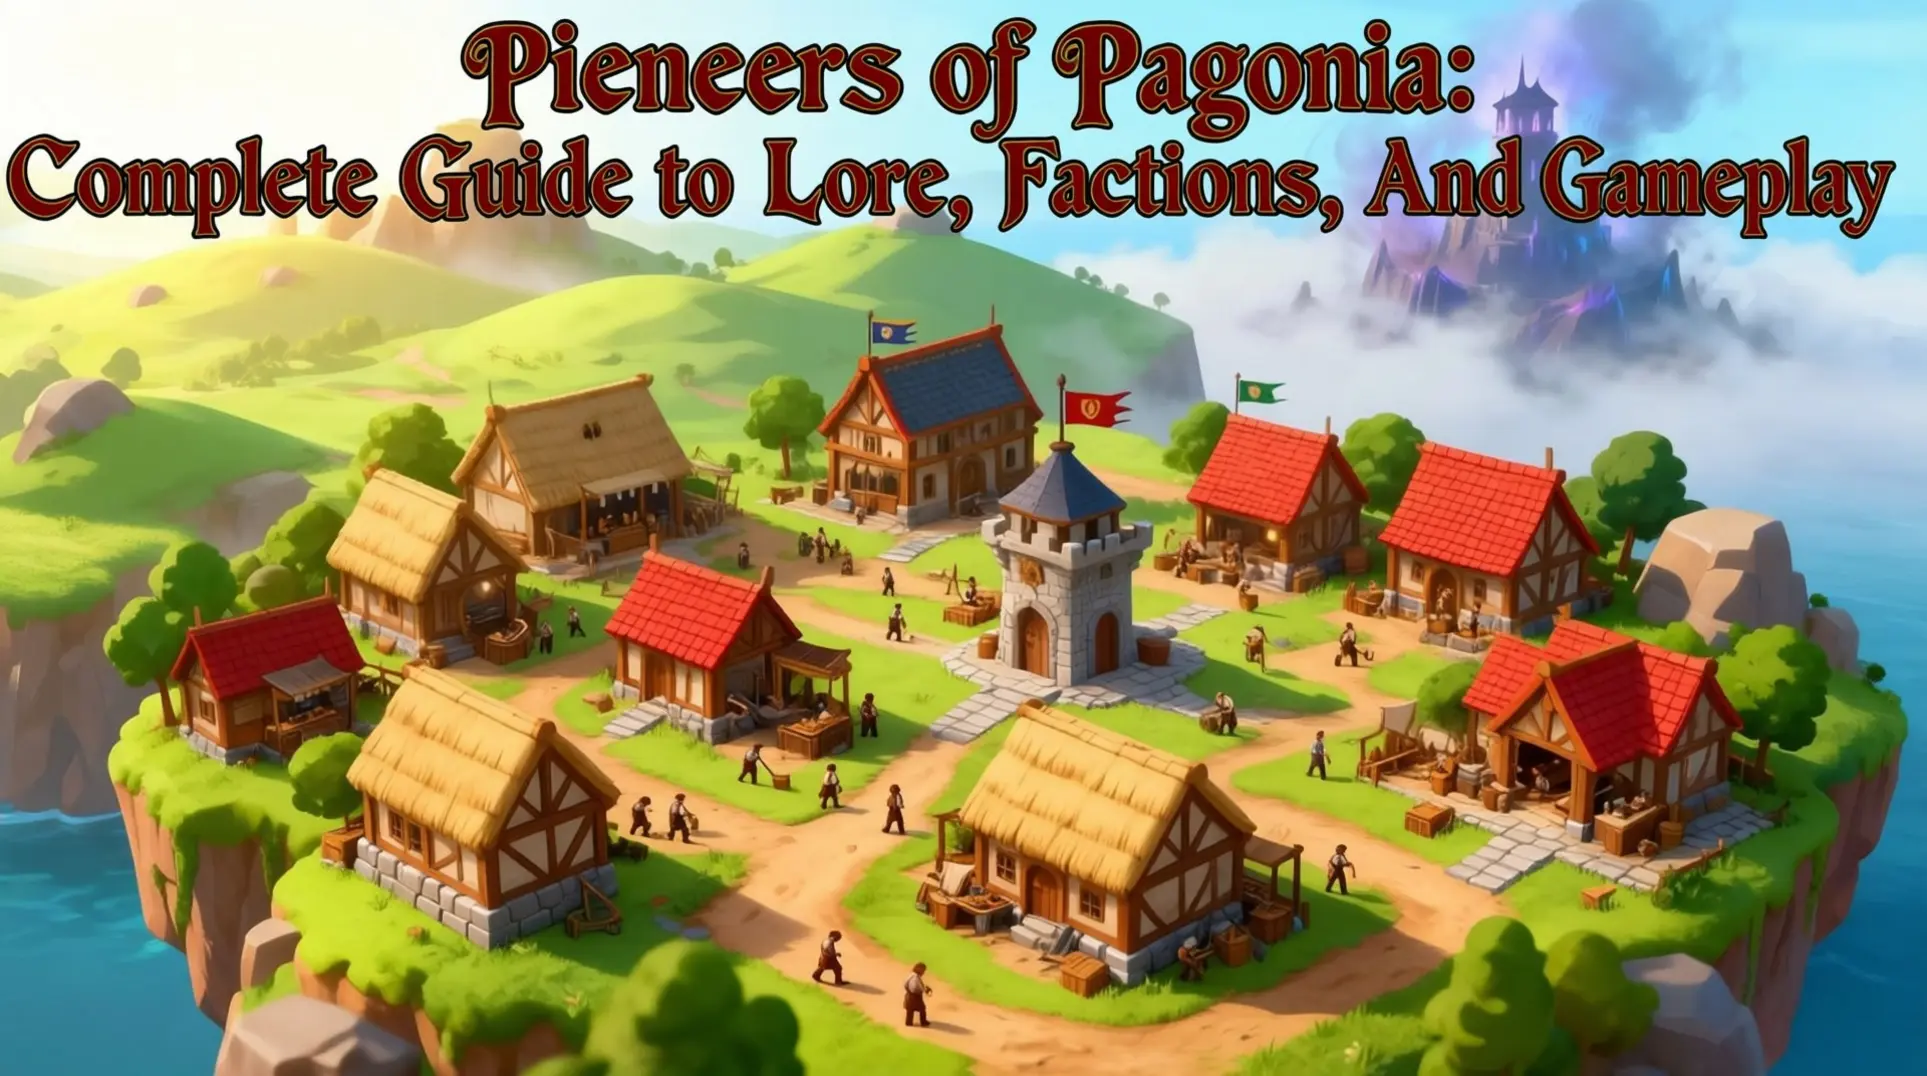
Pioneers of Pagonia: Complete Guide to Lore, Factions, and Gameplay
A comprehensive guide to Pioneers of Pagonia, covering the Great Calamity, factions, the Tower of Visions, artifacts, campaign acts, and strategies for survival and rebuilding.
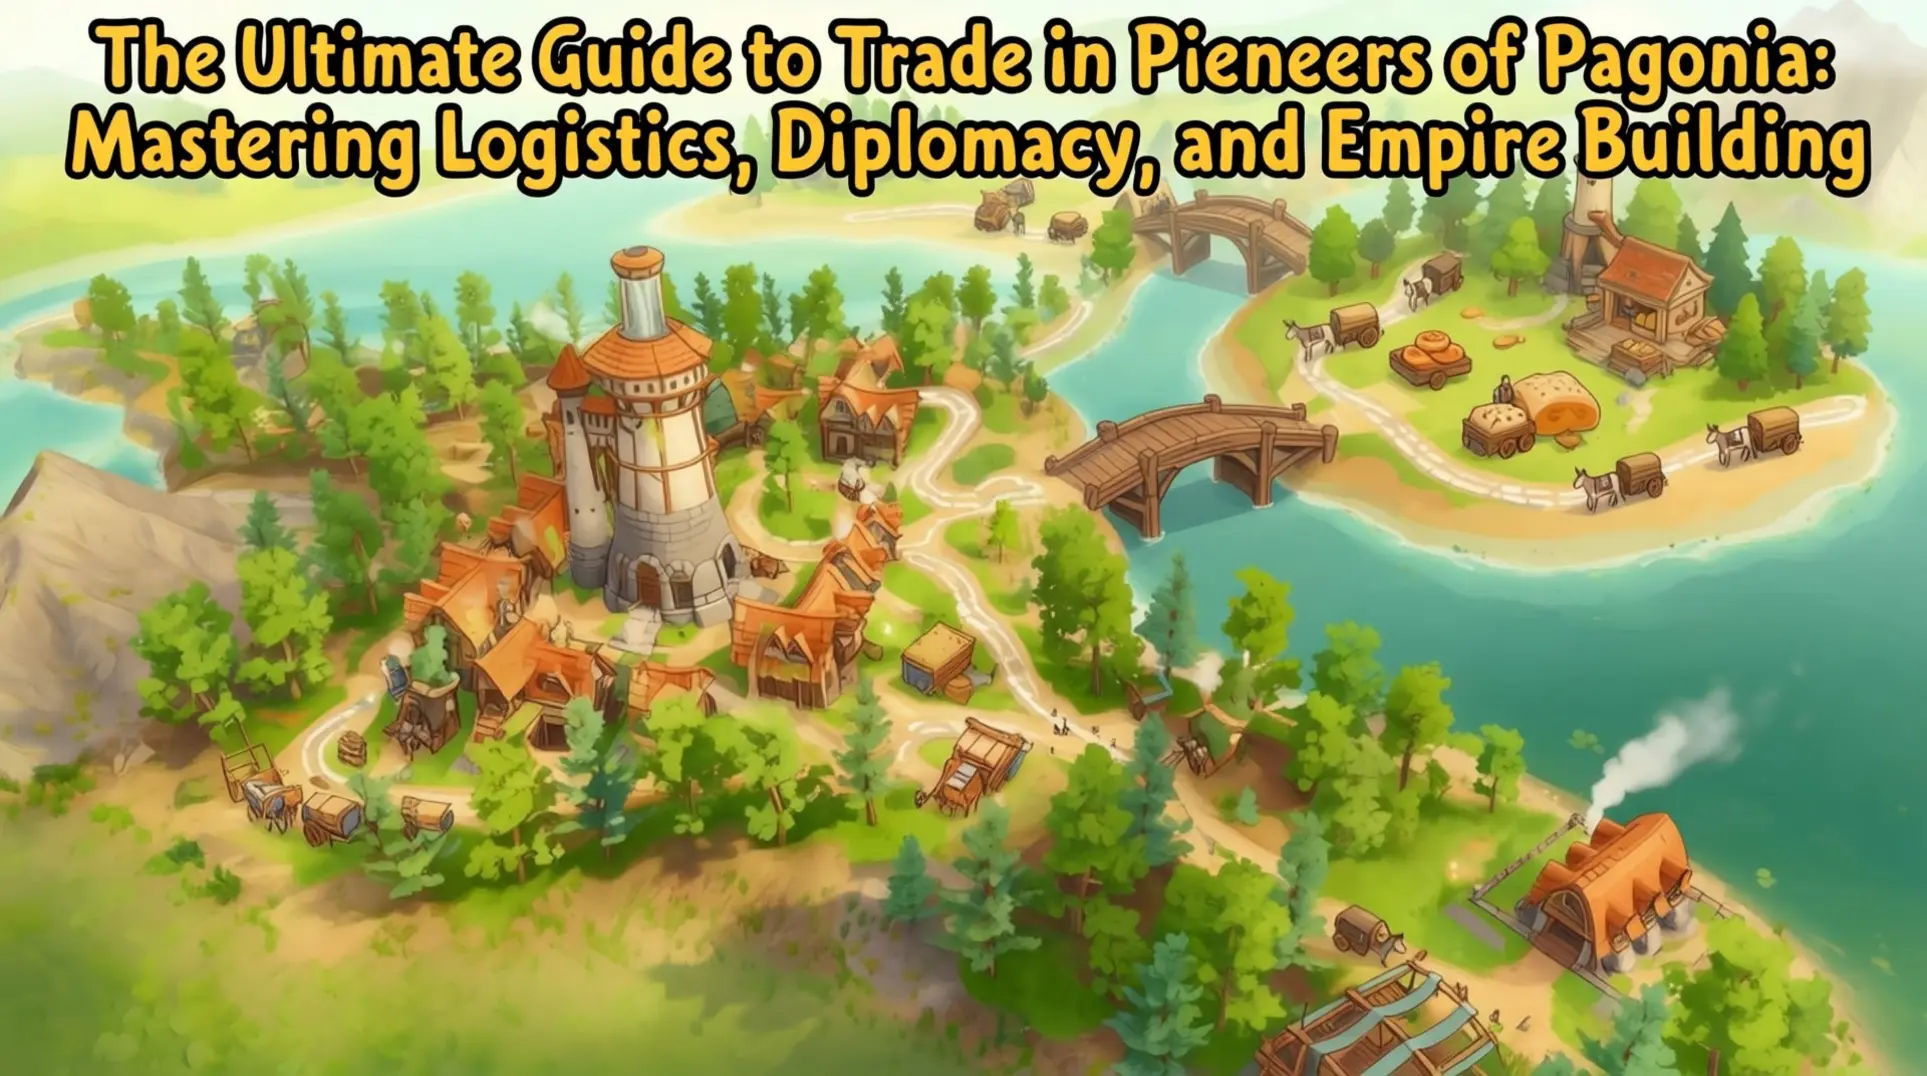
The Ultimate Guide to Trade in Pioneers of Pagonia: Mastering Logistics, Diplomacy, and Empire Building
A comprehensive guide covering everything from basic trade mechanics to advanced multi-island strategies in Pioneers of Pagonia. Learn how to optimize logistics, manage factions, and build a profitable empire.

Mastering Pioneers of Pagonia: The Ultimate Guide to Logistics, Ratios, and Traffic
A complete guide to Pioneers of Pagonia's complex production chains. Learn optimal ratios, micro-hub placement, traffic management, and troubleshooting to keep your settlement running smoothly.
AI Tactical Companion
Consult with our specialized tactical engine for pioneers-of-pagonia to master the meta instantly.