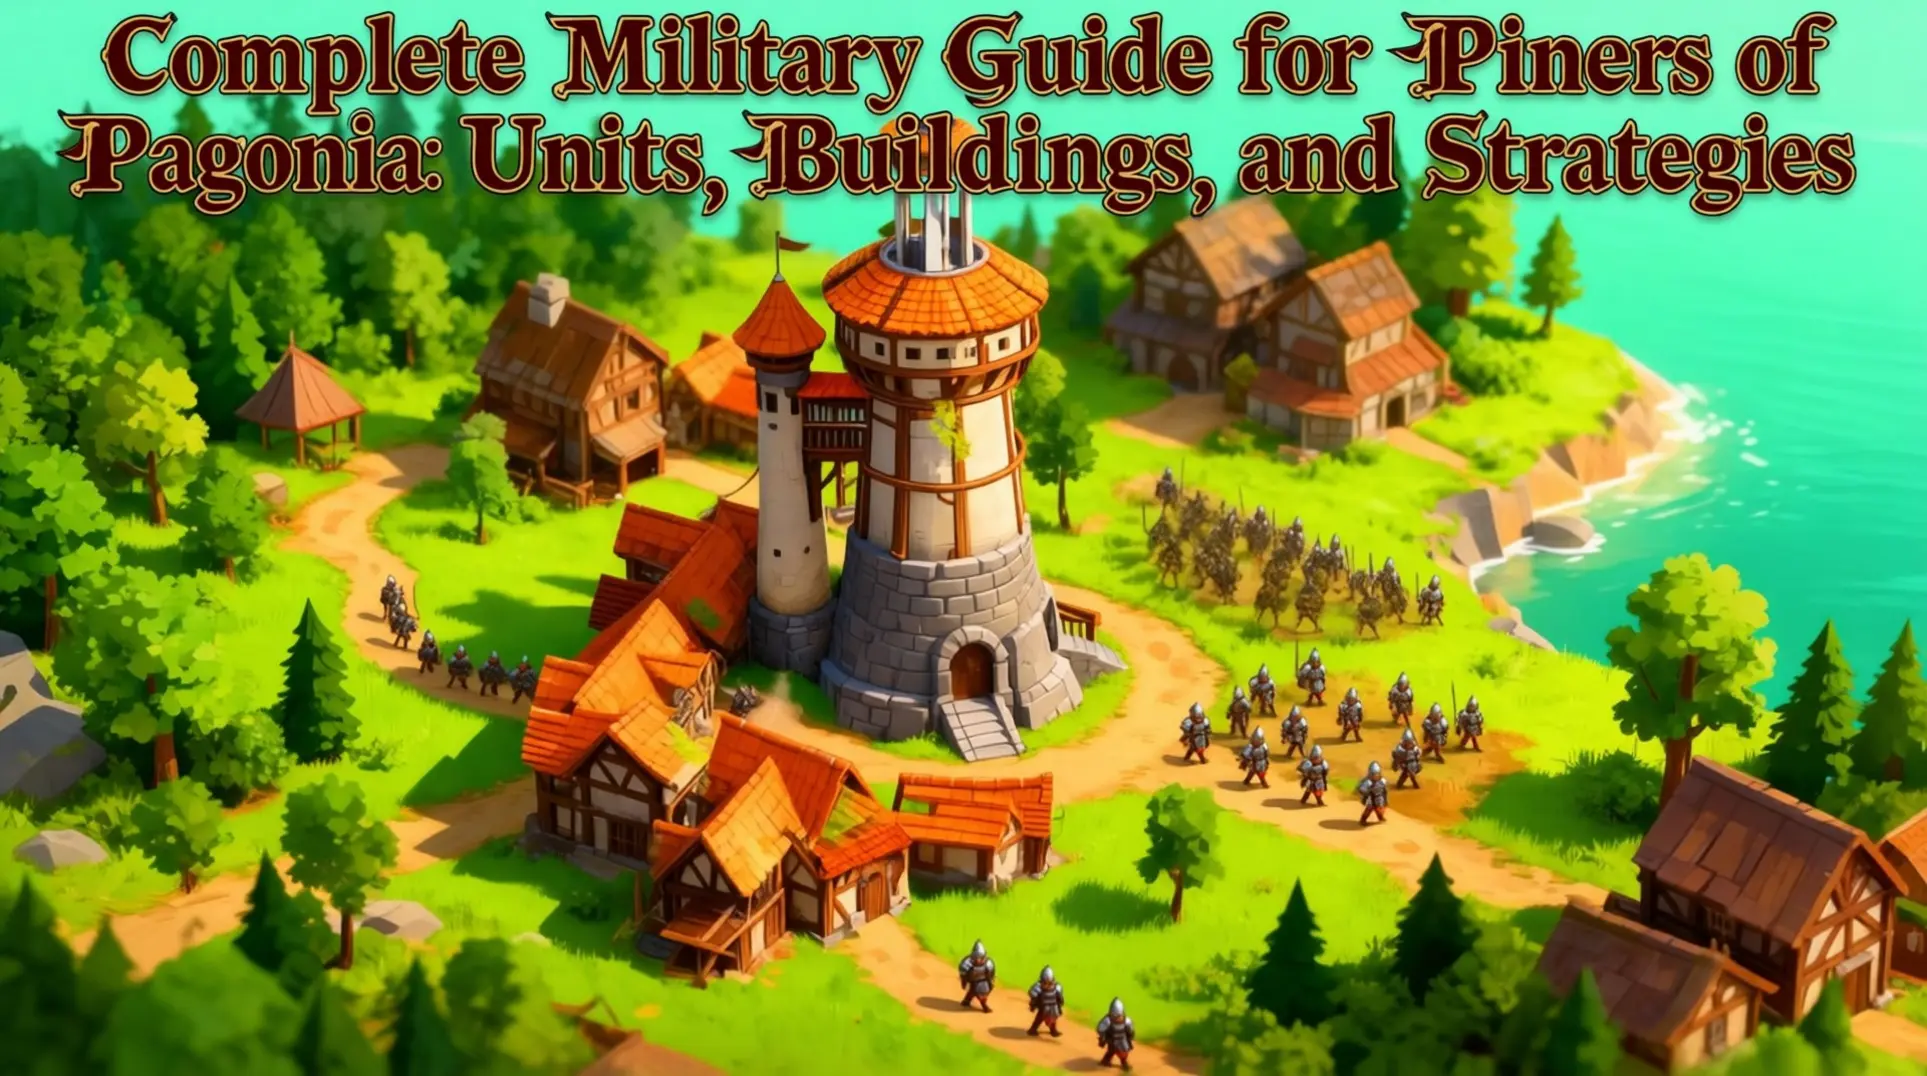
Complete Military Guide for Pioneers of Pagonia: Units, Buildings, and Strategies
Introduction
Mastering the military in Pioneers of Pagonia is about more than just building units - it's about understanding a complex system of roles, resources, and threats. From cheap border guards to elite anti-spectre specialists, each unit has a specific purpose. This guide breaks down the entire combat system, from the fundamental split between Soldiers and Guards to the advanced strategies needed to counter every enemy type.
Military Fundamentals: Understanding Pagonia's Combat System
The Two-Unit Military Core: Soldiers vs. Guards
If you're looking at your barracks and wondering why there are two different military units, here's the deal: Guards and Soldiers serve completely different roles, and mixing them up will cost you. Guards are your territorial enforcers - they automatically man nearby towers and stand their ground when raids hit your borders, which means you don't have to micromanage them at all. The critical difference is that Guards can actually expand your territory by garrisoning a Guard Tower, and that flips unexplored tiles into buildable land.
Soldiers, on the other hand, are your offensive generalists who can't claim a single tile of ground. You'll have to manually send them on expeditions beyond your borders to clear out hostile camps, and combat resolves off-screen while you keep building. Soldiers do pack more punch with a base attack power of 3 compared to a Guard's 2, and they're universal combat units that can fight pretty much anyone except Spectres. But that extra power comes with a much steeper price tag - Soldiers need iron and planks just for starter gear, and higher tiers require diving deep into the steel smelting chain.
Guards are the budget option since they only cost food and occasional replacement gear if a raid actually breaks through. The expedition system itself is pretty straightforward: you queue weapons at your barracks, assign recruits, then click a hostile camp and send them off. You'll get a report if anyone doesn't make it back, but remember this core rule: no Guard ever goes on expedition, and no Soldier ever helps you push that border forward.
Here's the quick comparison:
| Feature | Guards | Soldiers |
|---|---|---|
| Primary Role | Territory defense/expansion | Offensive expeditions |
| Base Attack | 2 | 3 |
| Territory Claim | Yes (via Guard Towers) | No |
| Management | Automatic | Manual assignment |
| Cost | Food + occasional gear | Iron/steel + planks |
Equipment Tiers: From Padded Cloth to Steel Plate
Your military strength isn't just about numbers - it's about gear quality, and every unit operates on a three-tier system that directly affects combat. The tiers are straightforward: Tier 1 is iron gear, Tier 2 is steel, and Tier 3 is gold-infused steel for elite troops.
Here's exactly how you climb this ladder. Tier 1 iron gear just needs a basic Smelter and iron ore from your mines, but Tier 2 steel requires both coal and iron fed into a Furnace. Tier 3 demands steel plus gold, which means managing multiple advanced production chains simultaneously.
The production chain gets intricate fast. Steel weapons like daggers, halberds, and maces come from the Weaponsmith after smelting, while steel shields are crafted at the Armorsmith. For the toughest armor, you'll need steel-padded versions that combine leather or cloth with steel plates at the Tailor's Shop. One pro tip: set Weaponsmiths to 'steel only' and Armorsmiths to 'steel shields only' so lower-tier items don't waste valuable steel.
Now here's what'll save your entire run - enemy scaling is completely gear-triggered. Stockpiling nickel summons Greedy Watchers with steel weapons, and stockpiling gold brings Vicious Watchers who demand both steel and gold gear. You can literally delay these endgame enemies by not mining certain metals until your economy is ready.
Don't forget logistics, because under-provisioning carriers is a classic mistake. New steel weapons will sit in stockpiles if you don't have enough people moving them to barracks, creating massive bottlenecks. And don't feel pressured to uniform your army's tiers - mixed squads work great. A front line of steel shield bearers with steel-padded armor can tank hits while iron-tier archers or spearmen behind them contribute damage without breaking your resource bank.
Military Buildings: Strategic Placement & Functions
Guard Towers: Early Defense & Border Expansion
Guard Towers are your cheapest way to claim new land early on, costing just 6 Stone each. A finished tower can hold up to 10 soldiers, but it only projects its 200-meter territory ring when you've got at least one soldier garrisoned inside and a steady Stone supply. Without both, you're just staring at a useless stone cylinder.
Extra troops stacked inside won't expand the radius - they're just reserves for defense or manning future towers. The sweet spot for placement is 180–190 meters apart, letting those circles overlap for the largest safe footprint with the fewest buildings. Just remember, Guard Posts from patch 0.14 only offer half the radius, so stick to full towers for serious expansion.
Garrisons: Mid-Game Strongpoints & Patrol Hubs
Once your army outgrows towers, Garrisons become your new best friend. These hold 12 soldiers at tier-1 and bump up to 16 at tier-2, but more importantly, building more garrisons is mandatory if you want to field a bigger army.
The real game-changer is the patrol system. You set a patrol point through the building menu, and your soldiers will walk to that flag and automatically attack any hostile within their radius. Unlike Guards who stick to your territory, Soldiers will cross borders to chase down threats - so if you've been wondering why your Guards won't pursue, that's why.
This lets you paint patrol routes and create actual kill-zones. Overlap patrol circles from two garrisons to shred anything caught in the middle, or place flags on narrow paths to funnel raiders into a death corridor. It's night and day compared to static tower defense.
Military Camps: Forward Operating Bases (Often Missed)
Here's the building most players sleep on: Military Camps. These don't expand your borders at all, but they act as massive unit reservoirs - 12 soldiers per camp, and you can hit the 24-troop reserve cap by building two side-by-side.
Their job is to be a forward staging area for offensive pushes. Think of them as storage that lets you stockpile troops right where you need them, with no border restrictions.
The smart setup is to fill both camps, then pause them so your troops stay locked inside. Build a short plank road and a small warehouse nearby for resupply, and you've got a forward operating base ready to go.
When it's time to strike, reactivate the camps - but stagger their activation by 5–10 seconds to avoid path-finding lag. Then use a Garrison's patrol route to chain-attack enemy camps, feeding fresh troops from your forward base as needed. It's the difference between a scattered attack and a surgical strike.
Unit Types: Roles, Costs & Specializations
Guards: Cheap Border Pushers & Early Defense
Guards are the only units in Pioneers of Pagonia that can expand your territory, so you'll be relying on them from the moment you drop your first Guard Post. They carry boundary stones directly from Guard Towers or Posts, which means they're your primary tool for pushing borders outward - even if they're terrible in a real fight.
Here's the good news: Guard Towers and Posts only cost 6 Stone each, no gold, wood, or food required. You can spam these things early. The catch? Guard Posts only expand 100 meters and hold 5 units, while Guard Towers push 200 meters but take up more space. You'll want to balance density with coverage based on your map layout.
Combat-wise, Guards sit at a measly 2 attack power, which makes them decent against human thieves but borderline useless against supernatural threats like spectres or werewolves. They do have three upgrade tiers - Guard, Veteran Guard, and Champion - that boost their power, but these upgrades don't change the territory expansion cost, so you're mostly paying for slightly better peacekeeping.
Soldiers: Balanced Frontline Fighters
Soldiers are your bread-and-butter heavy infantry, the measuring stick you'll use to judge every other melee unit. Armed with bronze swords and wood shields, they hit for around 14 attack power while their shields mitigate 30% of incoming damage, making them tanky enough for early and mid-game threats. They're effective against thieves, bandits, and boars, but you should never throw them at werewolves or spectres without Fearnaught support - trust me, they'll fold.
The shield upgrade system is multiplicative, which means swapping to a bronze shield jumps your mitigation from 30% to 45%, nearly doubling your effective HP. That's a massive spike for just one gear swap. Veteran Soldier status (Bronze-tier) grants increased attack power and survivability, but it doesn't add any special traits, so think of it as a stat bump rather than a game-changer.
Rangers: Ranged Specialists & Thief Detectors
Rangers are your only ranged unit, and they bring two killer abilities to the table. First, they're the only unit that can instantly unmask disguised Thieves, preventing those sneaky bastards from robbing your warehouses. Second, their torches apply a 5-second burn DoT and grant a 15% dodge chance versus slow attacks, which explains why they shred bandit camps so efficiently.
The downside? Basic Rangers only have 2 attack power, so you'll want to upgrade them quickly. Skilled Rangers jump to 30 attack power but cost 2 gems per recruit plus Padded Armor, and those gems only come from trade caravans. You're looking at a hard cap of roughly 10–15 Skilled Rangers per game, so you can't mass-produce them. On the bright side, Rangers never panic when encountering Spectres, making them perfect forward scouts on haunted maps where other units would flee.
Fearnaughts: Elite Anti-Spectre Tanks
If you're fighting spectres or werewolves, Fearnaughts aren't optional - they're mandatory. Each one costs one Silver Blade and one Light Armor, both crafted from Silver ore plus Leather or Cloth, so you're sinking serious resources into these guys. The payoff is brutal: Silver Blades deal true damage to spectres, allowing a single hit to kill one, and this damage ignores lycanthrope regeneration, making them just as deadly against werewolves.
Fearnaughts also emit a heroic-tier terror aura that reduces spectre accuracy by 30% and prevents the Horror debuff, which means a small squad can actually hold the line instead of breaking. The Heroic Fearnaught tier unlocks through Heroic military tech, and despite some old build confusion, rubies are not required, so you can breathe easy on that front. One critical warning: Fearnaughts are vulnerable to fog banks, which grant spectres 50% ethereal dodge. Always deploy them inside forward outposts to avoid this nightmare scenario.
Enemy Types: Threats & Counter-Strategies
Look, not every threat in Pioneers of Pagonia comes from the wilderness. You've got bandits raiding your storerooms, thieves sneaking invisibly through your districts, ghosts panicking your workers, and werewolves that multiply by infecting your own people. Each one needs a different approach, so here's what actually works.
Bandits: Violent Raiders from Fixed Camps
Bandits operate from fixed camps that function as permanent raid hubs until you burn them to the ground. These camps spawn in three distinct tiers - Green camps pack 3 Attack Power, Orange ones hit for 8, and Red camps will wreck you with 15 Attack Power - so you can't just yolo your starting militia at the first one you see.
Unfortunately, these raiders specifically target your open storeroom piles and will make off with raw materials or finished goods if they reach them. The real problem? Any camp you leave standing will randomly increase its raid frequency over time, which means you can't just turtle up and hope they go away.
Your first line of defense should be garrisoned watchtowers within 25 tiles, as they'll automatically draw aggro from raiders. Stone upgrades are worth every resource since they double the tower's hit-points and add a second archer slot. If you want to be proactive, there's a manual patrol trick where you select 5-6 soldiers and right-click the camp - they'll engage the enemy en route instead of waiting for a raid to start. And if you're really in a pinch, the human wave tactic actually works: just keep sending successive recruit waves until the garrison breaks.
Thieves: Fast Skirmishers That Steal Goods
Thieves work completely differently from Bandits. They operate from hidden camps in unexplored regions and spawn stealth units that slink toward your storage districts undetected. You won't even know they're there until you notice resources missing, which makes them incredibly annoying.
Detection is absolutely essential here. Rangers from Adventurer's Guilds are the only units that can spot stealth enemies, so you need to assign them to Guard Towers or Garrisons to expand your detection radius. Guard Towers themselves provide static detection, and upgrades improve their range significantly.
This means your storage districts must be within range of these towers or ranger patrols - no exceptions. The good news is that when you finally destroy a thief camp, all the stolen goods drop right there, so you can recover everything you lost.
Spectres: Night-Only Ghosts That Panic Civilians
Spectres are the supernatural nightmare that spawns from Broken Tombs and lingers near their borders. These ghosts don't care about your walls at all - they just phase right through them and panic your civilians, which brings production to a screeching halt.
Blessed shrines are your best counter, as they project a ghost-repellent radius that actually damages spectres. The downside is that you have to manually bless them and re-bless every few nights, which gets tedious fast. You can overlap two shrines to cover larger villages, but the blessing cost scales up accordingly.
For direct combat, Fearnaughts are the only soldiers with silvered weapons that can land critical hits on incorporeal enemies. Set their patrol flags one tile outside the Broken Tomb's wander radius and they'll handle the problem while you focus on other threats.
Werewolves: Self-Replicating Infection Threat
Werewolves aren't just tough enemies - they're a self-replicating infection that can spiral out of control. Their bite mechanic means that if they win combat against one of your Pagonians, that unit becomes infected and marches straight to the nearest Moon Glen to transform into another werewolf.
Full moon cycles make everything worse by granting them +25% movement speed and +2 combat score. Your only real option is quarantine: either sacrifice bitten civilians or intercept them before they reach the Glenn. Don't bother looking for a cure - the Apothecary can only produce Healing Salve, and no lycanthropy cure exists in the game yet.
Silver weapons are crucial. The Silver-Bladed Sword requires 1 Silver Ore and 2 Iron Ingots at a Forge Tier II, and Fearnaughts are the only unit that can reliably 1v1 adult werewolves. If you're struggling with damage output, treasure buffs grant a cheap +3% damage aura to all military units for just 5-6 coins, which can make the difference in a tight fight.
Advanced Combat Strategies & Pro Tips
Unit Composition & Synergy Builds
Your army's only as good as its chemistry, and Pioneers of Pagonia's unit roster has some nasty surprise interactions you need to know about.
Rangers are your Swiss Army knives. They scout, they pull, and most importantly, they never panic. This isn't just a morale boost - it's the difference between winning and getting routed when the Spectres show up. While Guards drop their weapons and run, Rangers keep shooting, which means they'll consistently delete the one enemy that can disarm your entire front line.
Soldiers are your workhorse brawlers. They're tougher and hit harder than your militia, but they've got a glass jaw for fear effects. If a Spectre breathes on them, they'll fold unless you've got someone clearing that aura first.
That's where Fearnaughts come in. These elite line-breakers straight-up ignore Spectre fear, making them the only reliable front-line anchor when you're pushing into haunted territory. They'll absorb the alpha strike while everything else cleans up.
Guards, on the other hand, are for garrison duty only. They're cheap and they'll hold your borders, but they literally refuse to step outside your territory, so don't even think about bringing them on offense.
For a fog-reveal and den-hunting squad, you'll want 3 skilled Rangers to spot threats and snipe Spectres, 4-6 Soldiers for the actual killing, and 1-2 Fearnaughts to tank Werewolf ambushes. Remember the Spectre First Rule: If you see that glowy menace, Rangers and Fearnaughts focus it down before it turns your army into scared villagers.
Economic Considerations: Weapons Production Chains
The December 2025 Mining Update turned weapon crafting into a six-step logistics nightmare, so let's map this out before you starve your smiths.
You start with a Copper Smelter (T1) - feed it copper ore and coal, get ingots. Simple enough. But the real pain begins at Steel Furnace (T3), which needs iron ingots, coal, and lime to spit out steel ingots. One furnace chews through 192 coal per in-game day, so you need two fully-staffed coal mines running before you even think about your first steel order.
Those steel ingots go to a Weaponsmith (T3) staffed by 3 master blacksmiths who'll crank out one steel sword every 70 seconds - if they're supplied. The most common failure pattern? Idle smiths staring at empty coal stockpiles. Check your coal first, always.
And remember: a Blade Dancer isn't just a sword. You need that steel sword, steel armor, and 2 ceremonial feathers - so you're juggling three supply chains for one elite unit.
Mints & Treasuries: The Coin Power Boost (Often Overlooked)
Here's a system most players sleep on: Mints turn copper or silver ore into coins, and when you stash those coins in a Treasury, your melee units get a raw combat buff. Sounds simple, right? The execution is where it gets messy.
Carriers prioritize silver coins over copper, which means if you're producing both, your copper stacks will sit at the Mint doing nothing while haulers trip over themselves for silver. The workaround? Pause silver production if you're short on haulers - copper alone still gives you an edge.
Worse, Treasury slots split evenly, so a massive coin stack can gridlock every slot and block relics or diamonds from being stored. The fix is building a second Treasury dedicated purely to valuables.
Pro tip: Overproduce coins before hitting major bandit camps. Fresh reinforcements get the buff instantly, and you'll save yourself a scrambling supply run mid-fight.
Patrol & Attack Mechanics: Beyond Basic Defense
Patrols aren't just for defense - they're your primary offensive tool once you understand the quirks.
Only Soldiers will cross your border during patrols; Guards hit the edge and stop cold. This is actually useful because it lets you filter out the cowards automatically. If you draw a patrol route that ends directly on an enemy camp, any Soldiers assigned to that garrison will automatically march out and attack when the route cycles. No extra orders needed.
For serious pushes, drop a Military Camp halfway to the front, staff it with 4-6 Soldiers, and draw a short patrol from there. This cuts reinforcement time from two days down to a few hours.
Feeling fancy? Create patrol overlap by having two routes intersect. The units merge into a roaming death-ball that'll double your DPS on tough camps, though it does make them clump up for AoE attacks.
Timing matters, too. Draw your routes the evening before so patrols launch at dawn. Night departures cause piecemeal arrivals and get your troops slaughtered in the dark.
And if everything goes sideways, you can right-click the last segment of a route to emergency-cancel - your troops will immediately turn around and head home.
Progression Guide: Early to Late Game Military
Phase 1: Early Game (0-30 Population) - Basic Defense
First things first - get that Village Hall down immediately. You'll burn 6 Logs, 4 Planks, and 2 Stone, and it's what gives you access to Guard Towers and Garrisons as your opening military options. Don't get too excited about the Garrison though, because it's complete overkill until you're past 60 population - just focus on Guard Towers for now.
Each Tower costs 10 Logs, 6 Planks, and 4 Stone, houses 3 Guards, and only costs 0.2 Food per Guard each day, which is pretty cheap insurance. Placement is everything: position it
Conclusion
Success in Pioneers of Pagonia hinges on a balanced military that evolves with your settlement. By correctly deploying Guards for expansion, Soldiers for offense, and specialized units like Rangers and Fearnaughts for unique threats, you can secure your borders and push into dangerous territory. Remember, your economy fuels your army - manage your production chains and coin supply wisely to ensure your forces are always ready for the next challenge.
More pioneers-of-pagonia Guides
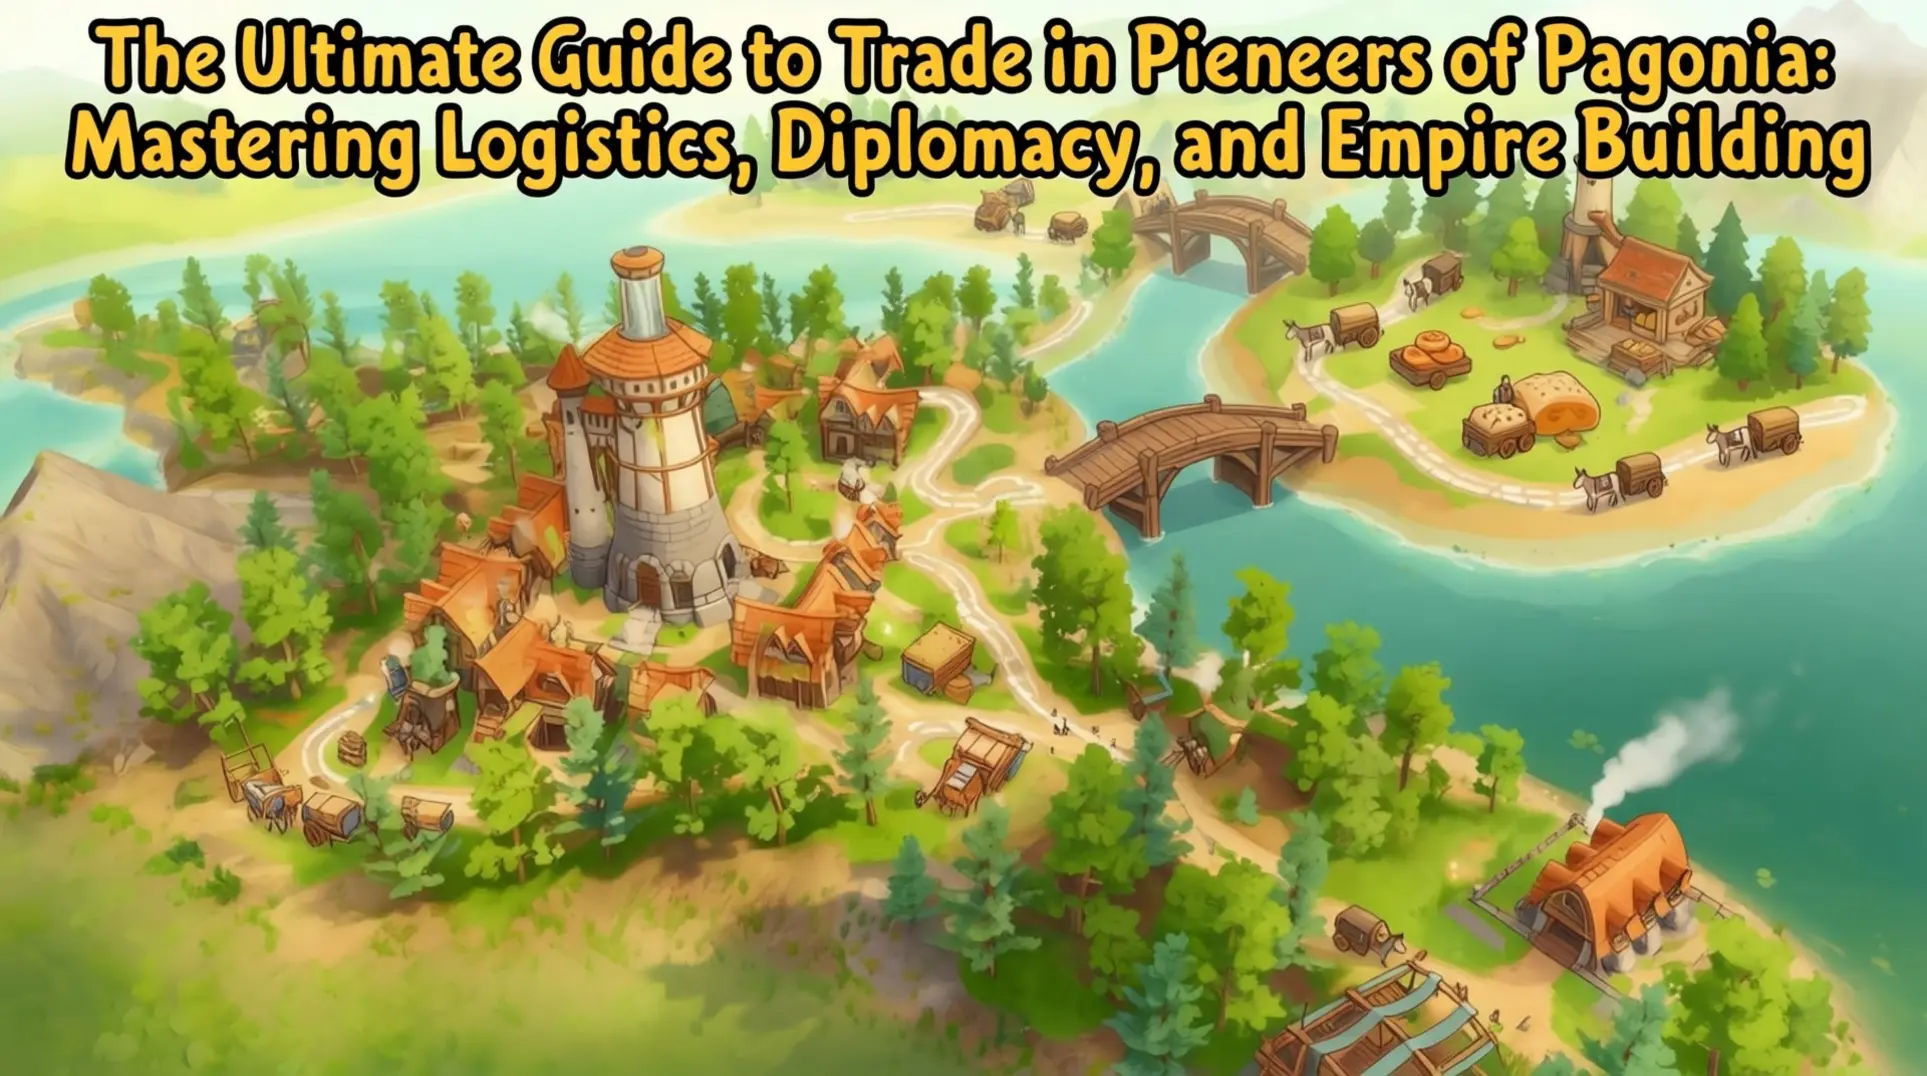
The Ultimate Guide to Trade in Pioneers of Pagonia: Mastering Logistics, Diplomacy, and Empire Building
A comprehensive guide covering everything from basic trade mechanics to advanced multi-island strategies in Pioneers of Pagonia. Learn how to optimize logistics, manage factions, and build a profitable empire.

Mastering Tribe Diplomacy in Pioneers of Pagonia: The Complete Guide
A comprehensive guide to mastering tribe diplomacy in Pioneers of Pagonia, covering trust meters, quests, alliances, and late-game strategies.
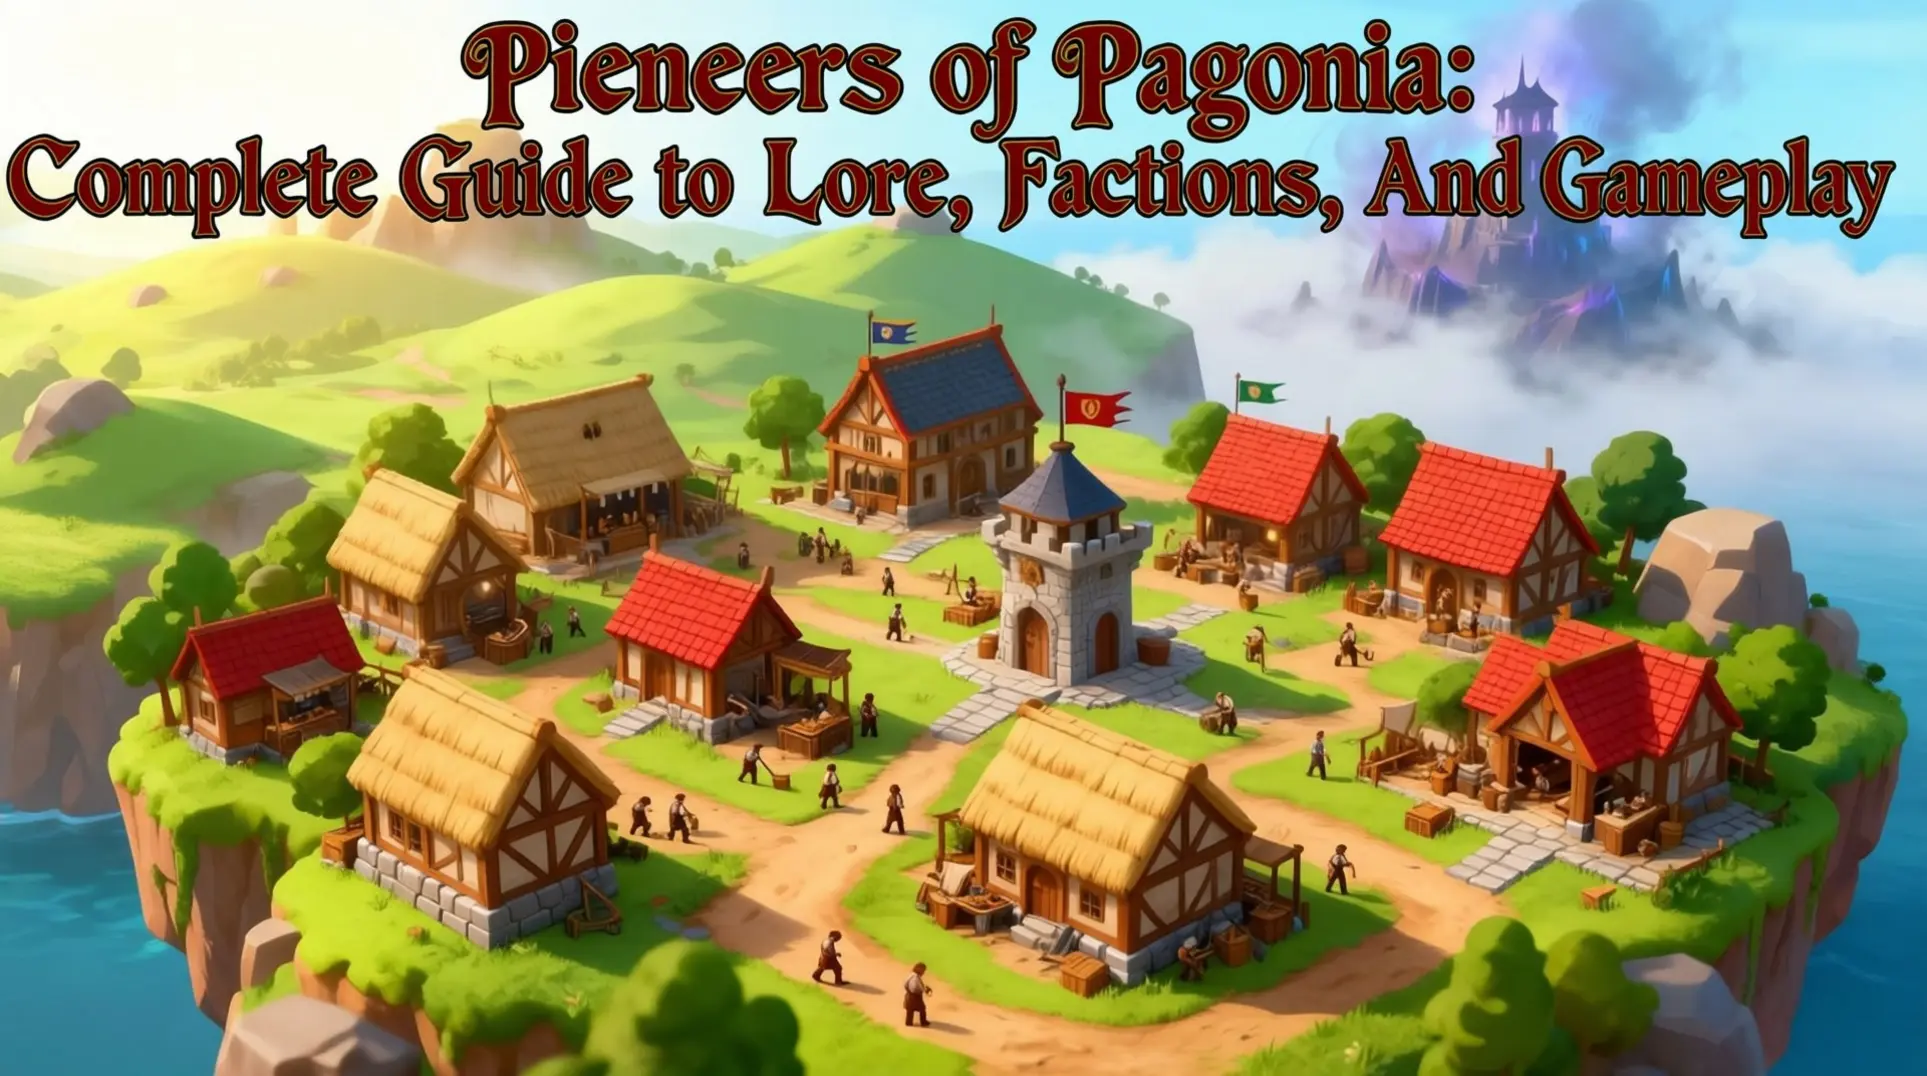
Pioneers of Pagonia: Complete Guide to Lore, Factions, and Gameplay
A comprehensive guide to Pioneers of Pagonia, covering the Great Calamity, factions, the Tower of Visions, artifacts, campaign acts, and strategies for survival and rebuilding.
AI Tactical Companion
Consult with our specialized tactical engine for pioneers-of-pagonia to master the meta instantly.