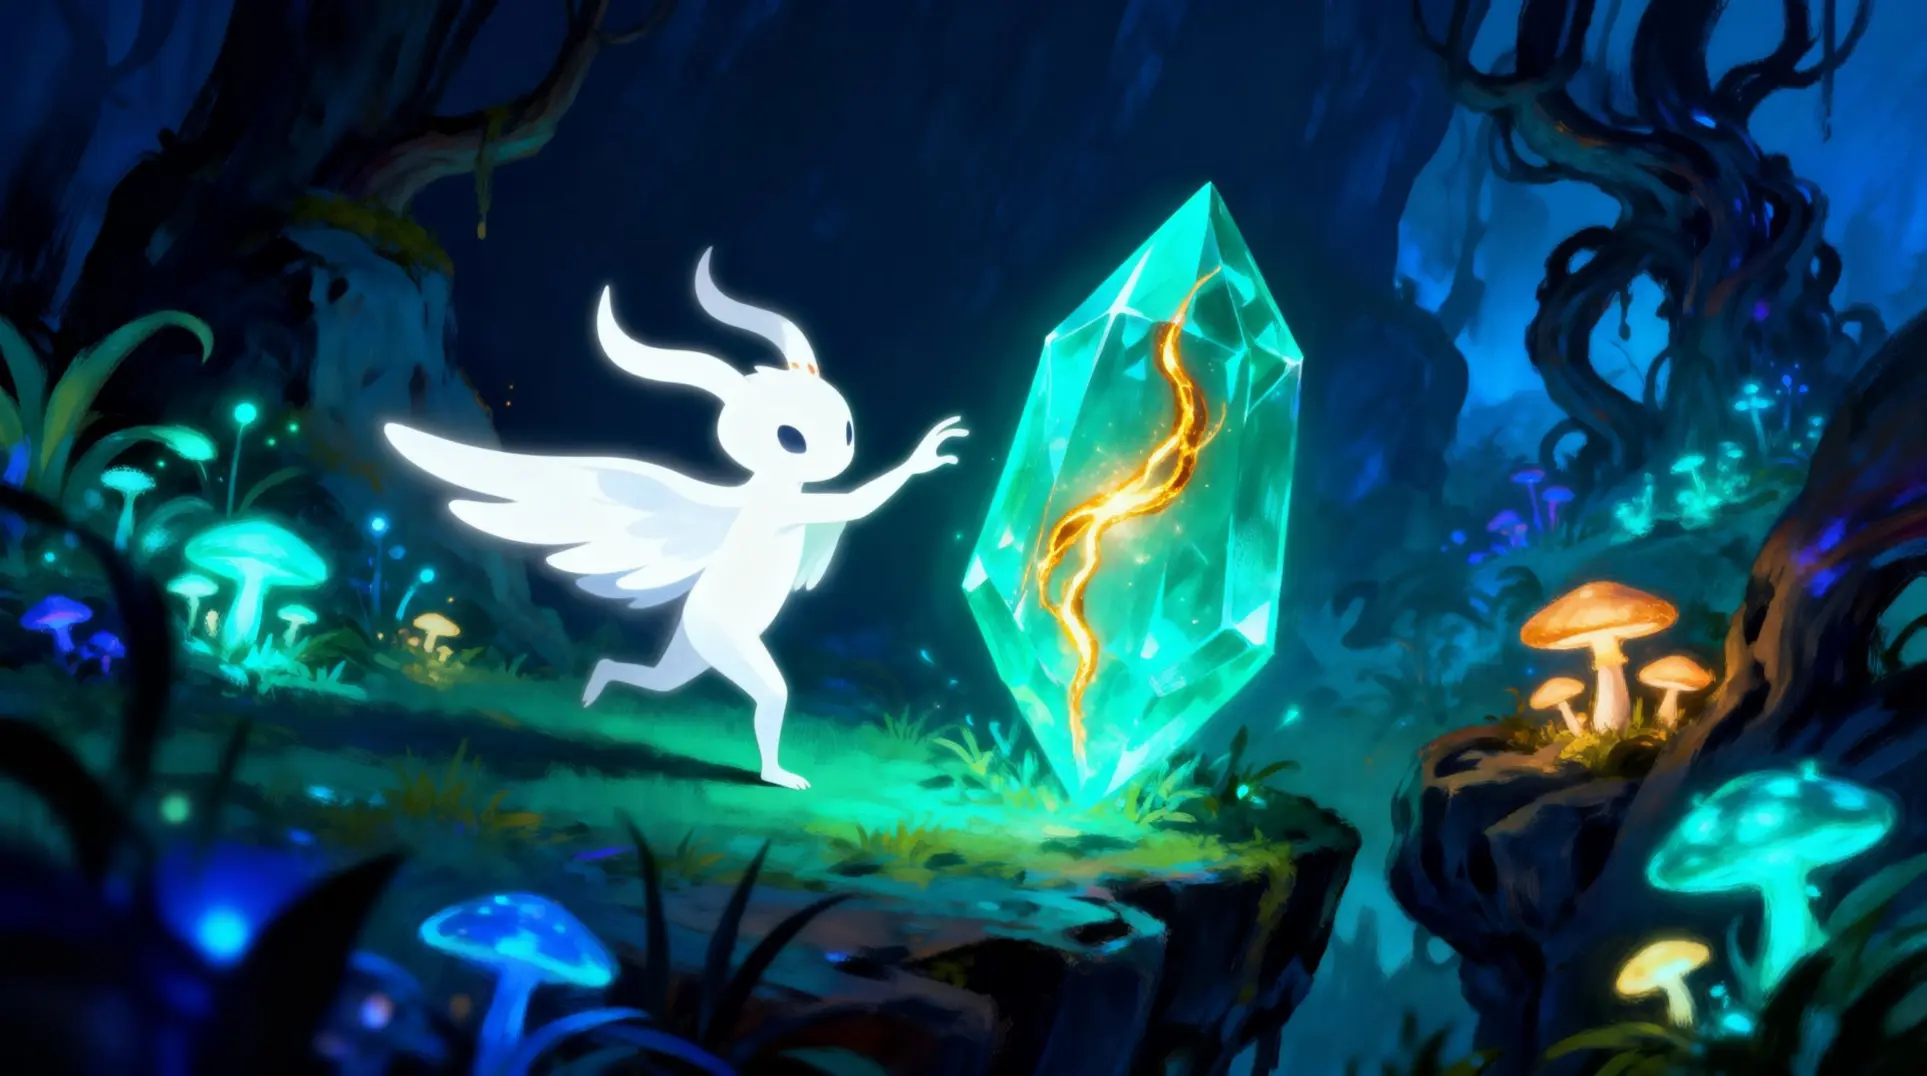
Ori and the Will of the Wisps: Ultimate Resource Farming Guide

Introduction
Mastering Ori's progression means understanding two distinct currencies: Spirit Light and Gorlek Ore. One is farmable, the other is finite, and confusing them will cost you time. This guide breaks down the most efficient farming loops and the exact locations of every ore, so you can upgrade your abilities and rebuild the Glades without the grind.
Dual Resource Distinction
Ori's progression runs on two completely different currencies, and mixing them up will cost you serious time. Spirit Light is your flexible friend - it drops from every enemy, hides in breakable plants, and most importantly, you can farm it forever, which means you're never permanently locked out of ability upgrades. You'll spend this at vendors like Lupo for map reveals or Opher for ability points and shard slots.
Gorlek Ore is the complete opposite: there's exactly 40 pieces in the entire game, no more, no less, and you can't grind for them at all. Each piece is tucked into specific locations throughout the world, so you'll need to sweep every region methodically if you want them all. You spend this ore exclusively on rebuilding Wellspring Glades - removing thorny blockades, fixing up houses, and unlocking that crucial final shard slot.
Here's the kicker: while Spirit Light lets you max out Ori's abilities, you can't hit 100% completion without spending every single Gorlek Ore. Those village upgrades aren't just cosmetic; they're essential for progression.
And if you're looking to speed up your Spirit Light farming, Baur's Reach has you covered. The Gorlek miner push strategy there nets you 44 Light per kill with basically zero risk, so you can knock out those expensive ability upgrades without the usual headache.
Spirit Light and Gorlek Ore Farming Guide
Essential Spirit Shards for Farming
First things first—you need the right tools for the job. Spirit Shards are your best friends here, and four of them turn farming from a chore into a money-printing machine.
Turmoil is your MVP. It cranks enemy respawn timers to near-instant, which means you won't be standing around waiting for the next wave. You can grab this one in the Windswept Wastes.
Then there's Magnet, which pulls all that sweet Spirit Light and Gorlek Ore straight to you automatically. No more diving into spikes to grab that last orb. It's hiding behind a breakable wall in Inkwater Marsh—specifically in Howl's Den.
For raw numbers, Bounty boosts Spirit Light drops by 25%. That's a free quarter more loot for zero extra effort. You'll find it on the highest ledge above the Spirit Well in Wellspring Glades, so you'll need to do some climbing.
Lastly, Light Harvest spawns 2-4 bonus Spirit Light orbs on every kill. Twillen sells it for 800 Spirit Light in Wellspring Glades, which feels expensive until you realize it pays for itself in minutes.
Slap all four together and you've got the golden combo: enemies spawn instantly, die, shower you with extra loot, and everything flies into your pockets automatically.
| Shard | Effect | Location |
|---|---|---|
| Turmoil | Near-instant enemy respawn | Windswept Wastes |
| Magnet | Auto-collects pickups | Inkwater Marsh (Howl's Den, behind breakable wall) |
| Bounty | +25% Spirit Light from enemies | Wellspring Glades (upper ledge above Spirit Well) |
| Light Harvest | +2-4 Spirit Light per kill | Purchase from Twillen (800 Spirit Light) |
Baur's Reach Miner Method (250-300 Spirit Light/Minute)
If you want active farming that feels more like a rhythm game, Baur's Reach is where it's at. There's a Gorlek miner at the bottom center of the area who drops 44 Spirit Light per kill, and with the right setup, you can shove him into the abyss every few seconds.
Here's the loop: Stand on the high ground to the left of the miner. Wait for him to wander right under those hanging icicles. Once he's in position, dash twice and slam down with Spirit Smash. The impact sends him flying into the void, and the high ground automatically saves your game, so you won't lose progress if you mess up the timing.
With Turmoil equipped, he's back before you can blink. Keep this cycle going and you're looking at a few hundred Spirit Light per minute. It takes a bit of practice to nail the positioning, but once you get the rhythm down, it's brainless—and ridiculously profitable.
Luma Pools AFK Method (40k Spirit Light/Hour)
Not in the mood to button-mash? Luma Pools has you covered with a semi-automatic farm that runs while you watch Netflix.
You'll need two things first: the Underwater Breathing ability and Flash from the ability tree. Once you've got those, swim to the underwater corridor below the water-dash tree. There's a small stair-step ledge in the basin where you can park Ori.
From that ledge, a crab and fish will respawn endlessly. Tap Flash once and it creates a 30-second kill aura that melts anything nearby. When the effect fades, just tap it again. That's it.
Pure AFK mode pulling 250-270 Spirit Light per minute, which works out to roughly 1,000 every four minutes. If you want to push it to 350-400 per minute, stay semi-active and re-cast Flash the moment it drops. Set this up right and you can literally farm overnight.
Midnight Burrows AFK Fountain (35-45k/Hour)
The Midnight Burrows spiral pit is even lazier. This room spawns infinite lantern enemies that die to environmental hazards after you poke them once.
Position yourself on the left-hand halfway ledge and just... attack. That's the whole strategy. If you've got a Turbo controller or macro, you can go full zero-input. The room is completely isolated, so nothing else will interrupt your session.
The secret sauce is your shard setup: Thorn reflects damage, Resilience keeps you alive, and Catalyst gives you infinite energy for healing. This combo means you literally can't die while the lanterns kill themselves on you.
PC players report about 300 Spirit Light per minute, while Switch folks get around 950. Either way, it's one of the highest yields in the game for the least amount of effort.
Early Game Farming (Pre-Turmoil)
If you haven't reached the late-game shards yet, don't worry—you've still got options that'll pull 5-7k Spirit Light every ten minutes:
• Clear horde rooms in Wellspring Glades, then reset the area. The respawn rates aren't amazing, but it's steady work. • Grab Energy Harvest from Twillen for 300 Spirit Light. It enables early farming loops that wouldn't work otherwise. • Smash every breakable vase you see in Wellspring and Inkwater Marsh. This nets 60-90 Light per minute with zero combat. • Complete the Hand to Hand questline in Wellspring Glades for a quick 500 Spirit Light payout.
These methods won't match the madness of Turmoil farming, but they'll fund your early upgrades without much hassle.
Complete Gorlek Ore Locations Guide (All 40 Ores)
You need 43 Gorlek Ores to rebuild Wellspring Glades completely, but thankfully there are 40 scattered across the map. That gives you some breathing room if you miss a few on your first pass. Most regions hide 3–4 ores each, though a handful are locked behind quest rewards or ability gates you won't have until later. Don't stress about grabbing everything early; you'll be backtracking naturally once you unlock Spirit Smash, Burrow, and Launch.
Inkwater Marsh (6 Ores)
Two of these are grab-and-go right from the start. The first sits in a ceiling alcove above the spiky wheel room, just left of the central Moki huts. You can either bash off the wheel itself or use the lanterns to reach the invisible roof pocket. The second comes from the A Little Braver side quest; you'll escort a Moki to safety, and they'll hand you the ore as a thank-you.
The remaining two require Spirit Smash, which you pick up later in Kwolok's Hollow. One is buried under a pile of bones in Howl's Den—just hold Y (or Triangle) to crack the central spine. The other hides near the southeast Spirit Well, tucked under another destructible bone pile that only appears after you purify the water.
Kwolok's Hollow (7 Ores)
This area's ores are split between above-water ledges and underwater tunnels. The first one you'll spot is in a tentacle-lift alcove before the Wellspring exit; you'll need to bash a rock wall and either mid-air bash or burrow onto the ledge depending on water level.
The second ore is underwater, beneath Kwolok's main platform in the lower-right corner of the pool. There's a narrow tunnel blocked by a light current, so swim carefully. The final ore rests on a ledge above the corrupted frog miniboss; you'll reach it naturally after the tentacle-lift sequence and the water-mill puzzle. It's easy to spot but easy to forget, so grab it before moving on.
The Wellspring & Wellspring Glades (10 Ores)
The Wellspring and Wellspring Glades together hold 10 ores total. You'll find 4 inside The Wellspring dungeon and 6 in Wellspring Glades. At the entrance, grapple the hanging lantern and jump into the tiny ceiling pocket above the first Moki hut. Past Tokk, swing across to the far-right wall where another ore sits on a wooden platform. The underside of the giant cog requires Dash and some wall-climbing, while the purple goo tunnel demands Swim and Burrow to navigate.
One tricky ore sits on the piston roof; you'll need to freeze a lever in place to reach it. Another hides under a breakable floor in a well—Spirit Smash cracks it open. The last one drops automatically after beating Mora.
In Wellspring Glades, two more ores await. The Spirit Well rooftop needs Launch and a Bash to the west, while the east-side burrow tunnel under Tokk's camp is exactly what it sounds like. Rebuilding the Glades costs 43 ores total across seven projects, so these two help chip away at that goal early.
Luma Pools (5 Ores)
The ceiling alcove right of the first Moki requires Feather and Grapple to reach. Another ore sits behind a breakable wall to the right of Lupo's map stall—Bash reveals it. The northwest sub-area past the Spirit Well is a full obstacle course: swim under spiked vines, hop across drifting lilies, then scale a vertical shaft.
The fourth ore is the real headache; it's locked behind a purple barrier in the shark chase tunnel. You'll need Flash to light the way, then escort an exploding pufferfish to crack the wall. If you see an ore marker on your map that looks unreachable behind thick foliage, that's the tree-blocked alcove. Come back later with Burrow from Baur's Reach, dive into the sandy floor, and burrow upward through the root cavity.
Baur's Reach (4 Ores)
Baur's Reach technically has six ores, but four are on the critical path and the other two are quest rewards. The frozen log ore requires Spirit Smash—hold Y/Triangle to break through the floor. The glide from the eastern owl statue needs Feather and Dash to cross safely.
For the rolling snowball tunnel, drop into the slide and veer left into a hidden alcove; Bash helps you stick the landing. The Moki sledder race reward is a side quest—talk to the Moki at the snowball start line and beat their run for an easy ore.
Windswept Wastes (3 Ores)
The sand-bridge crossing ore is plain sight, but the burrow ledge above the wooden platform requires both Burrow and Dash to reach. There's a hidden alcove behind a sandfall; burrow through the sand ceiling just before the gap to pop out on a wooden balcony.
The third ore comes from the Spirit Trial—earn a gold time and it's yours. If you're aiming for 100%, you'll need to master that trial anyway, so consider the ore a bonus.
Other Regions & Quest Ores (15 Ores)
The remaining 15 ores are spread across the late-game zones. Silent Woods holds four: glide left from the Spirit Well to a wooden platform, lure an exploding enemy to break a wall after reuniting with Ku, and Launch into the second portal. Mouldwood Depths has four total—three direct pick-ups in the Spirit-Well basement (smash wood), the elevator shell (grapple and wall-jump), and a secret above the spider-waterfall that needs a shell grapple, double-jump, and Bash.
Midnight Burrows only has one; from the entrance fork, head right and double-dash (or Dash + Bash) to a secluded ledge. Windtorn Ruins also keeps it simple—warp to the Spirit Well, climb with Light Burst and Bash, then hug the left exterior cliff wall. Willow's End finishes with eight: ride the spin-wheel to the 3 o'clock ledge, drop into the bubble stream on the upper-right teleporter ledge, bash a decay pod to reveal a pre-Spirit-Well alcove, and burn brambles with Flash in the bottom-right root tunnel.
Three final ores come from quests. Regrow the Sapling gives one when you deliver the Canteen to the Gorlek Miner. Hand to Hand is the big one—complete the full trade sequence (Inkwater Marsh → Kwolok's Hollow → Luma Pools → Baur's Reach → Windswept Wastes → Windtorn Ruins) and it reveals the final 40th ore on your map. If you're stuck at 39/40, that's almost certainly what you missed. The Feed the Ancient Guardian rumor is a misnomer; you just need to spend ore on Glades projects to open that path.
Progression Strategy: When to Farm vs When to Collect
Early Game Priority (First 5-10 Hours)
Here's the deal: your first five hours should be about snagging easy ores, not grinding. Immediately after the Inkwater Marsh save tree, there's a buried chest to your left with a free Gorlek Ore—grab that thing before you do anything else. Take it straight to Wellspring Glades and drop it on the Spirit Well first, no exceptions.
Why? That single purchase turns the Glades into your permanent warp hub, which means you won't waste 15-20 minutes jogging back and forth every time you want to spend ore or refill your spirit slots. You keep your momentum, and the game finally opens up. Once that's handled, do some light farming for your first couple ability points, but don't go hard—just enough to grab the essentials before you push deeper.
Mid-Game Power Spike (After Turmoil)
Everything changes once you hit Windswept Wastes and pick up the Turmoil shard. This little purple gem makes enemies respawn 35% faster, which means it's time to stop collecting and start farming Spirit Light for real. Stack Turmoil with Magnet (bigger pickup radius), Light Harvest (+35% Light from orbs), and Bounty (+25% Light from kills) for a four-slot farming machine.
Now for the zero-risk sweet spot: head to Baur's Reach and find the 'exploding blob' ledge under the purple lantern. You'll recognize it by the half-pipe platform. Stand there, let the blobs come to you, and rake in 55k-60k Spirit Light per hour without moving an inch. This is your pre-late-game war chest—use it to buy every combat upgrade before you touch the harder areas.
Late Game & 100% Completion
You're swimming in abilities, the map's almost clear, but you're stuck at 39/40 Gorlek Ore. Don't panic—the culprit is almost always the Hand to Hand quest line. This five-trade chain is your final ore, and the steps are specific:
- Twillen (Glades vendor): Trade Gorlek Ore for a Forest Key
- Moki (near Luma Pools entrance): Trade Forest Key for a Pendant
- Tokk (Windswept Wastes): Trade Pendant for a Clover
- Opher (Wellspring Glades combat shrine): Trade Clover for a Forest Map
- Grom (construction builder): Trade Forest Map for the 40th Gorlek Ore
Sometimes Grom bugs out and won't cough up the ore even after the chain's done. If that happens, just save-quit to the main menu and reload—this forces the quest flag to reset, and he'll hand over your final ore when you talk to him again.
Village Upgrades & Resource Optimization
You're going to dump a ton of Gorlek Ore into Wellspring Glades, so you might as well be smart about where it goes. Grom's got seven main projects for you, and while they all feel good to build, some will save you hours of backtracking while others just make the place look prettier.
Grom's Building Projects & Costs
Here's the full breakdown of what you can build and what you actually get for your trouble:
| Project | Cost (Gorlek Ore) | What It Actually Does |
|---|---|---|
| Repair the Spirit Well | 1 | Adds a save point and fast-travel node right in the hub, which is huge for cutting down travel time. |
| Dwelling Repairs | 4 | Builds houses for Moki and kicks off the Family Reunion quest chain. |
| Thorny Situation | 5 | Clears thorn vines to reveal a hidden pit with a Spirit Shard and Spirit Orb inside. |
| Roofs Over Heads | 8 | Adds more Moki houses. |
| Clear Cave Entrance | 6 | Opens the cave path after you finish Mouldwood Depths for the Into the Darkness quest. |
| Onwards and Upwards | 8 | Builds houses at the top of the big tree. A Spirit Orb can be found inside one of the new houses. |
| The Gorlek Touch | 0 | Purely cosmetic finishing touches that complete the Rebuilding the Glades quest for 1000 Spirit Light. |
Optimal Upgrade Order for Progression
Now for the part that actually matters: what to build first. You don't want to blow your early Ore on something useless and then realize you've made the rest of your playthrough a slog.
1. Repair the Spirit Well (1 Ore) This one's non-negotiable because it gives you a fast-travel node right in your hub, which means you'll cut down on backtracking for the entire rest of the game. Without it, you're stuck running across the map every single time you need to upgrade or turn in a quest, and that's just miserable.
2. Dwelling Repairs (4 Ore) Once you can zip back to Glades instantly, grab this so you can kick off the Hand to Hand quest-line. This chain gates a bunch of later collectibles and ability nodes, so you want it active before you get too deep into the mid-game.
3. Thorny Situation (5 Ore) This one's sneaky good because the pit you uncover has a Keystone and another chunk of Gorlek Ore inside, which means you're getting a partial rebate on your investment. More resources early is always better, and that Keystone might save you a trip back to a dungeon.
4. Cartographer's Hut & Motley's Stall (4 Ore total) These two aren't technically Grom projects, but they're in the Glades and matter just as much. The Cartographer sells you area maps so you're not blind-running every zone, and Motley unlocks shard upgrades that'll make combat way easier.
5. Twillen's House (3 Ore) Twillen gives you shard fusion abilities and sells rare shards that'll keep you alive in tougher fights. This is your survivability spike right here, and you'll thank yourself during boss encounters.
6. Roofs Over Heads (8 Ore) At this point, you're finishing up the residential area, which unlocks Moki shopkeepers selling Spirit Light and Life Cell fragments. More health and money is never a bad thing, especially heading into the late game.
7. Clear Cave Entrance (6 Ore) This one is story-gated anyway—you can't even start it until you've cleared Mouldwood Depths—so it naturally falls later in your priority list. Build it when you can, but don't stress about it early.
8. Onwards and Upwards (8 Ore) A Spirit Orb can be found in one of these houses, but they're just bonus pickups at the end of the day. Build this when you've got Ore to spare and want to tidy up the zone before the final push.
9. The Gorlek Touch (Free) Save this for dead last. It's pure cosmetics and a quest completion for 1000 Spirit Light, which feels nice but does absolutely nothing for your actual power or progression.
Advanced Tips & Common Mistakes
Spirit Light Farming Optimization
The Luma Pools 'kamikaze mosquito loop' is the current meta for a reason - with Bounty and Light Harvest equipped, each kill dumps roughly 80 Spirit Light into your pockets, and that's before you even factor in Turmoil for triple respawn speed. Crunch the numbers and you're looking at about 144,000 SL per hour if you hold your rotation clean.
Just remember that Bounty and Light Harvest stack additively, not exponentially, so you're doubling the base orbs then adding four more—not multiplying twice. The 2023 patch made sure of that, which means an 8-orb kill becomes 16 from Bounty plus 4 from Light Harvest for 20 total. It's still great, but it's linear.
For Turmoil loops, you want Magnet so you never stop to collect, either Overcharge for a fatter Spike hitbox or Reckless for melee crits, and Energy Harvest so you can literally hold down attack and never run dry. One critical warning, though: Lifeforce is bugged in some builds and can straight-up suppress orb generation, which means you're farming nothing. Don't use it.
Gorlek Ore Collection Pitfalls
Q: Why does my map say 39/40 even after I've unlocked every secret?
A: Here's the painful part—one Gorlek Ore is locked behind the Hand to Hand side quest and it won't show up on your map at all until you finish the entire chain. That's why you're stuck.
Q: How do I finish 'Hand to Hand' and get the last ore?
A: Start by talking to the Moki in Wellspring Glades, then use Bash to shatter the wall above him. After that, you'll be running trades through NPCs in Baur's Reach, Kwolok's Hollow, and Luma Pools. The final hand-in pops the 40th ore onto your map and reveals any collectibles you might have missed.
Q: I finished the quest, but I'm still at 39/40. What now?
A: The map marker can lie. Tokk can appear at the right door in Wellspring Glades even if the icon points to the left, so check both doors manually. This is a known UI quirk, not a missing pickup.
Q: I've checked everything. Is my save broken?
A: If you're still sitting at 39/40, you might be dealing with a bug. Some ore icons hide behind foreground art or in secret rooms that you opened but never actually walked into. Your best bet is to scrub through an all-locations video guide region by region—it's tedious, but it beats starting over.
Conclusion
Spirit Light Farming Mastery
You've got two resources to juggle, but Spirit Light is the one you'll farm actively. Baur's Reach is the spot everyone gravitates to for a reason - that 'abyss ledge' near the south-east Spirit Well can net you 30-40k per hour once you're set up right. You'll need Kuro's Feather, Spirit Arc, and the Turmoil shard to make it work, but the real magic happens when you stack Magnet, Light Harvest, and maybe Ultra Lucky. That combo bumps your per-kill haul from 44 to around 64 Spirit Light, and suddenly you're hitting those 40k/hour targets consistently. The loop itself is almost relaxing - rest at the Well, glide left to tag the Gorlek miner, then let gravity and Turmoil's rapid-fire spawn cycle do the heavy lifting. It isn't quite AFK, but it's about as close as Ori gets to a gold rush.
Gorlek Ore Collection Strategy
Ores are less about farming and more about smart collection. Thirty-nine of the 40 Gorlek Ores are sitting out in the open, but that last one only appears after you finish the 'Hand-to-Hand' side quest, so keep that in mind. Your first priority should be dumping that very first ore into the Spirit Well upgrade - it unlocks fast-travel and instantly shaves hours off your backtracking. After that, follow the ability gates: sweep Inkwater Marsh first, then hit Kwolok's Hollow once you have Launch, Luma Pools with Water-breath and Launch, Baur's Reach after Burrow, Mouldwood Depths with Flash, Windswept Wastes once you snag Grapple and Dash, and finally Windtorn Ruins to shatter those purple crystals. Turn each ore into Grom the moment you grab it - completing his 'Rebuilding the Glades' quests in order unlocks shortcuts and eventually the Moki shop, which sells a lantern that literally points you to remaining ores.
Upgrade Priority: Maximum Impact First
So you've got Spirit Light flowing and ores in your pocket—what do you buy first? Start with Spirit Smash for 400 Spirit Light from Opher; it costs zero energy, hits like a truck with stun and knockback, and breaks those weak stone barriers early. Immediately save up 1,200 Spirit Light for Shock Smash, because chaining those two abilities turns early-game combat into a joke and stays relevant way longer than you'd expect. After that, circle back to that Spirit Well upgrade we mentioned—it's only one Gorlek Ore and the fast-travel is non-negotiable. Then grab Water Breath for 500 Spirit Light; you'll hit mandatory underwater sections soon after and swimming without it is just misery.
By strategically farming Spirit Light in Baur's Reach or Luma Pools and methodically collecting all 40 Gorlek Ores, you can fully power up Ori and achieve 100% completion. Prioritize the Spirit Well upgrade for fast travel, follow the ability-gated collection path, and invest in key combat upgrades first. With this roadmap, you'll turn resource management from a chore into a streamlined path to mastery.
More ori-and-the-will-of-the-wisps Guides

The Ultimate 100% Completion Guide for Ori and the Will of the Wisps
A comprehensive guide to achieving 100% completion in Ori and the Will of the Wisps, covering optimal routes, collectibles, achievements, and troubleshooting the 99% bug.
The Complete Gorlek Ore Guide for Ori and the Will of the Wisps
Find all 40 Gorlek Ore locations in Ori and the Will of the Wisps with this detailed guide. Learn upgrade orders, ability requirements, and pro tips to rebuild Wellspring Glades efficiently.

Ori and the Will of the Wisps: Ultimate 100% Completion Guide
A comprehensive guide to achieving 100% completion in Ori and the Will of the Wisps, covering all collectibles, upgrades, challenges, and efficient routes.
AI Tactical Companion
Consult with our specialized tactical engine for ori-and-the-will-of-the-wisps to master the meta instantly.