Ultimate Annihilus Boss Fight Guide: Strategies to Defeat the Cosmic Tyrant

Annihilus is one of the toughest boss fights in the game, demanding more than just button-mashing. This guide breaks down the entire encounter, from the essential duo of Nova and Phyla-Vell to the precise tactics needed to shatter his shields and survive the deadly meteor shower. You'll learn the exact attack patterns, optimal windows, and team strategies to finally repel the cosmic tyrant.
Preparation: Setting Up for Success Against Annihilus
Recommended Character Choices: Nova and Phyla-Vell
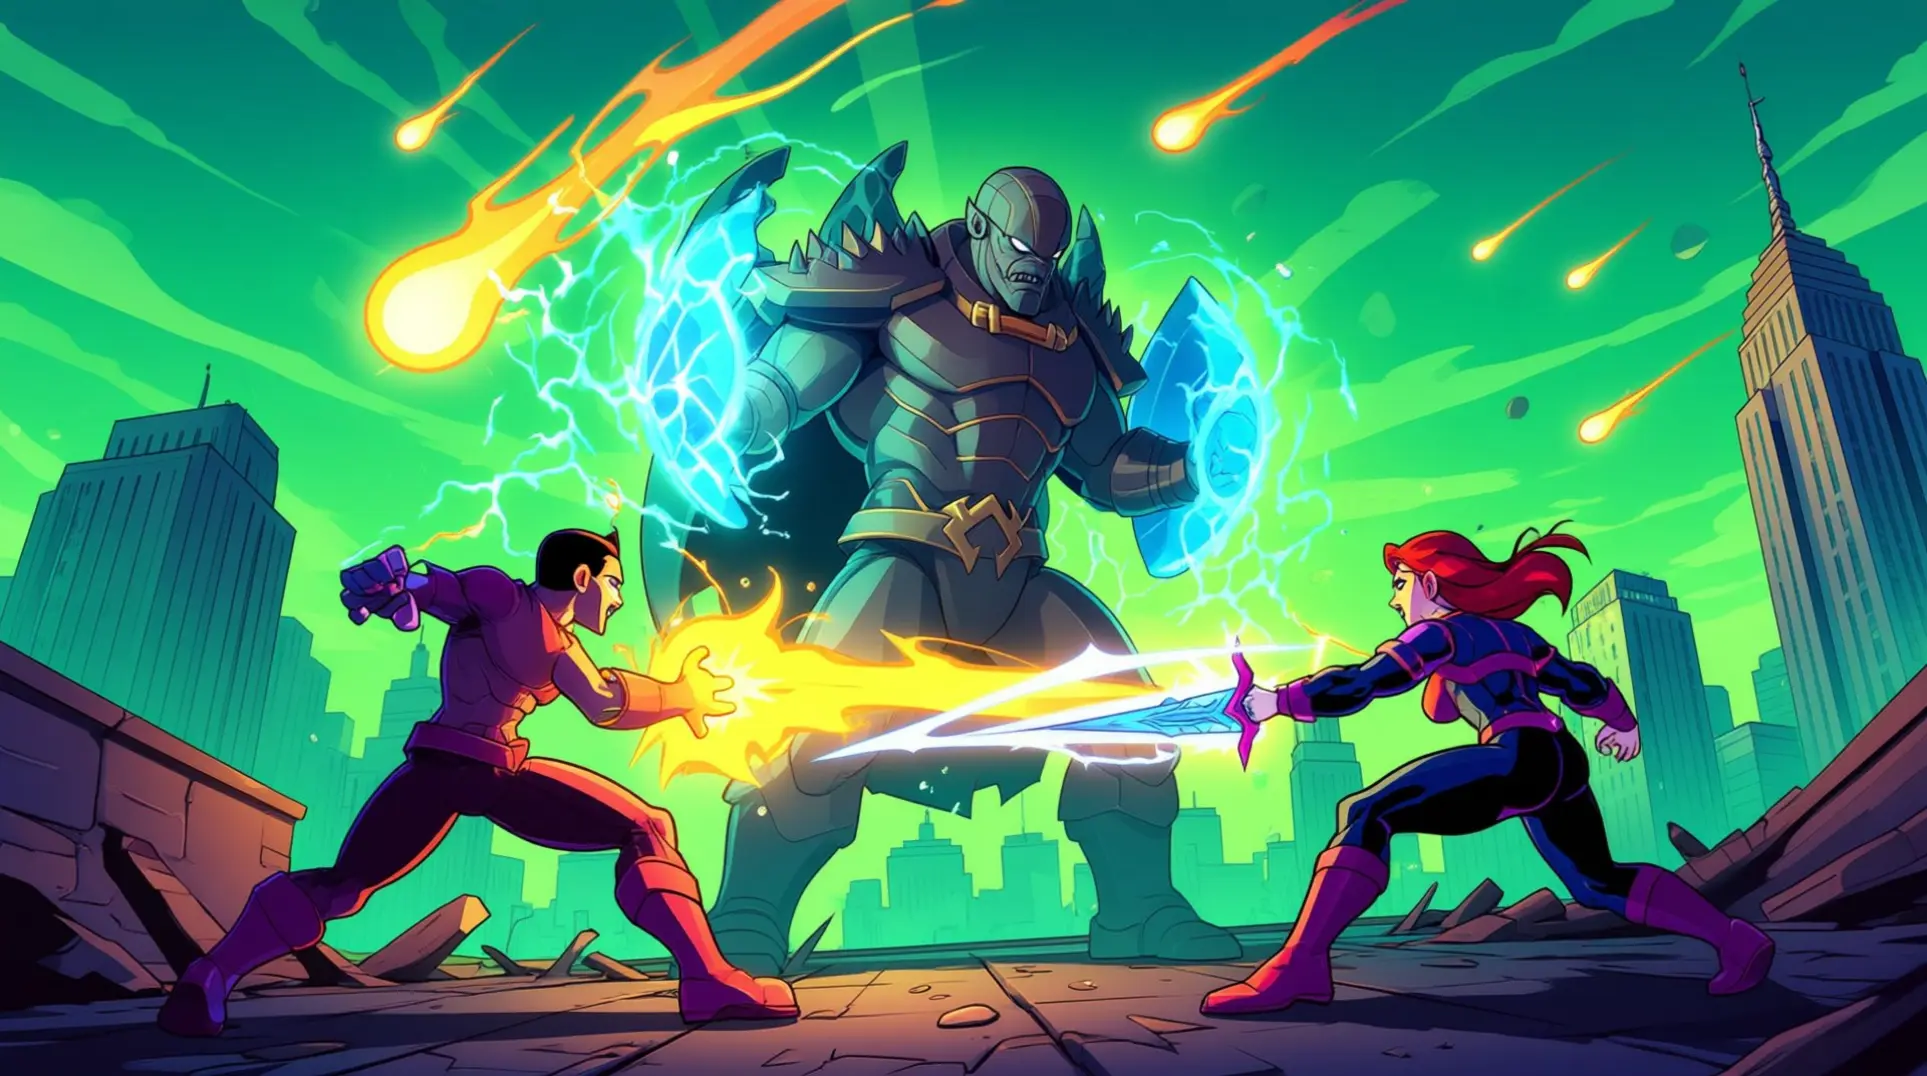
If you're gearing up for the Annihilus fight, you need to bring Nova. This isn't just a recommendation; you are required to use him to complete one of the stage's specific challenges. But don't just slot him in alone, because pairing him with Phyla-Vell is where the real strategy lies. Her cosmic-based attacks are devastatingly effective against Annihilus's entire roster, with her golden cosmic sword piercing through defenses that would normally stop other heroes cold. This duo's synergy is terrifyingly effective: Phyla-Vell's Cosmic Counter move not only lets you dodge an incoming hit but also recovers a ton of focus, creating a perfect opening. Once that defensive window is created, Nova can capitalize on the opportunity, unleashing explosive damage combos that Annihilus simply can't handle.
Stage Overview: The Last Battle Rooftop Arena
Let's break down the battlefield, "The Last Battle." This stage takes place on a sprawling, multi-tiered NYC rooftop designed for a cinematic brawler, and it's as dangerous as it is dynamic. First, a crucial warning: the arena has exposed edges with no guardrails. This isn't just a cosmetic detail; you can knock weaker enemies right off the ledge to deal massive fall damage, which you should absolutely use to your advantage. You'll also find the environment dotted with destructible objects like satellite dishes, but don't let the chaos overwhelm you, as the game thankfully provides a lot of healing items throughout the stage to keep you in the fight. The layout forces you to stay alert and use the full space, constantly moving to avoid getting flanked by enemies attacking from weird angles. The whole frantic sequence culminates with SHIELD agents swooping in for their own desperate attempt to take Annihilus down.
Essential Pre-Fight Tips and General Strategy
Forget raw aggression; fighting Annihilus is a chess match, and your opening move is patience. The single most important tactic is to watch his shadow closely to predict his attacks instead of just mashing buttons. To do this effectively, you need to stay near one of the arena's walls, a position that gives you the stability to avoid disorientation and lets you focus on his tells. Your real goal isn't just to hit him, but to break his shield, as this is the only window you get to deal serious damage with your heaviest attacks. As the fight progresses into his second phase, you must learn his meteor patterns. These create persistent damage zones on the ground, and getting caught in one will quickly end your run. Keep a mid-range distance and use circular movement to make his linear, targeted attacks whiff harmlessly past you. If you're in co-op, this is where coordination shines: have one player draw his aggression while the others hang back and wait for the shield break to unload your combined might.
Phase 1: Breaking Through Annihilus's Shields
Alright, let's break down Phase 1 of the Annihilus fight. Your first objective is brutal and straightforward: you have to get through his shields. This isn't a fight where you can just wail on him; it's a puzzle of pressure and patience.
Shield Mechanics and Health Bar Structure
This fight opens with a nasty trick. Annihilus's health bar isn't his actual health—it's a massive, multi-layered Shield that you must fully deplete. The game makes this visually distinct, so you'll know exactly what you're up against, signaling the start of a truly aggressive phase where he has multiple shield layers protecting his real vitality.
Here's what you need to know:
- It Won't Break on Its Own: The shield is completely immune to passive damage and requires constant, direct offensive pressure to break.
- Use Specific Attacks: You need to use attacks designed for shield-breaking. Characters like Nova, with his rapid-fire projectiles, are particularly effective at tearing this down with sustained assaults.
Unfortunately, this part hurts: your progress resets if you don't keep the pressure on. The shield doesn't have diminishing returns, so you have to commit to breaking it all at once.
Attack Pattern Recognition: Rushes and Dashes
While you're focused on the shield, Annihilus is relentlessly aggressive. His main strategy is to confuse and overwhelm you with movement. He employs quick rush attacks and can dash between rooftops to strike from unexpected angles. Your best bet here is to stay tight against the arena walls and watch his shadow—it's the only reliable way to predict his sudden strikes.
He'll mix in other deadly moves, like Linear Energy Dashes and Multi-Dash Combos, but he has one major tell. When Annihilus fires his massive beam attack, don't run away. Instead, sprint directly at him. This sounds crazy, but it closes the distance safely, and you'll have a perfect window to land a full combo the moment the beam ends. For his other hard-hitting attacks, remember that a well-timed team-assist combo can interrupt him and save your skin.
Optimal Attack Windows and Shield-Breaking Techniques
This is the most crucial part of the fight: learning the single best opening. Annihilus will occasionally stop his assault to gather energy. He'll glow intensely as he forms a ball of cosmic power for his Cosmic Rod. This is your moment.
This charging animation is the longest and most vulnerable he will ever be. Hitting him during this phase is, without a doubt, the fastest way to drain his shield. When you see him start to charge, do not hold back. Unload your most powerful special moves for maximum damage. This single opening is what will make or break your attempt at getting through Phase 1.
To maximize this, your hero choice matters. While some guides suggest Nova and Phyla-Vell are well-suited for the fight as a whole, bringing a duo like Silver Surfer and Beta Ray Bill can be devastating. Silver Surfer's laser attacks apply a damaging status effect that relentlessly chips away at the shield, especially during these critical charge-up phases.
Phase 2: Surviving the Meteor Shower
So, you've whittled Annihilus down to half health. This is where the fight gets real. He initiates Phase 2 by unleashing what the guides call 'negative rain,' a screen-wide meteor shower from the Negative Zone that requires perfectly precise positioning. It feels overwhelming at first, but this attack follows a predictable pattern. You get a clear warning—look for shadows or glowing markers on the ground that appear right before each impact giving you a split second to react.
Your only goal here is survival, which means finding the dynamic, temporary safe zones between the impacts. You might find a brief moment of safety at the arena's center as the attack starts, but don't get comfortable, because that area shrinks as the assault continues. You cannot stand still, so you'll need to chain together dashes and evasive rolls to constantly navigate the gaps. This is all about pattern recognition and movement; trying to attack during the meteor fall is a fatal mistake.
Now, for the terrible part: his energy shield is back up, and you have to break it while this chaos is happening. The key to this phase is patience. Do not rush your attacks. Trying to hit him while the meteors are coming down will just get you killed, and getting hit interrupts your combos, wasting any progress you made on the shield.
Your strategy from Phase 1 is still the goal, but you need to work it into a new, deadly rhythm. First, you survive the meteor wave by using the safe spots. Once there's a brief lull in the barrage, that's your window. Immediately reposition and unload your most powerful shield-breaking attacks. You have to prioritize survival over damage, because getting hit doesn't just hurt—it resets your progress. If you're looking for an edge, bringing a character like Silver Surfer can actually help, since his attacks apply a damage-over-time effect, letting you stay safe while still chipping away at the shield.
Phase 3: Control Rod Mechanics and Final Push
Control Rod Buff and Stifle Debuff Management
Let's talk about Annihilus's signature weapon, the Cosmic Control Rod. In the lore, it's the source of his absolute power over the Negative Zone, and in the game, that translates into a truly nasty mechanic called Stifle. This isn't just a standard debuff; it's a non-damaging effect he slaps on you that completely murders your Offensive Combat Power Rate, meaning you'll barely gain any power from landing hits. This part really hurts: he has a 100% chance to inflict Stuffle whenever he would normally give you an Armor Break, and it can stack. While the base duration is short, the goal is to overwhelm you and shut down your special attacks. Heck, there's even a known bug where he applies Stifle even if you're immune to Armor Break, so you can't rely on that.
Now for the most important, fight-ending warning. When Annihilus has an active Stifle debuff on himself—which he gains by striking you—he has a chance to become Unstoppable. This is often triggered by you dashing back to create space. If you do that while he has Stifle active, you're basically giving him a free pass to run you down. So, how do you prevent this? You have to play risky. You absolutely cannot block his attacks, and you can't let him hit you. Your only option is to evade his hits entirely, which is easier said than done but it's the only way to stop him from hitting that Unstoppable trigger.
Advanced Co-op Strategies and Character Synergies
Taking down Annihilus requires more than just knowing his mechanics; you need the right team. For this specific fight, the narrative points you toward the heroes who fought him in the Annihilation storyline: Nova and Phyla-Vell. They're tailor-made for this encounter and are by far the best-suited characters for this stage.
If you're tackling other content, the philosophy is the same: build a team that covers all its bases. You want to think in terms of roles: a champ for Crowd Control (CC), someone for high Single-Target Damage, a tough character to act as a durable Tank, and a member who can provide Ranged Zoning & Support. This balanced approach is the foundation of all the top-tier team compositions you see, like an S-Tier squad of Captain Marvel, Thor, Scarlet Witch, and Doctor Strange for insane area control, or a relentless pressure team built around Thor, Captain Marvel, Wolverine, and Spider-Man.
Once you've got your crew, none of that matters if you don't work together. Pro co-op tactics all boil down to a few key principles. You have to stick together to focus fire and chain your combos, which is often more important than your individual character picks. Use the environment to your advantage and, most importantly, communicate. A well-coordinated team of B-Tier characters will always beat a group of lone wolves playing S-Tier heroes.
Advanced Tactics and Achievement Unlocks
Unlocking 'Bug Repelled!' Achievement/Trophy
So you're looking to snag the 'Bug Repelled!' achievement, huh? That's the big one you'll get for finally taking down Annihilus and closing the book on the whole Marvel Cosmic Invasion story. It's a Bronze on PlayStation and worth 20 Gamerscore on Xbox, just so you know what you're hunting for.
Character-Specific Advanced Techniques
If you want to get more specific with your strategy, characters with focused beam attacks have a major advantage here. Take Nova, for example. His Nova Beam is incredibly effective because it lets you dump a ton of focused damage into Annihilus during those short, safe attack windows he leaves open.
Common Mistakes and How to Avoid Them
Let's be real, this fight is tough, and there are a few common pitfalls that will get you wrecked if you're not careful. The biggest mistake you can make is ignoring his shield; you absolutely cannot damage him until you break his shield first. Beyond that, panicking and throwing out your special moves at the wrong time or getting sloppy with your positioning will get you fast-tracked to a game over screen, especially if you're not paying attention to the meteor patterns. The correct play here is to stay disciplined: focus on breaking his shield, time your special moves for the right moments, and be ready to exploit the safe attack windows when they appear.
Defeating Annihilus is a test of patience, positioning, and precise execution. Master his shield mechanics, navigate the meteor patterns, and coordinate with your team to break through each phase. Stick to the strategy, avoid common mistakes, and you'll secure the 'Bug Repelled!' achievement and end the invasion.
More marvel-cosmic-invasion Guides

Annihilation Comics vs. Marvel Cosmic Invasion: A Cosmic War Adapted
How the sprawling 2006 Annihilation comics were adapted into the streamlined Marvel Cosmic Invasion beat 'em up, exploring what was gained and lost.

Marvel Cosmic Invasion: The Ultimate Cosmic Cube Location Guide
Find all 16 Cosmic Cubes in Marvel Cosmic Invasion to unlock the Cosmic Cubist achievement and maximize the Cosmic Matrix reward board.

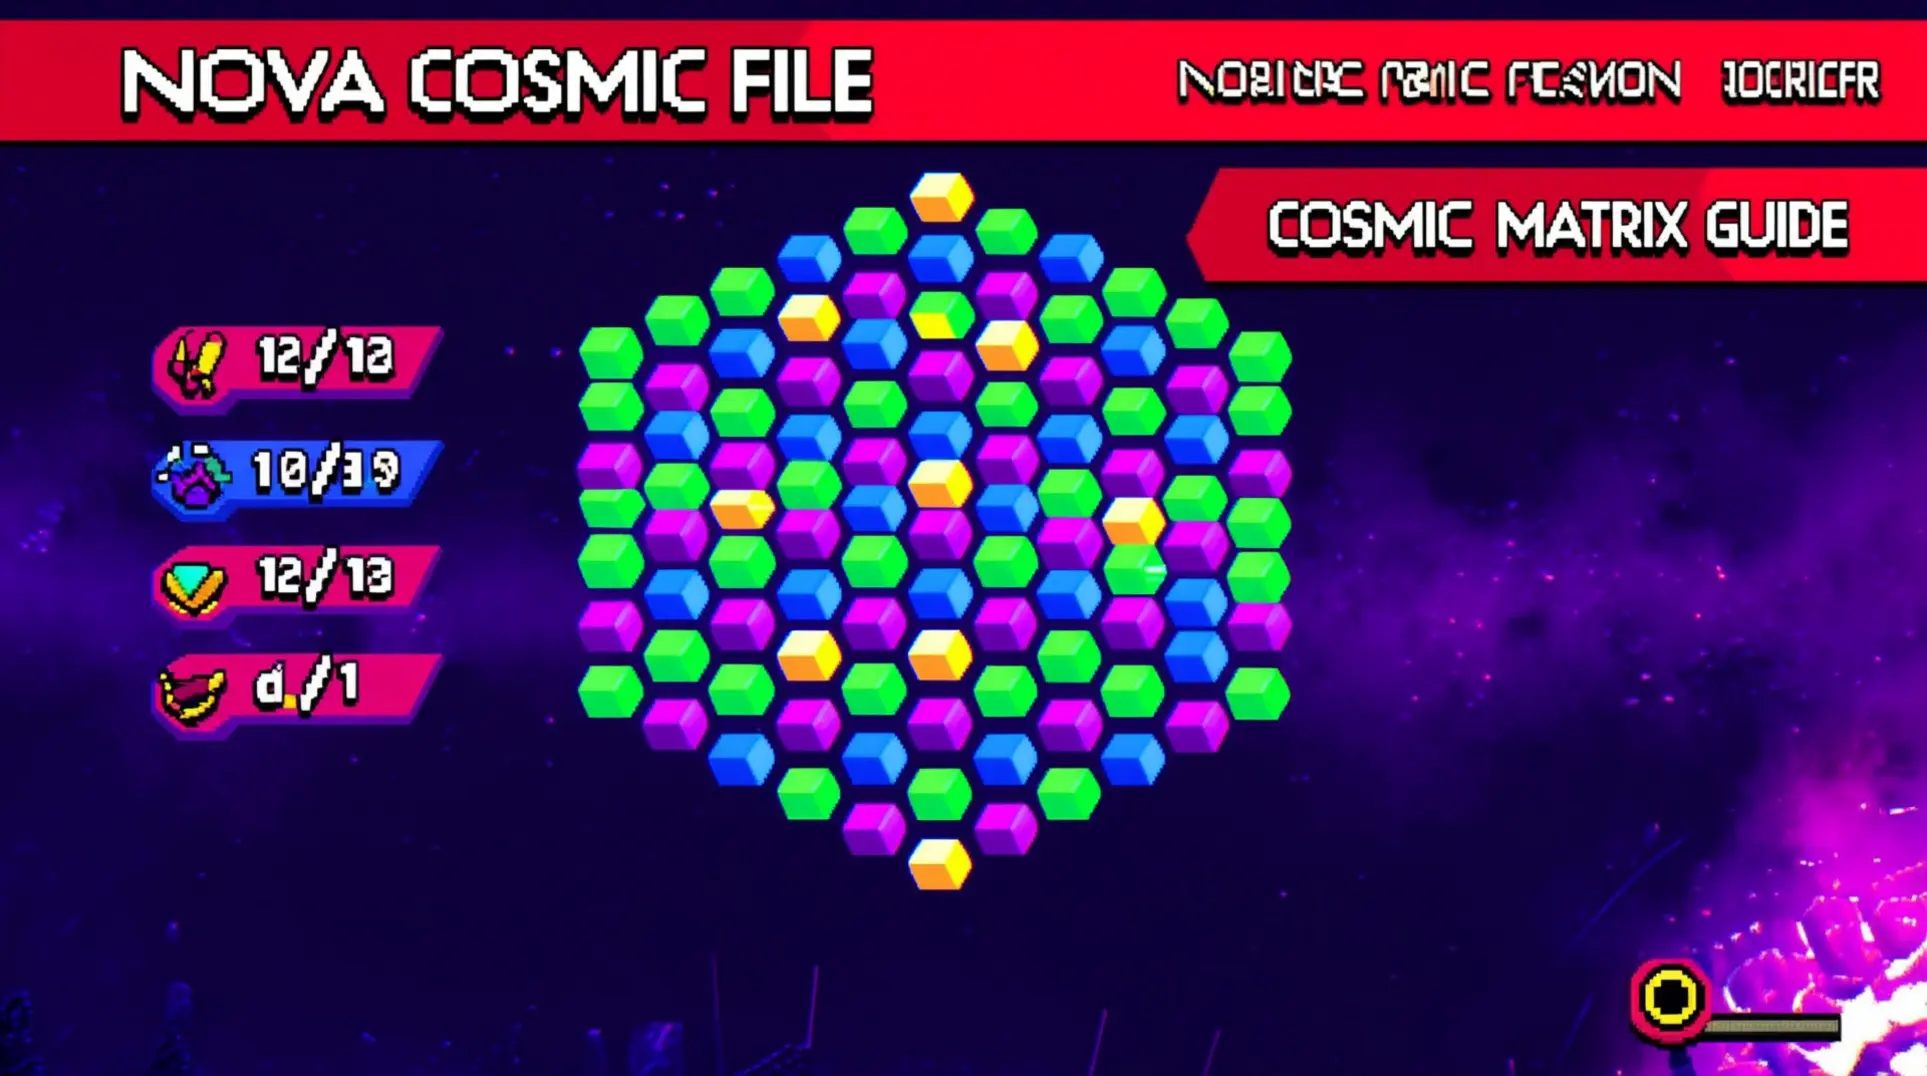
Ultimate Marvel Cosmic Invasion Cosmic Matrix Guide: Unlock All 101 Rewards
Master the Cosmic Matrix reward system in Marvel Cosmic Invasion. Learn how to earn Cosmic Cubes, unlock hero palettes, and get the Matrix Maven achievement with our complete guide.
AI Tactical Companion
Consult with our specialized tactical engine for marvel-cosmic-invasion to master the meta instantly.