The Ultimate Brookhollow Park Secrets Guide for Grounded
Brookhollow Park is three times the size of Grounded's original backyard, and its early-access slice already rivals the full first game. With only 20% of the map currently playable, finding every secret is a monumental task. This guide maps all 50 Milk Molars, six Ominent Facilities, and every known puzzle code to ensure you don't leave any power or loot behind.
Introduction: Brookhollow Park's 3x Larger Map
Brookhollow Park Map Size Confirmation
Brookhollow Park isn't just bigger - it's three times the size of Grounded 1's entire backyard. To put that in perspective, the starting zone you spawn into is roughly the same square footage as the first game's complete map, which means you're already treading familiar territory before you've even left the tutorial area.
Here's the wild part: only about 20% of the park is playable in early access right now, yet that slice already rivals the original game's full size. So yeah, you're going to get lost. A lot. That's why a comprehensive secrets guide isn't optional anymore - it's survival. We're tracking three critical things that'll make or break your 100% run: Milk Molars for upgrades, Ominent Facilities for loot and lore, and those infuriating Mystery Codes locking half the good stuff away.
Secrets Overview: Milk Molars, Ominent Facilities, and Mystery Codes
Let's break down what you're actually hunting. First up are the 50 permanent Milk Molars - 30 regular ones boost your personal stats, while 20 Mega Molars give party-wide upgrades for everyone in your squad. These things are tucked into every crevice, and missing even one means leaving permanent power on the table.
Next are the Ominent Facilities, which are basically abandoned field labs and supply outposts. Think of them as mini-dungeons; they contain dense clusters of Molars, rare weapon parts, and those tantalizing code-locked reward containers you can't just smash open. Most of the good loot is behind a door or up a scaffolding puzzle, so you'll need to come prepared.
Finally, the Mystery Codes themselves. Right now we've got two confirmed 3-digit combos: 8-4-2 and 1-3-7, both opening the Trash Heap briefcase for a Mega Milk Molar and an Ominent keycard. But dataminers already found a placeholder 4-digit string (3-7-9) in patch 2.0.3 that isn't live yet, which means there are definitely more secrets waiting to be cracked.
Why a Full Secrets Guide is Essential for Completionists
You could try to wing it, but good luck - most Mega Molars are deliberately placed behind parkour gauntlets, inside locked Ominent rooms, or perched in spots that require a Dandelion tuft glide or explosive bratbursts to access. This isn't 'wander and hope' territory; you need a plan.
Luckily, interactive maps from Gamer Guides, Map Genie, and Game8 already track every known resource node, trinket, and Facility in the early-access slice, so you can mark off what you've grabbed and see what's left. The real value here is forward planning: you can spot a Mega Molar on a high ledge, realize you need the tier-2 glider, and come back later instead of wasting an hour trying to cheese it with a bounce pad.
And here's the thing - we're still in early access, which means the community is actively code-breaking while Obsidian drops new locks and vaults. That 4-digit door everyone saw in the trailer? Nobody's opened it yet. The purple-keyed vaults? Still a mystery. So if you're the type who needs that 100% badge, you're not just following a guide; you're staying ahead of the curve as the park expands.
All 50 Milk Molar Locations by Region
Park Entrance (7 Molars)
Let's start where you first drop in—Park Entrance. You're looking for four regular Milk Molars and three Mega Milk Molars here, and luckily, most of them are pretty easy grab if you know where to squint.
The first regular one is sitting inside a styrofoam cup near the trash can and that big tree, you can't miss the silhouette. There's another tucked into mushrooms growing on a tree trunk, plus one down by the tree root near the southwestern tunnel. The last regular hides behind an explodable rock in a small anthill southeast of the marker—so bring a Bratburst.
Now the Megas. One's on top of that Welcome to Brookhollow wooden sign, but you'll need a Tier-2 Hammer to crack it loose. Another Mega is behind a metal drainage grate west of the trash can, which means you either need the Gills mutation or a Bubble Helmet to swim through safely. The third Mega is in the Snackbar Ranger Outpost tunnel, so you're basically getting that one while you're heading to the next zone anyway.
Snackbar & Snackbar Front (11 Molars)
The Snackbar area is absolutely loaded—seven regular and four Mega Milk Molars scattered between the front counter and the deeper anthill networks. You'll be crawling through this place for quests anyway, so keep your eyes peeled.
First regular is under the front counter next to a discarded soda can. Another sits in a small cavern guarded by a Red Soldier Ant in the southeast corner, while a third is inside the main Anthill dungeon you'll hit during the story. You'll also find regulars on some loose planks, inside a cup north of the outpost, and one in the Hatchery Anthill path.
For Megas, one is wedged between wooden deck boards near the lemonade dispenser—needs that Tier-2 Hammer again. The second Mega is on the fabric awning at the rear zip-line anchor strut, so you'll need to climb or zip up. The third Mega is hiding inside a crushed soda cup at the rear trash-heap dead-end. The last Mega is behind Snackbar itself, near where you'll spot the Headless BURG.L—just follow the wall around back.
Ice Cream Cart (7 Molars)
This zone is cold, so don't wander in without Chill Protection from a Chill Smoothie, Antlion armor, or the Chill Guard mutation. You need it for basically everything here.
You're hunting three regular Milk Molars and four Mega Milk Molars. One regular is inside the actual Ice Cream Cart in the back corner. Another regular is in a freezing cave on the east side of the cart. The third regular is down a southeast tunnel.
For Megas, one's at the bottom of a vertical tunnel beneath the cart's wheel-well—chilly swim required. Another is in the fan room behind the cart, which you access by crawling under the base. The third Mega is on top of the cart itself, so you'll need to build or climb up. The final Mega is in a cave at the base of the big lamppost nearby. Honestly, if you're not wearing the right armor, this whole zone is a death trap.
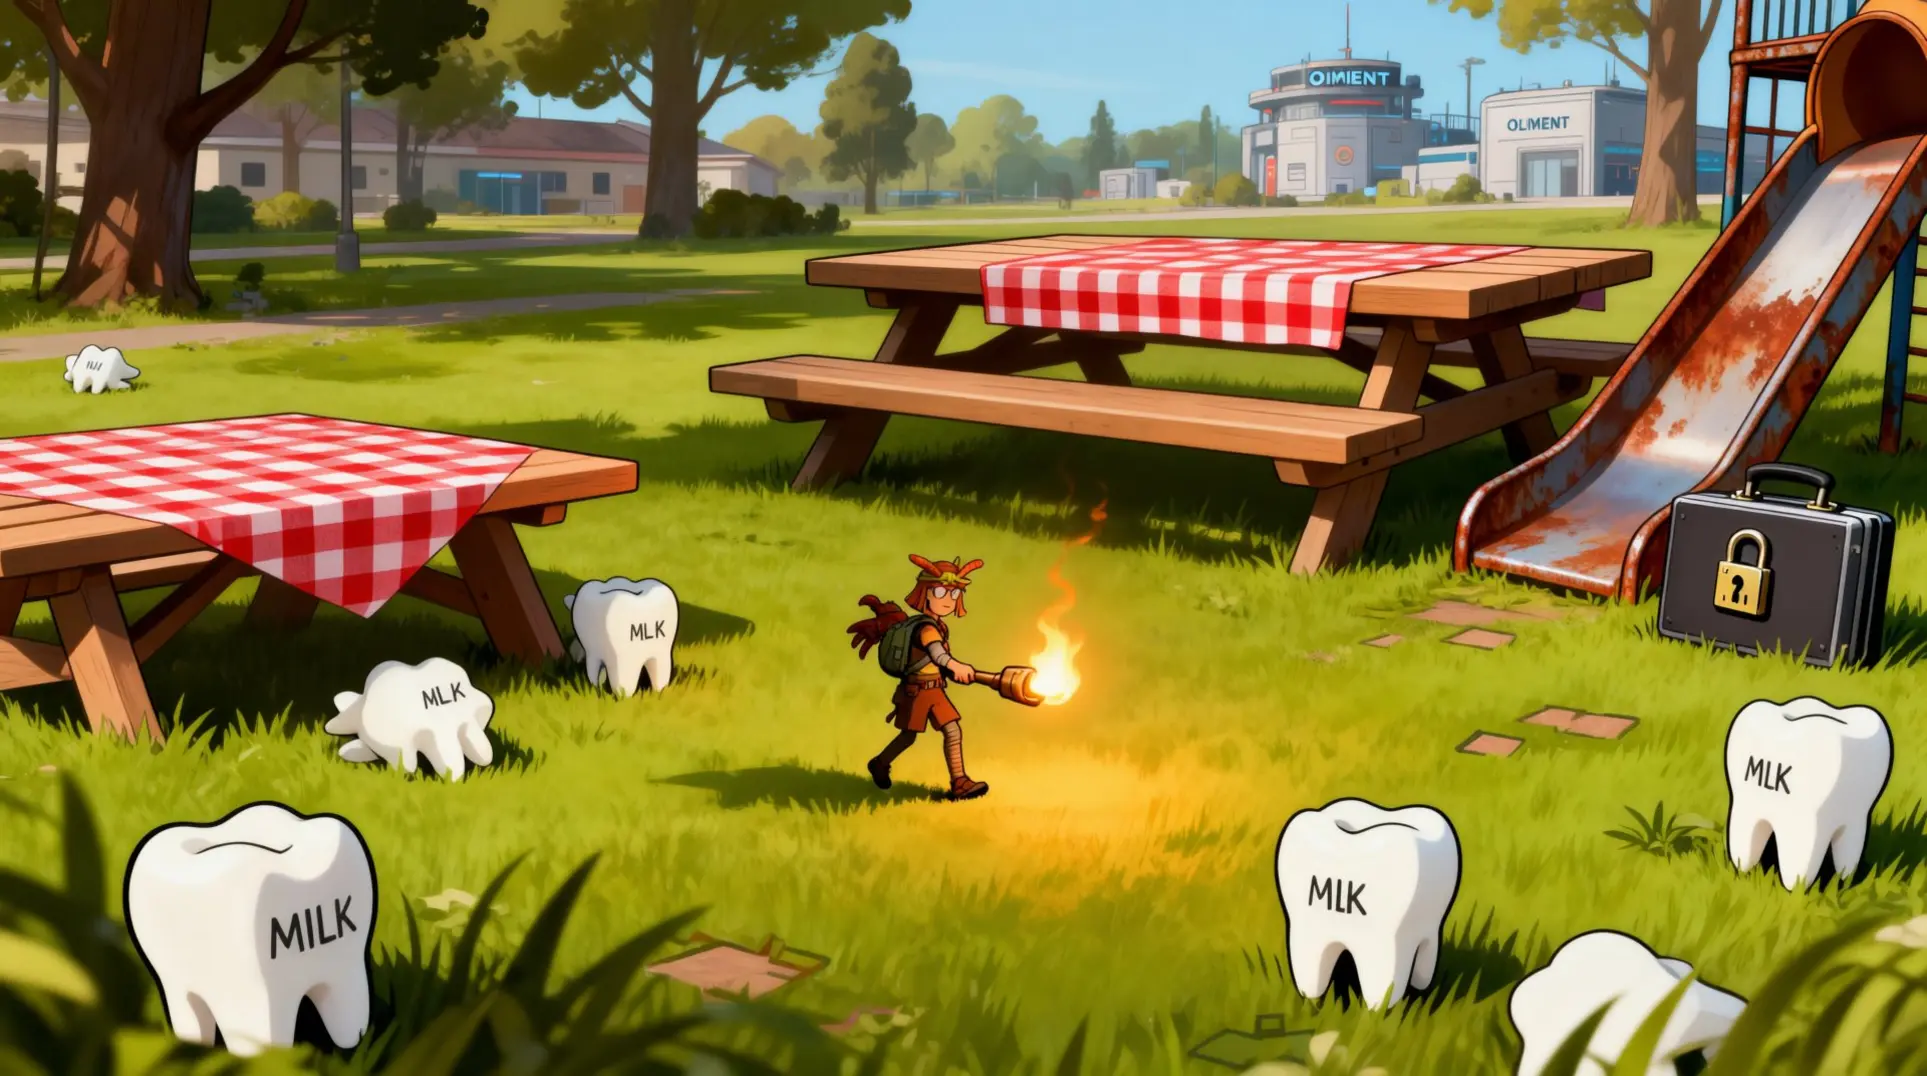
Picnic Table (6 Molars)
The Picnic Table looks chill, but it's got five regular Milk Molars and one Mega locked behind a briefcase puzzle. You'll need to hunt down two code fragments: the first three digits (137) are on a crossword page sitting on the table, and the last three (514) are on a napkin near the juice box. Punch in 137-514 on the briefcase to pop it open.
Inside you'll snag a regular Milk Molar, 500 Raw Science, Fresh Mint, and Spicy and Sour Candies. There's also another regular Molar in a cave under the hotdog wrapper, one inside the Toxic Anthill near the table, and one in a cup at the northeast edge of the area. The Mega Milk Molar is just sitting on a blanket on the table itself—no tools needed, just climb the bench and jump on the table.
Ceremony (5 Molars)
Ceremony is a small but dense zone with three regular Milk Molars and two Mega Milk Molars, but the real threat here is the Wolf Spider patrolling the Empty Terrarium.
Two regular Molars are under large rocks near the podium, and the third is tucked under the bricked path. That's the easy part.
The first Mega is on the podium itself, right in the open. The second Mega is inside the Empty Terrarium, but here's the bad news: a Wolf Spider lives in a den directly beneath it and roams at night. In the current build, that spider has increased stabbing resistance and more health, so bring a Fresh or Spicy weapon and plan your escape route. If you're not ready, just wait for daytime or clear the den first.
Statue (6 Molars)
The Statue area has four regular Milk Molars and two Mega Milk Molars, but the real prize is underground. You'll find regulars around the red ball, at the southern divide, behind the statue itself, and in the northeast Network Center building.
Now the Megas. One is in the B11 underground section, which you access via the B10 pipe/tunnel that runs toward the brick-lined path to the Statue. Once you're down there, you have to mine it with a Tier-2 Omni-Hammer. It's on a small ledge near the concrete footing of the ruined statue plinth. The second Mega is inside a pneumatic tube near the same area, so just keep following the tunnels.
Fire Pit (4 Molars)
Fire Pit is, well, hot. You need Sizzle Protection from the Fresh Defence mutation, Quesadillantlion snack, or Ladybird-Larva chest + Thermal Shield. Without it, you'll cook just walking near the pit.
You're after two regular Milk Molars and two Mega Milk Molars. One regular is between some wooden stumps, and another is inside the Fire Pit itself—yes, you have to jump in (with protection).
First Mega is on top of the Fire Pit rim. The second Mega is in the Pinch Whacker cave north of the Fire Pit, near the melted army men. The entrance is guarded by two scorpions, and you'll need to blow open a cracked wall with a Bratburst or Splatburst. Inside is the Mega Molar and the Pinch Whacker recipe, so it's worth the trouble.
Pine Hill (4 Molars)
Pine Hill is spider country, and you'll need to progress the story a bit to get everything. There are two regular Milk Molars and two Mega Milk Molars here.
One regular is in the Spider Den Anthill north of Ranger Outpost near the Autographed Baseball curiosity. To get to it, you'll need to use the Ant Buggy gnaw ability on a root plug blocking the main cavern. Expect orb-weaver patrols and a wolf-spider den deeper in, so clear carefully.
The second regular is on a forested ledge near the western crate. The two Megas are in a cracked tunnel north of Snackbar and in the story stash area, which you'll unlock naturally as you push the main quest. If you're missing any, you probably haven't progressed far enough yet.
Ominent Facilities: Complete Guide to All 6 Locations
Field Stations (Delta & Theta)
So you've probably stumbled across those red-and-white Ominent logos scattered around the yard and you're wondering what's worth your time. The two smallest facilities—Delta and Theta—are actually crammed into the same two-storey field lab on the southern cliffs overlooking the Koi Pond. You'll find them hidden behind a white Ominent shipping container wedged between a couple of boulders near the Spade Gulch trail, which means it's easy to miss if you're just sprinting through.
Once you get inside, watch out for the ARC-T turret on the ground floor. This thing has a 180-degree sweep and will shred you if you try to barge in, so bring about 10 arrows or a Spiky Sprig to poke it from the doorway until it pops. The turret isn't the only problem though—two infected weevils spawn here every night and drop volatile fungal chunks, which are a pain to get anywhere else. If you're farming alchemy ingredients, you can actually cheese this by sleeping in the upper loft and clearing them each morning.
The ground floor has a powered Resource Analyzer that's already good to go, so you can scan Broodmother chunks and Lint Clumps for extra recipes right away. There's also an Emergency Med-Tower on the wall that restores 50% health once per day and can even act as a one-time respawn beacon if you set it, which is clutch for exploring the deeper yard.
Head upstairs and you'll hit the real prize: an ASL Terminal, a Resource Surveyor, and a locked Ominent crate. The terminal gives you Omni Tool Calibration Data that permanently shaves 10% off your charge time, so grab that immediately. The crate drops a guaranteed Ominent Data Disk (you'll need this for the Field Archives quest), plus Super Glue, Lint Rope, the Ominent Grenade schematic, and a random Tier-3 trinket. Oh, and don't forget to tag the buried treasure directly beneath the cliff—it's marked by a half-buried lunchbox and counts toward map completion before you rappel down.
Combat Outposts (Picnic Pantry, Trash Heap, Lily-Loop Grotto)
If you're after the MIX.R fragments and some serious loot, these three outposts are where you'll spend most of your time. Picnic Pantry sits in north-west Brookhollow Park inside a raised concrete patio at the picnic table overlook. Look for the red-and-white Ominent tarp between the ketchup bottle and the family-size chip bag. Getting up there means dealing with 1-2 Black Ox Beetles patrolling the table legs, which is a pain, so either bring salty weapons or lure them away before you zip up. Inside you'll find a Resource Analyzer, an Ominent Storage Console that unlocks Tier-II recipes, and the first MIX.R access card fragment.
Now, Trash Heap is immediately south-west of Picnic Pantry, and you can slide down a discarded paper plate to reach it. This place is a nightmare without prep—Meaty Gnats emit a stacking gas DOT that'll melt you. You absolutely need a Gas Mask before you even think about entering, and you have to chop rotten hot-dogs and apple cores with an Insect Axe or better to clear the fumes. The good news is that clearing the Trash Heap removes the gas cloud that drifts upslope, which makes future runs to the Ominent Outpost way less painful.
Once you have the fragment from Picnic Pantry, you're heading to Lily-Loop Grotto, which might be the coolest location of the three. It's a mid-map MIX.R station inside a lily-pad ring that forms a koi-grotto pond. You'll need to dive under the largest pad and swim through a hollow root to reach an air-filled chamber. The MIX.R defense wave spawns a Diving Bell Spider mini-boss and infinite Water Fleas, so bring a slime lantern and a Bone Trident. Completing it unlocks the Lily-Loop buff—15% swim speed and 10% underwater harvest—which is permanent and amazing for late-game exploring.
If you're efficient, you can farm all three in about 11 minutes: spawn at the Picnic Ranger Station, zip to the Ominent Outpost for the fragment, drop into Trash Heap to axe some rotten steaks, use the straw bridge to reach the pond, finish the MIX.R, then exit through the hollow log back to the picnic table. It's sweaty, but the loot is worth it.
Research Spire (Central Tower)
The Research Spire is the real endgame facility, but you can't just walk in. You have to restore all three O.R.C. Transmitters across Brookhollow Park first, which is a whole questline on its own. Once you do, the Spire unlocks and houses the Assistant Manager 2.0 hologram boss fight in the central tower chamber. This fight requires Tier-III weapons and a Gas Mask for environmental hazards, so don't go in under-geared.
Beating the hologram drops the final story chip that reveals Ominent's actual plan, plus the Pneumatic Transit Device blueprint for premium base fast-travel. Unfortunately, you can't fast-travel directly to the Spire, which is annoying. The nearest unlocked Ranger Outpost is Upper Yard on the rock ledge above the wheelbarrow, and even that's a 45-second glide or zip-line descent.
There is a cheese method if you're desperate: place a Lean-To or Trail Marker outside the Spire door, then unequip everything and let a mosquito kill you. When you respawn, choose that marker for a one-way warp, but your backpack gets dropped where you died so it's risky. If you want to do it legit, stack movement buffs like the Liquid Rage smoothie (+30% sprint), the Weevil Shield set bonus, and the Zip-Line Master mutation (+50% zip speed) to cut the run to under 30 seconds. It's still a trek, but at least you'll get there fast.
Mystery Codes & Puzzle Solutions
Locked Containers (Briefcase, Ominent Doors, Letterbox, Cooler)
If you've been running around the Picnic Table wondering what all those dials are for, you're not alone. The area has four different lock systems, and each one has a code hidden somewhere nearby.
| Container | Code | Where to Find the Clue | What You Get |
|---|---|---|---|
| Picnic Table Briefcase | LEFT 137, RIGHT 514 | Written on the underside of the bench; check the shadowed edge | Assorted candy buffs, Milk Molar |
| Ominent Field Station Doors | 2846 | Scrawled on a sticky note stuck to the station's exterior, south-east leg | 1-2 SCABs, Quartzite, recipe scrap |
| Letterbox (Mystery Mail Box) | 7734 | Under a ketchup-splattered flyer on the west side of the table | High-tier chewing gum, random jewelry trinket |
| Bike-Lock Cooler | BEES | Carved into the wood near the center of the table top | 3 Bee Stinger arrows, Bee Armour kneepad schematic |
The briefcase is the big prize here since it holds an Optical Disk, so grab that first.
Environmental Puzzles (Odd-Stone Slabs)
Those three Odd-Stone slabs on the table look decorative until you notice the symbols, and you'll need to hit them with specific arrows in the right order. That means crafting a few specialist ammo types before you start.
Required Gear:
- Venom Arrow (Tier-2 workbench): 1 spider venom + 2 arrow shafts
- Taser Arrow: Taser-charged quill + 1 battery acid + 2 sap
- Sprig Arrow: 1 sprig + 2 sap (basic Tier-1)
- Splinter Arrow (normal flint): 2 pebblet + 2 plant fiber
Shooting Sequence:
- Hit the Leaf symbol with a Venom Arrow
- Hit the Lightning-bolt with a Taser Arrow
- Hit the Skull with a Splinter (flint) Arrow
- Hit the Sprig symbol with a Sprig Arrow
- Hit the second Lightning-bolt with another Taser Arrow
- Hit the final Venom skull with a final Venom Arrow
Get all six shots correct and you'll claim a SCA.B 2K chip and the Leaf-Skull tier-3 bow blueprint. Miss one and the puzzle resets, so double-check your ammo before you start.
Optical Disk Bonus Locations
Brookhollow has two Optical Disks hiding in the Picnic Table area, and you need both if you want the full Park Ranger outfit.
Optical Disk #1: The Briefcase Prize
- Location: Inside the Picnic Table briefcase (north-seat bench)
- Requirement: Solve the briefcase code (137/514)
- Note: This is the easiest one since you're already cracking that lock
Optical Disk #2: The Drain Grate
- Location: Under the large storm-drain grate behind the public restroom block
- Requirement: Tier-2 Mighty Shovel (2x Tough Gunk, 1x Lint Rope, 2x Splinter)
- Tip: The grate is heavy, so you'll need to craft that shovel first
Once you've got all three TURBO disks across the zone (these two plus one more from another area), head to the ranger station kiosk. Deliver them to the terminal inside and you'll get the Park Ranger outfit schematic. The helmet gives +Gas Resistance, while the jacket provides +Stealth versus Mantis-type bugs, which makes the later zones way more manageable.
Efficient Collection Routes & Progression Tips
Early Game Route (No Special Gear)
Right when you spawn in the Entrance Area, you'll spot a white Styrofoam cup on the ground near the first park bench cluster—grab that standard Milk Molar. But don't stop there; if you've already crafted a basic Pebblet Hammer (tier-1 busting tool), you can smash the cracked PVC drainage pipe under the main foot-path to score a Mega Milk Molar. While you're in the zone, head to the ice-cream cart at the northern loop and mantle up the rear wheel to find another Mega Molar waiting on the awning.
Once you push into the Snackbar Front, check the overturned ketchup cap next to the picnic-table leg closest to the snack window—that holds another Molar. There's also one tucked under a leaf beside the welcome mat at the alternate rear entrance to the Snackbar Ranger Outpost. The bigger hauls are near the soda machine: smash the Styrofoam cooler lid with your hammer to reveal a Mega Molar underneath, then leap from a trash-can lid onto the hot-dog roller cart canopy to snag yet another Mega.
Don't forget the picnic table itself. Climb it using the pulled-out bench as a staircase, and you'll find a silver Ominent briefcase on the tabletop. It needs two 3-digit codes: left clasp is 137, right is 514. Crack it open and you'll walk away with three Spicy Candies and three Fresh Mint Shards.
Mid-Game Route (With Buggy Mount & Explosives)
Before you can crack the mid-game zones, you'll need a Buggy mount. Red Soldier Ant Buggy eggs drop from red soldier ants in the central picnic tables—just incubate them in your Hatchery and craft the saddle with 3 Ant Mandibles and 5 Bee Fuzz. If you're more of a spider person, Orb-Weaver Buggies come from orb-weavers near the hedge base, and their saddle needs 4 Spider Silk plus 4 Stinkbug Parts.
The Ice Cream Cart is your first major roadblock, and it's no joke. You'll want either the Mint Protection or Bee-Fuzz Parka set to survive the -10°F ambient frost damage, and don't forget a Frost-Protection Smoothie (mix 1x Fresh Apple Bit, 1x Mint Shards, and 1x Water Flea Meat). The rear hatch is sealed with frozen milk, so pack a Bomb or Brat-Burst to blast it open. Inside, you'll score the Ice Sickle unique weapon from a popsicle (use a tier-2 hammer to harvest it), Optical Disk C from the mini-freeze chamber on the driver's seat, and four Golden Milk Molars taped under the serving counter—you'll need a tier-2 shovel to pry those loose.
Next up: Pine Hill cracked tunnels. Look for a fissure emitting faint blue light and smash it with another Bomb. Buried deep inside is an ORC Receiver—slot Disk C to unlock the 'Scarab' blast weapon recipe.
Don't miss the Fire Pit Cave north of the pit. It's sealed by a cracked boulder, so bring more explosives. Inside you'll find the Smolder Core trinket (which boosts burn damage by 15%) and Disk B on a corpse. The big brain move here is using your Red Ant Buggy—its saddle has innate heat insulation, so you can ride inside without roasting alive.
Late Game Route (All Gear & Story Completion)
By the time you're ready for the Research Spires, you should have top-tier gear and a solid fast-travel network. There are five spires total, and each one is a sealed Ominent Facility that starts with floors 1-3 crawling with infected mites before opening into zero-gravity clean rooms on floors 4-5.
The real magic happens when you activate three spire cores—the 'Ominent Intranet' fast-travel option unlocks at every Ranger Outpost bed, letting you bounce between locations instantly. Clear all five and you get the Master Key chip, which opens the hidden sixth floor of the Central Network Center.
Here's where to find them: The Brookhollow North Spire sits on top of the overturned trash can by the picnic tables, and it'll net you a Tier-3 Bombardier Blueprint plus 4 Research Tapes. The East Spire is tucked inside a hollowed-out fire-fly lamp, holding a Tier-3 Black-Ox Crossbow and 5 Optical Disks. The South Spire hides under the root of the big oak—you'll need to crawl through a crack to reach it—and contains the Spire Core Overcharge Manual crafting recipe. The West Spire is on the roof of the soda can stack, rewarding you with a Sour Whetstone unique upgrade. Finally, the Central Network Center is that five-floor building in the middle of the map, and it's got the Master Key, 8 Research Tapes, and the final story file.
You can clear the first three spires in any order, but each overload sequence is a brutal 60-second defend event, so build grass half-walls around the terminal before you start. Once you finish that third core, a park-wide PA message blares: 'Ominent Intranet re-routing… standby,' and boom—fast-travel between spires and outposts is live. Plus, every spire you clear adds +10% base durability to all workbenches in Ranger Outposts, stacking up to 50% once you've hit all five.
Oh, and here's a cheese: for the North Spire, you can use a Zipline from the highest blade of grass east of the trash can to ride straight onto the roof, which skips about 80% of the interior mobs.
Rewards & Benefits Summary
Milk Molar Stat Boosts (50 Total Upgrades)
You will stumble across two flavors of Milk Molars, and they each play a completely different role. The white ones are selfish in a good way—they are player-specific upgrades that boost your max health and stamina while slowing down hunger and thirst drain. The gold Mega Milk Molars are the team players, handing out squad-wide buffs like increased damage, carry capacity, healing efficiency, and faster crafting speed. You can crack these open as soon as you save BURG.L and hand in your first molar; there is no level gate stopping you. A basic Tier-1 Pebblet Hammer gets the job done, which means you can start collecting the 50 total upgrades hidden in Brookhollow Park's flowerbeds, picnic tables, sprinkler pipes, and Yoked Girth caves right away.
Ominent Facility Unlocks
The Ominent Onboarding Facility is where you start, and finishing its tutorial automatically flips on the SCA.B 2K fast-travel UI on your watch. You activate these nodes at Ranger Outposts and a few Ominent micro-relays scattered around the yard, and you can reach the first two destinations within about 15 minutes of leaving the facility. Early exploration pays off with trinkets like the Blitz Capacitor (dropped by fireflies for +15% sprint speed), the Mite Guard Charm (crafted from mite fuzz to reduce climbing stamina drain), and the Slimjaw Token you dig up for extra inventory capacity. You will also grab mutations such as Cardio Master after sprinting a full kilometer, Grass Master for chopping 100 grass pieces, and Nature Explorer for discovering 15 map markers; push these to Rank 3 and you will spend fewer materials on zipline anchors.
Mystery Code Loot & Achievements
A locked briefcase hides under the Visitor Center kiosk, and it wants a 4-digit code you piece together from four Ranger Logs. If you cannot be bothered to hunt them all down, the default order spits out 2017—punch that in on your first attempt and you will earn the hidden 'Code Cracker' achievement plus 'Mystery Solved' for 50 Gamerscore. Inside you will find the Trailblazer Trinket recipe (which cuts thirst drain by 25% while sprinting), the full Park Ranger Outfit set (+10% creature-scan speed per piece, full set adds +15% marksmanship vs flying insects), and a bundle of 100 Raw Science. Crafting that trinket costs 2 Ladybug Heads, 1 Stinkbug Gas Sack, 5 Sprigs, and the briefcase security chip that auto-consumes itself when you first pop the case open.
Interactive Map References & Tools
Best Interactive Maps for Tracking
You've got three main contenders here, and each one handles progress tracking a little differently. Map Genie is the heavy-duty option—it packs over 500 nodes covering everything from Wonders and Buried Treasure to Creature Zones and BURG.L Audio Logs. The real kicker is its real-time progress tracker that syncs via a free account, which means your checkmarks stay safe server-side even if you switch devices. They've also got Android and iOS apps that give you GPS-style panning and ping you when you're near unfinished collectibles, which is clutch for mobile players.
Game8 takes a different approach, running on local storage so you don't need to sign up for anything—your progress just lives in your browser. It uses 15+ switchable layers with color-coded icons and includes detailed pop-ups with screenshots and written directions for each node. There's even a screenshot-and-share button baked right in, plus deep wiki integration if you need more context.
IGN's map sits somewhere in the middle: you'll need a free IGN account for cross-device sync, but it's browser-based with solid mobile pinch-to-zoom support. It covers all the essentials—Wonders, Facilities, Treasure, Resources—and updates lock-step with game patches. The standout feature is the comment thread on each node where the community drops lab codes and warnings.
| Feature | Map Genie | Game8 | IGN |
|---|---|---|---|
| Progress Tracking | Real-time, server-side (free account) | Local storage, no login | Cross-device sync (IGN account) |
| Mobile Support | iOS/Android apps with GPS panning | Mobile-ready responsive design | Browser-based, pinch-to-zoom |
| Layers/Filters | 500+ nodes, custom markers, heat-map | 15+ switchable layers | Toggles for all major collectibles |
| Community Features | Discord integration | Screenshot & Share, wiki links | Comment threads on each node |
| Premium/Offline | Offline export (premium) | Completely free | Free |
If you hate making accounts, Game8 is your best bet. If you want the most complete mobile experience, Map Genie wins. And if you value community-sourced tips, IGN's comment system is hard to beat.
Community Resources & Updates
Interactive maps are only half the battle. When patches drop or you need to figure out why a pathing bug is eating your run, you'll want to bookmark a few community hubs.
Reddit is where the raw info hits first. The r/GroundedGame subreddit hosts a living 'Interactive Map & Complete Database' thread that's basically a crowdsourced command center. This thing updates faster than any wiki—during the last December Feature Update, they had 312 edits in six hours. You'll find everything from buggy pathing GIFs to a Loot Luck dashboard and speed-run notes. Verified 'Ranger Scout' flairs mean someone's actually screenshot the location, so you're not chasing bad intel.
For structured data, you've got two wiki options. The Fandom Grounded Wiki is the classic choice, merging legacy Grounded 1 pages into Grounded 2 tabs. It's community-driven with Discord Trello boards and monthly Steam Community sync threads. Then there's Wiki.gg, which is more of a dataminer's paradise—they pull raw 0.2 Public Test assets and auto-import Steam patch notes with less than 0.5% error rates within 24 hours. During busy periods, Fandom sees hundreds of manual edits, while Wiki.gg's bots handle the heavy lifting.
YouTube fills the visual gap. Creators like Jade PG and Crafted dump 2–3 videos per month, usually 48–72 hours after patches land. Jade PG2 posts weekly challenge runs if that's your thing. There's also a 31-video playlist that aggregates content from multiple creators and updates within 24 hours of Obsidian's every-4-to-6-week release cycle.
Bottom line: use Reddit for real-time fixes, the wikis for deep reference, and YouTube when you need to see someone else do it first.
Mastering Brookhollow Park requires a systematic approach, from early-game molar grabs to late-game spire assaults. Use the provided interactive maps and community resources to track your progress efficiently. Stay vigilant - as early access continues, new secrets and codes will emerge, keeping completionists on their toes.
More Grounded-2 Guides
Grounded 2 Early Access: The Ultimate Fix Guide for Crashes, Bugs & Performance
Struggling with Grounded 2's Early Access bugs? This definitive guide compiles all community-tested fixes for multiplayer crashes, building glitches, save corruption, and performance issues.
Mastering the Perk Grid in Grounded 2: A Complete Guide
Learn how to navigate the perk grid, optimize builds, and use mutations for solo and co-op play in Grounded 2. Includes S-tier mutations and respec tips.
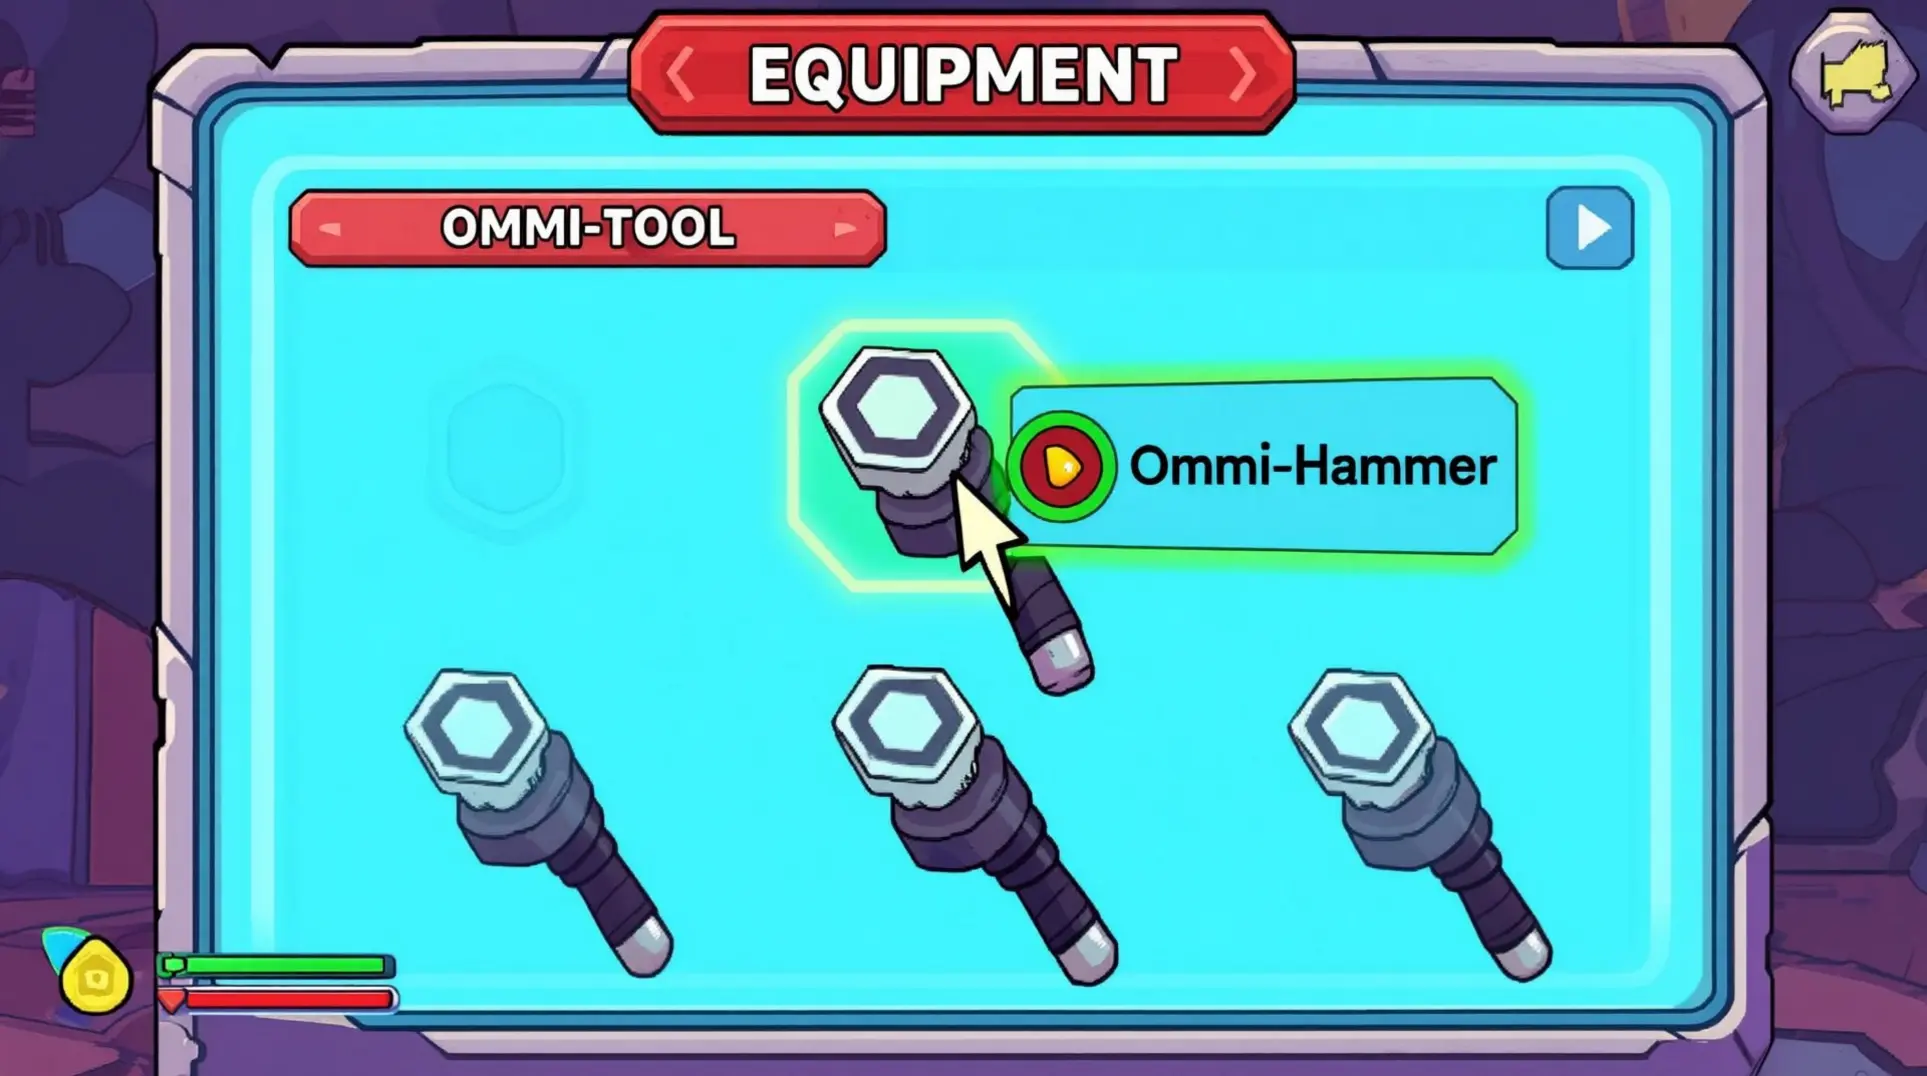
Grounded 2 Omni-Tool 2.0: Complete Upgrade Guide & Strategies
A comprehensive guide to upgrading the Omni-Tool 2.0 in Grounded 2, including costs, farming tips, and optimal order for progression.
AI Tactical Companion
Consult with our specialized tactical engine for Grounded-2 to master the meta instantly.