Wave 20+ Meta Guide: S-Tier Evolutions & Strategies
Introduction: Navigating the Post-Patch Meta
Wave 20+ content has become the new proving ground for competitive players. The November 2025 stability patch delivered sweeping balance changes that fundamentally altered how top-tier strategies function. Returning veterans are discovering that yesterday's "optimal" builds now feel sluggish or outright ineffective.
This confusion isn't just anecdotal. Community portals are flooded with outdated guides, creating a maze of conflicting advice for anyone trying to climb ranks. The meta's constant flux means raw damage spreadsheets no longer tell the full story—utility and synergy have become equally critical factors.
Players who once relied on brute-force builds now find themselves outmaneuvered by compositions that prioritize control and adaptability. The challenge isn't just learning new numbers; it's rethinking what "optimal" actually means in this evolved landscape.
Current Meta Tier List: S-Tier Evolutions for Wave 20+
Holy Laser: The Screen-Clearing Powerhouse
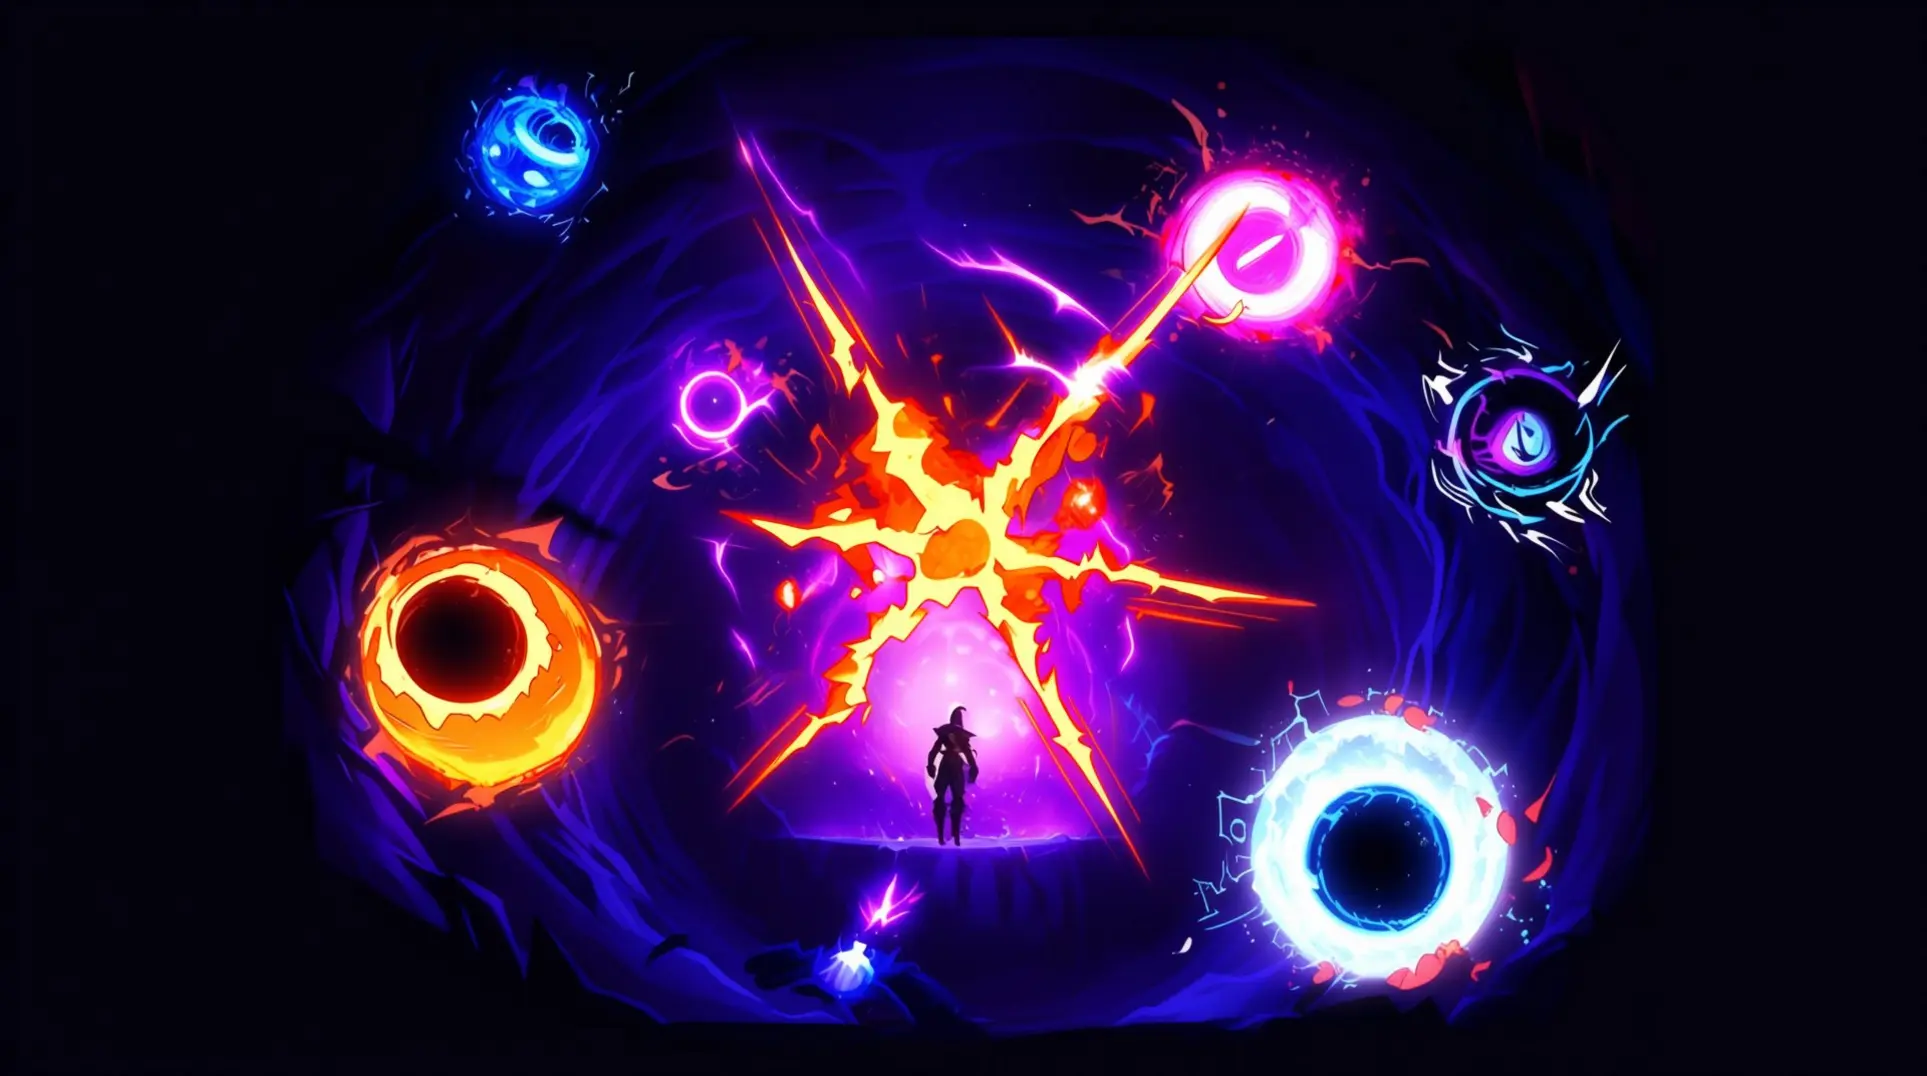
Holy Laser delivers 24–36 damage per activation and simultaneously strikes every ball in an entire row and column. Created by fusing Laser (Horizontal) with Laser (Vertical), this evolution is universally ranked S-tier for its reliable map-clear potential.
When paired with Hemorrhage, Holy Laser can delete entire waves in seconds and melt even tanky bosses with ease. Adding Ghost or Wind modifiers pushes the build into "destruction in its purest form," further expanding its already massive area coverage and potency.
Magma & Sandstorm: Area Control Specialists
Magma forms from Burn + Earthquake, spawning lava blobs that inflict heavy AoE burn impact plus lingering ground damage fields. Sandstorm, born from Earthquake + Wind, generates a persistent vortex that damages and slows enemies.
Together, they create a devastating area-denial combo:
- Magma's damage zones keep enemies burning continuously
- Sandstorm's slow effect forces enemies to stay in the fire longer
- Both evolutions are S-tier staples for late-game waves
- Dense enemy groups demand constant battlefield control
Black Hole: Unmatched Crowd Control Utility
Forged from Sun + Dark, Black Hole pulls enemies into a tight cluster while dealing solid damage. Its true power lies in crowd control, setting up massive follow-up bursts from area-of-effect evolutions.
Black Hole synergizes perfectly with Nuclear Bomb and other large-scale attacks by ensuring every enemy is grouped for maximum efficiency. It consistently shares the S-tier spotlight with Vampire Lord and Nuclear Bomb, cementing its role as the game's premier grouping tool.
Advanced Build Synergies for Late Game Dominance
With the current S-tier evolutions established, understanding how to combine them effectively separates good players from great ones. The following synergies represent the most powerful combinations available.
Nuclear Bomb & Nosferatu: The Damage-Sustain Combo
Nuclear Bomb and Nosferatu represent two distinct S-Tier evolution paths, each demanding full commitment rather than hybridization:
- Nuclear Bomb: Delivers devastating area-of-effect damage through its Bomb + Poison fusion
- Nosferatu: Provides unmatched sustainability via its complex three-way Vampire Lord + Mosquito King + Spider Queen combination
The strategic reality is that attempting both paths simultaneously dilutes your build's effectiveness. Instead, players should transition from mid-game setups to their chosen S-Tier evolution once base stats and passive items can support the resource requirements. This focused approach ensures reliable Wave 20+ clears by maximizing either burst damage or sustain.
Character-Ball Synergy Matrix
Character selection dramatically influences evolution consistency and effectiveness. The synergy between character abilities and ball types creates powerful optimization opportunities:
- Bomb-type characters excel with Nuclear Bomb evolution, following the Fire+Steel = Bomb, then Bomb+Poison = Nuclear Bomb path
- Elemental acquisition enhancers improve consistency in achieving Nuclear Bomb fusion by accelerating ball evolution speed
- Poison-type supporters pair strategically with bomb generators for reliable Nuclear Bomb creation
- Propagation mechanics like Swarm/Clone balls multiply Nuclear Bomb's massive AOE damage, exponentially increasing DPS
- Makeshift Sisyphus synergizes with elemental status balls, particularly when earthquake effects complement bomb-type strategies
Dual Character Team Compositions
The Matchmaker building unlocks dual character teams, fundamentally transforming late-game strategy through synergistic pairings.
Top-Tier Composition Archetypes:
- Damage Amplifier + High-DPS Core: Vulnerability debuffers enable massive AOE damage from Nuclear Bomb specialists
- Crowd Control + Sustained Damage: Stuns and freezes create safe engagement windows for damage-over-time specialists
- Survival Specialist + Glass Cannon: Tanky characters protect fragile high-damage partners
Successful teams plan their evolution chains from wave 1, focusing on specific S-Tier goals like Black Hole, Nuclear Bomb, or Nosferatu with complementary character abilities. Many character pairs also unlock hidden passive synergies that enhance attack speed, crit chance, or ball size when properly combined.
Early Game (Waves 1-10): Foundation Building
The first ten waves are your opportunity to establish a powerhouse build that will carry you deep into the run. Focus on acquiring balls that naturally evolve into S-tier options while maximizing screen-clearing potential.
Core Mechanics to Prioritize
- Pierce: The most valuable early-game mechanic, allowing balls to travel through multiple bricks for rapid screen clears and increased DPS
- Bounce: Essential for coverage and cleaning up isolated bricks, working synergistically with pierce balls
- Status Effects: Freeze, Poison, Burn, or Bleed provide consistent value against tougher early-game bricks
S-Tier Evolution Targets
- Bomb Evolution: A beginner-friendly S-tier choice with excellent area-of-effect damage that remains viable through wave 20+
- Black Hole: Requires strategic fusion planning but offers devastating crowd control
- Nuclear Bomb: Top-tier damage output for clearing dense brick formations
- Nosferatu: Provides sustain through life steal, crucial for aggressive playstyles
Base balls with built-in pierce or multi-hit capabilities dramatically speed up clear times in waves 1-10, making them priority picks during this phase.
Mid Game (Waves 10-15): Critical Fusion Phase
Waves 10-15 represent the make-or-break period where your evolution choices determine whether you'll survive the difficulty spike beyond wave 15. This is when you must complete your key S-tier evolutions or risk falling behind the enemy scaling curve.
What Makes S-Tier Evolutions Essential
- High reliability in activation and damage output
- Exceptional damage scaling that keeps pace with enemy health pools
- Strong synergistic potential with other evolutions and character abilities
Priority Fusion Types
- High-damage AOE fusions: Paramount for dealing with increasing enemy density
- Status effect synergies: Poison excels at whittling down high-health mid-game targets
- Build-enabling fusions: Healing, resource generation, or defensive properties maintain aggressive playstyles
The Wave 15 Checkpoint
Failing to secure powerful evolutions by wave 15 can make subsequent waves nearly insurmountable due to enemy scaling. This is the most critical decision-making window in your entire run—prioritize completing at least one S-tier evolution path before crossing this threshold.
Late Game (Wave 15+): Optimization and Scaling
Once you've secured your core evolutions, the focus shifts to maximizing your scaling potential and preparing for boss encounters.
Stat Scaling Priority
- Intelligence > Strength > Endurance for exponential stat scaling
- Lower letter scaling provides better returns:
- E scaling = 10x multiplier
- D scaling = 12x multiplier
Damage Amplification Systems
- Radiation: Stacking damage over time
- Frostburn: Combines slow with burn damage
- Bleed: Percentage-based health drain for tanky enemies
Ball Economy Optimization
- Manage the right balls that synergize with your build rather than simply collecting many balls
- Prioritize supportive balls that provide crowd control, defensive barriers, and damage amplification
- Complement your main damage dealers with utility options
Boss Encounter Preparation
- Top off resources before engaging
- Configure optimal ball loadout for the specific boss
- Stack debuffs before burst damage windows
Strategic Ball Positioning for Wave 20+
Mastering ball positioning becomes critical as enemy density increases in late-game waves. Your placement decisions directly impact how effectively your evolutions clear the screen.
Maximizing Evolution Coverage
- Identify natural convergence points where multiple ball paths intersect
- Position AOE evolutions like Nuclear Bomb and Magma at these convergence zones
- Use Black Hole strategically to pull scattered enemies into your damage zones
Ball Synergy Placement
- Pierce balls should travel through the longest possible enemy lines
- Status effect balls work best when positioned to hit enemies entering your kill zones
- Support balls providing buffs or healing should remain near your primary damage dealers
Adapting to Wave Composition
- Adjust ball positioning based on enemy spawn patterns each wave
- Different setups work better against different enemy compositions
- For Wave 20+ progression, transition from balanced coverage to concentrated kill zones
Conclusion: Mastering the Current Meta
S-Tier builds represent the pinnacle of performance, validated by actual game data including damage multipliers and tier rankings. These builds consistently dominate at the highest levels of play, making them essential for serious progression.
The foundation of any top-tier strategy lies in a clear evolution priority order. Following data-driven build paths ensures your character remains powerful at every stage, rather than experimenting blindly early on.
Synergy Strategies That Define the Meta
True power emerges through synergy—strategically combining character abilities, passive skills, and ball evolutions to create effects greater than the sum of their parts. In team-based scenarios, the Matchmaker approach becomes crucial: selecting characters whose passives and evolution paths complement each other for devastating combo opportunities.
Staying Ahead of the Curve
- The meta continuously evolves with each new season or update
- Stay informed about the latest tier lists and build optimizations
- While S-Tier builds offer incredible power, choose one that matches your preferred playstyle
- Skill level is essential for optimal execution
Now armed with these proven meta builds, dive in and experiment. The difference between struggling through encounters and smoothly conquering the game's highest levels lies in your hands.
More Ball-x-Pit Guides
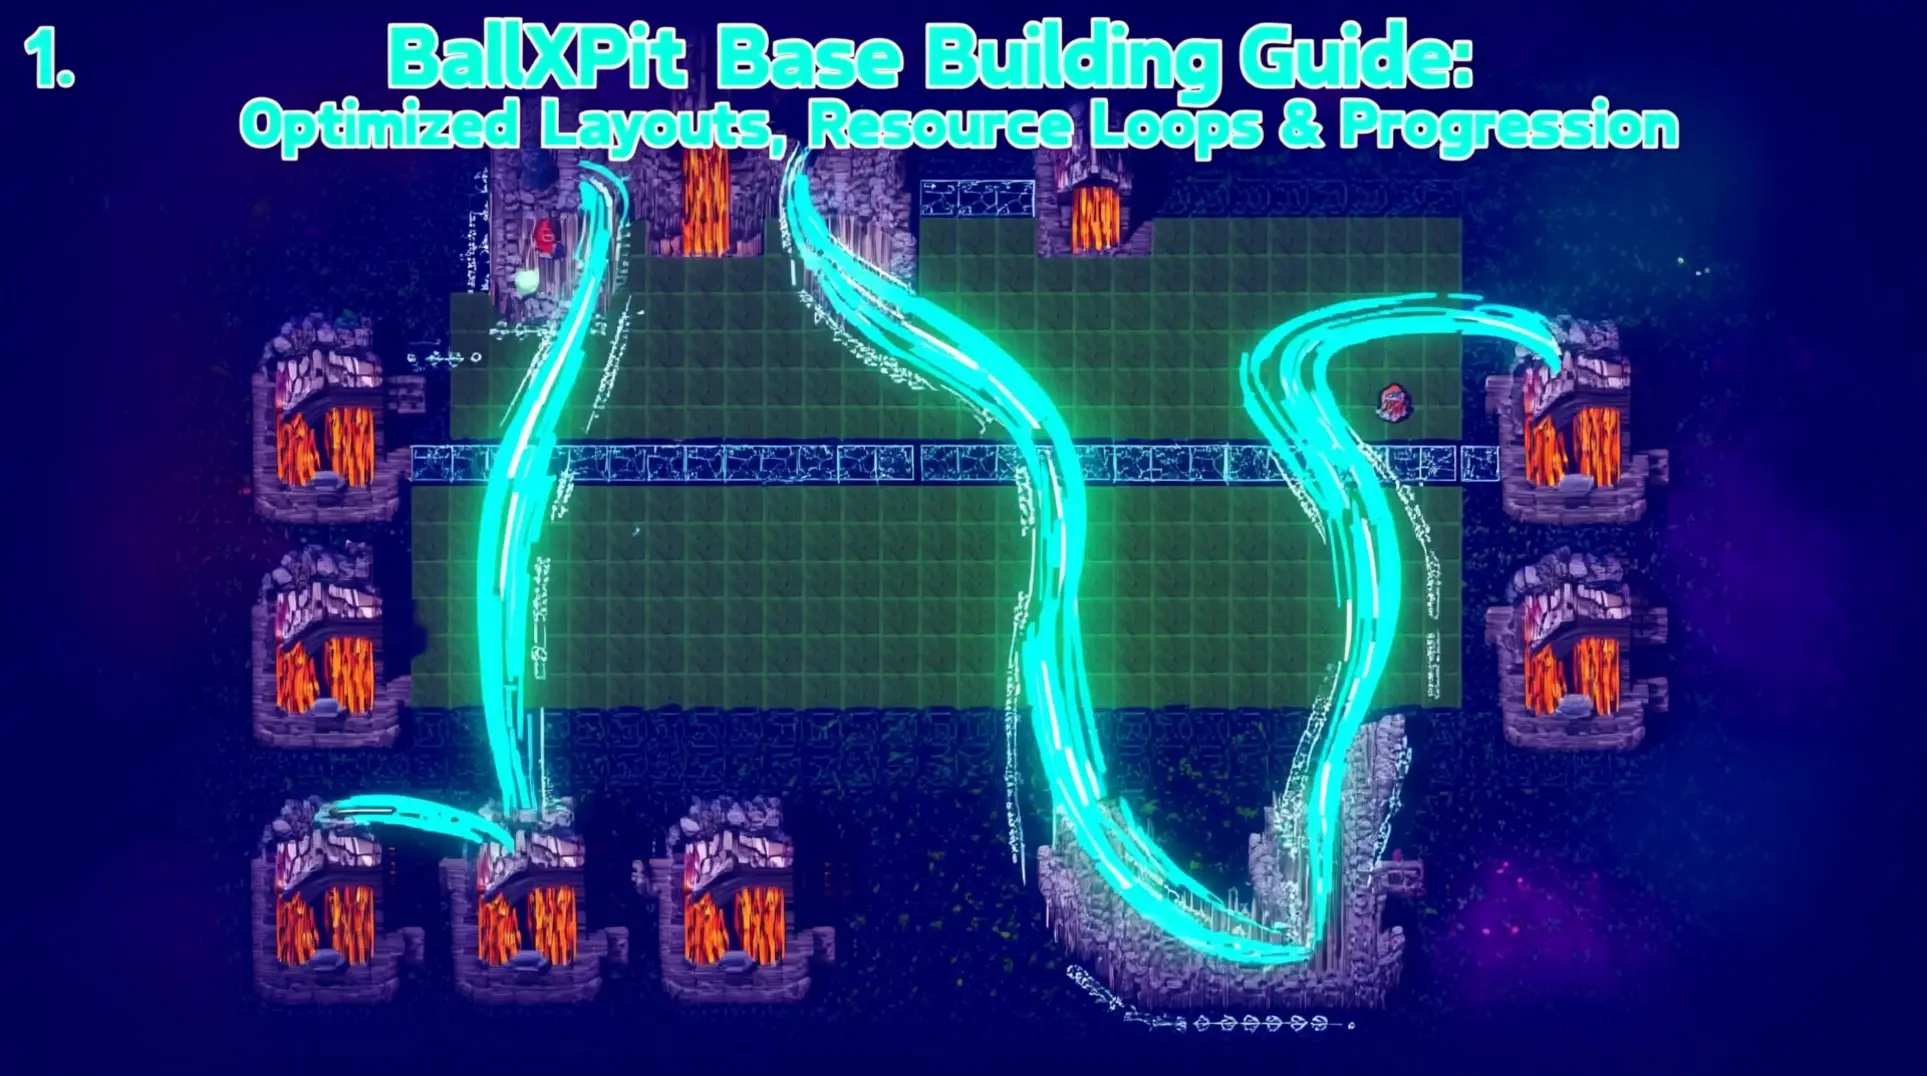
BallXPit Base Building Guide: Optimized Layouts, Resource Loops & Progression
Master BallXPit base building with our complete guide. Learn the 7-mine U-shape gold farm, optimal build order, character unlocks, and advanced resource loops to dominate every run.
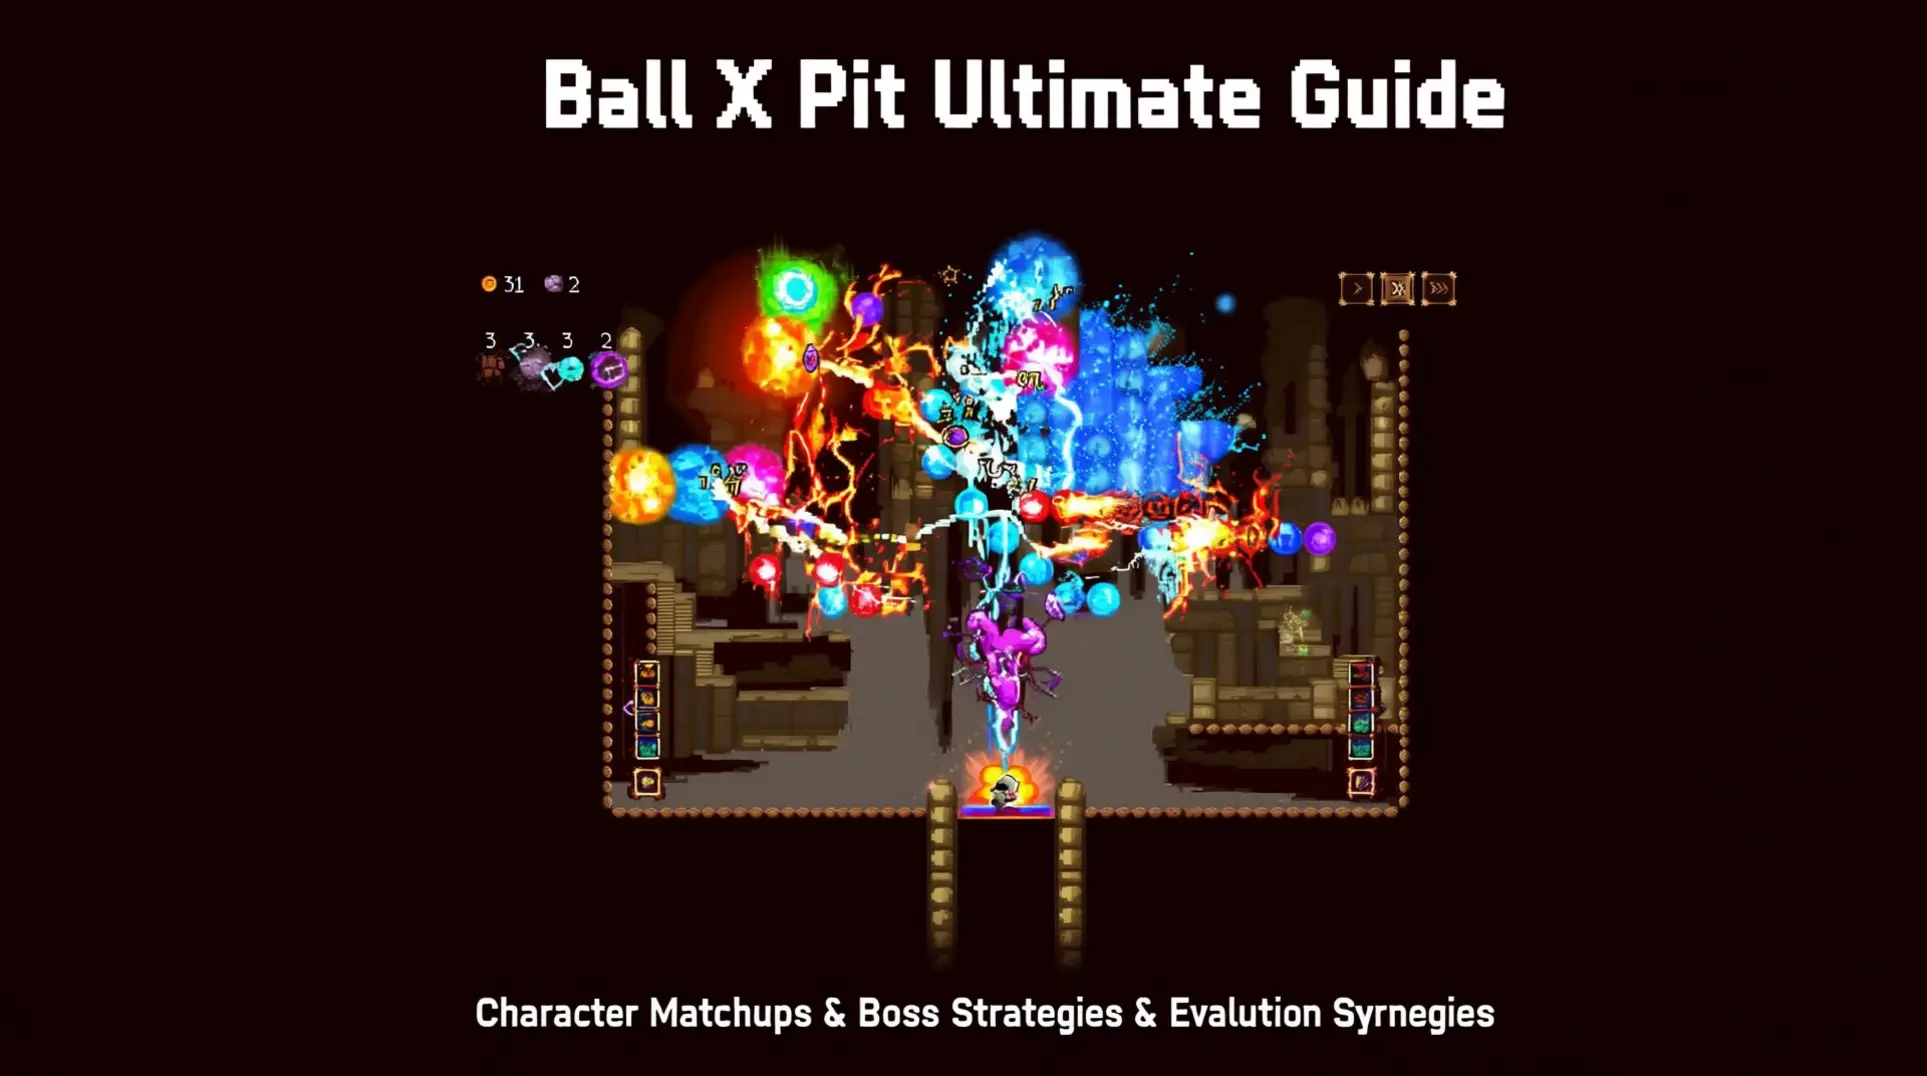
Ball X Pit Ultimate Guide: Character Matchups, Boss Strategies & Evolution Synergies
Master Ball X Pit with our complete guide covering character matchups, boss strategies, evolution synergies, and community-proven tactics for every stage from Skeleton King to Void Sovereign.
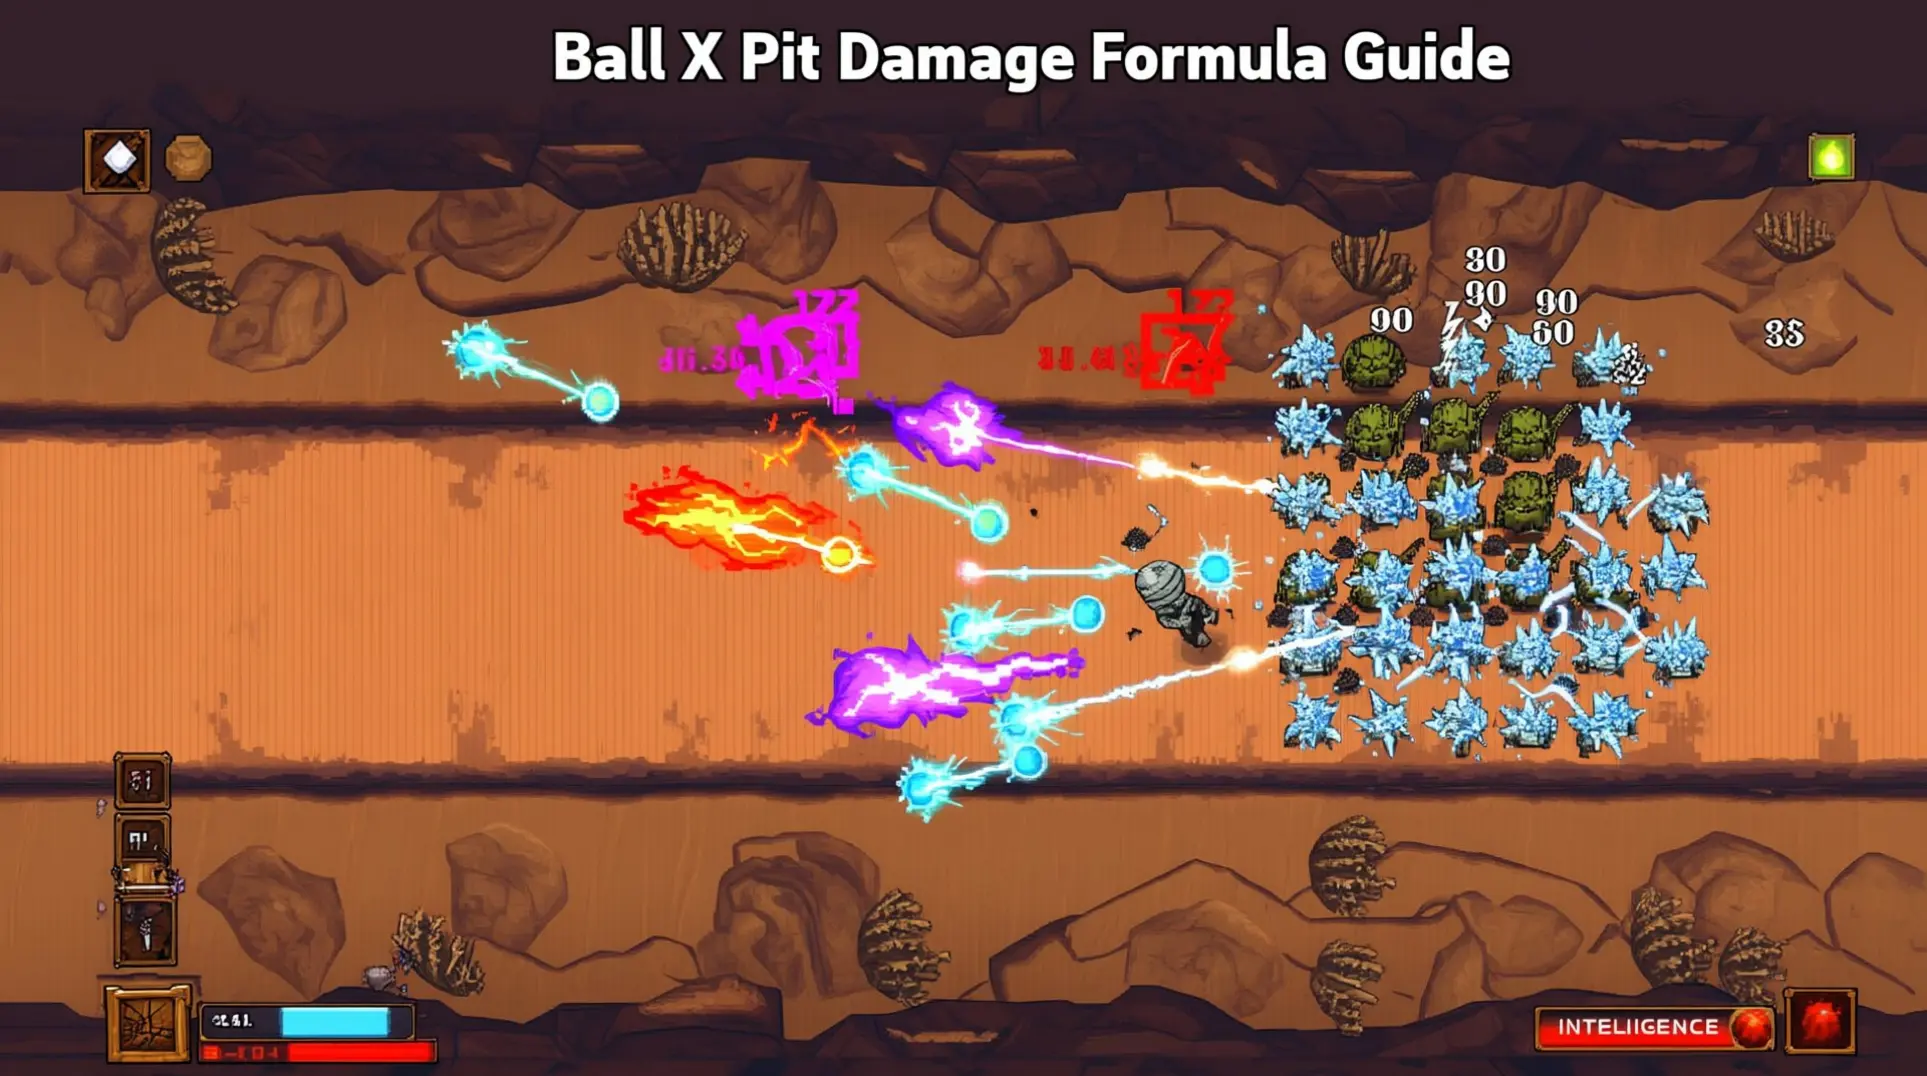
Ball X Pit Damage Formula Guide: Master Intelligence Scaling and Status Effects
Master Ball X Pit's hidden damage formula with Intelligence scaling, status effect stacking, and optimal build strategies for endgame dominance.
AI Tactical Companion
Consult with our specialized tactical engine for Ball-x-Pit to master the meta instantly.