Ball X Pit Hidden Mechanics Guide: Master Undocumented Systems for Wave 20+
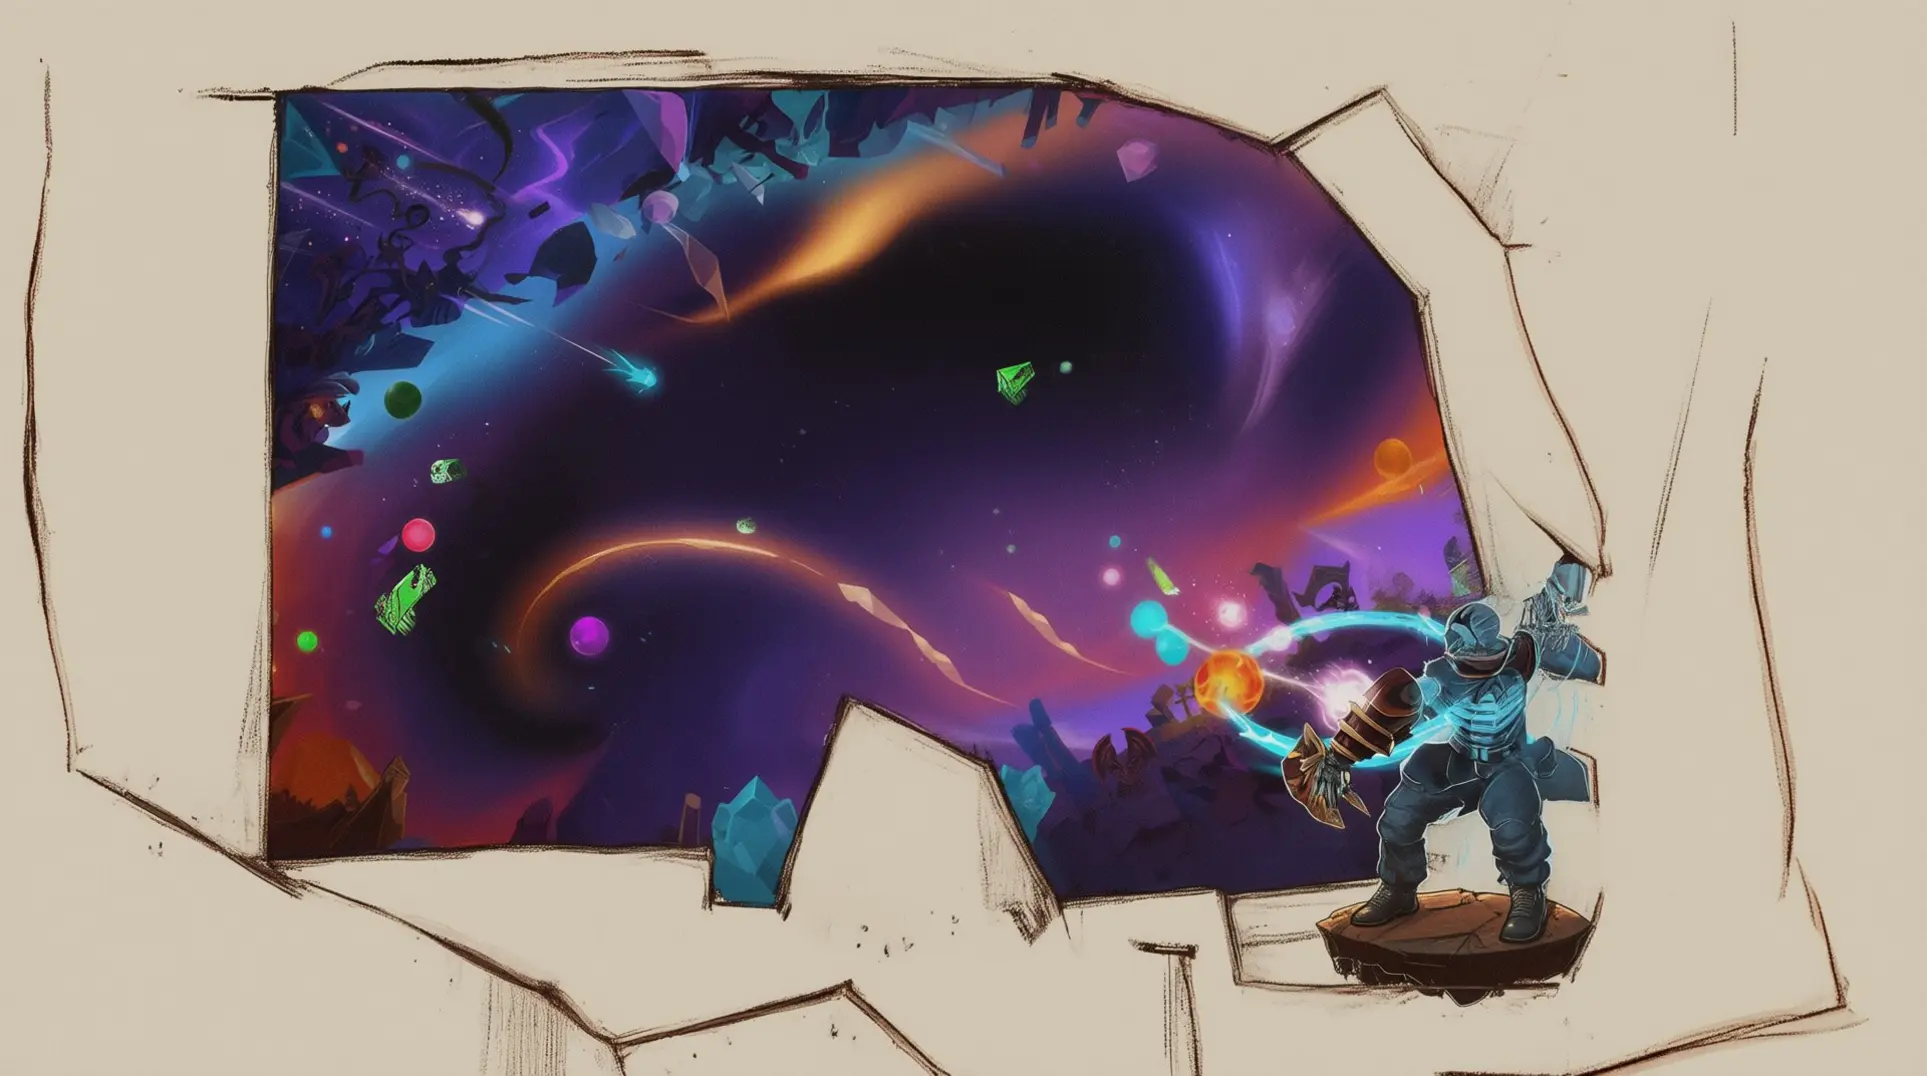
Ball X Pit's tutorials only scratch the surface of its true depth. Beneath the casual exterior lies a complex web of undocumented systems—damage multipliers, hidden evolutions, and ball physics—that separate struggling players from wave-20+ masters. This guide reveals the mechanics the game never explains, giving you the tools to transform chaotic runs into strategic domination.
Core Hidden Mechanics
The Damage Multiplication Secrets
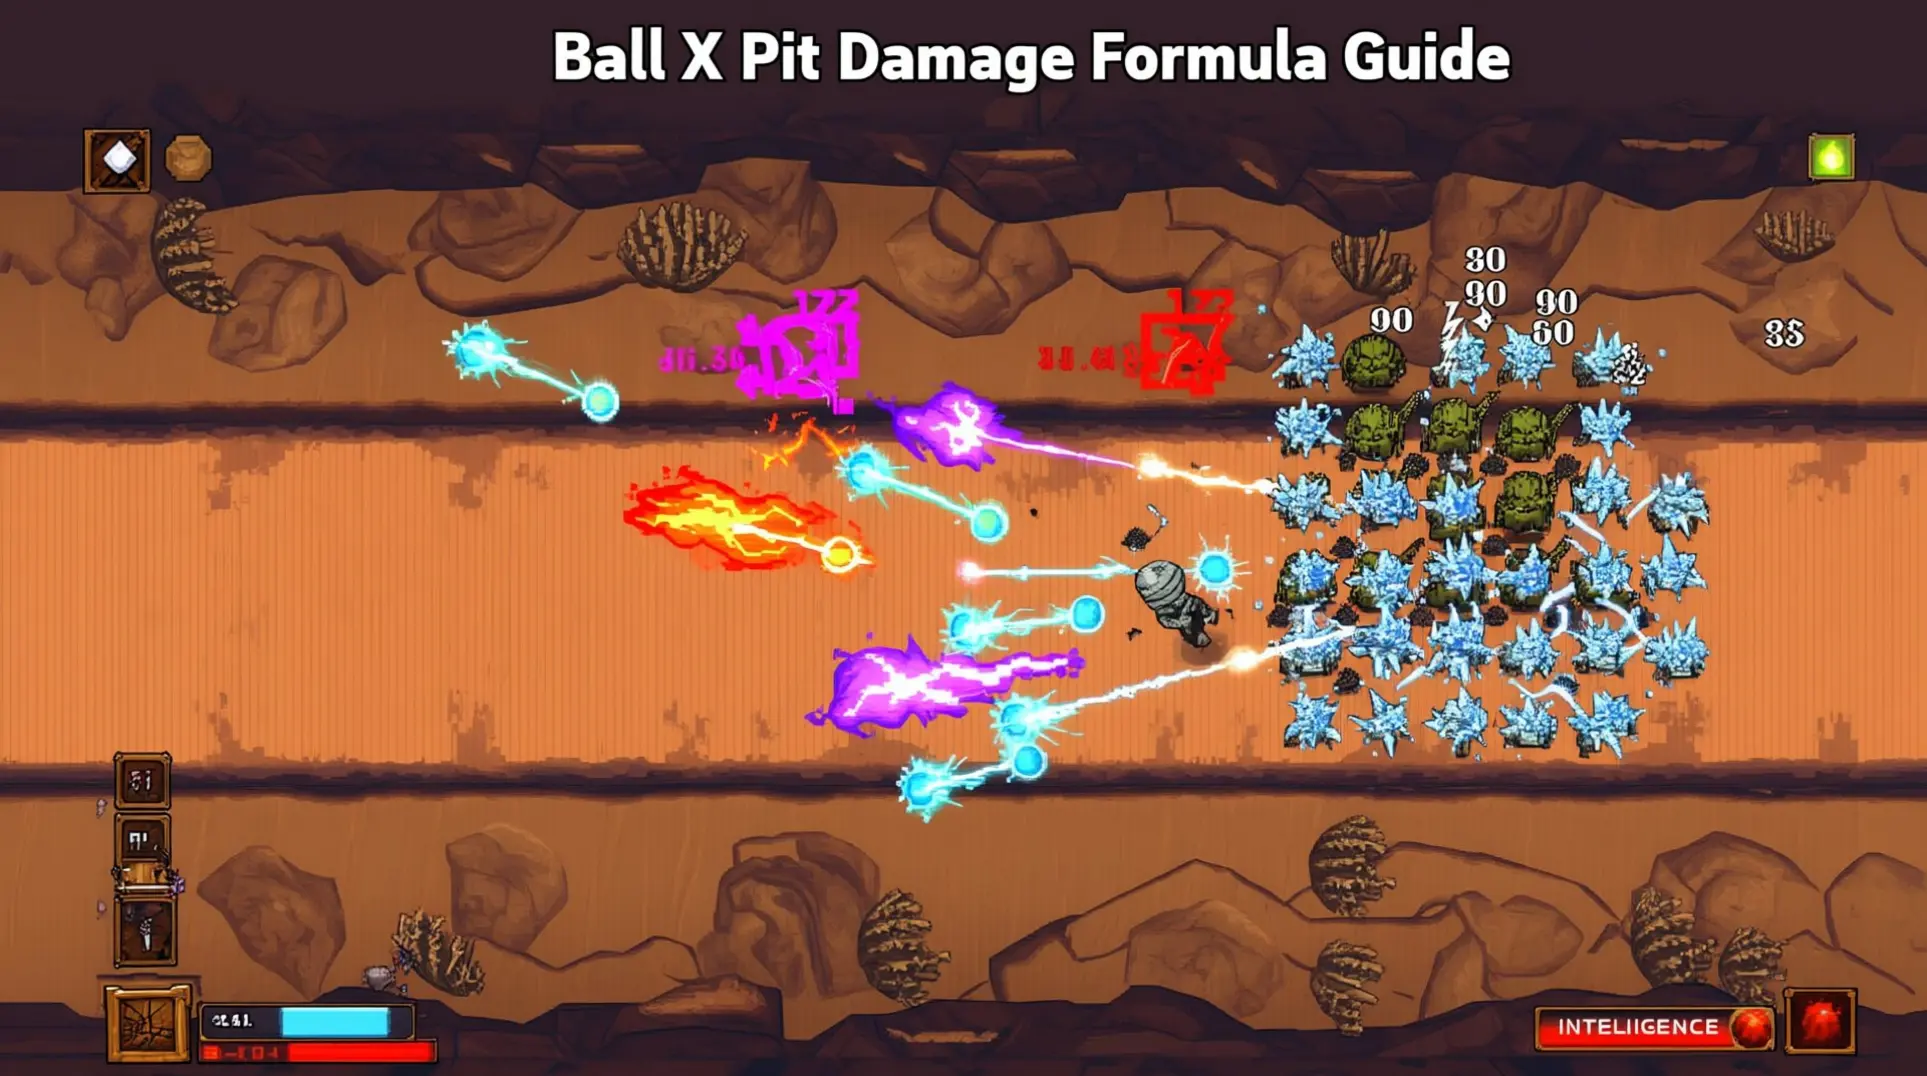
The foundation of advanced play lies in damage stacking systems that operate behind the scenes. Status effects like radiation, frostburn, and bleed don't just deal their base damage—they interact in complex ways that create exponential scaling. Each time a ball bounces, it gains an additional 5% damage multiplier, meaning a well-positioned shot can deal significantly more damage than its initial impact suggests.
Evolution vs. Fusion: The Critical Distinction
Many players confuse evolutions (unlocking entirely new abilities) with fusions (mixing existing properties), but understanding this difference is crucial for high-level play. The evolution system alone provides damage multipliers ranging from 1.5x to 4.0x base damage, often adding special mechanics like lifesteal or ball multiplication that can completely transform your strategy.
Character-Specific Mastery
Each character harbors unique mechanics that reward precision. The Repentant's bounce damage system exemplifies this perfectly—every bounce adds 5% additional damage, making positioning more important than raw power. This explains why advanced players prioritize Intelligence over Strength and Endurance for building upgrades, especially when pushing into Wave 20+ progression.
Synergy Combinations That Break the Game
The most powerful strategies involve combining area-of-effect balls with status effect balls to maintain massive damage uptime across the entire battlefield. These combinations aren't taught anywhere in-game, yet they represent the difference between clearing waves efficiently and struggling through each encounter.
Spiderball & Spawner Variants: Baby Ball Mechanics
Spawner balls create misleading damage numbers by aggregating damage from both the primary ball and all spawned minions. This hidden system affects several key variants:
- Spiderball: Spawn damage calculation is added into 'baby ball' damage, creating inflated statistics
- Eggsac, Spiderball, and Brood Mother: All spawn 'baby balls' which are standard fill-balls with modified damage calculations
- Mosquito King (Vampire + Brood Mother): Spawns mosquitoes dealing 80-120 damage that combines main ball and spawn damage
- Spider Queen (Brood Mother + Egg Sac): Has 25% chance to spawn Egg Sac per hit and creates spider minions that attack nearby enemies
These spawner balls aggregate damage from the primary ball and all spawned minions into a single statistic, making it difficult to assess true individual performance.
Damage Calculation Formula Insights
The damage calculation system for spawner balls involves several hidden variables that experienced players optimize through strategic planning. Lucky Hit Chance is now integrated into damage calculations in the player statistics menu, directly affecting spawner ball output.
Spawned unit damage inherits properties from parent balls in non-transparent ways not shown in stats displays. Multi-step evolution chains significantly alter damage calculations in ways that may not be immediately apparent. Advanced mechanics include stacking systems like radiation, frostburn, and bleed that amplify damage through complex formulas.
Mobs scale to 0.25x health and damage under certain conditions, complicating damage prediction for spawner-type balls. Players should prioritize Intelligence > Strength > Endurance when building upgrades for spawner-focused strategies to maximize the effectiveness of these hidden damage multipliers.
Advanced Ball Bounce Physics & Hidden Interactions
Ball Type-Specific Bounce Properties
Different ball types exhibit dramatically unique bounce behaviors that can completely alter gameplay dynamics. Understanding these variations gives players a significant edge in competitive scenarios.
- Superballs: Possess extremely high coefficients of restitution, creating rapid, unpredictable bounces that can clear screens quickly but are notoriously difficult to control
- Plasticene/Silly Putty Balls: Feature very low bounce properties, absorbing impact energy to create slow-motion sequences perfect for tactical gameplay
- Multiplier Balls: Split or multiply upon hitting specific blocks, generating emergent chaotic behavior with multiple simultaneous trajectories
- Steel Ball Bearings: Carry increased momentum and are less affected by minor obstacles due to their higher mass compared to lighter alternatives
- Rocket League Hoops Mode Ball: Exhibits different physical properties compared to standard Soccar mode, fundamentally altering bounce and roll behavior
Environmental Factors & Strategic Exploitation
AI-powered physics engines simulate distinct surface types including turf, hardwood, and clay, with each material affecting ball speed, bounce height, and directional changes differently. Atmospheric conditions like wind can alter ball flight paths, forcing players to adapt their strategies based on environmental variables.
Experienced players leverage these environmental factors strategically. They exploit the predictable physics of flat surfaces like floors for defensive clears while utilizing curved walls for calculated ricochets. In Rocket League specifically, the curved corners of arenas add significant complexity to bounce predictions, requiring advanced skills to master reads off these surfaces.
Modern ball tracking technology employs Kalman filters to predict trajectories by filtering out noise, enabling players to optimize their defensive positioning with remarkable precision.
Character & Ball Selection for Maximum EXP
Strategic combinations create powerful synergies for efficient EXP collection. The right pairing can turn a standard run into an orb-generating powerhouse.
S-Tier Combinations
- Black Hole + Nuclear Bomb: Creates gravitational pull to group enemies, then delivers massive AOE damage for screen-wide clears
- Nosferatu 3-way Fusion: Incorporates lifesteal mechanics for sustainability during extended farming sessions
- Evolved Forms: Provide damage multipliers ranging from 1.5x to 4.0x while introducing essential AOE abilities
Character Synergy Factors
Certain characters possess innate modifiers that enhance specific ball types or AOE damage. These character-ball pairings are crucial for achieving maximum DPS during EXP farming runs.
Strategic Positioning & Enemy Grouping
Strategic positioning serves as the primary tool for controlling combat flow and setting up multi-kill bursts. These bursts generate concentrated EXP orb clusters that dramatically accelerate progression.
Kiting enemies by leading them in trails and making sharp turns causes them to converge into tight-packed mobs. These formations become ideal targets for AOE attacks, maximizing damage efficiency per ability use.
Multi-kill bursts trigger a 'magnet' effect that automatically pulls nearby EXP orbs toward your character. This mechanic eliminates the need for manual collection and optimizes farming efficiency.
The Fast+3 strategy emphasizes aggressive positioning tactics to intercept enemy spawn points before they can spread across the arena. Pro players use predictive positioning to anticipate enemy movements and create optimal grouping scenarios for maximum EXP generation per encounter.
Building Configurations for Orb Spawn Rates
While specific EXP orb spawn rate mechanics remain undocumented, base optimization indirectly supports EXP farming through faster character upgrades and improved ball evolutions.
Optimal Base Layout Strategies
| Configuration Type | Primary Benefit | EXP Farming Impact |
|---|---|---|
| 7-mine U-shape | 2,500-3,100 gold per harvest | Enables faster character upgrades |
| Worker-focused layouts | Maximizes harvest efficiency | Reduces time between farming runs |
| Residence clusters | Passive buffs for all characters | Improves run effectiveness |
| Broad optimization | Resource efficiency focus | Accelerates progression cycles |
Advanced players recommend prioritizing harvest efficiency over minor adjacency bonuses. This approach ensures consistent resource generation that supports continuous EXP farming sessions.
Undocumented Passive Evolutions & Hidden Achievements
Multi-Ball Achievement Combinations
Hidden achievements aren't listed in the game's achievement menu, requiring specific multi-ball evolution recipes to unlock. These secret combinations branch from standard evolution trees and demand unusual ball pairings.
Key fusion sequences include:
- Bomb evolution as a critical component for advanced multi-ball combinations
- Vampire Lord and Nosferatu evolutions requiring three or more ball types in precise fusion sequences
- Undocumented passive evolutions that trigger only when specific multi-ball conditions are met during active gameplay
Passive Evolution Triggers
Passive evolutions activate automatically when hidden conditions are fulfilled, rather than through direct player commands. These triggers remain intentionally undocumented within the game itself.
The most reliable triggers include scaling a ball beyond the standard level maximum, achieving high combo chains, or fulfilling conditions with specific buildings unlocked. Some passive evolutions only activate during particular game conditions or challenge modes, making organic discovery extremely difficult.
Pro strategies emphasize building synergistic combinations from the start of each run while prioritizing evolution-enhancing upgrades. This approach maximizes the likelihood of triggering these hidden evolutions through experimental gameplay rather than following explicit instructions.
Advanced Synergies & Pro-Level Strategies
Character-Ball Pairing Synergies
Mastering character-ball combinations unlocks hidden mechanics that fundamentally alter your approach to scaling and damage output. The interplay between specific upgrades and ball types creates exponential power spikes when executed correctly.
| Synergy Name | Components | Hidden Mechanic | Strategic Impact |
|---|---|---|---|
| Dual Scaling Headstart | Matchmaker + Jeweler (both level 3) | Second character's ball starts at level 3, starter ball gets same boost | Massive early-game scaling advantage |
| Gravity Nuke | Black Hole + Nuclear Bomb | Gravitational pull clusters enemies for 100% explosion efficiency | Clears entire screens of enemies |
| Organic Apex | Nosferatu (Vampire Lord + Mosquito King + Spider Queen) | Triple fusion represents highest organic evolution tier | Sustained lifesteal with poison synergy |
| Piercing Propagation | Wind/Ghost + Swarm/Clone | Bypasses defenses while multiplying damage instances | Dominates late-game armor-heavy enemies |
| Makeshift Sisyphus | Elemental status + Earthquake | Creates rolling earthquake that carries status effects | Zone control with persistent damage |
High-damage balls like Nuclear Bomb or Dark paired with propagation balls create multiplicative damage scaling. Piercing builds using Wind and Ghost balls bypass enemy defenses entirely, making them essential for late-game content.
Timing Spawner Activations with Evolutions
The Evolution Chamber demands surgical precision when activating spawners. Expert players synchronize these activations with enemy wave patterns to maintain damage momentum while building toward powerful fusions.
Evolution timing becomes critical when managing 42 confirmed evolutions and fusions. Multi-step chains require you to balance immediate damage needs against long-term evolution goals. Activating spawners too early disrupts established ball patterns, while waiting too long wastes potential power spikes.
Status effect stacking creates multiplicative damage when timed correctly. Freezing, poison, and burn effects combine through strategic ball combinations, turning defensive tools into offensive multipliers. The key lies in recognizing when your current setup can handle a brief damage dip for an evolution payoff.
Special balls with additional effects—damage, poison, or frost—can be combined for evolution or merged for mixed effects. This flexibility means every spawner activation should be calculated against your current wave position and upcoming evolution requirements.
Mastering Ball X Pit's hidden mechanics transforms gameplay from guesswork into calculated strategy. These undocumented systems reward observation and experimentation, turning each run into a puzzle of synergies and timing. Stop following the obvious path—start building your own understanding and watch your progression soar beyond wave 20.
More Ball-x-Pit Guides
Ball X Pit Damage Formula Guide: Master Intelligence Scaling and Status Effects
Master Ball X Pit's hidden damage formula with Intelligence scaling, status effect stacking, and optimal build strategies for endgame dominance.

The Ultimate Physicist Guide for Ball X Pit (2025 Meta)
Master The Physicist's gravity control in Ball X Pit. Learn best evolutions, fusion combos, positioning strategies, and 2025 meta builds for competitive gameplay.
Ball X Pit: The Complete Tactician Guide - Evolutions, Strategies & Fusion Tactics
Master The Tactician character in Ball X Pit with our comprehensive guide covering turn-based strategies, optimal evolution combinations, fusion tactics, and base building for maximum efficiency.
AI Tactical Companion
Consult with our specialized tactical engine for Ball-x-Pit to master the meta instantly.