ARC Raiders Shields: Damage Reduction vs Bonus Health - The Inverse Shield Problem
ARC Raiders Shields: Damage Reduction vs Bonus Health - The Inverse Shield Problem
Confused why your ARC Raiders shield bar shows multiple blue segments but you still get dropped in one burst? You're experiencing the 'inverse shield problem'—a fundamental misunderstanding that shields are bonus health. In reality, they're damage reduction systems that always bleed damage through. Grasping this mechanic is crucial for mastering combat flow and building loadouts that actually keep you alive.
Core Shield Mechanics: The Damage Formula That Changes Everything
How Shield Damage Actually Works
Every bullet that hits you in ARC Raiders follows a strict two-stage calculation. First, the shield takes the full brunt of the attack. Second, your health still bleeds through based on the shield's deflection rate.
Let's break it down with a concrete example using 100 base damage:
- Light Shield (54% reduction): Shield loses 100 charge, health drops by 46 HP
- Medium Shield (60% reduction): Shield loses 100 charge, health drops by 40 HP
- Heavy Shield (70% reduction): Shield loses 100 charge, health drops by 30 HP
The shield keeps mitigating damage as long as 1 point of charge remains. A nearly-depleted Heavy Shield still cuts that 100-damage hit down to 30 HP, giving you a final moment of grace before the next shot breaks it completely.
The Inverse Shield Problem Explained
This creates the notorious "inverse shield problem"—heavier shields can leave you with less health after breaking. Here's why:
- Shield charge always drops by full weapon damage (Y)
- Health damage = Y × (1 - Mitigation%)
- When shields break, you lose all future mitigation
A player with a Heavy Shield might take only 30 HP from a 100-damage hit, but once that shield breaks, the next 100-damage hit deals full 100 HP damage. Meanwhile, a Light Shield player took 46 HP from the first hit but only takes 46 HP from subsequent hits until their shield breaks.
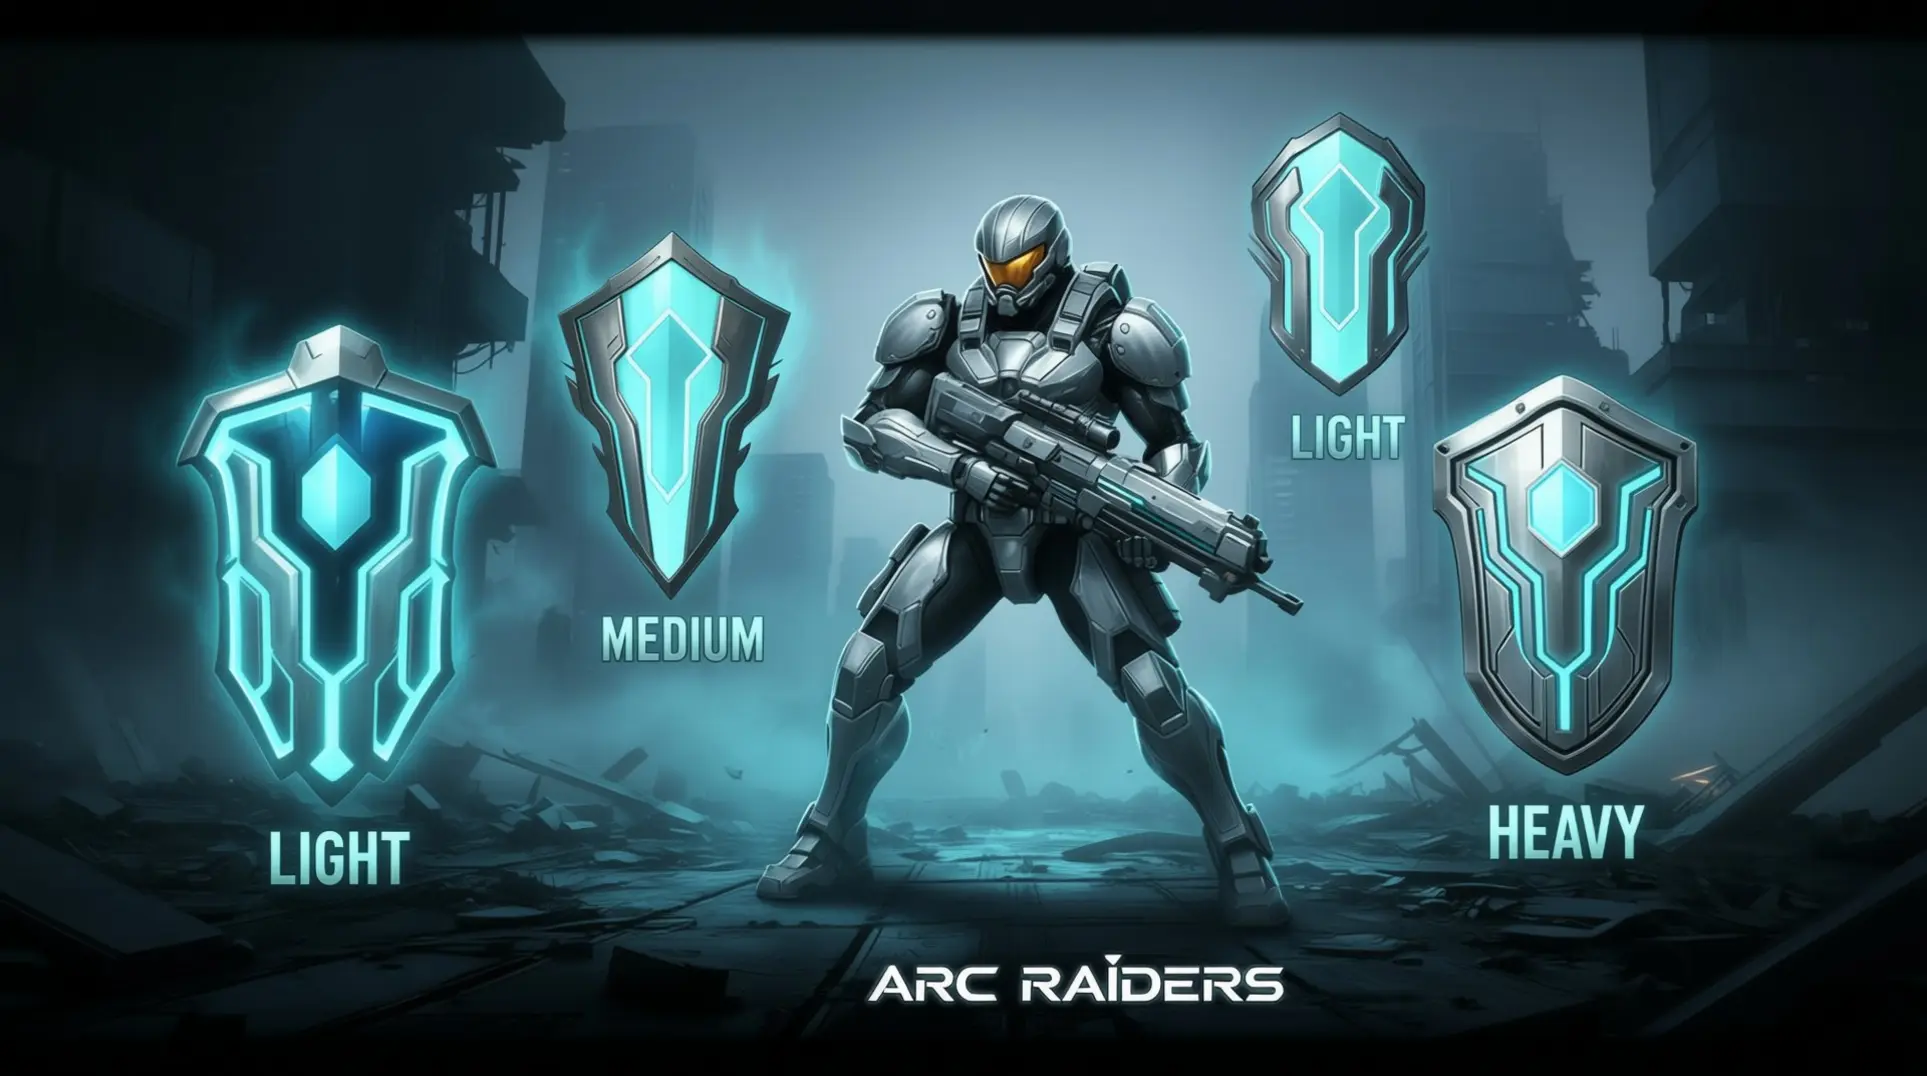
Shield Types: Complete Comparison & Strategic Selection
Canonical Shield Stats Reference
| Shield Type | Mitigation % | Shield Points | Movement Penalty | Weight | Strategic Role |
|---|---|---|---|---|---|
| Light | 54% | 50 (5 boxes) | 0% | 3kg | Hit-and-run tactics |
| Medium | 60% | 80 (8 boxes) | 5% | 7kg | Balanced versatility |
| Heavy | 70% | 120 (12 boxes) | 15% | 9kg | Tank-focused defense |
Strategic Implications by Shield Type
Light Shields: The Aggressor's Choice
Light shields offer 54% damage reduction with zero mobility penalty. This makes them ideal for:
- Hit-and-run tactics against scattered enemies
- Quick looting runs where speed trumps protection
- Players who rely on evasion rather than absorption
- Flanking maneuvers requiring rapid repositioning
The trade-off? You'll take more chip damage, but your ability to reposition quickly often outweighs this drawback in fast-paced fights.
Medium Shields: The Balanced Approach
Medium shields provide 60% damage reduction with only a 5% mobility penalty. This versatility makes them the default choice for most players, offering:
- Adequate defense without severely limiting movement
- Good middle ground for solo players
- Versatile protection for balanced playstyles
- Manageable speed reduction for most encounters
Heavy Shields: The Anchor Playstyle
Heavy shields deliver 70% damage reduction but carry a brutal 15% movement penalty. While the extra protection seems appealing, the mobility handicap often proves too restrictive. Heavy shields dominate when:
- Tanking heavy ARC unit artillery is required
- Team has dedicated support roles to compensate for speed loss
- Expecting prolonged firefights with minimal repositioning
The "Used to the Weight" skill in the Conditioning tree can partially offset these penalties, making heavier shields more viable for players who prefer the tank role.
Advanced Mechanics: Penetration & Armor Systems
Shield Penetration Mechanics
Shields in ARC Raiders don't function as bonus health. Instead, each blue shield segment represents 10 shield points that apply damage reduction to incoming attacks. The system uses a specific formula:
When weapon deals Y base damage:
- Shield charge drops by Y
- Health takes Y × (1 - Mitigation%) damage
This creates the inverse shield problem where heavier shields can leave you vulnerable after breaking. The key lies in Armor Penetration, a critical weapon stat that determines how much damage bypasses shield mitigation.
Weapons are classified by ammo types (Light, Heavy, Explosive), each carrying inherent penetration values that directly affect shield damage calculations:
- High-penetration weapons: Allow greater damage to pass through to health
- Low-penetration weapons: Have more damage absorbed by the shield system
Arc Alloy Armor Plating System
While shields handle energy-based protection, Arc Alloy armor plating provides physical damage reduction through three distinct weight classes. This orange-colored plating system operates independently from shields, creating layered defensive options.
Armor plating tiers:
- Light (7wt): 54% damage reduction, 100 durability
- Medium (10wt): 60% damage reduction, 120 durability
- Heavy (15wt): 70% damage reduction, 150 durability
Key characteristics:
- Protection trade-off: Slows movement "more than usual"
- Resource management: Repairing damaged plating requires additional Arc Alloy
- Material availability: Drops from nearly every destroyed ARC enemy
- Vulnerability: Weapons with high Arc Penetration can counter this advantage
Arc Alloy excels against projectile damage but remains vulnerable to weapons with high Arc Penetration stats. This creates a rock-paper-scissors dynamic where your armor choice must account for enemy weapon loadouts.
Strategic Loadout Building & Combat Applications
Shield Break Tactics
Creating Break Opportunities
High-rate-of-fire weapons like SMGs and assault rifles excel at burning through shield charges rapidly. These weapons create consistent pressure that forces enemies into defensive positions.
Alternatively, burst-damage weapons like marksman rifles or shotguns can delete shield segments instantly, creating stagger windows for coordinated team pushes.
Post-Break Aggression
The moment you break an opponent's shield is your signal to push aggressively. During their stagger state, enemies can't effectively return fire or reposition. This brief window often determines the outcome of PvP encounters.
Loadout Synergies
Aggressive Duelist Builds
Invest in talents that increase:
- Weapon stability for sustained fire
- Reload speed to maintain pressure
- Damage after shield breaks to maximize post-break window
Tank/Disruptor Builds
Benefit from perks that increase:
- Maximum shield capacity for extended engagements
- Reduced incoming stagger duration to support teammates
- Damage resistance during shield regeneration
Team Coordination Strategies
Treat shield depletion as your engagement timer. Communicate shield states with your team to coordinate focus fire, and manage recharge timing to maintain optimal survival windows.
Select shields that complement your playstyle rather than defaulting to the heaviest option available. Remember that shields are locked behind specific Augments and cannot be freely swapped between loadouts.
Quick Reference Cheat Sheet
Shield Selection Guide
| Situation | Recommended Shield | Reasoning |
|---|---|---|
| Solo looting | Light | Maximum mobility for escape routes |
| Team support | Medium | Balanced protection without hindering repositioning |
| Heavy combat | Heavy | Maximum damage reduction for sustained fights |
| Flanking missions | Light | Speed advantage for tactical positioning |
| Defensive positions | Heavy | Tank damage while holding ground |
Damage Calculation Examples (100 base damage)
| Shield Type | Shield Loss | Health Damage | Total Effective Damage |
|---|---|---|---|
| Light | 100 points | 46 HP | 146 total |
| Medium | 100 points | 40 HP | 140 total |
| Heavy | 100 points | 30 HP | 130 total |
Conclusion: Mastering ARC Raiders Shield Mechanics
ARC Raiders shields aren't extra health bars—they're damage reduction systems that absorb a calculated portion of incoming damage while allowing the remainder to bleed through to your health pool. This fundamental misunderstanding explains why so many players experience the inverse shield problem.
Key Takeaways
- Shields always bleed damage through - even at full charge, you're taking health damage
- Heavier shields create inverse problems - better protection until they break, then vulnerability
- Mobility trade-offs are significant - 15% speed penalty on Heavy shields affects tactical options
- Armor plating adds complexity - Arc Alloy provides additional protection but with movement costs
- Shield selection is permanent - choose based on your raid objectives and playstyle
Practical Application
Master these mechanics by treating shield depletion as your engagement timer. Communicate shield states with your team to coordinate focus fire, and manage recharge timing to maintain optimal survival windows.
ARC Raiders shields aren't bonus health—they're damage reduction layers that bleed damage through even at full charge. Mastering this concept, plus each shield type's mobility trade-offs, turns you from a frustrated victim into a strategic player who picks the perfect protection for every raid scenario.
More Arc-Raiders Guides
ARC Raiders Shield Mastery Guide: Complete Breakdown of Mechanics, Weapons & Loadouts
Learn how shields actually work in ARC Raiders. Master damage mechanics, optimal weapons, and perfect loadouts for PvP and PvE. Break shields efficiently with our expert guide.
ARC Raiders Shield Mechanics: Complete Damage Calculation & Strategy Guide
Master ARC Raiders' shield system with our complete guide to damage calculation, shield types, recharge mechanics, and PvP strategies for optimal survival.
ARC Raiders Extraction Guide: Mastering the 30-Minute Timer, Grace Period & Bug Workarounds
Complete guide to ARC Raiders extraction mechanics: Learn how the 30-minute timer works, grace period secrets, current bugs, and proven strategies for successful escapes.
AI Tactical Companion
Consult with our specialized tactical engine for Arc-Raiders to master the meta instantly.