ARC Raiders Shield Mechanics: Complete Damage Calculation & Strategy Guide
Shields in ARC Raiders aren't just extra health - they're a complex mitigation system that dictates your survival. Understanding how damage calculation, shield types, and recharge mechanics interact is crucial for mastering combat. This guide breaks down the core formulas and strategic trade-offs to help you build and fight more effectively.
Core Shield Mechanics: How Damage Calculation Actually Works
The Shield Formula: Y = Weapon Base Damage
Shields in Arc Raiders aren't extra health - they're a mitigation system that reduces incoming damage by a percentage. Each blue box on your health bar represents 10 shield points, and the formula is straightforward:
Shield Formula:
Let Y = weapon base damage
- Shield charge reduced by Y
- Health reduced by Y × (1 - mitigation %)
Ferro I Damage Examples (40 base damage)
| Shield Type | Shield Charge | Mitigation % | Damage to Health | Remaining Shield |
|---|---|---|---|---|
| Light | 40 | 40% | 24 | 0 |
| Medium | 70 | 42.5% | 23 | 30 |
| Heavy | 80 | 52.5% | 19 | 40 |
As long as 1 shield point remains, you receive the full mitigation percentage. This makes Heavy shields particularly effective against burst damage.
Why You Can Die With Shield Remaining: The Mitigation System
The #1 source of player confusion is believing shields absorb damage completely. They don't. Here's the reality:
Step-by-step breakdown:
- Shields reduce, not absorb - Every shot deals damage to both shield and health simultaneously
- Health always takes chip damage - Even with full shields, you're never invulnerable
- Shield charge depletes faster than health - But health reaches zero first in sustained fights
Practical example:
A player with 100 HP and Light Shield (40 charge, 40% mitigation) against Ferro I:
- Shot 1: Shield 0/40, Health 76/100
- Shot 2: Shield 0/40, Health 52/100
- Shot 3: Shield 0/40, Health 28/100
The player dies with shield charge remaining after the second shot because the cumulative health damage becomes lethal. This system prevents "tank" builds and keeps positioning and healing strategies essential.
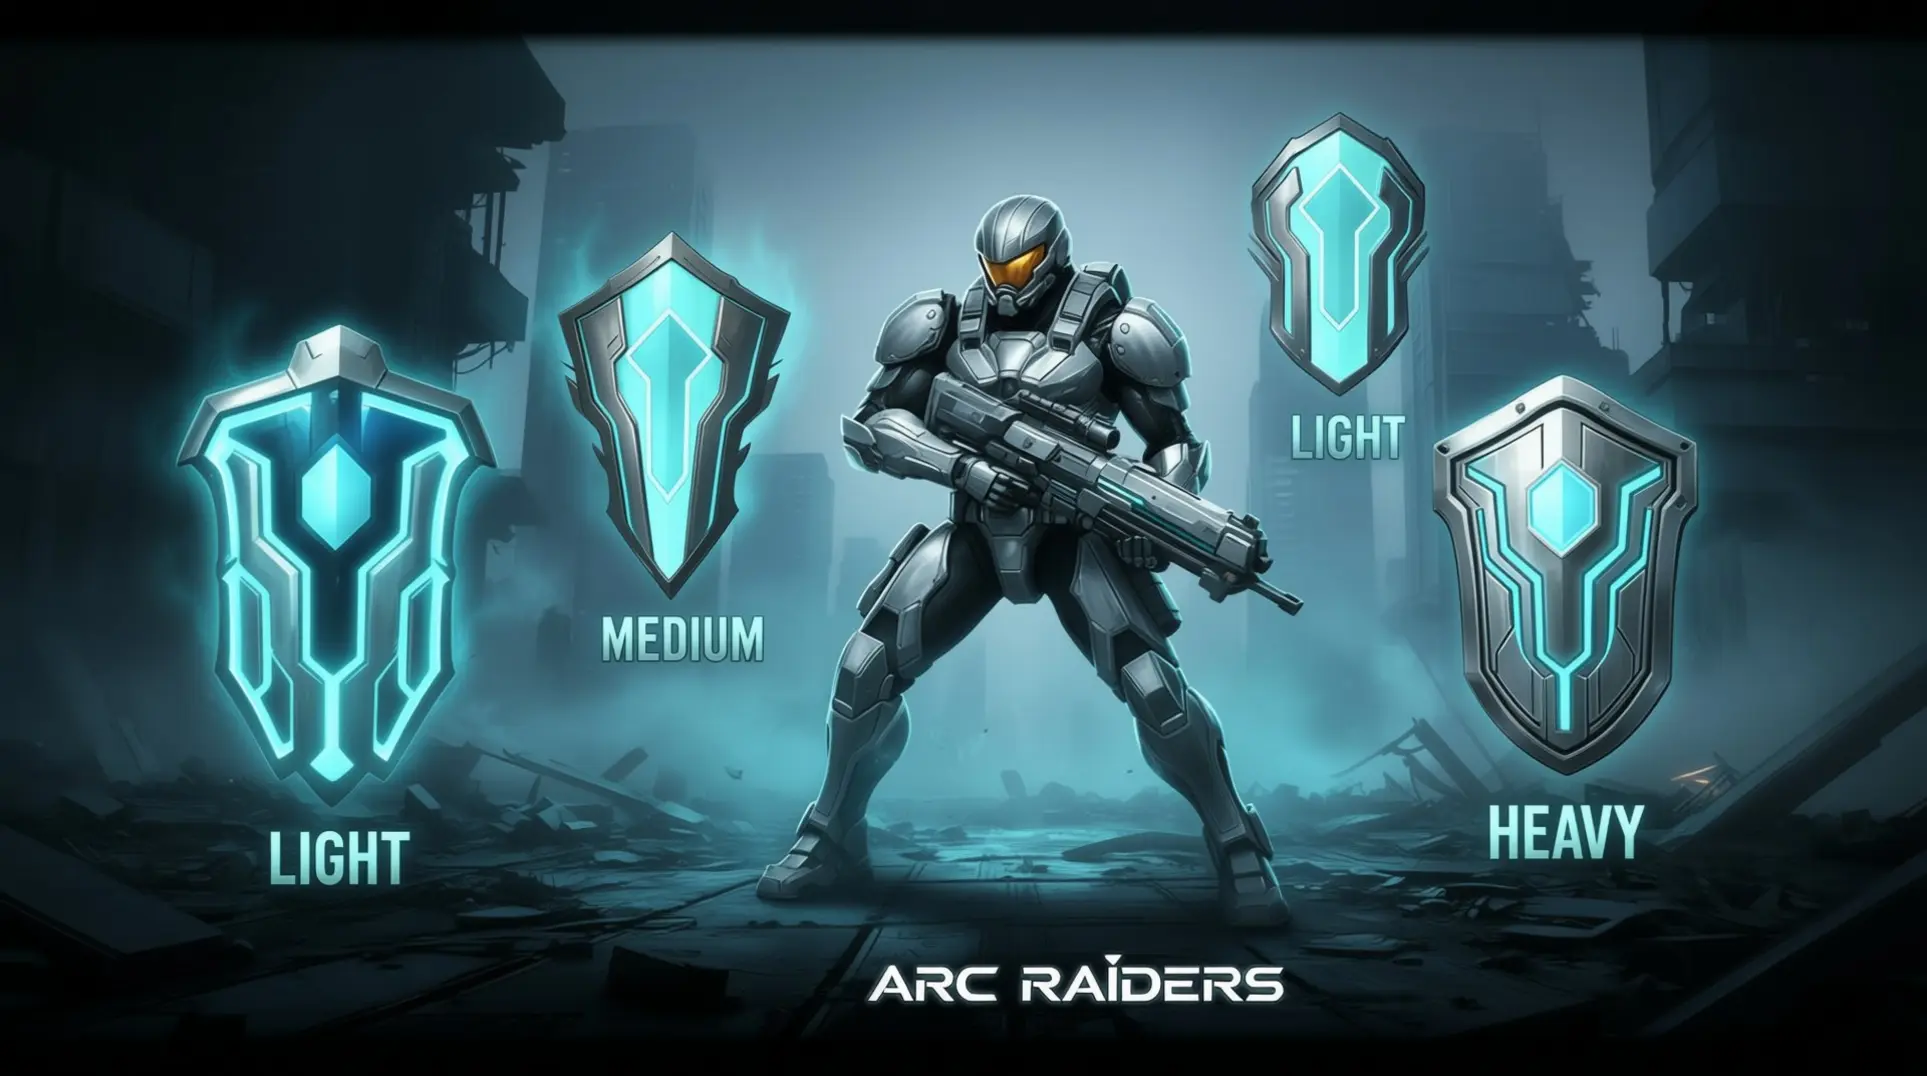
Arc Raiders Shield Types
Light Shield: Maximum Mobility
The Light Shield prioritizes speed over durability. It offers 40 shield charge with 40% damage mitigation while maintaining 0% movement penalty. Weighing only 5 kg, this shield is ideal for players who rely on rapid repositioning and hit-and-run tactics.
Medium Shield: Balanced Protection
The Medium Shield strikes a middle ground between protection and mobility. It provides 70 shield charge with 42.5% damage mitigation, though it incurs a 5% movement penalty. At 7 kg, this shield suits players who need reliable protection without sacrificing too much agility.
Heavy Shield: Maximum Protection
The Heavy Shield delivers superior defensive capabilities at the cost of mobility. It boasts 80 shield charge with 52.5% damage mitigation, but carries a significant 15% movement penalty. Weighing 9 kg, this shield is best for players who can afford to trade speed for maximum survivability.
Shield & Armor Systems in ARC Raiders
Blue Shield Mechanics
The Shield Bar: A blue bar above your health, divided into boxes where each box equals 10 shield points. These shields don't act as extra health—they provide damage mitigation instead.
Shield Color Clarification
Some guides mention orange energy shields, but these don't exist in ARC Raiders. The game's standard enemy shields are exclusively blue and function purely as damage mitigation barriers.
Arc Alloy Armor Integration
Arc Alloy armor plating offers percentage-based damage reduction ranging from 54% to 70% depending on tier. This comes at the cost of reduced mobility.
The damage calculation follows a specific order:
- Shields absorb damage first
- Armor reduction applies to remaining health damage
This layered system creates strategic depth in both defensive builds and combat encounters.
Shield Break & Stagger Mechanics: PvP Combat Fundamentals
The Stagger Window: Guaranteed Opening on Shield Break
Breaking an opponent's shield triggers a stagger animation lasting 0.5 seconds. This creates a brief vulnerability window for follow-up attacks. Timing your next shot or melee strike within this window is crucial for maximizing damage.
The Inverse Shield Problem: Different HP After Break
Light shields can leave more HP after shield break than Medium or Heavy shields. Heavy shields typically leave the least HP immediately after breaking. This creates an interesting tactical decision where lighter shields may provide better survivability post-break despite their lower mitigation.
Ammo Type Effectiveness: Light vs Heavy vs Medium
Ammo type does not change shield damage; shield damage is a flat value based on the weapon's base damage. The real differences lie in the shield mitigation percentages:
- Light shields: 23% damage mitigation
- Medium shields: 45% damage mitigation
- Heavy shields: 65% damage mitigation
When shields do break, headshots become devastating with their 2.5x damage multiplier on body damage, dramatically increasing down potential when aiming for headshots.
Arc Raiders Shield Mechanics Explained
Recharge Items: ARC Powercell, Shield Recharger, Surge Recharger
Keeping your shield topped up is the difference between extraction and respawn. Three key items handle every recharge scenario.
Standard Recharge Tools
- ARC Powercell: Drops from ARC enemies and is the core ingredient for crafting Shield Rechargers.
- Shield Recharger: Restores 4 shield points per second for 10 seconds with a 2-second use time. Crafted from 5 Rubber Parts + 1 ARC Powercell.
- Surge Shield Recharger: Delivers +50 shield in ~5 seconds and can be stacked with the standard version for rapid burst healing. Requires 1 Electrical Components + 1 Advanced ARC Powercell, crafted at the Medical Lab.
Crafting & Acquisition: Workbench Requirements
Before you can print a single recharger, you need the right bench and the right parts.
Gear Bench Progression
- Level 1 unlock: 20 Metal Parts + 30 Rubber Parts.
- Level 2 upgrade: 3 Rusted Tools + 5 Mechanical Components + 8 Wasp Driver.
Material Sources
Rubber Parts are most reliably looted from containers during raids—ARC enemies rarely drop them. Once the Gear Bench is online, Shield Rechargers can be crafted there or at the Medical Lab, or purchased outright from Lance's Clinic if you're short on materials.
Shield Durability & Repair System
Shields aren't immortal; every hit chips away at their lifespan.
Durability Loss Rates
Each full shield's worth of damage absorbed reduces durability by 20%. After five complete recharges, most shields are on their last legs.
Shield Classes & Trade-offs
| Shield Type | Damage Mitigation | Movement Penalty | Notes |
|---|---|---|---|
| Light | 40% | 0% | Breaks after ~5 recharges; cheap to replace |
| Medium | Higher than Light | Moderate | Repair cost (ARC Circuitry) often exceeds recycle-and-craft value |
| Heavy | Up to 65% | Up to 15% | Best protection, worst mobility; plan rotations carefully |
When a Medium Shield is nearly spent, most players recycle it for ARC Circuitry, Batteries, and Plastic Parts, then craft a fresh one—saving the rare ARC Circuitry for other high-end gear.
Mastering ARC Raiders' shield system means balancing mitigation, mobility, and resource management. Whether you choose a Light, Medium, or Heavy shield, remember that positioning and timely recharges are as vital as the stats on your gear. Use this knowledge to optimize your loadout and secure more successful extractions.
More Arc-Raiders Guides
ARC Raiders Shield Mastery Guide: Complete Breakdown of Mechanics, Weapons & Loadouts
Learn how shields actually work in ARC Raiders. Master damage mechanics, optimal weapons, and perfect loadouts for PvP and PvE. Break shields efficiently with our expert guide.
ARC Raiders Extraction Guide: Mastering the 30-Minute Timer, Grace Period & Bug Workarounds
Complete guide to ARC Raiders extraction mechanics: Learn how the 30-minute timer works, grace period secrets, current bugs, and proven strategies for successful escapes.
ARC Raiders Raider Hatch Bug: Complete Fix Guide
Master ARC Raiders extraction with our comprehensive guide to Raider Hatch bugs, symptoms, fixes, and proven workarounds for seamless gameplay.
AI Tactical Companion
Consult with our specialized tactical engine for Arc-Raiders to master the meta instantly.