ARC Raiders Maps Guide: Complete Extraction Points & Callouts for 2025
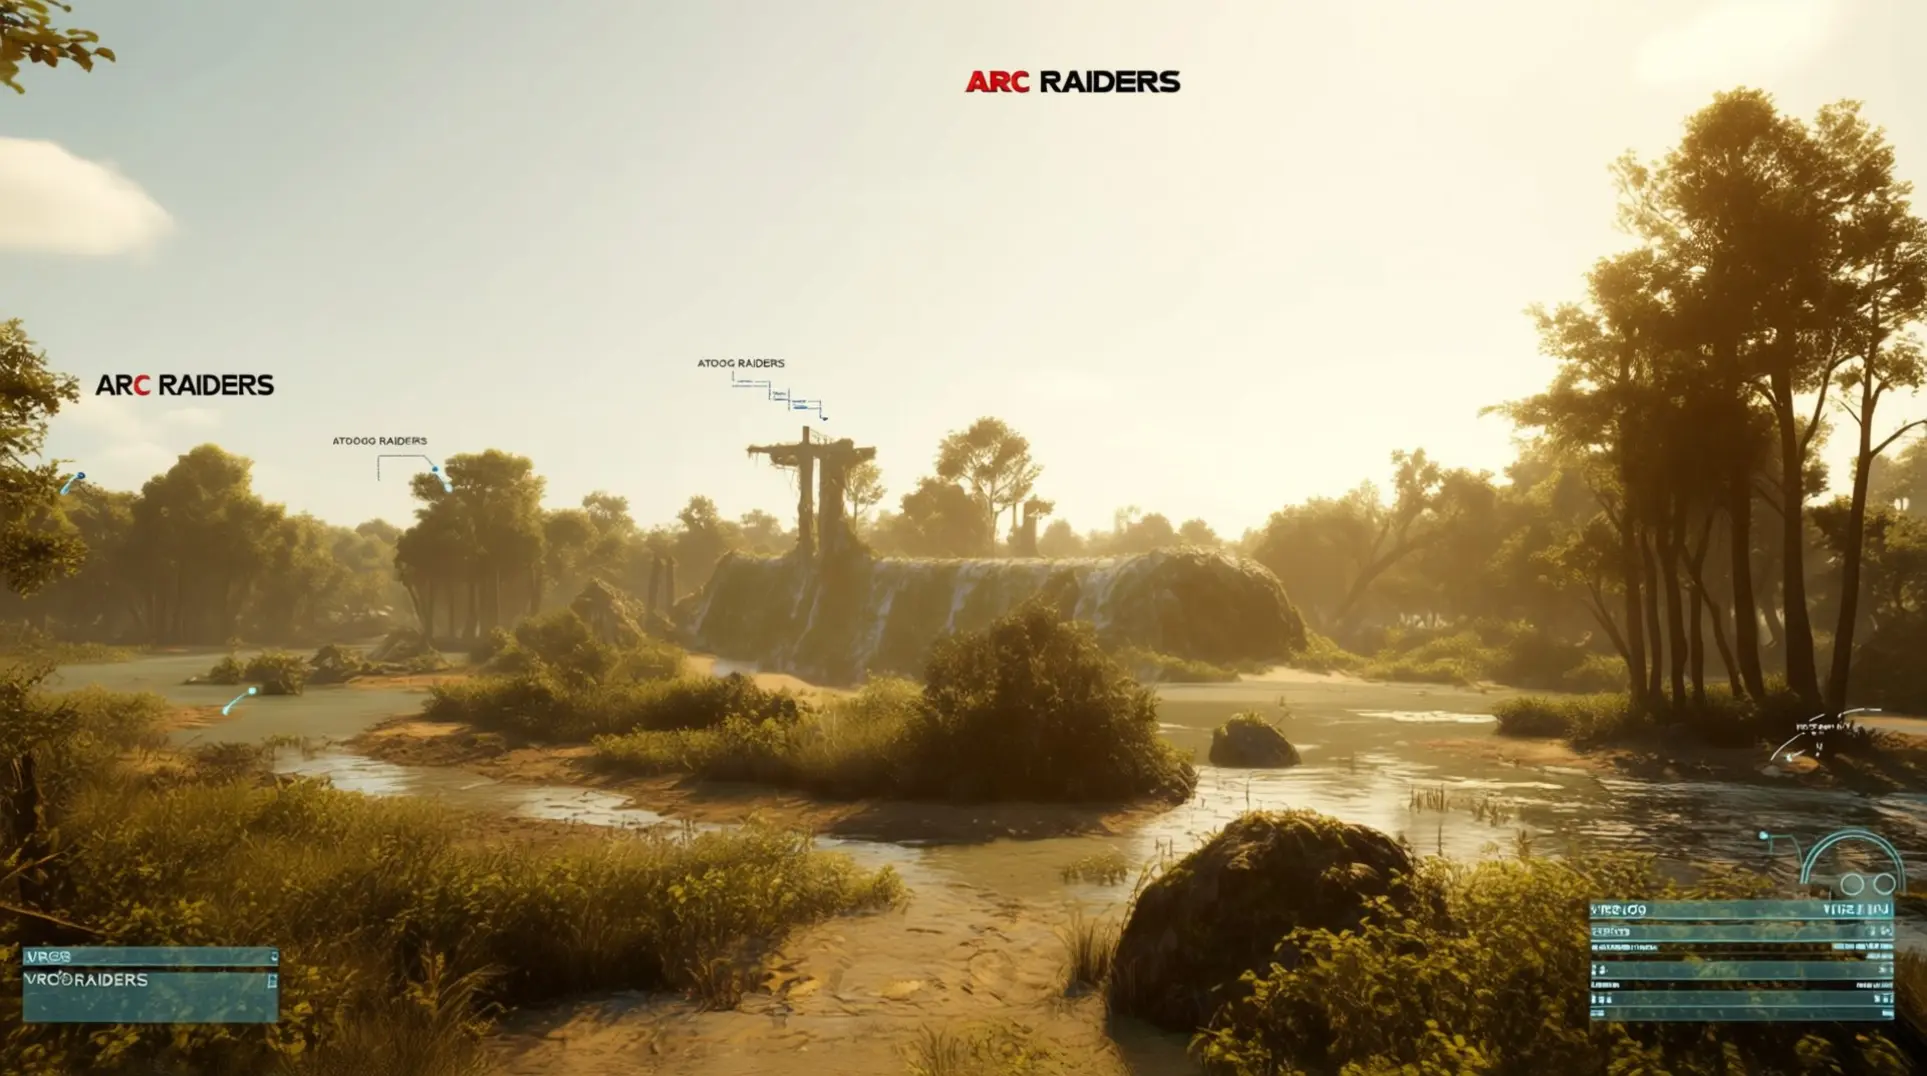
ARC Raiders has quickly established itself as one of 2025's premier co-op extraction shooters, challenging players to navigate complex maps, secure valuable loot, and extract safely from hostile territory. Released in October 2025, this premium buy-to-play title combines tactical gameplay with high-stakes decision making, where map knowledge can mean the difference between a successful extraction and losing everything. In extraction shooters, understanding your environment isn't just advantageous—it's essential for survival. Every map in ARC Raiders presents unique challenges, from urban warfare scenarios to industrial complexes filled with strategic chokepoints. This comprehensive guide will walk you through all extraction points, teach you standard callout terminology, identify crucial points of interest, and provide advanced navigation strategies that will elevate your gameplay. Whether you're playing solo or coordinating with a squad, mastering these maps will dramatically improve your extraction success rate. We'll cover everything from basic navigation fundamentals to advanced positioning tactics, ensuring you're prepared for any scenario the game throws at you. ## Understanding ARC Raiders Extraction Mechanics Before diving into specific maps, it's crucial to understand how extraction works in ARC Raiders. Unlike traditional deathmatch shooters, extraction games reward careful planning and risk assessment. Players must locate valuable loot while avoiding enemy players and AI threats, then reach designated extraction zones to secure their rewards. Extraction points in ARC Raiders are strategically placed across each map, typically featuring 6-11 total extraction points split between 2-4 main extraction points and 4-8 Raider Hatches. These zones aren't always active simultaneously, and some may require specific conditions to activate. The risk-reward system means that easily accessible extraction points often attract more player traffic, while safer, more remote locations require longer traversal times through dangerous territory. The timer system adds another layer of complexity. Each raid has a time limit, forcing players to balance loot acquisition with extraction timing. Extracting early might mean leaving valuable resources behind, while staying too long risks being caught when the timer expires and all players are automatically extracted or eliminated. Dynamic extraction mechanics mean that extraction points may change locations between matches or have rotating availability. This prevents players from memorizing safe routes and encourages continuous map exploration and adaptation. ## Map Types and Environments ARC Raiders features diverse environments that test different skills and strategies. While specific map names may vary as the game receives updates, the core environment types remain consistent across the rotation. Urban Environments present tight corridors, multi-story buildings, and numerous vertical gameplay opportunities. These maps emphasize close-quarters combat, building-to-building movement, and the strategic use of verticality for both offensive and defensive positioning. Industrial Complexes offer a mix of indoor and outdoor spaces, featuring machinery, catwalks, and complex multi-level layouts. These environments require careful navigation through potentially dangerous industrial equipment while maintaining awareness of multiple engagement levels. Wilderness Areas provide open terrain with limited cover, emphasizing long-range combat, strategic movement between points of interest, and the importance of environmental awareness in exposed positions. Each environment type demands different tactical approaches, equipment choices, and team coordination strategies. Understanding these fundamental differences will help you adapt your gameplay style to whatever map rotation you're facing. ## All Extraction Points by Map ### Urban District Extraction Zones The Urban District map features five primary extraction points, each with distinct advantages and risks: Northwest Rooftop Extraction - Located on the highest building in the northwestern sector, this extraction offers excellent visibility and multiple approach routes. However, the exposed position makes it vulnerable to long-range attacks. Best used when you have superior positioning or need to avoid ground-level threats. Central Metro Station - This indoor extraction point provides cover and concealment but can become a chokepoint during high-traffic periods. The underground location offers protection from aerial threats but limits escape options if the area is compromised. Southeast Parking Garage - A multi-level extraction with vehicle cover and multiple entry points. This location balances safety with accessibility, making it popular for coordinated team extractions. South River Bridge - An open-air extraction that requires crossing exposed terrain. Best used during low-activity periods or when you have sufficient firepower to deter ambush attempts. East Market District - A crowded urban area with numerous buildings and cover opportunities. This extraction point often sees high player traffic, making stealth approaches crucial for success. ### Industrial Complex Extraction Zones The Industrial Complex map emphasizes vertical gameplay and tactical positioning: Northern Loading Dock - Features vehicle access and multiple entry points but requires navigating through active industrial areas. The loading equipment provides excellent cover opportunities. Central Control Tower - Offers elevated positioning with commanding views of the entire facility. Access requires navigating through the complex's interior, making it challenging during active periods. Southern Warehouse Complex - Multiple building access points with extensive interior spaces. This extraction provides numerous tactical options but requires careful navigation through potentially dangerous warehouse areas. Western Maintenance Tunnel - An underground extraction route that avoids surface threats but limits mobility and escape options. Best used when avoiding detection is the primary concern. Eastern Crane Platform - High-altitude extraction with excellent visibility but challenging access. The crane system provides unique movement opportunities but requires precise timing and positioning. ## Points of Interest (POIs) and Strategic Locations ### High-Value Loot Areas Weapon Depots - These locations typically contain high-tier weapons, attachments, and ammunition. They're often heavily contested and require careful approach planning. Look for industrial containers, military crates, or specialized storage areas. Medical Supply Centers - Essential for healing items, medical equipment, and survival gear. These locations often feature defensive positioning opportunities and multiple access routes. Resource Processing Facilities - Contain crafting materials, rare components, and valuable trade items. These locations typically require longer dwell times, increasing extraction risk. Communication Towers - Often feature high-value electronics, data drives, and specialized equipment. The elevated positions provide tactical advantages but require careful approach planning. Supply Convoys - Dynamic POIs that appear randomly, containing vehicle access and high-value cargo. These require immediate action and quick extraction planning. ### Chokepoints and Ambush Locations Bridge Crossings - Natural chokepoints that control movement between map sectors. These locations offer excellent ambush opportunities but require careful positioning to avoid being trapped. Tunnel Entrances - Underground passages that limit movement options and create predictable player flow. These areas often see high ambush activity and require enhanced situational awareness. Building Entrances - Multi-story buildings with limited entry points create natural ambush opportunities. Vertical positioning advantages make these locations strategically valuable. Valley Bottlenecks - Natural terrain features that funnel player movement into predictable patterns. These locations require careful timing and often benefit from coordinated team positioning. ### Resource and Resupply Points Ammunition Caches - Strategic resupply locations that enable extended engagements. These points often feature defensive positioning opportunities and multiple access routes. Equipment Lockers - Contain tactical gear, tools, and utility items. Often located in predictable patterns that experienced players can memorize for efficient route planning. Vehicle Depots - Provide transportation options and often contain valuable loot. These locations require careful approach planning due to their strategic importance. Crafting Stations - Enable equipment modification and resource processing. These locations often require extended dwell times, increasing extraction risk. ## Standard Callout Terminology ### Directional and Location Callouts Establishing consistent directional terminology is crucial for effective team communication. ARC Raiders uses a standard cardinal direction system combined with landmark references: Cardinal Directions - North, South, East, West form the foundation of all callouts. Always specify direction relative to the map orientation, not your current facing direction. Compound Directions - Northeast, Northwest, Southeast, Southwest provide more precise location information for distant targets or specific areas. Relative Positions - Front, Back, Left, Right describe positions relative to your current orientation. Use these for immediate threats or nearby team coordination. Elevation References - High, Low, Up, Down indicate vertical positioning differences. Critical for coordinating multi-level engagements and extraction planning. Landmark Integration - Combine directional calls with specific landmarks for precise location identification. "North of the radio tower" or "Southwest of the main gate" provide much more actionable information than simple directional calls. ### Enemy and Threat Callouts Threat Levels - Use standardized terminology to indicate immediate danger levels. 'Contact' indicates visual or audio confirmation of a hostile outside optimal combat range, 'Danger' indicates a hostile within combat range with line-of-sight, 'Close' indicates a hostile inside push distance, and 'Clear' indicates the last called threat is dead and no new indicators on HUD. Enemy Type Identification - Develop consistent terminology for different enemy categories. Player characters, AI enemies, and environmental hazards each require different tactical responses. Engagement Distance - Specify proximity levels to help teammates understand response urgency. "Close" (immediate), "Medium" (approaching), "Far" (distant but observable). Movement Indicators - Communicate enemy movement patterns to help with positioning and interception planning. "Moving North," "Static position," "Circling" provide tactical context. ### Objective and Status Callouts Extraction Status - Maintain clear communication about extraction readiness and timing. "Extraction ready," "Need two minutes," "Extraction compromised" help coordinate team movements. Loot Security - Communicate valuable item acquisition and security status. "Loot secured," "High-value item acquired," "Carrying critical equipment" inform extraction planning. Team Positioning - Regular updates on team member locations and status. "Team spread thin," "All players accounted for," "Need backup at position" maintain tactical awareness. Resource Status - Communicate ammunition, health, and equipment status. "Low ammunition," "Medical supplies needed," "Equipment damaged" help coordinate resupply and support. ## Navigation Tips and Spatial Awareness ### Map Reading Fundamentals Effective navigation in ARC Raiders requires developing strong map reading skills and environmental awareness. Start by identifying major landmarks that remain consistent across different map rotations. These permanent reference points become the foundation for all other navigation decisions. Compass Utilization - Always orient yourself using the map's compass system. Develop the habit of checking your direction regularly, especially after engagements or when moving through complex terrain. This prevents disorientation during high-stress situations. Landmark Triangulation - Use multiple reference points to confirm your position. When possible, identify three distinct landmarks and use their relative positions to pinpoint your exact location. This technique is especially valuable in areas with limited visibility or complex terrain. Elevation Mapping - Develop mental maps of vertical terrain features. Understanding elevation changes helps predict player movement patterns and identify potential ambush positions. Pay attention to building heights, hill slopes, and underground passages. Pattern Recognition - Many POIs follow predictable placement patterns. Industrial areas cluster around processing equipment, supply depots near transportation hubs, and defensive positions at strategic chokepoints. Recognizing these patterns helps predict loot locations and enemy positioning. ### Route Planning Strategies Successful route planning balances risk assessment with objective prioritization. Develop multiple route options for different scenarios and objectives. Primary Routes - Establish main movement paths that offer the best balance of safety and efficiency. These routes should provide multiple escape options and access to key POIs. Primary routes often follow natural terrain features and established pathways. Secondary Routes - Develop alternative paths that can be used when primary routes are compromised or blocked. These paths often involve higher risk but provide access to different POIs or extraction points. Emergency Routes - Plan escape paths for extraction scenarios. These routes should prioritize speed and safety over loot acquisition. Emergency routes often involve direct paths to extraction points with minimal detours. Reconnaissance Paths - Designate routes specifically for information gathering and enemy assessment. These paths often involve higher risk but provide crucial tactical intelligence for team decision-making. ### Environmental Awareness Developing strong environmental awareness requires constant attention to visual, auditory, and contextual cues. This skill separates successful players from those who frequently encounter unexpected threats. Visual Indicators - Learn to read environmental signs that indicate recent player activity. Disturbed vegetation, opened containers, fresh footprints, and modified positions all provide information about other players' movements and intentions. Audio Cues - Develop the ability to identify different types of player-generated sounds. Footstep patterns, weapon handling, container opening, and vehicle operation each create distinct audio signatures that can inform positioning decisions. Timing Patterns - Observe and learn typical player behavior patterns throughout match phases. Early-game movements differ significantly from late-game positioning, and understanding these patterns helps predict enemy locations and behaviors. Threat Assessment - Develop systematic approaches to evaluating potential dangers. Consider sight lines, cover availability, escape routes, and engagement advantages when assessing any position or movement decision. ## Map-Specific Tactics and Positioning ### Urban Environment Strategies Urban maps in ARC Raiders emphasize verticality, close-quarters combat, and building-to-building movement. Success requires adapting to confined spaces while maintaining tactical flexibility. Vertical Positioning - Utilize multi-story buildings to gain tactical advantages over ground-level threats. High positions provide better visibility and longer engagement ranges, but require careful approach planning and escape route identification. Building-to-Building Movement - Develop efficient methods for transitioning between structures while minimizing exposure time. Windows, fire escapes, and adjacent building access provide movement opportunities that can confuse pursuing enemies. Close-Quarters Combat - Urban environments favor weapons with good close-range performance and rapid target acquisition. Develop proficiency with hip-fire techniques and quick-scoping methods for unexpected engagements. Chokepoint Control - Identify and control key urban chokepoints that funnel enemy movement. Building entrances, stairwells, and corridor intersections provide opportunities to control player flow and create ambush setups. ### Open Area Strategies Wilderness and open-area maps require different tactical approaches focused on long-range engagement, cover utilization, and strategic movement planning. Long-Range Engagement - Develop proficiency with weapons optimized for distance combat. Understand bullet drop, wind effects, and target leading for effective long-range eliminations. Cover Utilization - Identify and utilize natural and artificial cover features in open terrain. Rocks, vegetation, buildings, and terrain features provide protection and concealment opportunities. Movement Between POIs - Plan efficient routes that minimize exposure time while maximizing loot acquisition. Use terrain features to mask movement and approach POIs from unexpected directions. Sniper Positioning - Establish elevated positions that provide commanding views of key areas. Sniper positions require careful selection to balance visibility with escape route availability. ### Industrial/Complex Strategies Industrial environments combine indoor and outdoor elements, requiring adaptability and multi-level tactical thinking. Indoor-Outdoor Transitions - Develop smooth techniques for moving between interior and exterior spaces. These transitions often create vulnerability periods that require careful timing and positioning. Multi-Level Positioning - Utilize catwalks, platforms, and different floor levels to create tactical advantages. Vertical positioning in industrial areas often provides unique engagement opportunities. Machinery as Cover - Learn to use industrial equipment for protection and concealment. Large machinery, containers, and structural elements provide cover opportunities that can be used strategically. Environmental Hazards - Understand and utilize environmental dangers such as moving equipment, chemical areas, and unstable structures. These hazards can provide tactical advantages but require careful navigation. ## Advanced Extraction Strategies ### Solo Extraction Techniques Solo players face unique challenges that require specialized extraction strategies focused on stealth, timing, and risk minimization. Stealth Approaches - Develop movement techniques that minimize noise and visual detection. Use cover effectively, move during low-activity periods, and avoid predictable movement patterns that enemies can anticipate. Timing Optimization - Master the art of extraction timing to minimize exposure while ensuring successful extraction. Early extractions reduce risk but may limit loot acquisition, while later extractions increase both potential rewards and dangers. Route Diversification - Avoid using the same extraction routes repeatedly, as enemies may learn to predict and intercept predictable patterns. Develop multiple extraction options and rotate between them based on match conditions. Risk Assessment - Continuously evaluate extraction risks based on enemy activity, loot value, and personal capabilities. Sometimes abandoning high-value loot for a safer extraction provides better long-term results. ### Squad Extraction Coordination Team extractions require coordination, communication, and synchronized movement to maximize success probability while managing multiple players' needs and capabilities. Cover Fire Positions - Establish complementary firing positions that provide overlapping fields of fire and eliminate blind spots. Coordinate movement timing to ensure continuous coverage during transitions. Staggered Extractions - Use timing coordination to extract team members sequentially rather than simultaneously. This approach reduces extraction point congestion and provides mutual support during vulnerable extraction periods. Communication Protocols - Develop standardized communication procedures for extraction coordination. Clear, concise callouts for timing, positioning, threats, and status updates ensure synchronized team movement. Equipment Sharing - Coordinate resource sharing to ensure all team members have necessary equipment for extraction. Ammunition, medical supplies, and utility items should be distributed based on team needs and extraction requirements. ### Counter-Extraction Defense Sometimes the best defense is preventing enemy extractions entirely. Advanced players learn to identify and disrupt enemy extraction attempts while protecting their own extraction opportunities. Ambush Setup - Identify likely enemy extraction routes and establish ambush positions that provide tactical advantages. Consider sight lines, escape routes, and engagement timing for maximum effectiveness. Area Denial - Use strategic positioning and equipment to deny enemy access to preferred extraction routes. This approach forces enemies into less favorable positions where they become easier to eliminate. Extraction Point Control - Establish dominance over key extraction points to prevent enemy use while maintaining access for team members. This strategy requires careful positioning and resource management. Information Warfare - Use deceptive communications and positioning to mislead enemies about extraction timing and locations. This psychological approach can disrupt enemy coordination and create tactical advantages. ## Frequently Asked Questions Q: How many extraction points are typically available per map? A: Most ARC Raiders maps feature 6-11 total extraction points per match, split between 2-4 main extraction points and 4-8 Raider Hatches, though the exact number can vary due to the game's design. Urban maps tend to have more extraction options due to multiple building access points, while wilderness maps may have fewer but more strategically positioned extraction zones. Q: Do extraction points change locations between matches? A: Yes, extraction points in ARC Raiders use a dynamic system where locations may rotate or change between matches. This prevents players from memorizing completely safe routes and encourages continuous map exploration. Some extraction points may also have activation requirements that vary between matches. Q: What's the best way to learn map callouts quickly? A: Start by playing exploration matches focused solely on map familiarization. Use community resources and guides to learn standard terminology, then practice callouts during low-stakes matches. Recording your own matches and reviewing communication can help identify areas for improvement. Q: How important is map knowledge for success in ARC Raiders? A: Map knowledge is absolutely critical for success in ARC Raiders. Players with strong map awareness consistently achieve higher extraction rates, acquire more valuable loot, and survive longer in hostile territory. Map knowledge enables better risk assessment, more efficient route planning, and superior tactical positioning. Q: Should I prioritize safe extractions or high-value loot? A: This depends on your current progression and risk tolerance. Early in your ARC Raiders career, focus on consistent, safe extractions to build resources and experience. As you develop map knowledge and equipment, gradually increase risk tolerance for higher-value targets. Always have an extraction plan before engaging high-value loot areas. Q: How do I handle extraction point camping? A: Extraction camping is a common tactic in extraction shooters. Counter it by using reconnaissance to identify camping positions, approaching from unexpected directions, or using smoke and flashbang equipment to create extraction opportunities. Sometimes the best response is to avoid compromised extraction points entirely. ## Conclusion and Continuous Learning Mastering ARC Raiders maps, extraction points, and callouts is an ongoing process that requires dedication, practice, and continuous adaptation. The game's dynamic nature means that strategies that work today may need adjustment as new maps, mechanics, and community tactics emerge. Start with the fundamentals: learn basic navigation, establish consistent callout terminology, and practice extraction timing in low-risk scenarios. As your confidence grows, gradually increase the complexity of your objectives and the risks you're willing to take. Remember that every extraction attempt, successful or not, provides valuable learning opportunities. The most successful ARC Raiders players combine technical map knowledge with strong communication skills and adaptive tactical thinking. They understand that extraction shooters reward patience, planning, and calculated risk-taking over reckless aggression. Keep exploring, keep learning, and most importantly, keep extracting. The satisfaction of successfully navigating hostile territory and securing valuable loot makes all the preparation and practice worthwhile. Welcome to ARC Raiders – now get out there and show those extraction points who's boss.
More Arc-Raiders Guides
ARC Raiders Shield Mastery Guide: Complete Breakdown of Mechanics, Weapons & Loadouts
Learn how shields actually work in ARC Raiders. Master damage mechanics, optimal weapons, and perfect loadouts for PvP and PvE. Break shields efficiently with our expert guide.
ARC Raiders Shield Mechanics: Complete Damage Calculation & Strategy Guide
Master ARC Raiders' shield system with our complete guide to damage calculation, shield types, recharge mechanics, and PvP strategies for optimal survival.
ARC Raiders Extraction Guide: Mastering the 30-Minute Timer, Grace Period & Bug Workarounds
Complete guide to ARC Raiders extraction mechanics: Learn how the 30-minute timer works, grace period secrets, current bugs, and proven strategies for successful escapes.
AI Tactical Companion
Consult with our specialized tactical engine for Arc-Raiders to master the meta instantly.