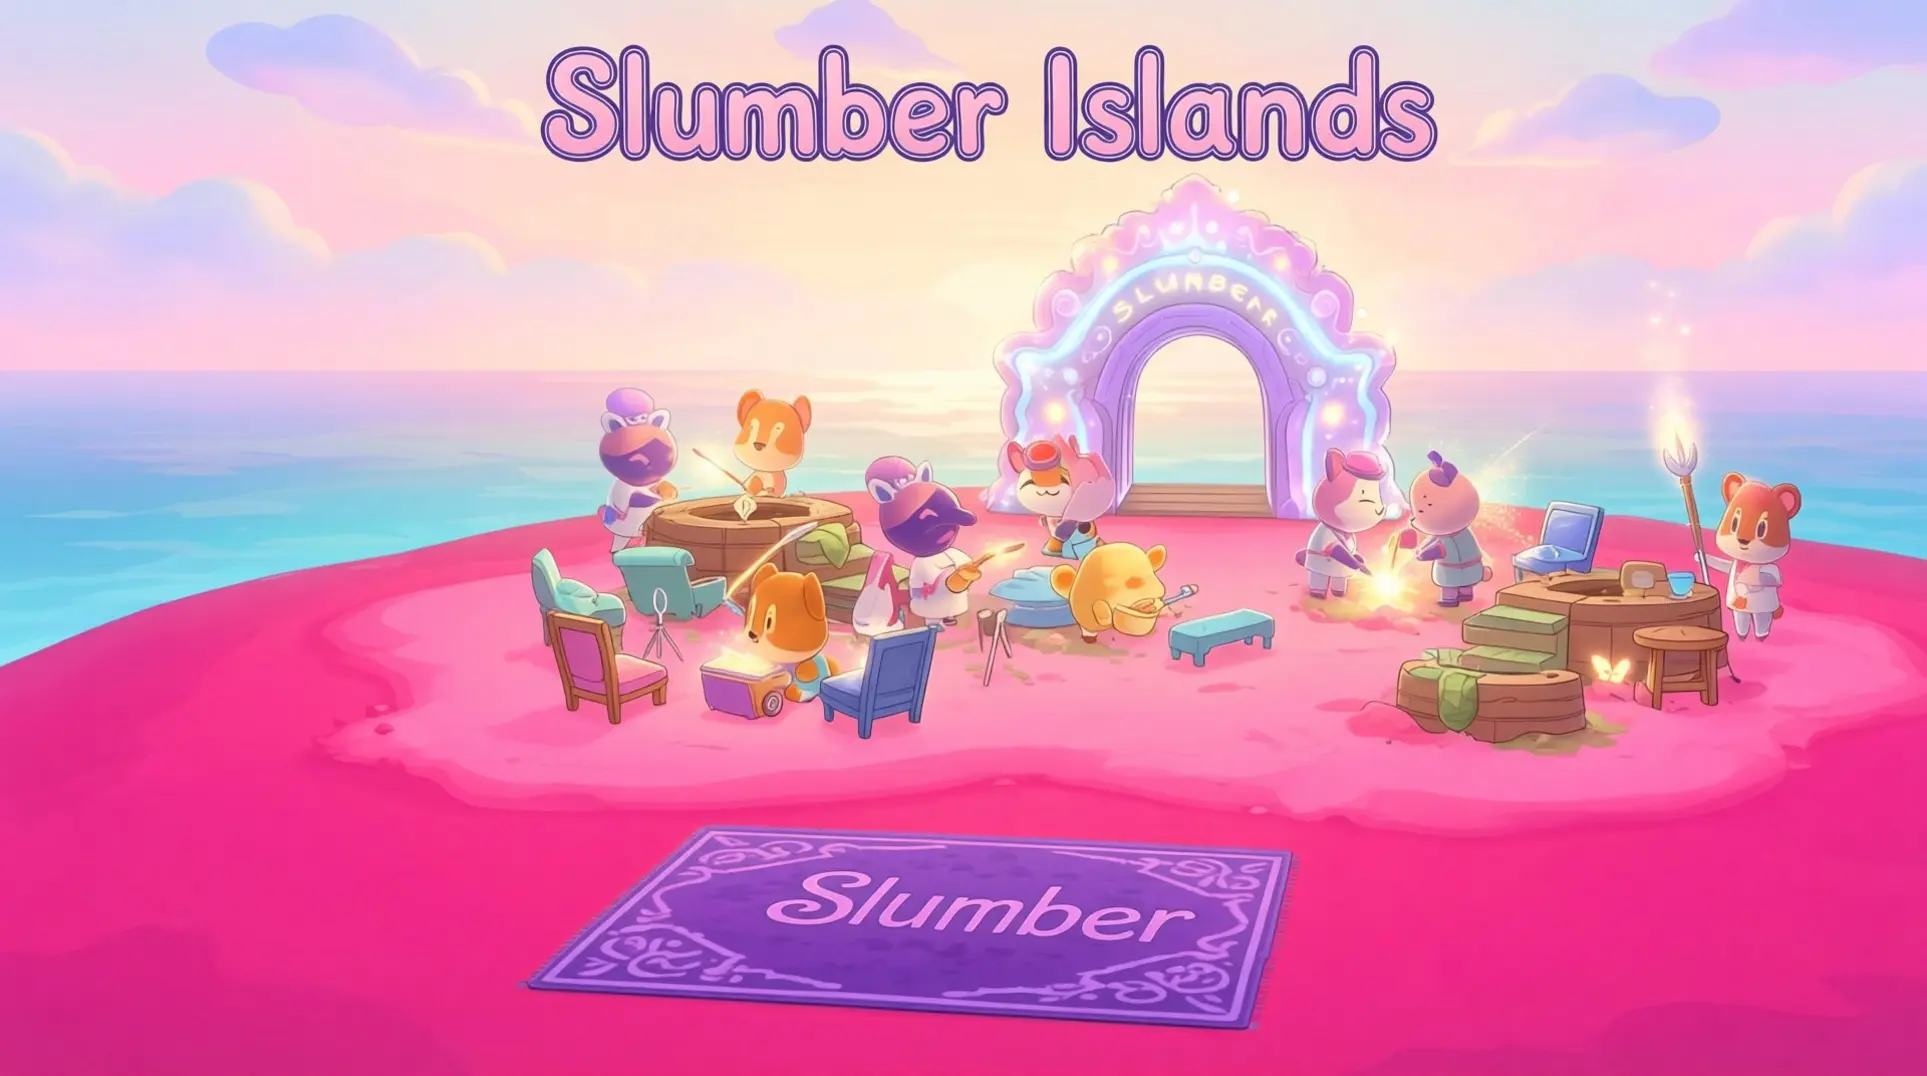
Ultimate Guide to Slumber Islands in Animal Crossing: New Horizons 3.0
Introduction
The Animal Crossing: New Horizons 3.0 update has fundamentally changed the game's creative landscape with the introduction of Slumber Islands. This new online-only sandbox system offers unprecedented freedom to build without limits. This guide will walk you through unlocking, mastering, and maximizing this powerful new feature.
Understanding 3.0's New Island Systems
What Are Slumber Islands? (The Creative Sandbox)
Slumber Islands are the headline feature of the 3.0 update, and honestly, they're a game-changer for anyone who loves building. Think of them as your own personal dream-world sandboxes - completely separate from your main island and completely online-only. You get three slots to work with, which Nintendo calls your personal 'archipelago,' and each one can be generated in small, medium, or large sizes with four random layouts to pick from.
The best part? Everything's cloud-based and consequence-free, so you can craft multiple items at once and use materials directly from your home storage when at a workbench. Want to build a castle at 3 AM during a meteor shower? You can, because you have full control over time of day and weather settings. It's pure creative freedom without the resource grind.
Kapp'n Boat Tours: The Original Mystery Islands
Now, don't confuse Slumber Islands with Kapp'n's boat tours - they're totally different systems that got a nice buff in 3.0. Kapp'n's been running his 1,000 Nook Miles trips since version 2.0, taking you to random deserted islands once per day, which felt pretty limiting.
The 3.0 update finally doubles that to two tours per day, though the second trip will cost you 100 Hotel Tickets instead of Nook Miles. The second tour only opens up after you finish the Resort Hotel's construction, but it's worth it for the extra farming.
Just a heads-up: players have been calling the rare star-fragment island a 'Slumber Island' because it's always nighttime there. That's just community slang and has nothing to do with the actual Slumber Islands feature - the official ones are the creative sandboxes, not Kapp'n's night tours.
How to Get Into the Slumber Archipelago
First things first - you need to actually be on version 3.0.0. The game won't tell you about the Slumber Archipelago otherwise, so double-check you've updated before you waste time hunting for something that isn't there.
Once you're patched, head to your mailbox at Resident Services. You'll find a letter from Luna with your first Slumber Pass tucked inside. Don't worry about what that means yet; just grab it.
Now for the part that feels a little weird: go inside your house and lie down in any bed. The game will prompt you with 'Yeah, I want to sleep...' and that's your ticket in. Luna's tutorial dream kicks off immediately, walking you through the basics while you're stuck in her dream world.
Here's the good news: after that first visit, Luna mails you a Mirror furniture item the next day. This Mirror becomes your permanent portal to the Slumber menu, so you won't have to keep crawling into bed like you're taking a nap every time you want to build.
Creating Your First Slumber Island
When you fire up the creation menu, you'll face three size presets: 40x40 for compact builds, 52x52 for a balanced layout, and 64x64 if you want full-scale recreations. Pick carefully because once you commit, that size is locked forever - your only way out is deleting the entire island and starting from scratch.
Biome selection works differently. Every Slumber Island starts with a default temperate climate, which you can then manually terraform and customize to create any desired aesthetic.
The game lets you maintain up to three active Slumber Islands simultaneously, and your dream data gets cloud-stored. This means you can delete and remake islands instantly without losing your progress, which is perfect for experimenting with different themes or sizes.
The Terraforming & Building Toolkit
Luna hands you the Island Planner app for your NookPhone, and it's wild. One-tap buttons for Raise Cliff, Dig River, and Instant-Flatten let you reshape terrain instantly - no more digging holes and praying you don't mess up. The Instant-Flatten button alone will save you hours if you're the type who starts over constantly.
For furniture, the Dream Catalogue allows you to view items, but it is a read-only experience; you cannot catalogue items or bring anything back to your main island. Meanwhile, the Custom Design Portal fetches any uploaded or downloaded designs instantly, so you're not stuck recreating patterns from memory.
Messed something up? You've got a 30-action undo/redo stack to bail you out, but keep in mind the oldest action gets discarded once you hit that limit. And here's the catch: all changes are non-persistent. When the last player leaves, everything reverts, which makes Slumber Islands a risk-free sandbox for collaborative builds - but also means you can't permanently save your masterpiece without uploading it as a dream.
Biome Deep Dive: Glowing Forest & Other Options
Glowing Forest: The Twilight Wonderland
The Glowing Forest isn't just another island variation - it's a completely different vibe. This version 3.0 addition lives in permanent dusk, which means you're stepping into a world that never sees full daylight. The whole island pulses with bioluminescent plants like glow-ferns, star-moss, luma-bloom, and shimmer-palm trees, all casting that signature cyan glow.
But there's a catch: you can only visit once per real-life day through Kapp'n's tours, and the island disappears from his rotation after 5 a.m., so you'll want to plan your trip accordingly. Once you hit 9 p.m., fireflies may spawn near water depending on the season, and every tree, fern, and weed starts luminescing. The soundscape shifts too - it's quieter, more ethereal, which makes the whole experience feel like you've stumbled into a fairy tale.
Other Biome Options
If the Glowing Forest isn't your style, you've got five other biomes to play with, and each brings something different to the table.
Cherry-Blossom shows up in spring (April 10-25 in the Northern Hemisphere, October 10-25 in the South) and covers your island in drifting petals you can craft into a 14-item set. Just don't expect to collect many during rain or heavy snow - those petals actually spawn more frequently in bad weather.
Normal-Temperate is your classic layout: gentle one-tier hills and two wide rivers. This setup matches the season of your main island, though you can use the Special Weather toggle to force snow for a session, which means it's great if you're trying to collect seasonal materials.
On the flip side, Empty-Flat (sometimes called Desert-Ridge) features sparse three-tier ridges and narrow rivers. This layout actually increases balloon spawn rates, so it's definitely more of a challenge.
The cool thing is, Glowing Forest assets aren't locked to that one island. You can mix those glowing plants with cherry-blossom trees or even snow-crystal sparkles on your own island for a custom look.
Quick Glowing Forest Build Recipe
Ready to build your own? The community has boiled it down to a five-step checklist that actually works:
Start with a medium 52x52 canvas - that's a 2x2 tile arrangement that gives you enough room for a proper forest floor without overwhelming the space.
Set your season to late fall (November 1-30 in the North, May 1-31 in the South) so you get mushroom spawns naturally.
Lock the time to 9 p.m. to trigger firefly weather and that perfect cyan lighting.
Lay dark-dirt paths and cluster cedar trees to create shadowy areas where the glow can really pop.
Scatter mush furniture and add fairy-ring patterns using custom designs.
For those custom designs, grab MA-6352-6078-6250 - it's the popular set for mushroom paths and glowing fairy rings you can find through the Custom Design Portal or TikTok showcases. Once you've placed the pattern on your dark-dirt paths, ring it with mush lamps to activate that nightly luminescence. The full mush set includes everything from low stools to partitions, and they're all available during mushrooming season.
LEGO Collaboration: Furniture & Building System
Unlocking the LEGO Workshop
Before you can start building, you'll need to grab the LEGO DIY Workbench from Nook Shopping, and it isn't free - it'll cost you 2,200 Bells. Once you redeem them, the recipe drops straight into your DIY app, ready to go, and you'll get 18 LEGO furniture recipes along with it.
The workbench is your gateway to brick life, letting you craft everything you need. Oh, and if you're not feeling the default colors, Cyrus can customize it for 2,400 Bells to match whatever vibe your island is going for.
LEGO Brick Material & Crafting
Once you've got your workbench, you'll need materials. Here's where it gets interesting - LEGO furniture pieces are purchased from the Nook Shop app or Nook Stop in Town Hall. You can find things like brick-path flooring, 2×1 block sofas, studded fences, and even wearable minifig masks.
These beach finds are separate from the 18 DIY recipes you unlocked, but they share the same brick aesthetic. The items are catalogable and droppable, which means you can trade with friends or hunt duplicates across multiple islands.
And don't sleep on the customization options - mixing LEGO pieces with the Glowing Forest set creates a 'Glowing LEGO Forest' theme that looks absolutely wild at night.
Hosting & Visiting Slumber Islands
The multiplayer here is actually pretty slick. To host, you just need to hop into bed and choose 'Invite friends to Slumber' from Luna's menu, which opens your gates locally or online with a Dodo Code. Up to eight players total can hang out on your Slumber Island at once - that's you plus seven visitors.
Now here's where it gets fun: as the host, you've got god-mode building powers. You can terraform cliffs and rivers, drop furniture straight from the dream catalog, plant whatever flora you want, and hang custom designs, all for free and instantly. If you're worried about friends messing up your vision, you can manage terraforming permissions through the Best-Friends app and Island Designer app sharing.
If you're visiting instead, Orville will hit you up with an in-game phone call - just accept it, pick 'Slumber Island,' then 'Search friends.' When the host's gates are open, you'll land on their dock in roughly 30 to 60 seconds, which is way faster than regular island visits since you're not loading their main island at all.
There's also the Dream Address system for async visits. Luna can assign any finished Slumber Island a 12-digit code you can share anywhere. Other players punch that code in while they're sleeping, and they'll tour a read-only snapshot of your creation. Dream visitors can't terraform or grab items, but they can save the island to their Favorites, which is pretty neat for getting community input.
Limitations & Important Restrictions
Here's where reality checks in. No economy exists between your main island and Slumber Islands, which means bells and Nook Miles can't transfer at all, and you won't be carrying any items back home. Visitors arrive with empty pockets and leave the same way - the dream catalog is their only toolbox.
Villager relationships are also a dead end. Any villagers you invite to a Slumber Island won't affect your real friendship levels, and only the host can save permanent changes. So if you're visiting and you spend hours perfecting a garden, it'll all vanish unless the host hits 'Save & Continue' before everyone wakes up.
And about those Dream Codes: you can only have one active code per Nintendo Account at a time, and only the host can update the snapshot. If you're constantly tweaking your creation, you'll need to re-upload regularly to keep the shared version fresh.
Advanced Strategies & Community Ideas
Top 4 Trending Build Concepts
The community has been absolutely crushing it with Slumber Island builds lately, and four concepts keep dominating every showcase thread. First up is the Glowing Canyon, which combines translucent LEGO Block Stacks with glowing moss to create these insane neon slot-canyons, and you snap-fit LEGO rails right into the cliff faces for that perfect cyberpunk aesthetic - especially wild on the Tiered Plateau layout.
Then there's the Bioluminescent Board-Walk, and this one's clever. Players are stacking Nova Lights, Shell Lamps, and even upside-down Floor Lights under transparent tiles so the pier appears to float on glowing plankton, and it hits differently in the Slumber Archipelago's permanent twilight where everything just hums.
If heights are your thing, the LEGO Tree-Top Village is a total game-changer. The secret is the renewable 2×1 brown log brick piece, which lets LEGO plates snap on clean without any clipping issues, so you can finally build sky-high markets or observatories that actually feel stable instead of like a glitchy tower of cheese.
The Firefly Maze Garden is perfect for summer settings. You lay down Lucent Dust paths to guide visitors through, drop glowing moss jars at intersections for waypoints, and plonk a central gazebo for photo ops, but the real magic happens when you crank your island season to summer for maximum firefly spawns - then the whole thing comes alive at night.
Pro Tips for Efficient Building
Now let's talk workflow, because these islands can be overwhelming without the right tricks. The Island Designer tools are your best friend when you're deep in a creative rut. To flatten while preserving trees and furniture, you must manually terraform and relocate items, which takes time but ensures you don't lose those pieces you spent hours placing.
The 30-action undo stack is another lifesaver, triggered with L + ZL, and you can scrub through up to 30 terrain edits. That sounds generous until you realize furniture placement eats those slots too, so do all your terraforming first, then decorate - otherwise you'll run out of undo juice right when you need it most.
Here's where it gets wild: Slumber Islands let you toggle time and weather on the fly with L + ZL, which means you can pair summer fireflies with winter snow, or cherry-blossom petals with a rainstorm, creating these impossible biome hybrids that shouldn't work but absolutely do.
And if you're scared of burning Bells on expensive experiments, the Dream Catalogue has your back. You can spawn and test an unlimited number of items you've ever catalogued - castle towers, mega-luxe furniture, whatever - without spending a single Bell or clogging up your storage, so it's basically free real estate for your imagination.
Frequently Asked Questions
Slumber Islands sound amazing on paper, but the system comes with some weird limitations that'll trip you up. Here are the questions everyone asks once they start poking around.
Can I Transfer Items to My Main Island?
Hate to break it to you, but you can't bring anything back. Everything you place or create on a Slumber Island stays locked in Luna's dream world permanently. The game only snapshots your player appearance and custom designs, which means all that cool furniture you arranged? It stays put. This limitation is intentional - Nintendo's blocking potential item duplication exploits.
How Many Slumber Islands Can I Have?
You're capped at four active Slumber Islands at any given time, and this limit is tied to your Nintendo Account - so you can't create a second archipelago on a different profile. The good news is you can delete and recreate any of your four islands whenever you want, with no cooldown or penalty. That means you can experiment endlessly with different themes and layouts without feeling stuck.
Do I Need Nintendo Switch Online?
Short answer: you'll need Nintendo Switch Online for the online features. A paid subscription is mandatory for uploading your own Dream Code and visiting other players' islands since everything runs on Nintendo's dedicated dream servers. Local wireless or island backup alone won't trigger the option. You can technically create islands without NSO, but you can't share them or visit anyone else, which misses half the fun. Voice chat requires the separate Nintendo Switch Online app, but at least that part's optional.
Conclusion
Slumber Islands represent the ultimate creative toolkit for Animal Crossing players, offering a risk-free space to experiment with complex builds and share them with the world. By understanding the systems, tools, and community strategies, you can transform your dream visions into stunning digital realities. Now, go build something amazing.
More animal-crossing-new-horizons-switch-2-edition Guides
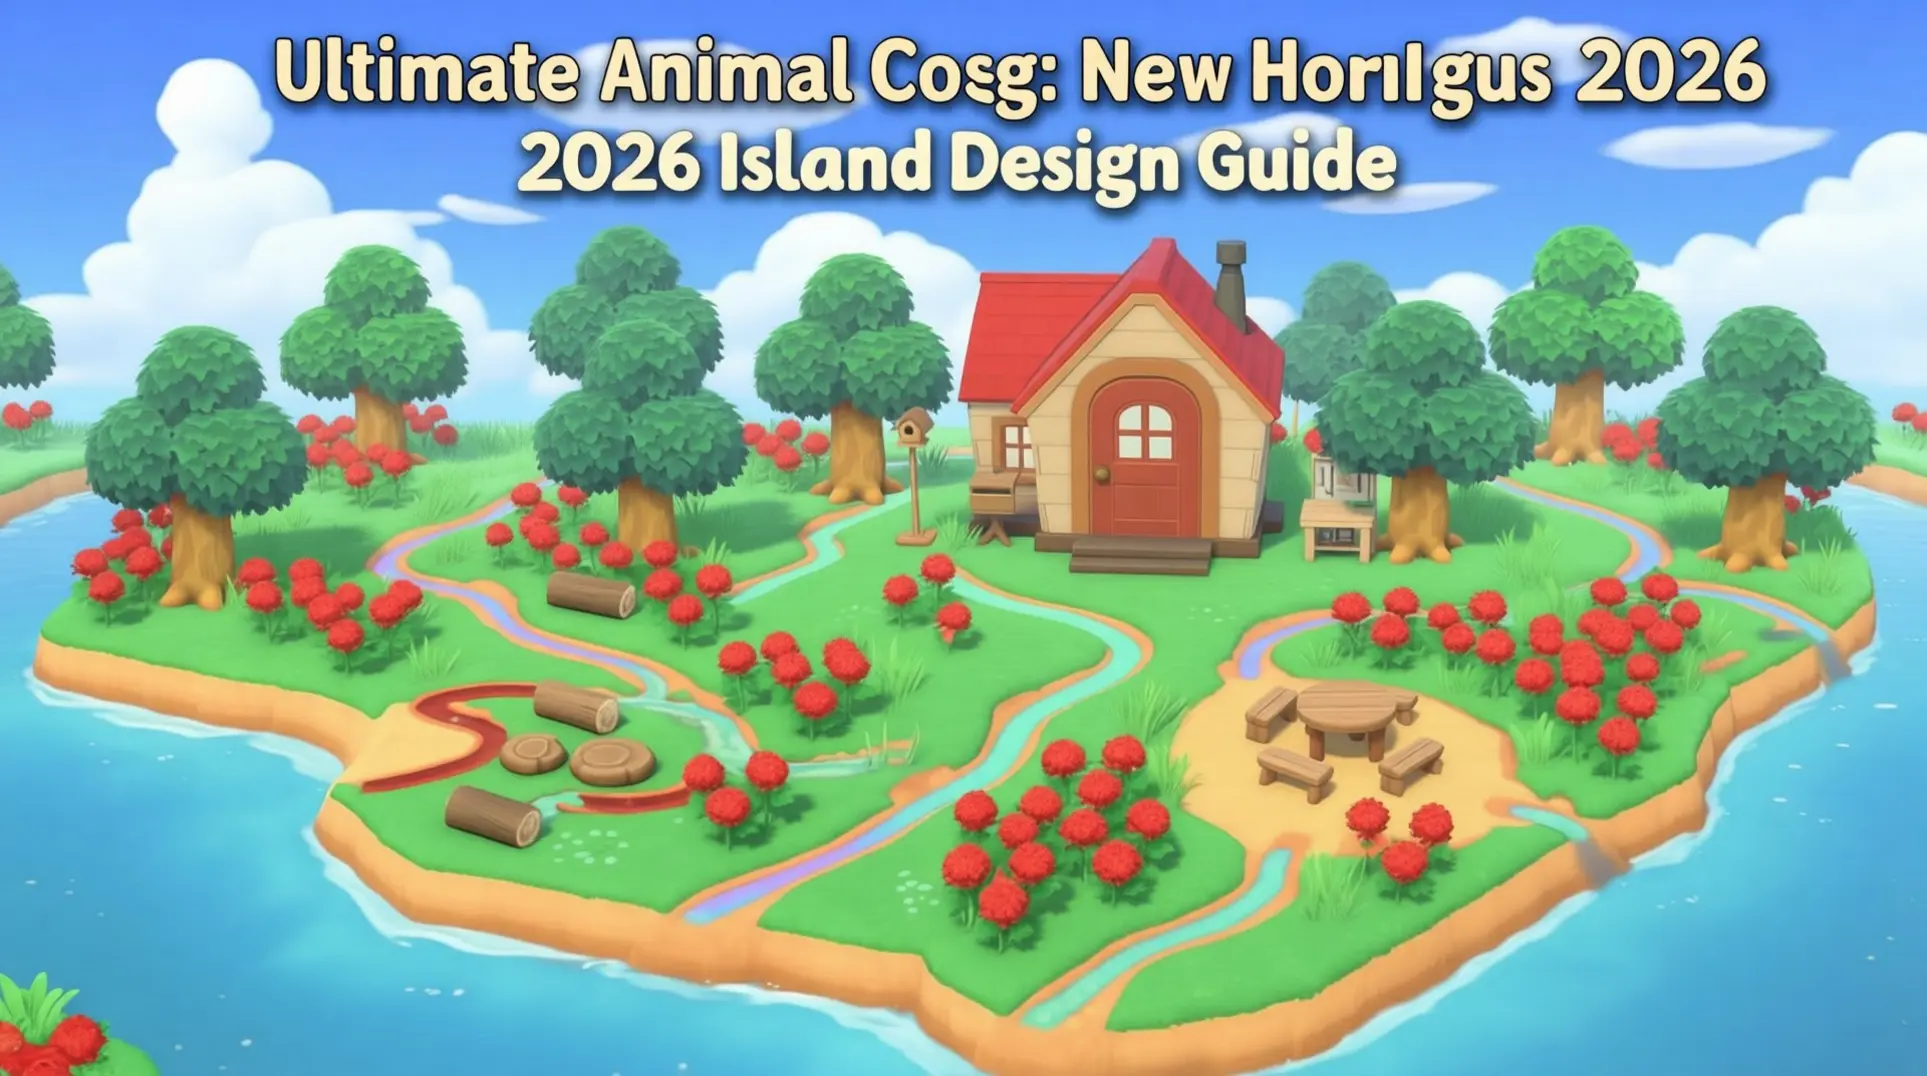
Ultimate Animal Crossing: New Horizons 2026 Island Design Guide
Discover advanced techniques, trending themes, and essential resources for creating your dream island in Animal Crossing: New Horizons with the Switch 2 Edition and 3.0 update.
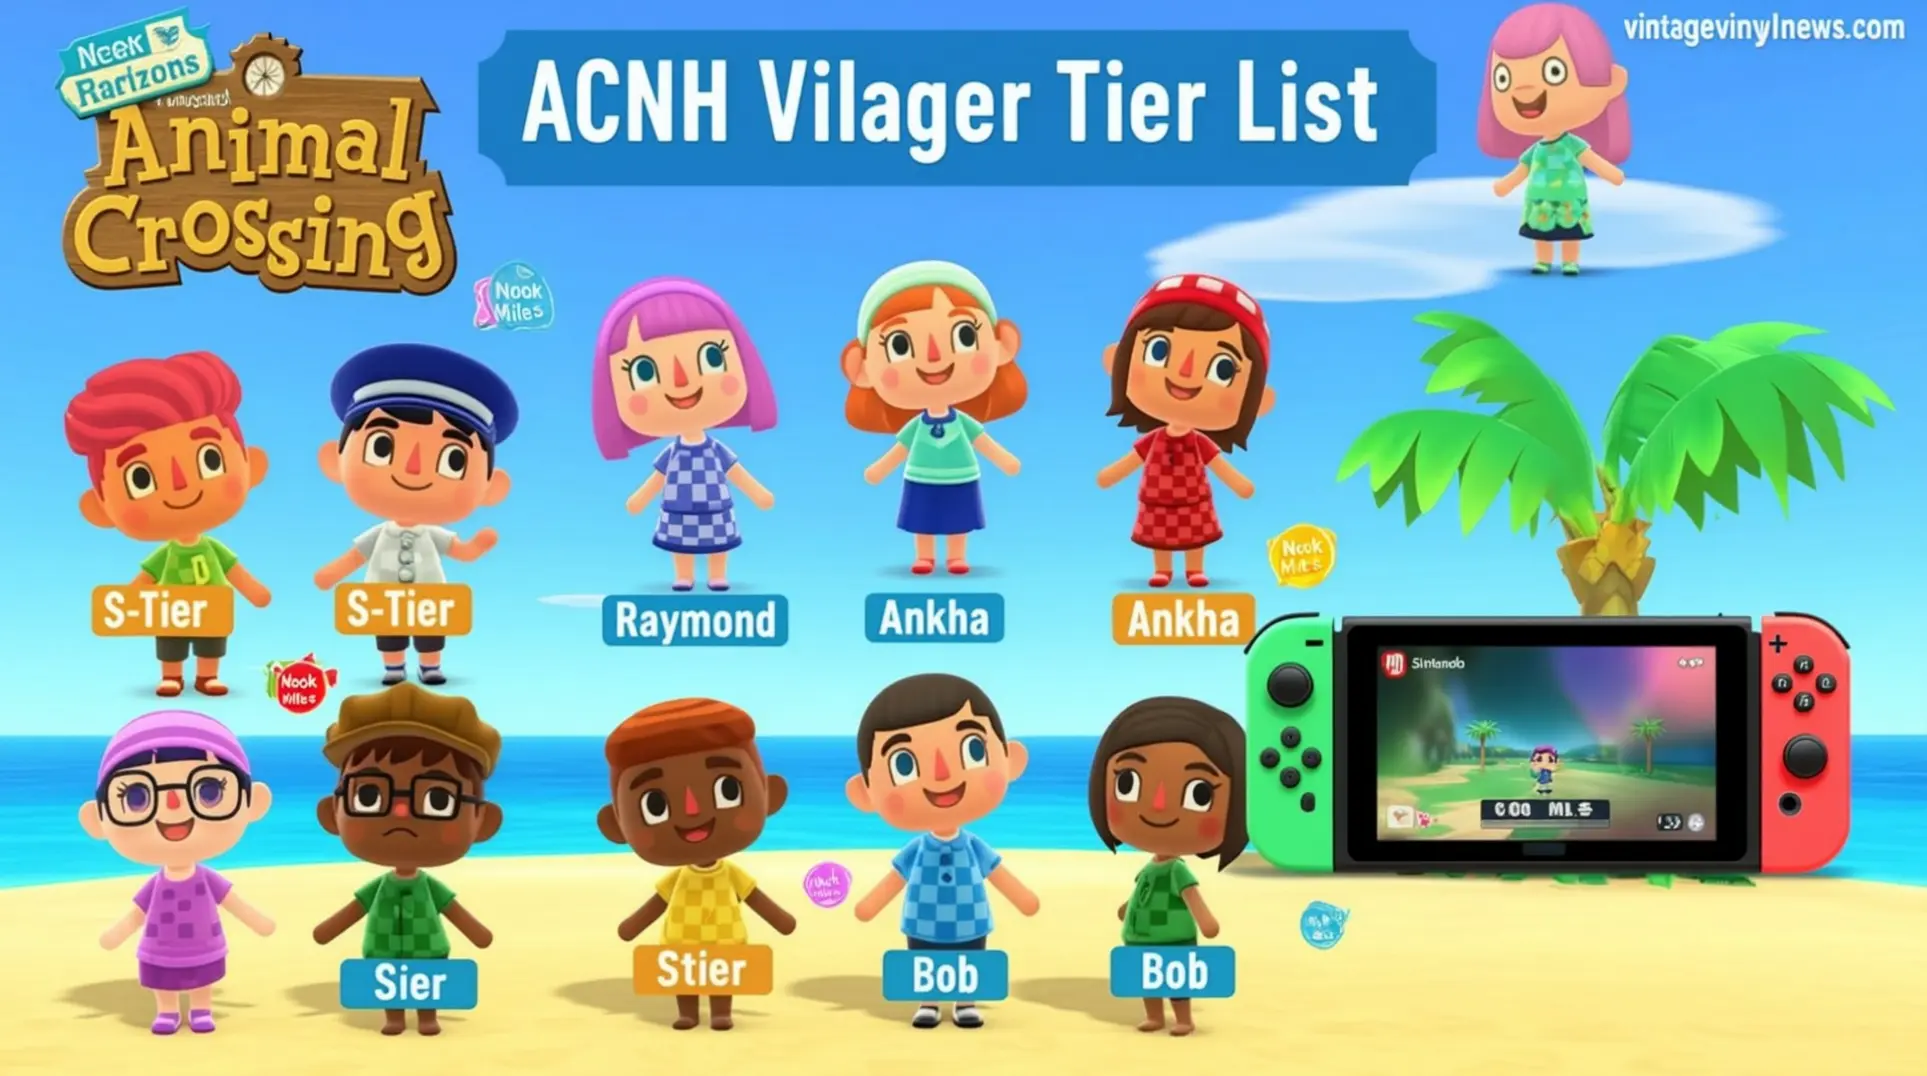
The Ultimate Animal Crossing Villager Tier Guide - Rankings, Trading & Switch 2 Meta
A complete guide to Animal Crossing villager popularity, from S+ elite residents to underrated gems. Learn trading strategies, tier rankings, and how the Switch 2 Edition is reshaping the meta.

Ultimate Animal Crossing: New Horizons Switch 2 Island Design Guide
Learn how to design your perfect island in Animal Crossing: New Horizons Switch 2 Edition. Master layout fundamentals, villager housing, path design, terraforming, and achieve 5-star ratings.
AI Tactical Companion
Consult with our specialized tactical engine for animal-crossing-new-horizons-switch-2-edition to master the meta instantly.