Zenless Zone Zero Drive Disc Guide: Complete Farming, Sets, Stats & Builds
Drive Discs are the cornerstone of endgame power in Zenless Zone Zero, but farming them efficiently requires a clear roadmap. With limited Battery and punishing RNG, knowing when to farm, what to farm, and how to enhance your gear is the difference between a strong build and wasted resources. This guide breaks down the optimal farming strategy from early game to min-maxing, ensuring every drop of stamina counts.
Progression Phases
Phase 1: Early Game (Inter-Knot 25-29) - Unlock & Basic Setup
You won't see Drive Discs until you're deep enough into the story - the system becomes available after your first Inter-Knot ascension quest somewhere around I-K 20-25, which opens the Music Store (that little Bardic Needle place) and Routine Cleanup missions. But here's the thing: don't waste your Battery yet.
At I-K 25, Routine Cleanup IV becomes available, letting you spend stamina for disc runs that drop 3-star and 4-star pieces, but that 4-star rate sits at a rough 15% per run. You're basically throwing Battery at a slot machine, so instead, lean hard on the story rewards that hand you starter 4-star discs. Your only job right now is slapping together a basic 4-piece set with the right main stats - don't even think about sub-stats yet.
Milestones to hit:
- Complete Inter-Knot ascension quest (I-K 20-25)
- Access Music Store and Routine Cleanup
- Equip story reward 4-star discs (ignore farming)
Phase 2: Transition Phase (Level 30-34) - Purple Disc Preparation
Once you hit I-K 30-34, S-Rank (purple) discs enter the pool at Reputation Rank 4, which means it's time to shift from 'ignore farming' to 'serious prep mode.'
Your pre-I-K 30 checklist:
- Hoard 4,000+ Tuning Chips by grabbing weekly commissions (240 chips/week), event rewards, Battle Pass tiers, and those sweet Shiyu Defense first-clear boxes.
- Bank Enhancement Modules like your life depends on it, because a single S-Rank disc needs ~180 modules and 150k Dennies to hit max level.
- Aim for five purple pieces with perfect main stats before you burn a single Battery on random drops.
Phase 3: Efficient Farming Window (Level 35-44) - Guaranteed 5-Star Crafting
Inter-Knot 35 is the real milestone - once you upgrade the Music Store to level 2, Intermediate Tuning becomes available, which is the guaranteed 5-star crafting system that spits out S-Rank discs for Plating Agents. There's no 'Music Store level 3' requirement in the current version, so ignore anyone saying otherwise.
Double-drop days? Those only boost Routine Cleanup stages, not crafting. Your move is farming Plating Agents during those events, then using them for guaranteed crafts. For early DPS characters, target Woodpecker Electro or Chaos Jazz sets.
| Farming Priority | Action | Reason |
|---|---|---|
| Plating Agents | Run Routine Cleanup on double-drop days | Fuel for guaranteed crafts |
| Target Sets | Woodpecker Electro, Chaos Jazz | Best early DPS bonuses |
| Skip | Random disc drops | Too unreliable until endgame |
Phase 4: End-Game Min-Maxing (Level 45+) - S-Rank Tier & Optimization
At I-K 45+, you're officially in min-max territory. Version 2.5 changed the game with the Substat Tuner system, letting you lock up to two substats per disc and edit the rest. Each lock costs 4 Tuning Calibrators, and you want to prioritize CRIT Rate/DMG for your DPS units.
Every five successful tuning rolls triggers the Tuning Orientation mini-game, and nailing the perfect zone gives you a juicy +12% substat boost. It's a skill check that actually rewards you for paying attention.
Drowning in bad S-rank drops? The Hex Module conversion turns three useless discs into one targeted disc box, plus 2 Tuning Calibrators and a 20% shot at a Substat Tuner ticket. It's the cleanup mechanic that makes hunting for perfect rolls feel less soul-crushing.
Best Drive Disc Sets by Character Role & Meta (2026)
Look, farming Drive Discs is a pain, so you don't want to waste time on sets that look good on paper but feel terrible in practice. The meta's settled pretty hard around a few standout options, and they're broken down by role more than by character these days.
S-Tier Universal DPS Sets
Here's the deal - if you're building any DPS in 2026, you're probably looking at one of three sets, and they all slap for different reasons.
Thunder Metal is the undisputed king for Shock teams. The 2-piece gives you 10% Electric DMG, which is fine, but the 4-piece is where it goes nuclear: you get +28% ATK for 8 seconds whenever you trigger an Electric Reaction. That means if you're running characters like Rina or Grace who can consistently apply Shock, you're basically swimming in permanent ATK buffs. It's so strong that even non-electric DPS units are splashing 2-piece Thunder Metal just for the reaction synergy.
Then you've got Woodpecker Electro, which is the crit-chaser's dream. The 2-piece is just a flat 10% ATK, nothing special, but the 4-piece stacks +9% ATK up to three times (that's 27% total) for 10 seconds after every crit hit. If your character has decent crit rate, you're keeping this buff up 100% of the time. This is nuts for anyone who hits fast and crits often - think soldiers like Von Lycaon or any DPS with built-in crit mechanics.
The sleeper pick is Shadow Harmony, which looks weird on paper but absolutely delivers for specific characters. The 2-piece boosts Aftershock & Dash Attack DMG by 15%, which already screams 'mobility DPS,' but the 4-piece actually stacks both ATK and CRIT Rate when those attacks hit with a matching Attribute. So if you're running, say, a character who Anomaly Rifts with dash attacks and matches the enemy's weakness? You're getting paid double. It's more niche than the other two, but when it works, it really works.
Support & Utility Sets
Now for the real MVPs of your team - the supports. You can't just slap DPS sets on them and call it a day; they need completely different tools to enable your carries.
Freedom Blues is the Anomaly support's best friend. The 2-piece gives +30 Anomaly Proficiency, which helps you build up those stuns and debuffs faster, but the 4-piece is the money maker: your EX Special Attack reduces the target's Anomaly Buildup RES by 20% for 8 seconds. That means your whole team can stagger and stun enemies way easier. If you're running a comp that relies on Anomaly states (and you should be), this set is non-negotiable on your support.
Swing Jazz is all about energy and party buffs. The 2-piece boosts your Energy Regen by 20%, which means more EX Specials and more Ultimates, but the 4-piece is why you actually run it: whenever you trigger a Chain Attack or Ultimate, your entire squad gets +15% DMG for 12 seconds. That's a party-wide buff that you can keep up permanently with good rotation. It's basically the 'I want my whole team to hit harder' set, perfect for buffers like Nekomata or any support who tags in frequently.
Element-Specific & Niche Sets
So when do you skip the universal kings and go for something more specialized? Usually when you're doubling down on a mono-element comp or when the set's condition is just too good to pass up.
Inferno Metal is the Fire DPS option, and it's actually cracked for burn comps. The 2-piece gives 10% Fire DMG, whatever, but the 4-piece grants +28% CRIT Rate for 8 seconds after hitting a Burning enemy. That's a massive crit buff you can keep up permanently if your team has consistent burn application. If you're maining someone like Soldier 11 or any Fire character with fast attacks, this can out-perform Woodpecker Electro because you don't need to crit to start the buff - you just need the enemy to be burning.
Polar Metal is the Ice equivalent, but it plays differently. The 2-piece is the standard 10% Ice DMG, but the 4-piece gives +20% Basic & Dash Attack DMG, plus another +20% for 12 seconds when you trigger Freeze or Shatter. That's up to 40% bonus damage on your most-used attacks. For characters like Lycaon who spam dash attacks, or any Ice DPS in a Freeze comp, this is actually competitive with the universal sets. The catch is you need to reliably proc Freeze/Shatter, so your team comp has to be built around it.
Version 2.2+ New Sets: Dawn's Bloom & Moonlight Lullaby
Patch 2.2 dropped two new sets that are... interesting. They're not auto-replacements for the S-tier options, but they have some niche uses that are worth knowing about.
Dawn's Bloom is the new hotness for Basic Attack spammers. The 2-piece gives a flat ATK increase (the exact number is still being datamined, but it's decent), while the 4-piece makes your Basic Attacks grant a stacking DMG buff that refreshes on hit. This was basically custom-made for Seed, who lives in his Basic Attack combos, but it might have future potential for any DPS who doesn't rely on dash cancels. Right now it's a 'farm one set for Seed and forget it' situation.
Moonlight Lullaby is the sleeper support set that might shake up the meta. The 2-piece gives +10% Energy Regen, which is the same as Swing Jazz, but the 4-piece is wild: when you pop your Ultimate, the entire squad gets +18% ATK and +12% CRIT Rate for 12 seconds. That's a bigger buff than Swing Jazz's 15%, but it's locked behind your Ultimate cooldown instead of Chain Attacks. For supports who build tons of energy and have short Ultimate CDs, this could be the new go-to. It's still being tested, but the early math looks promising for characters like Soukaku.
Drive Disc Stats Priority: Main Stats & Sub-Stats Guide
Slot-by-Slot Main Stat Guide (Slots 1-6)
Let's start with the easy part. Your first three Drive Disc slots will never surprise you - Slot 1 is always flat HP, Slot 2 is flat ATK, and Slot 3 is flat DEF. No RNG, no decision fatigue; they're locked in.
Slots 4, 5, and 6 are where you actually get to build your character. Here's what you're working with:
| Slot | Main Stat Options (S-Rank Max) |
|---|---|
| Slot IV | HP% (38%), ATK% (38%), DEF% (38%), CRIT Rate (24%), CRIT DMG (48%), Anomaly Proficiency (60) |
| Slot V | HP% (38%), ATK% (38%), DEF% (38%), PEN Ratio (18%), Attribute DMG% (38% element-specific) |
| Slot VI | HP% (38%), ATK% (38%), DEF% (38%), Impact (18%), Energy Regen (60%), Anomaly Mastery (60) |
The percentages look juicy, but you can't just slap ATK% everywhere and call it a day. Your character's kit - and their role in your squad - dictates which stats actually matter.
DPS Character Stat Priorities (ATK-Scaling)
For damage dealers, you're chasing the CRIT balance first. The community has settled on a hard rule: get your CRIT Rate to 60-70% total (including sub-stats and W-Engine buffs) before you even think about stacking CRIT DMG. Past that threshold, each point of CRIT Rate gives diminishing returns, so you're better off boosting damage multipliers elsewhere.
Take Ellen as the blueprint. Most builds aim for 60-64% CRIT Rate from sub-rolls plus the 24% from Slot IV, which puts you right in that sweet spot before her W-Engine kicks in. Sub-stat weights back this up - CRIT Rate scores a 1.0 in optimization tools, while CRIT DMG sits at 0.95. They're close, but Rate edges out DMG for consistency.
Now for the Slot V headache: PEN Ratio% versus Attribute DMG%. Both are multiplicative, which means they multiply your final damage instead of adding to it. PEN Ratio shines against high-DEF enemies (looking at you, Shiyu Defense upper floors), while Attribute DMG% is more consistent across all content. There's no wrong answer, but if you're pushing endgame defense checks, PEN Ratio usually wins.
Support & Anomaly Character Stat Priorities (HP-Scaling)
If you're building a support like Zhao, throw the DPS rules out the window. You need 27,000 HP minimum to maximize her squad buffs, which means HP% main stats on Slots IV, V, and VI aren't optional - they're mandatory. Her entire kit scales off that health pool, so skimping here directly nerfs your whole team.
Energy Regen% is the next priority, especially for supports who rely on their Ultimate for buff uptime. Most want 110-130% Energy Regen to maintain 30-second cycles - Zhao's 12-second Ether Veil plus its extended regeneration window demands this range to feel smooth.
For anomaly agents, you'll see two stats: Anomaly Proficiency and Anomaly Mastery. Proficiency (soft-capped at 240-260) speeds up how fast you build the anomaly, while Mastery increases the damage after it procs. Off-field anomaly appliers like Burnice want Proficiency first, but if your character is on-field applying the status, you'll want a mix. The per-point value drops hard after 260, so don't overshoot.
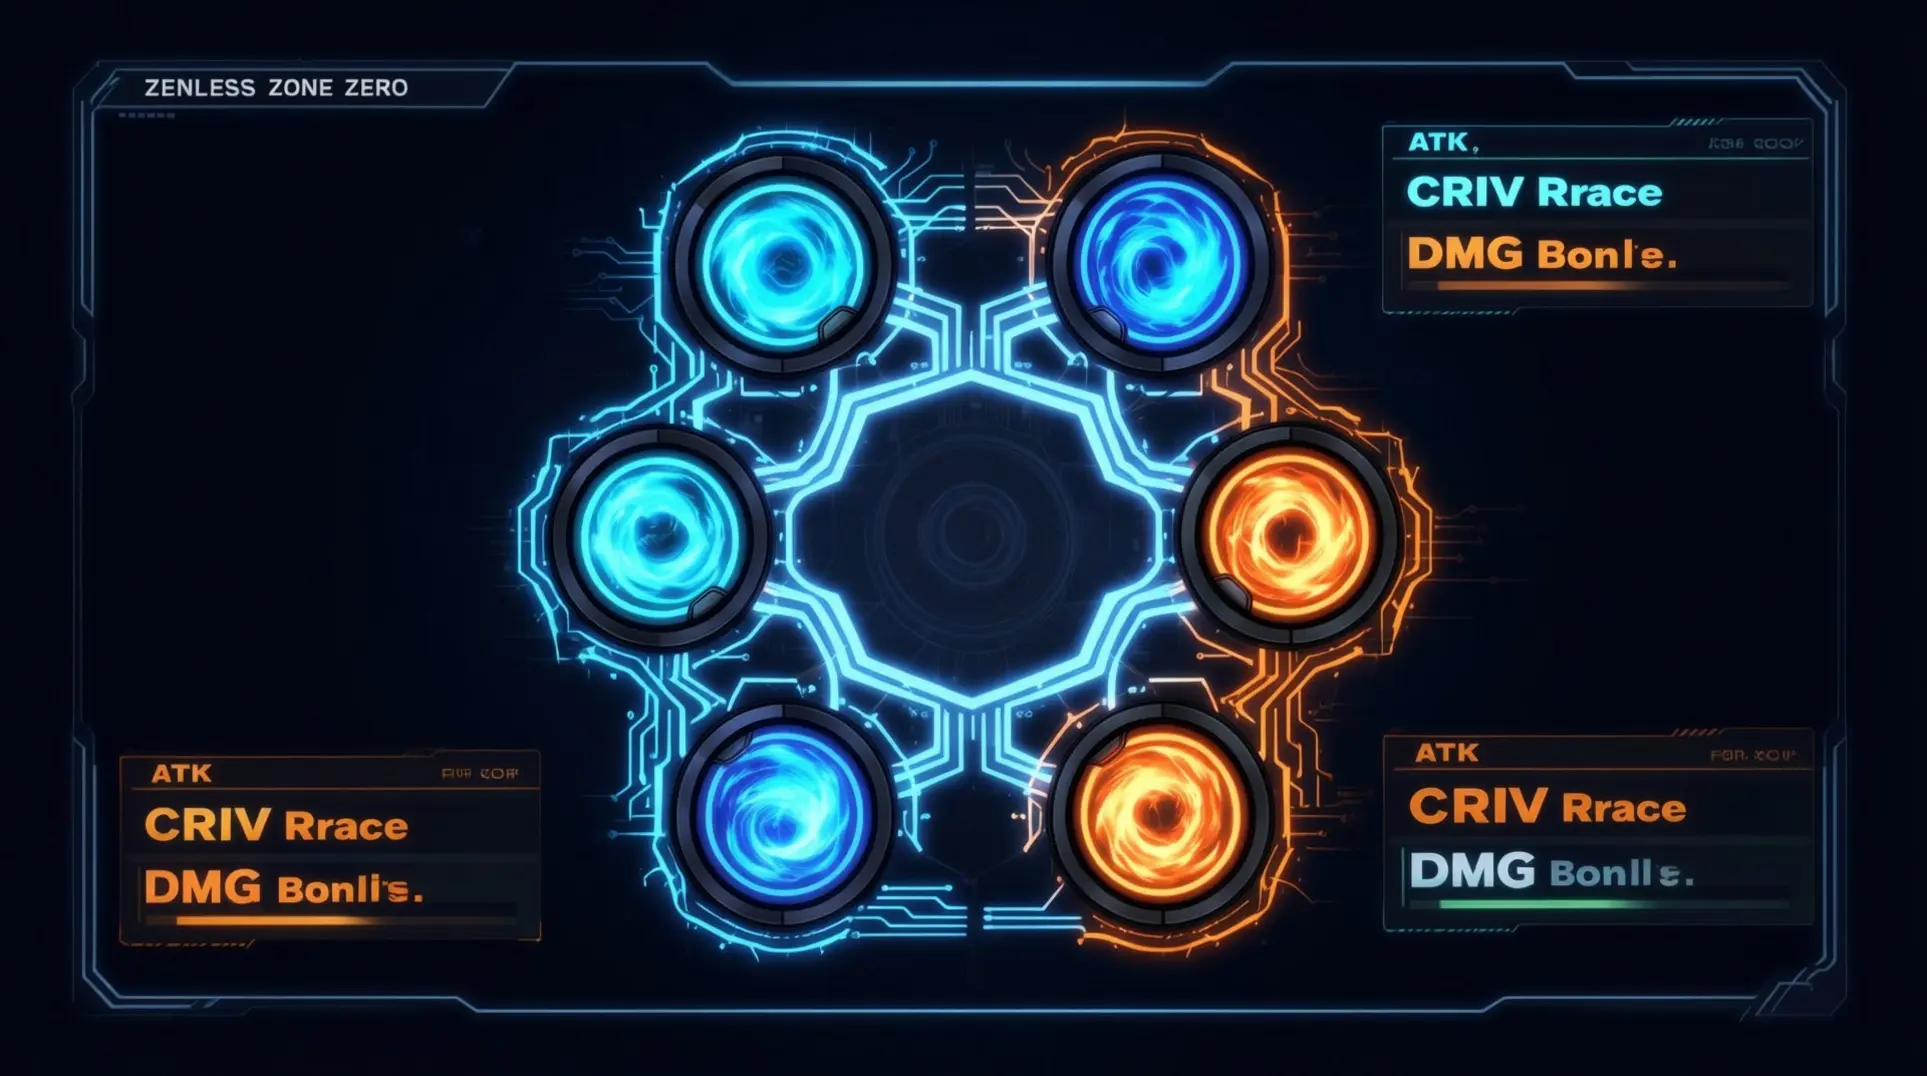
Sub-Stat Value Hierarchy & Enhancement Strategy
Here's how the community ranks sub-stats for average DPS:
- CRIT Rate: 1.0 (the gold standard)
- CRIT DMG: 0.95 (almost as good)
- ATK%: 0.8 (solid filler)
- HP%: 0.7 (for supports)
- PEN flat: 0.6 (situational)
- Anomaly Proficiency: 0.6 (niche)
Enhancement is where most players burn resources. Discs upgrade at checkpoints (+3, +6, +9, +12), and they can't drop below the last checkpoint on failure. The smart play is the 'Two-Pile' method: feed 1-star junk for EXP, then use matching 4-star pieces as fodder for a +5% success boost each (max +20% for two pieces). This is way cheaper than yolo-enhancing.
Stop at +12 for 99% of your pieces. Beyond that, there are no more RNG gates - you're just dumping silver for minimal gains. Save your Calibrators for re-rolling sub-stats on perfect +12 discs only. If you use the discard window trick, an S-Rank Disc costs roughly 200,000 silver and 4.2 matching 4-stars to hit +12, which is about 40% cheaper than blind upgrading.
Farming Methods & Efficiency Optimization
Routine Cleanup: Daily Farming Strategy
So you want to farm Drive Discs efficiently? Routine Cleanup is your dedicated dungeon, but it'll cost you 40 Battery per run no matter what, which means you can't just mindlessly grind all day. S-Rank gold Discs only start appearing reliably from Investigation Stage IV, though Stage V or VI gives you the biggest window for those juicy drops.
Here's a trick most people miss: field at least two Agents from the recommended Faction and you get a ~15% boost to your S-rank probability. Speed matters too - clear the stage in 90 seconds or less and the drop weights tilt in your favor. But even with perfect conditions, RNG can be cruel, which is where the Retry button becomes your best friend. It costs zero extra Battery, so you can reroll that hidden seed until gold finally shows up.
Double-drop days are when the real magic happens. Since a 40-Battery run doubles your on-screen loot, you essentially get two runs for the price of one. The smart move is to pre-stack your Battery to 160/160 the night before, grab your daily pizza for +60, then burn through 200 Battery for five double-drop runs. That usually nets you around 10–12 S-rank Discs and 40–50 Plating Agents in one session.
One thing to watch out for: Expert Challenge also costs 40 Battery but doesn't benefit from double-drop bonuses, so skip it on Patrol bonus days. Reset hits at 04:00 server time, and double-drop status gets rerolled weekly in the Events tab, so plan accordingly.
Music Store Tuning: Crafting & Calibration
Once you finish Chapter 1, the Music Store - aka Bardic Needle - pops up on Sixth Street. This is where you convert Master Copies into finished Drive Discs, and there's actually some strategy to it. The store offers three tuning tiers: Beginner gives you B-rank pieces, Intermediate guarantees A-rank with a shot at S, and Advanced straight-up guarantees S-rank results.
Every craft burns one Tuning Calibrator, which means you can't just spam these. You get Calibrators from weekly missions, event shops, and VR-device simulation stages, so they're precious. Here's the key insight: slots 4-6 are the only ones that can roll premium main stats like Crit Rate%, Crit DMG%, ATK%, Impact%, Energy Regen%, PEN, and Anomaly Mastery. Slots 1-3 are stuck with fixed ATK, DEF, and HP, so they're basically fodder.
Advanced Tuning becomes available after Chapter 3, and that's what you want for those slots 4-6 to target ideal main stats. The game does have a hidden pity system called Needle Recycle - every 10 Advanced Tunes on the same slot guarantees a double sub-stat roll once, which is huge for min-maxing. And don't forget co-op cleanup stages drop an extra Calibrator if you match with at least one friend, so bring a buddy. Unwanted pieces can always be dismantled for Disc EXP fodder, so nothing goes to waste.
Version 2.5 Sub-Stat Tuner System
Version 2.5 dropped on December 30, 2025, and it completely changed the farming game with the Sub-Stat Tuner. This system lets you lock up to two sub-stats per Drive Disc, which sounds amazing until you see the cost. Locking the first sub-stat runs you 3 Tuning Calibrators plus 10k Denny, and the second one costs 6 Calibrators plus 20k Denny - that's 9 Calibrators and 30k Denny total per Disc if you go all-in.
So where do you get all these Calibrators? The Driver Validation Dungeon drops 1–3 on first clear, with subsequent runs having about a 25% chance for one extra. Co-op Research adds eight new zero-stamina stages that award up to 10 Calibrators weekly if you contribute enough for an S-rank. Then there's Ridu Weekly, which hands you 6 Calibrators every Monday.
Crunch the numbers and a free-to-play player pulls in roughly 20 Calibrators per week from these sources. But here's the kicker: a full six-piece set needs 54 Calibrators and 180k Denny if you're double-tuning everything. That's nearly three weeks of income for one character, so you have to be picky about what you lock. Priority targets include HP% for HP-scaling supports, CRIT Rate% and CRIT DMG% for Physical CRIT carries, and ATK% plus CRIT DMG% for Ice duo setups like Zhao + Ye.
One massive warning: the lock is permanent. There's no undo button, so triple-check before you commit.
Resource Management & Inventory Tips
Managing your inventory can be just as important as farming. Your Drive Disc Storage can be expanded four times for 80 Polychrome each, costing 320 total if you max it out. Master Copy inventory caps at 200 by default, and you'll want to expand it once for 80 Polychrome around account level 35 to avoid those annoying forced-dismantle warnings.
Plating Agents have a nice quality-of-life feature: they're only consumed when you hit 'Confirm' after tuning, which means you can preview sub-stat rolls and back out if they look terrible. The community rule of thumb is to stop at +9 on any Disc that doesn't start with at least two desired sub-stats, saving you resources in the long run.
When it comes to fodder, 1★ and 2★ Master Copies give 100% of their XP when dismantled, so feed those to your 5★ copies rather than using them for tuning. Never quick-dismantle 3★ copies until you have at least 12 'keepers' - that's four squads times three tuning slots.
For Polychrome budgeting, Version 2.0 offers about 4,800 Polys per six-week patch through Shiyu Defense, Exploration Log, and Hollow grid crates. Co-op commissions chip in an extra 40 Poly per week (160 per patch) and cost zero Battery, so they're pure profit. Plus, Hollow Zero co-op reduces the Battery cost of Drive Disc stages by 10% for the whole party, which adds up over hundreds of runs.
Character-Specific Drive Disc Recommendations
Top Meta DPS Characters
If you are pulling for the heavy hitters, your farm priority should be clear. These three units want very different things, so you cannot just slap the same set on everyone.
Zhu Yuan lives and dies by her 4-piece Chaotic Metal - that +10% Ether DMG is just the start. The four-piece bonus amps your damage even harder and refunds energy, which means you can spam her kit more often. You will pair this with either 2-piece Swing Jazz for comfort or 2-piece Woodpecker Electro for more offensive stats. For main stats, you want ATK% on Disc II, III, and VI, Ether DMG% on Disc V, and CRIT DMG on Disc IV. Sub-stats are straightforward: CRIT DMG > CRIT Rate > ATK%.
Ellen flips the script with 4-piece Polar Metal - the +20% CRIT Rate after a dash or dodge is massive, but you need to actually dash to trigger it. Her two-piece is Puffer Electro for that raw ATK bump. On Disc IV, roll either CRIT Rate or CRIT DMG depending on what you need; Disc V must be Ice DMG%, and Disc III/VI want ATK%. Her sub-stat priority is CRIT Rate (aim for 70% first) > CRIT DMG > ATK%.
Soldier 11 pretty much demands 4-piece Inferno Metal - the +25% Fire DMG scales up to +35% every 8 seconds, which lines up perfectly with her rotation. Grab 2-piece Woodpecker Electro for the free CRIT Rate. Her Disc IV should be CRIT Rate or CRIT DMG, Disc V is Fire DMG%, and Disc VI is ATK%. For sub-stats, you are looking at CRIT Rate (65–75% target) > CRIT DMG (140–160% target) > ATK%.
Essential Support Characters
Here is the thing about supports: they do not care about your CRIT dreams. They care about energy, buffs, and staying alive.
Zhao wants 4-piece Puffer Electro - the +8% PEN Ratio and +20% ATK after his Ultimate synch with his kit. His Disc IV and VI should be HP% so he does not explode, while Disc V can be PEN Ratio or ATK%. The real kicker is Disc VI: you need Energy Regen% to smoothly rotate his 80-energy EX Special. Without it, you are stuck waiting around while your DPS loses damage windows.
Rina has two flavors. For Electric-Anomaly teams, run 4-piece Freedom Blues - the +30% Anomaly Proficiency and +25% Anomaly Build-up speed up Shock application. For general support, 4-piece Swing Jazz gives +20% Energy Regen and +15% squad DMG after your Special. Either way, Disc VI must be Energy Regen% - you are targeting 115–120% total ER so your buffs have 100% uptime.
Nicole (if you are pairing her with Zhu Yuan) can either run 4-piece Chaotic Metal for Ether synergy or 4-piece Swing Jazz for team energy and DMG buffs. Stack Ether DMG% on Disc V and Energy Regen% on Disc VI to keep her DEF shred rolling without hiccups.
Anomaly & Stun Specialists
These characters ignore the standard CRIT playbook entirely - they chase different numbers.
Grace is all about speed-shocking enemies. Her best set is 4-piece Freedom Blues for +30% Anomaly Proficiency and +25% Anomaly Build-up after triggering an anomaly. Pair it with 2-piece Hormone Punk for +10% ATK. On Disc IV, roll Anomaly Proficiency or ATK%; Disc V wants Electric DMG%; Disc VI can be ATK% or Anomaly Mastery. You are aiming for 180+ Anomaly Proficiency and 120%+ ATK to apply Shock before the enemy can even react.
Koleda wants to stun-lock everything. She runs 4-piece Shockstar Disco - the +10% Impact and +20% Daze after 15 rapid-assist tags let you spam stuns. Add 2-piece Swing Jazz for +10% Energy Regen so you can tag in and out faster. Disc IV should be Impact%, Disc VI is Energy Regen% (again, shoot for that 120% threshold), and Disc V can be Fire DMG% or ATK%. Sub-stats are simple: Impact% > CRIT Rate > ATK%. More stuns mean more DPS windows for everyone else.
Advanced Enhancement & Min-Maxing Strategies
The +9 Checkpoint Rule
Here's the thing about enhancement in Zenless Zone Zero: it's a marathon, not a sprint, and the community agrees that +9 is your make-or-break moment. Every three levels - +3, +6, +9, +12, +15 - unlocks a fresh sub-stat roll, which means by the time you hit +9, you've seen four total rolls (the initial sub-stat plus three from leveling). That's just enough data to know whether you're holding a future god-roll or a glorified EXP snack.
So what's the actual workflow? If that first roll at +3 is a flat stat you despise, you stop right there. Push to +6, and if you whiff twice - say, flat HP and flat DEF - you ditch it without remorse. But when you hit +9 and see both CRIT stats staring back, or that sweet double ATK% + CRIT combo? That's your green light to commit all the way to +15. Now, here's where Version 2.5 flips the script: the Sub-Stat Tuner lets you manually overwrite up to two sub-stats per disc using Tuning Calibrators. This means even a one-good-line disc at +9 isn't automatically trash - you can surgically fix it. Just remember, Calibrators are exclusive co-op research loot from Driver Validation Dungeons, so you can't swipe your credit card for them. Single-substat tweaks cost 1 Calibrator, dual changes cost 2, and you'll need roughly 12 Calibrators to optimize a full five-piece set.
Sub-Stat Rolling Probability & Expectations
Let's talk numbers, because the RNG in this system is brutal. For S-Rank discs, you're looking at ~22% each for ATK%/HP%/DEF%, ~10% each for CRIT Rate and CRIT DMG, ~8% for Anomaly stats, and a measly 4-5% for Pen Ratio, Impact, or Energy Regen. Flat stats chew up the remaining ~15% combined. Value ranges matter too: ATK/HP/DEF% roll between 4.1-5.8%, CRIT Rate sits at 3.5-4.7%, and CRIT DMG lands at 6.9-9.3%.
The math gets depressing fast. A natural four-line start with a specific desired stat is already a 1-in-40 chance, and if you're hoping for CRIT Rate to upgrade three times after +9, you're staring at a 0.1% probability - that's ignoring the numeric range entirely. Natural god-rolls are basically lottery tickets. This is exactly why the Sub-Stat Tuner feels like a mercy from the gods; Tuning Calibrators let you bypass months of praying to the RNG shrine, but since they're locked behind co-op content, you'll need to farm Driver Validation Dungeons religiously to stockpile them.
Co-op Farming Efficiency & Drop Rate Boosts
You've probably heard the rumor: three-person premade parties get an 8% to 10% hidden bonus on 5-star drop rates. Unfortunately, HoYoverse has never confirmed this, and data suggests it's not a luck modifier at all. The real advantage is speed - three coordinated players clear ~25% faster, which pushes your runs into Star crates that have a 15% jackpot roll for a 5-star. Plus, the co-op queue forces a 'Co-op Overload' crate that drops 2-4 extra Drive Discs on top of normal loot, and those Overload crates themselves contain two additional discs. That volume gain translates to 22% more Discs per hour, which absolutely feels like a drop rate buff even if it technically isn't.
Bottom line: co-op is currently the fastest Disc-per-Battery route, period. Solo players should tick 'Prefer Full Squad' to force matchmaking into three-person instances. And don't burn your batteries randomly - save them for Wednesday and Saturday double-dip days when you can farm Polarized Discs for specific 5-star sets.
Long-Term Resource Planning & Goal Setting
If you're serious about min-maxing, you need a timeline. Here's what a realistic 30/60/90-day plan looks like:
Days 0-30: Clear Story Chapter 2 and unlock Drive Disc tuning. Dump all your Battery into Expert/Hard Mode Stages 1-3, focusing on a single 4-piece set for your main DPS. Insta-salvage any 3-star or flat-stat 4-star junk. Buy 2 Modded Stabilizers weekly from the Hollow Zero shop but do not use them yet - hoard them for day 31.
Days 31-60: Unlock Master Mode (requires Inter-Knot 30 and Story 3-3). Reroute 70% of daily Battery to Master Mode Stages 4-6, and spend the remaining 30% on Expert Mode for off-set pieces. Pop 1 Modded Stabilizer every 2 runs to average 1.5 purples per 120 Battery. Only push 5-star discs with three useful subs to +9; if you see flat DEF or HP twice by then, cut your losses immediately.
Days 61-90: Split your Battery - 50% to Master Mode for off-piece slots, 30% for a second support set, and 20% banked for event overflow. Only spend Dennies on 5-star discs that start with four perfect lines, and reserve +15 to +18 upgrades for true god-rolls. Salvage every failed 5-star for Tuning Dust and grab the Random 5-Star box weekly. Your endgame milestone should be a 70/140 CRIT ratio on your main DPS - anything beyond that is just flexing.
Mastering Drive Discs is a long-term commitment, from hoarding resources early to strategically using the Sub-Stat Tuner late. By following a phased approach and focusing on guaranteed upgrades, you can build powerful characters without burning out. Now, go optimize your farming and turn those Battery runs into perfect gear.
More zenless-zone-zero Guides
Zenless Zone Zero Trust System Guide: Max Rewards & Daily Farming
Master the Agent Trust system in Zenless Zone Zero. Learn daily farming loops, weekly plans, and advanced tips to efficiently earn Polychromes, wallpapers, and exclusive rewards.
Shiyu Defense Mastery: The Complete Zenless Zone Zero Guide for S-Rank Clears
Learn how to dominate Shiyu Defense in Zenless Zone Zero. Our guide covers team compositions, advanced strategies, gear optimization, and rewards to help you claim 4,500 Polychromes.
Hollow Zero Master Guide: Unlock Rewards and Dominate ZZZ's Endgame
Learn how to access Hollow Zero, master Lost Void and Withered Domain, optimize Resonia drafting, and maximize weekly Polychrome and Z-Merit gains in Zenless Zone Zero.
AI Tactical Companion
Consult with our specialized tactical engine for zenless-zone-zero to master the meta instantly.