Zenless Zone Zero Bangboo Guide: Tier List, Strategies & How to Farm
Introduction
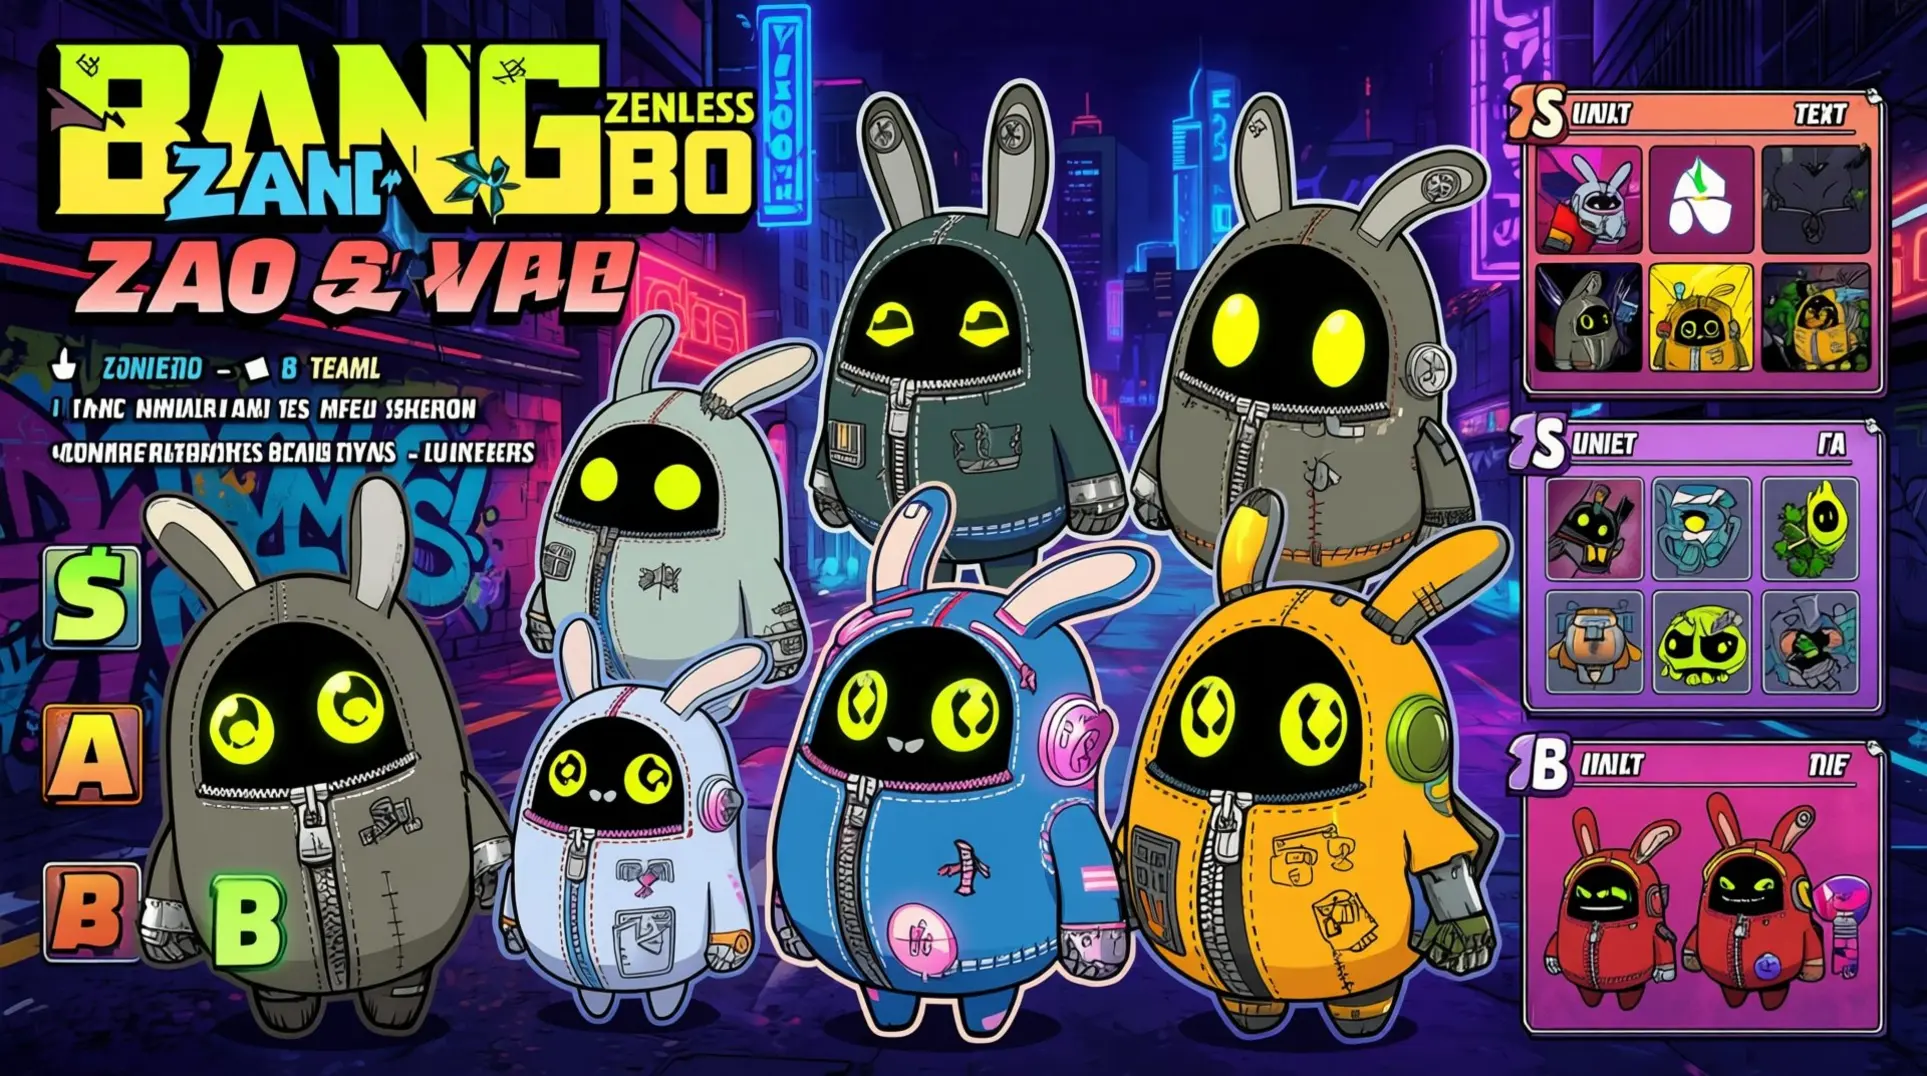
In Zenless Zone Zero, your Bangboo is more than a mascot - it's a force multiplier that can define your entire team's success. With dozens of options and complex synergy systems, choosing the right companion can feel overwhelming. This guide breaks down every Bangboo's role, from meta-defining S-ranks to budget picks, and shows you how to build the perfect partner for any composition.
What Are Bangboos and How Do They Work?
Your Agents aren't fighting alone out there - Bangboos are your tiny combat buddies that automatically jump into the fray whenever their skills are ready. The best part? You don't need to micromanage them or spend any resources; they just need a bit of time to cool down between uses.
And here is where it gets spicy: Bangboos get their own Chain Attack meter. While your Agents are limited to three Chain slots, your Bangboo's chain attack doesn't count against that limit, which means you're essentially getting a free fourth Chain hit in your rotation. That is a massive damage boost you can't ignore.
The real juice comes from their Additional Abilities - these passives only kick in when your squad meets specific requirements like faction, element, or role synergy. When they do activate, you're looking at serious stat boosts or damage multipliers that can completely change your team comp's power level.
Their Active Skills range from straight damage to handy utility like turrets or even healing, and you can knock their cooldowns down with upgrades and firmware chips. Oh, and don't sleep on their stats - your Bangboo's ATK gets multiplied directly into their Chain Attack scaling, so those firmware chip substats aren't just fluff, they actually matter for your damage output.
Bangboo Rarity System: S-Rank vs A-Rank vs B-Rank
Now, let's talk about the gacha because this is where people get confused. The rumored rates you have probably heard - 2.5% for S-Rank, 12.5% for A-Rank - aren't what the live game actually uses. Those numbers were from beta or just flat-out misinformation.
The real numbers are much harsher: 0.6% for S-Rank, 7.2% for A-Rank, and a whopping 92.2% for B-Rank Bangboos. There is also no 20-pull pity here, despite what you might have heard. The Bangboo Channel does have a hard pity at 90 pulls, with soft pity kicking in around 75, so plan accordingly and don't expect early blessings.
You are pulling with Boopons earned from missions and events - not Polychrome, so your premium currency is safe here. As of mid-2025, you're looking at 8 S-Rank and 12 A-Rank Bangboos in the pool, totaling 20 units to collect. Good luck out there.
How to Get Bangboos: Complete Farming Guide
Free Bangboo Sources (Story & Events)
You won't be hurting for companions early on. Eous shows up in the prologue and sticks with you for the entire story, so that's your starter sorted. As you push through the campaign, you'll naturally unlock Bagboo, Booressure, and Luckyboo through key story moments and login bonuses - no extra work needed.
The real prize is Robin, that S-rank fox from version 1.7's 'Stage of Stars' event. If you missed it, don't panic; the rumor is he'll drop into the standard banner pool by version 1.9, so patience pays off. Then there's Mercury, another S-rank who demands actual grinding - 80 Mercury Data Shards from Hollow Zero's tier-3 clears, which is a long-term project but completely free. And if you're wondering about Overtimeboo, that A-rank workaholic was a limited event shop exclusive in 1.7, so you'll have to wait for a rerun if you want him on your team.
Bangboo Gacha System Explained
Here's where things get interesting. The Bangboo Channel runs on Boopons only, which means you can't swipe your credit card for progress - you have to earn every pull. Base rates sit at 1.2% for S-rank, 12% for A-rank, and the rest go to B-rank, but the pity system is what matters.
You've got hard pity at 80 pulls with no 50/50 nonsense, so you're guaranteed an S-rank when you hit that mark. Even better, every 10-pull - whether you do singles or the full batch - locks in at least one A-rank or higher. And unlike character banners, your pity counter never resets between rotations; it just keeps building forever, which means you can save for months without losing progress.
Daily & Weekly Boopon Farming Methods
If you want to pull regularly, you need a rhythm. The best steady income comes from Hollow Zero License Check-ins, which drop 9 Boopons weekly just for clearing three core stages in Old Capital Metro. That's your baseline. On top of that, Bounty Commissions refresh every Monday and hand out 2-4 Boopons each, so those are worth chasing.
Your Routine Board Errands - the video store orders - are a daily habit that adds up to 10-15 Boopons per week. It isn't flashy, but it's consistent. The free Battle Pass lane tosses in 5 Boopons at levels 15, 25, 35, and 45, which feels like a bonus check every few weeks. And don't forget about upgrade refunds: when a Bangboo hits levels 10, 20, or 30, you'll get 1 Boopon in the mail. Web events and login campaigns usually dump 5-10 Boopons in your lap, so keep an eye on announcements.
Bangboo Leveling & Ascension Materials
Getting a Bangboo to level 40 costs roughly 190,000 Core EXP, which sounds brutal until you know where to farm. EXP packs come in three flavors - white (100), blue (1,000), and purple (10,000) - and you'll need a mountain of them. Rust-Washed Shelf 4F and Ballet Twins – Edge are your go-to spots for maximizing drops.
Ascension is another gate: you need 24 Pivot Screws, 12 Precision Gears, and 48,000 Denny to break the caps at levels 10, 20, and 30. Pivot Screws drop from Hollow Zero-3's 'Maintenance Corridor' and Scott Outpost's Supply Line, while Precision Gears are best farmed at Mighty Alarm-Fort's Vault or the 'Mechanical Menace' Rift Hunt. If you're serious about speed, run an Anomaly-build squad for up to 18% better rarity drops, or shell out 500 Polychromes for the Bangboo Enhancement Agreement - it's a 7-day buff that boosts Core EXP gains by 25%.
How the Bangboo Equipment & Accessories System Actually Works
Unlocking the Bangboo Equipment Menu: Patience Required
You'll see the Bangboo menu pop open right after the Chapter 1 prologue, which feels exciting until you realize it's basically a teaser - the gacha and shop are still locked behind progression. The real game starts when you finish the Chapter 1 Intermission, because that's when the Bangboo Channel finally activates and you can start spending Boopons on actual S-rank and A-rank units.
Now, the shop is a whole other story. Enzo's BooBox doesn't appear in Failume Heights until your Restoration Level hits 15, and even then, you're only getting A-rank Assigned Bangboos in the daily rotation. Push that Restoration Level to 25 if you want S-rank units to start showing up, which means you'll be grinding commissions for a while before the good stuff becomes reliably available.
Core Modules: Where Your Bangboo Gets Its Identity
Think of Core Modules as the heart of your Bangboo's build - each one determines the active skill your little buddy brings into combat, and they slot into three specific sockets: Attack, Support, and Utility. You won't have all three slots right away, since they unlock at Bangboo levels 10, 20, and 30, which means early on you're making do with whatever your first module gives you.
Rarity runs from D to S, and here's what that actually means: higher rarity equals a bigger base stat budget and more sub-stat lines, so an S-rank module will always outclass a D-rank in raw numbers. Each socket type locks in a primary stat - for example, Attack sockets always roll with offensive main stats - while the sub-stats are where the real min-maxing happens. You can reforge those sub-stats using duplicate modules or Reforge Tokens, which you'll accumulate naturally as you pull more from the gacha.
The secret sauce is equipping three modules from the same Core Series, because that grants a passive set bonus affecting your entire squad. It's not just a Bangboo buff; it's a team-wide advantage, so keep an eye out for matching sets. Once your Bangboo hits Promotion 2, you can even swap Active Skill chips at the Remodeling Shop, giving you flexibility to tune their role without rebuilding from scratch.
Sub-Chips: The Stat Padding That Actually Matters
Sub-Chips are your passive stat sticks - flat bonuses to CRIT Rate, CRIT DMG, ATK%, HP%, or PEN Ratio that get added directly to your Bangboo's sheet, and they're always active even when the Bangboo is off-field. Each Bangboo has three Sub-Chip sockets, so you've got room to stack significant stat advantages.
Farming these happens in the Hollow Zero Arcade Terminal nodes, but the loot rotates daily: one day you'll see CRIT sets, the next ATK/HP sets, then PEN sets, which means you'll need to plan your farming around the schedule. The drops follow the usual rarity curve, but here's the practical advice: purple (Epic) chips are worth pushing to +12, while white or green chips should never go past +6 unless you're literally out of anything better.
Deco Kits: Fashion First, Stats Never
Let's clear something up immediately: Deco Kits are pure cosmetics. They reskin your Bangboo with new looks but zero combat stats and no skill multiplier changes - anyone telling you otherwise is peddling misinformation. You equip them through the coat-hanger icon in the Bangboo menu, and you can unequip them anytime without cost, so there's no penalty for experimenting with looks.
Most Deco Kits land in the premium Battle Pass track around levels 30-40, which means you're shelling out for the paid version if you want the consistent source. If you're free-to-play, you can hunt gold-tier exploration chests in high-risk Hollows, but the drop rate sits at a rough 4 percent, so don't hold your breath. Occasionally, web events like 'Band of Brave Bangboo' toss out free kits, but those vanish from the pool when the event ends - so grab them while you can.
Zenless Zone Zero Bangboo Companions Guide & Tier List
Picking the right Bangboo can make or break your team in Zenless Zone Zero. They're not just cute mascots - they're force multipliers that can define entire compositions. This guide breaks down which ones are worth your investment and which ones are just collection fodder.
Tier 0 (SS-Tier): Meta-Defining Bangboos
These are the absolute game-changers. The ones you pull for and immediately feel the power spike.
Robin sits at the top because it doesn't care what your team looks like - it just works. It'll adapt to deal damage, stagger enemies, or stack status effects depending on what the fight demands, which means you can slam it into literally any composition and it'll pull its weight.
If you're leaning into physical damage, you've got some nasty options. Amillion smacks the entire screen with a 240% ATK AoE active skill and hands out a fat 30% crit-rate buff to any team running at least two different factions, which is basically free damage. Safety does similar physical damage but gets extra bonuses when you've got Belobog Heavy Industries characters around, so it's perfect for faction purists. Red Moccus is the aggressive pick - it shoves enemies around while dealing massive physical damage, and it gets a 36% active skill damage boost for Sons of Calydon teams. Belion is the AoE specialist that also shaves cooldown off your Ultimate when Yunkui Summit agents are on the field, making it great for burst windows.
Now the elemental carries. Sharkboo is your one-stop shop for Ice Anomaly buildup - if you're running Ice, you don't leave home without it. Plugboo is the Electric equivalent, but here's the kicker: you need at least two Electric characters to unlock that +100% Anomaly Buildup bonus, which can be restrictive. Agent Gulliver is another Electric option that pierces through enemies, but it's more flexible because it buffs both Electric AND Non-Electric attacks, so you're not forced into a mono-team.
Utility Bangboos are what separate good teams from great ones. Butler is the Energy Regen king that keeps your combat rhythm smooth, especially if you're running Victoria Housekeeping Co., while Miss Esme packs healing and energy regen that ramps up in Spook Shack teams, making her the premium support option. Snap is the weird flex pick - it buffs your damage during Dodge Counters and Assist Actions, and it heals Stars of Lyra faction members, which makes it perfect for high-skill playstyles that live on the edge.
For crowd control, Resonaboo summons an Ether blackhole that groups up mobs so you can AoE them down, and it gets even better with Ether teammates. Officer Cui lets you chain follow-up attacks when you've got two or more Criminal Investigation Special Response Team agents, which enables some disgusting combo chains.
Rounding out the tier, Mercury and Birkblick have secured their spots in the 2026 meta, though the community is still figuring out their optimal builds. Early testing shows they're worth the investment if you snag them.
Tier 1 (S-Tier): Excellent All-Rounders
These Bangboos won't warp the meta around them, but they're reliable workhorses that'll rarely let you down.
Rocketboo is the Fire team's best friend. It deals solid Fire AoE damage, but the real value is the 80% extra Anomaly Buildup it gets during Chain Attacks when you're running at least two Fire characters. Baddieboo is another Fire option that buffs Chain Attack damage by 20% if you have an Anomaly character, which is basically any modern Fire comp, while Brawlerboo finishes the Fire trio with its own Chain Attack buff, hitting 120% when paired with Anomaly or Attack characters.
For Physical teams, Bangvolver is the anomaly specialist - it cranks out 100% more Anomaly Buildup with Chain Attacks, which means faster staggers and more DPS windows. Sprout is another Physical AoE option, but it specifically wants Ye Shunguang on the team to unlock its damage potential, so it's a bit more niche and harder to slot.
Bild N. Boolok is the last S-tier pick, and it's viable but requires very specific team conditions to really pop off. You'll need to build around it, which means it's not a casual slot-in like the others.
Tier 2 (A-Tier): Niche but Viable
A-tier Bangboos aren't bad - they're just situational. You'll pull them out for specific fights or budget builds when you're missing the premium options.
Electroboo is the budget Electric option. It continuously zaps enemies and boosts Chain Attack Anomaly Buildup by 120% for Electric teams, which sounds great, but it's outclassed by Plugboo and Agent Gulliver in most scenarios. Penguinboo is in the same boat for Ice teams - it does Ice damage and gets 120% more Anomaly Buildup in Chain Attacks, but Sharkboo exists, so why bother?
Support players might like Booressure for Energy Regen on off-field characters when paired with a Support agent, while Avocaboo focuses on HP recovery that gets enhanced when you've got at least one Support character. Exploreboo is the wild card - it gives random buffs (HP, shield, or Energy) that also improve with a Support on the team, making it unpredictable but sometimes clutch.
For utility, Knightboo applies Ether damage and gives an Attack buff if you have a Support character, making it a decent hybrid option. Paperboo is the meme pick that taunts enemies and explodes, but it generates a shield during Chain Attacks if you have a Defense character, so it can actually save runs in specific content. Magnetiboo pulls enemies together and increases attack range with an Anomaly character, which is honestly pretty useful for melee-heavy teams that struggle with spacing.
Tier 3 (B-Tier): Early Game & Budget Options
Look, we've all been there. You don't have the S-tier picks yet, so you work with what you've got. These Bangboos will get you through the early game, but you'll feel their ceiling hard.
Bagboo is the most straightforward - it deals Physical damage and enhances Chain Attack damage with at least one Attack character. It works, but it doesn't scale into late game at all. Boollseye is similar, boosting Chain Attack damage with Pierce-type characters, but the numbers just aren't there for endgame content.
Elemental options in this tier are pretty barebones. Cryboo does Fire damage and increases Chain Attack Anomaly Buildup for Fire teams, but why use it when Rocketboo exists? Devilboo is the Ether version, improving Anomaly Buildup with two Ether characters, yet it can't compete with Resonaboo's utility.
Sumoboo is at least interesting - it deals AoE Physical damage, interrupts enemies, and gets Daze bonuses against high-Daze targets when a Stun character is present. You can make it work in specific stagger-focused builds, but it's honestly more of a gimmick than a strategy.
The real kickers are Luckyboo and Overtimeboo. They're not even in the gacha - you can only get Luckyboo from the Friendship Supervision event and Overtimeboo from Say It With Flowers. They deal continuous Physical damage, which is fine, but the fact that you can't pull them means most players won't have them built anyway, and they're not worth the event grind unless you're a completionist.
B-tier is where you slot something in just to have a Bangboo at all. Don't invest heavy resources here unless you're building for a very specific reason or you're a collector who's gotta catch 'em all.
Best Bangboo for Different Team Compositions
Picking the right Bangboo is like choosing the perfect sidekick - you want someone who actually complements your playstyle, not just a cute face following you around. Your choice can make or break a team's rhythm, especially when you're trying to squeeze out extra damage or keep your squad alive in tougher challenges.
Damage-Focused Bangboos (DPS Teams)
If you're running a heavy damage comp, Amillion is the undisputed king of raw DPS. This little guy unloads a sustained gatling barrage that shreds health bars, and his passive crit-rate bonus kicks in automatically as long as you have at least one Cunning Hares agent on the team. He's the kind of Bangboo that turns 'close call' into 'overkill.'
But he's not your only option. Sharkboo is the go-to for ice teams since his torpedoes shred DEF before surfacing for a massive finisher splash, and his passive gets even stronger with two Ice agents. Resonaboo works similarly for Ether teams - his sonic pulse echoes between enemies, and with two Section 6 agents, his Ether field applies up to 20% Ether RES shred, which means your damage keeps ramping up the longer the fight goes.
For burst-heavy strategies, Belion summons a black hole that gathers enemies before delivering a huge Ether explosion, and the best part is his Chain Attack only costs 80 EP while refunding 20 EP on kill, so you can loop attacks faster. Officer Cui launches stun-grenade volleys that create DEF-down fields, making him essential for melee stun-lock builds. Red Moccus lobs incendiary bombs that leave burning puddles, which makes him a staple for fire DoT strategies. If you prefer fighting at range, Agent Gulliver calls in miniature air-strikes that sync perfectly with long-heavy squads.
And don't sleep on Safety - while he drops a healing drone that removes corruption, he also delivers strong Ether damage, making him a top-tier pick for survival runs where you can't afford to sacrifice offense for defense.
Support & Healing Bangboos (Sustain Teams)
Sometimes you need your Bangboo to keep the team running rather than just adding more numbers. Butler is the budget battery everyone should have access to, providing party-wide energy refunds on a short cooldown. He's perfect for burst-reliant Agents who need their ultimates ready yesterday.
Snap is the speed-runner's secret weapon. He warps behind the weakest enemy for a guaranteed back-stab crit, and his passive grants 12% ATK to whoever's on the field while refunding 200 Ether Energy on swap. That means you can rotate Agents more frequently without losing momentum, which is huge for maintaining pressure.
If you're lucky enough to pull an S-rank support, Miss Esme from Spook Shack is a game-changer. Her Starbeam Transformation summons either Spectral Bubbles for healing or Twinkling Stars for Energy, with the star chance scaling inversely with your on-field agent's HP. So the lower your health gets, the more likely she'll give you exactly what you need to survive.
Element-Specific Bangboo (Mono Teams)
Running a mono-element team? Your Bangboo choice becomes way more important because the right pick can amplify your entire squad's synergy.
For Ice teams, Sharkboo is mandatory. His active skill deals Ice DMG and builds Ice Anomaly fast, and with two Ice agents, his passive adds 20% extra Ice DMG across the board.
Electric teams want Plugboo, who unleashes an EM cannon for heavy Electric DMG and Anomaly buildup. If your whole squad is Electric, his passive grants the active agent 25% CRIT rate, which is honestly kind of absurd for consistency.
Fire teams get Rocketboo, who launches explosive rockets that build burn. With two Belobog agents, his missile salvo extends by two extra volleys and the final rocket guarantees Stagger on medium enemies, opening up huge combo windows.
Physical teams should grab Bangvolver, whose fan-fire revolver shots scale with team CRIT rate. He's the synergy king for Victoria Housekeeping comps, turning your critical hits into even more critical hits.
And Resonaboo covers your Ether needs - his sonic pulse echoes between enemies, and with two Section 6 agents, his Ether field lasts four seconds longer while applying a stacking 5% Ether RES shred each second (capping at 20%).
Faction-Specific Bangboos (Synergy Teams)
Here's where team building gets interesting. Many bangboos have faction-specific passives that require at least two agents from the same faction to unlock their full potential, and that requirement completely changes their value.
Amillion needs two Cunning Hares agents for his passive to scale his Chain-Attack damage up to +45% total multiplicative damage as enemies remain in combat. Without that, you're missing his biggest selling point.
Safety belongs to Belobog, and while his taunting shield and Ether blast are solid enough, they also shred enemy Ether RES by 20% when activated - so pairing him with another Belobog agent makes him both tanky and a damage multiplier.
Butler from Victoria Housekeeping already gives energy refunds, but with two Victoria Agents, he also grants a party-wide energy refund on a short cooldown, essentially letting you spam Chain Attacks.
Officer Cui is another Victoria pick who needs two Victoria Housekeeping Agents to unlock a second armor-breaking swipe that adds ~30% more DPS and reduces enemy DEF for six seconds.
Rocketboo checks for two Belobog Agents to extend his missile salvo and guarantee Stagger on medium enemies. Meanwhile, Agent Gulliver requires two C.I.S.R.T. Agents to apply a 15% crit-rate aura to the whole squad after the Chain Attack ends.
Resonaboo rounds out the faction list by needing two Section 6 Agents to extend his Ether field duration and apply that stacking Ether RES shred.
The takeaway? Don't just look at a Bangboo's raw stats - check their passive requirements and build around them. A 'B-tier' Bangboo with full faction synergy will almost always out-perform an 'S-tier' Bangboo without it.
Advanced Bangboo Strategies & Optimization
Loadout Management & Quick-Swap Strategies
You can't just grab your highest-ranked Bangboo and call it a day. Different content asks for different tools, and the real pros build three 'micro-team' loadouts - usually a fire set, a corruption-control setup, and a CC/break composition - that share elements or faction tags. Save these as favorites, and you'll keep your Bangboo levels and chain slots intact when you pivot.
Hollow Zero deep dives are where caching gets spicy. When you crack open the pocket menu to swap Bangboos, your previous one actually lingers for 10 seconds, and its cooldown keeps ticking down in the background. This means you can set up a double-active burst window - pop your first Bangboo's skill, swap immediately, and by the time the second one's animation finishes, your first is nearly ready again.
For raw combat scenarios like Shiyu Defense, you need speed. Bind Switch Bangboo to L3 on controller or a spare mouse button; the animation is only 0.7 seconds, and you can buffer it during the last five frames of any basic-attack string without dropping your combo. It feels awkward at first, but once you nail the timing, your rotation stays seamless.
There's also a weird edge case in Suibian Temple. If you assign a high-level Support Bangboo to the Selling role, it passively generates Cloud Crests, but here's the twist: you can yank it into combat instantly during rogue waves, and it won't cost you a rebuild fee. Free money and a combatant in one package.
One last heads-up: after patches 2.3 through 2.5, rebalancing hit a few fan-favorites hard. Keep one faction-neutral S-Rank like Sprout or Birkblick parked at max level so you can pivot instantly if your main gets nerfed. Trust me, it beats the sunk-cost grief of reinvesting from scratch.
Skill Timing & Rotation Integration
Bangboo skills aren't just set-and-forget bonuses - they're active parts of your combat loop. Your Bangboo's Active Skill fires automatically off cooldown, and the animation can't be interrupted, which is annoying at first, but it also doesn't consume Agent chain slots. That means you can keep your Agent rotation clean while your companion does its thing.
The real juice is the Bangboo Chain Attack, which acts as a slot-neutral fourth link after your third Agent Chain Attack. It drops free damage and re-applies Anomaly build-up without overwriting your Attribute-IMPRISON bonuses, so you can think of it as a free hit that extends your combo potential. Faction or element synergy shaves 1–2 seconds off that Active Skill cooldown, which grants you more of these Chain windows per fight.
Energy management ties into this directly. Using Tech-kai stance (right-click during a basic string) refunds 4 Energy, or 6 for Super Tech-kai. The trick is landing a Perfect Cancel: tap your next Agent at the white flash to erase the after-delay while keeping that Energy refund. So you weave in Tech-kai, cancel it perfectly, and your Bangboo's cooldown ticks down faster while your Energy pool stays healthy.
For double stun squads, there's a greedy advanced trick: delay your final Chain link by about half a second so the Bangboo Chain Attack lands right after the target exits stagger. This re-applies Daze instantly and can loop you into a second full stun rotation. The timing is tight, but the payoff is a near-permanent lockdown on bosses.
Endgame Bangboo Investment Priority
Resources are tight at the top, so you can't waste Battery on every cute A-rank that catches your eye. Here's the cold math:
S+ Priority (Max Immediately)
- Rocketboo: The king of AoE Blast DPS. No contest for mob-clearing content.
S Priority (Level 50/Phase 4 Minimum)
- Magnetiboo: Your energy battery and grouping tool. Essential for keeping rotations flowing.
- Sumoiboo: Single-target burst monster. Bring it for bosses and tight DPS checks.
A+ Priority (Level 50, Stop There)
- Cryboo: Freeze control for stall comps. You want the passive, not the stats.
A Priority (Level 45–50)
- Cannonboo: Ranged pierce niche. Useful, but not core.
The Breakpoint Rule: Level 50/Phase 4 unlocks the last passive for most S-Rank Bangboos, which is roughly 90% of their power. Level 60/Phase 5 adds only about 7% more stats but costs 1.7× the EXP - so only push past 50 for Main DPS Bangboos in top speed-run attempts. For everything else, it's a waste.
Utility A-Ranks Freeze Early: Paperboo, Devilboo, and Safety should all stop at Level 35/Phase 2. Safety can be an exception: take it to Level 40/Phase 3 if you're pushing for chipless Shiyu clears, but that's the ceiling.
Remodeling Isn't Everything: Stats inherit 15% of the assigned Agent's Drive Disc stats, so prioritize ATK% chassis first, then CRIT% lens, then PEN% stabilizer. Stop at +9 enhancement - going higher gives a terrible DIM-to-stat ratio, and you're better off leveling the Bangboo itself.
Daily Farming Loop: Burn Battery in this order: Agent to 60 → W-Engine to 60 → Bangboo to breakpoint. Core EXP Plugs come from Good-Goods Vending and Hollow Zero exchange, while Phase 4/5 Chips drop from Shiyu Defense F14+ and Bangboo Drill stage 5. Stick to that loop and you'll minimize the grind.
Frequently Asked Questions & Troubleshooting
How to Fix Common Bangboo Issues
Q: My Bangboo just... vanished from combat. What happened?
That's usually a sync hiccup, not a permanent loss. In co-op, if the host's connection is shaky, Bangboos can desync right off your HUD - telemetry was added in v2.4.1 to track this, but there's no full fix yet. For now, you're stuck re-queuing with a better host or hoping your own latency isn't the culprit.
Q: Why are my Bangboo's passives failing in Hollow Zero?
You're hitting the classic state validation bug. Because Zenless runs a hybrid client-server setup, sometimes your local game and the server disagree on what your Bangboo is actually holding. The symptom list is long: passive passives going dead, Remodeling Shop LOCK icons staying red even when they shouldn't, or your entire HUD ghosting after an armor swap.
Q: The Remodeling Shop won't let me equip my talisman - how do I unstick it?
This workaround is weird but it works. Open the Remodeling Shop, hover over the bugged talisman until the tooltip pops, then immediately close the UI and dive straight into a Hollow. That forces a fresh server fetch and usually clears the LOCK state on the next load. It's clunky, but it beats waiting for a patch.
Q: Are any of these bugs permanent?
Mostly no. The VR Machine soft-lock where Harumasa's model turned into a Bangboo mesh? Squashed in v1.3 back in November 2024. The Tiger Spirit Talisman showing the wrong multiplier? That was just a text error, patched in v2.0 - the actual damage numbers were always correct. If you're on the latest version, you shouldn't see those again.
Bangboo vs Agent: When to Prioritize
If you're F2P or low-spending, this decision can make or break your first month, so let's cut through the noise. A single S-Rank Bangboo costs roughly 600k Denny and 105 blue modules to hit level 40, which sounds steep until you realize that's only about one-third the credit cost of leveling an S-Rank Agent to 60. More importantly, that Lv. 40 Bangboo hands your on-field agent around 1,300 bonus ATK plus elemental auras, heals, or shields - immediate power you can feel in every fight.
Meanwhile, a mid-tier Agent without full Drive Discs is just a placeholder. The most common trap is splitting your early resources across three or more Agents; you end up with a squad of underwhelming Lv. 30s who can't carry anything. A focused Lv. 50 DPS paired with a Lv. 40 Bangboo will clear content faster and smoother than any balanced-but-weak team.
Here's the flowchart that actually works: Spend your first ten days pushing one DPS Agent to Lv. 40 with skill level 6. In parallel, use the event's stamina-free materials to raise an S-Rank Bangboo that matches your DPS element - aim for Lv. 30-40. Only after both are online should you start farming Drive Discs seriously.
If you're looking for the best free-to-play pairings, Magnetiboo slots perfectly with Nicole for Ether teams, Plugboo turbocharges Anton's Electric damage, and the free S-Rank Zhao pairs with Soukaku for Ice synergy. Pick one lane and commit; your future self will thank you.
Future Bangboo Updates & Meta Shifts
Version 2.6 drops on February 6, 2026, and it's bringing two event-exclusive S-Rank Bangboos that could reshuffle the meta for specific teams. First up is Snow-Note, an Ice Support built for Sunna compositions. Its Frost Ensemble aura converts 20% of all Ice damage into team-wide energy particles whenever you land a CRIT hit, and if Sunna is on the field, that duration doubles. That's a massive uptime buff for burst-reliant Ice setups.
The second newcomer is Diva-Bit, an Ether Anomaly tailored for Aria. Diva-Bit fills a unique Encore anomaly bar, and when it maxes out, enemies enter a Spotlight state for 2.5 seconds, taking 40% more Ether damage. The kicker? Aria triggering an Ether reaction resets Diva-Bit's cooldown, meaning you can chain Spotlights in prolonged fights.
For players hunting the permanent pool, Sprout doesn't get a counterpart this patch, but its drop rate is getting a tiny bump from 0.600% to 0.750% for the duration of 2.6. It's not a game-changer, but every little nudge helps when you're pulling on the standard banner.
Looking further ahead, leaks point to Big Daddy and Lady Sunbringer in 2.7. Big Daddy is rumored to be a Physical Defense Bangboo that converts 30% of your team's DEF into ATK - a wild stat flip that could make tanky builds genuinely viable - while Lady Sunbringer is slated as Fire Support. If that DEF-to-ATK conversion pans out, we might see a whole new archetype of bulky brawler teams in the next meta cycle.
Conclusion
Mastering your Bangboo is about understanding synergy, not just chasing the highest tier. From gacha pulls to endgame optimization, the right companion elevates your entire squad. Build around your team's needs, invest wisely, and your tiny combat buddy will become your most powerful asset on the streets of New Eridu.
More zenless-zone-zero Guides
Zenless Zone Zero Trust System Guide: Max Rewards & Daily Farming
Master the Agent Trust system in Zenless Zone Zero. Learn daily farming loops, weekly plans, and advanced tips to efficiently earn Polychromes, wallpapers, and exclusive rewards.
Shiyu Defense Mastery: The Complete Zenless Zone Zero Guide for S-Rank Clears
Learn how to dominate Shiyu Defense in Zenless Zone Zero. Our guide covers team compositions, advanced strategies, gear optimization, and rewards to help you claim 4,500 Polychromes.
Hollow Zero Master Guide: Unlock Rewards and Dominate ZZZ's Endgame
Learn how to access Hollow Zero, master Lost Void and Withered Domain, optimize Resonia drafting, and maximize weekly Polychrome and Z-Merit gains in Zenless Zone Zero.
AI Tactical Companion
Consult with our specialized tactical engine for zenless-zone-zero to master the meta instantly.