The Ultimate Wishvale Rebuilding Guide for Octopath Traveler 0: 10 Stages to the True Ending

Rebuilding Wishvale in Octopath Traveler 0 is more than a side project- it's the key to unlocking the game's true ending and powerful permanent bonuses. But with complex mechanics like Prosperity Levels and a finite supply of Radiant Cornerstones, it's easy to waste precious resources. This guide breaks down the exact 10-stage build order, resident management, and farming loops you need to transform your town from a ruin into a legendary settlement.
Wishvale Town Building Fundamentals
Getting Started: The Toolbox and Stia
Here's what threw me off early: the "toolbox" isn't a physical item in your bag. In Octopath Traveler 0, the toolbox is just the building menu interface, marked by a hammer icon hovering near the bridge in Wishvale. You really can't miss it- walk up and interact to get started.
After you build your workshop, you get another option: talk to Stia directly. She'll be standing inside that workshop, which is way more convenient than running back to the bridge every time you want to throw up a new building.
Before you bolt out of your house at the game's start, head upstairs and grab the 300L sitting in that blue-rimmed bedroom chest. That's your seed money, and spending it on early gear is a classic noob trap. Hold onto it until you cross paths with traveling merchants selling seeds- those crops are what fund your entire town expansion loop.
Understanding Prosperity Levels (1-5)
Prosperity isn't just a flex; it's what drags your town from dead quiet to legendary status across five tiers: Quiet, Lively, Bustling, Flourishing, and Legendary.
You'll earn points from three sources, but don't treat them equally. Facilities are your MVPs at +30 points each, and you need 30 of them built minimum to hit Legendary- that's the real grind. Residents only give +1 point each when they register, and there's a harsh cap of 5 total points from them, so they barely move the needle. Decorations add +5 points each, but you max out at 100 decoration points, which means you can't just plaster the town with statues and call it a day.
The bottom line: facilities are doing the heavy lifting. You need 30 facilities, 20 decorations, and 30 residents registered to reach Legendary, but those facilities should be 90% of your focus.
The 10-Stage Progression Path
Stage 1: Tavern Restoration (Raise a Glass)
You're going to want to start here because the tavern is your home base. It needs 30 Lumber, 20 Stone, and 500 Leaves, which you can get by chopping trees and mining rocks in the early forest zones- each spot gives you 3-5 pieces, so it won't take long. Once it's built, you get a free rest spot that also works as your party management hub, and it even starts giving you daily cooking buffs later on. This is where you'll recruit your first NPCs too, so it's basically the foundation for everything else.
Stage 2: Farm Plot (Back to the Soil)
Now that you've got a place to sleep, you'll need food, and that's where the farm comes in. It costs 40 Lumber, 30 Stone, and 10 Fertilizer, and it runs on real-time- each field pumps out 1 Crop Bundle every 30 minutes whether you're playing or not. Each bundle contains 5-15 crops depending on your seeds, which means you'll want to hunt down the best seeds as soon as you can. This isn't just for cooking either; growing crops and raising animals is essential for attracting new residents to town.
Stage 3: Ranch Construction (Hooves and Horns)
The ranch is your next big investment at 50 Lumber, 40 Stone, and 20 Animal Feed. You can buy that feed from traveling merchants or craft it yourself if you've got the ingredients. Here's the tricky part- you need to place one Cow, one Sheep, and one Chicken in the ranch just to unlock the Dairy Bundle recipe. Once that's done, you'll get a bundle every 20 minutes that restores 400 HP to your whole party and sells for 600 Leaves, so it's basically a free healing item factory.
Stage 4: Blacksmith Workshop
Time to gear up. The workshop needs 60 Lumber, 50 Iron Ore, and 1,000 Leaves, and you can farm that ore fast in Quarrycrest's Underworks- there are three veins within 30 seconds of the entrance. This upgrade gives you tier-2 crafting for weapons like Iron Sword+ and Steel Axe, which hit 8-10 ATK harder than store-bought junk. The real kicker is that migrant smith Bordan shows up afterward and gives you repeatable side quests that reward 3 High Nuts worth 6,000 Leaves each, so this pays for itself pretty quickly.
Stage 5: Message Board (Word on the Street)
The message board appears after you finish the Kindlers-of-the-Flame questline, and it completely changes your daily routine. You'll need 20 Lumber, 10 Cloth, and 10 Ink to build it, but then you get daily monster hunts that refresh at midnight device time. These aren't regular monsters either- they drop unique trophy materials like Flamefur Pelt, Crag Shell Shard, and Galecrest Feather that you can't get anywhere else. Those materials craft some of the best gear in the game, so this is basically your endgame equipment pipeline.
Stage 6: Housing Row (A Roof for All)
People need places to live, and each house you build costs 80 Lumber, 60 Stone, and 30 Clay. Every house increases your capacity by +2 residents and reduces future building costs by 5%, which stacks up to 15% if you build three of them. Town size is measured in resident points- each traveler gives you +10, each house gives you +5- so these are crucial for hitting 100% completion. The best part? You can swap residents freely after building, so you're not locked into your choices.
Stage 7: Library (Shelve the Scrolls)
The library is expensive at 100 Lumber, 80 Stone, 40 Parchment, and 2,000 Leaves, but it's worth every penny. You get three random stat tomes daily- ATK, DEF, ELEM ATK, you name it- just for showing up. Getting parchment is a pain since you need to steal it from Academy NPCs in Winterbloom, but Throne has a 70% success rate at level 9, so it's not terrible. Inside, there's also a Scholar job board that hands out ELEM ATK Tome +3 and Schuster's Monocle (+60 SP, +10 ELEM ATK) for completing side quests.
Stage 8: Market Square Bazaar
This is where you burn all your money. The bazaar needs 120 Lumber, 60 Cloth, 50 Iron Ore, and 3,000 Leaves, and it features a rotating rare-item vendor whose stock changes every 30 minutes in real-time or whenever you leave and re-enter the region. You can farm cloth from the Emberglow Lowlands Silk-Seller's Cart or Toto'haha's Harvest Free Quest. The vendor sells game-changers like Azure Lens (8,000 Leaves for Scholar Divine Ring), Gilded Compass (12,000 Leaves for Dancer's second EX skill), and Dwarven Gear-Box (6,500 Leaves for Smithy blueprint), so check back often.
Stage 9: Palisade Walls
You're not just building a town- you're fortifying it. The walls need 150 Lumber, 120 Stone, 60 Iron Ore, and 5,000 Leaves, and they give you +8 Security to your town score while improving merchant stock quality. The real prize is the 10% discount on all material purchases globally, which stacks with Partitio's "Charming Smile" talent for up to 37% total savings. That's huge when you're buying expensive late-game materials, so this is basically a must-build before you finish the cathedral.
Stage 10: Cathedral (Heart of the Town)
This is it- the final project. The cathedral costs 200 Lumber, 150 Stone, 80 Marble, and 10,000 Leaves, and marble only shows up in high-level quarry nodes or as a rare steal from elite Stone Golems. Once it's done, you get a permanent +10% EXP/JP boost and the Sanctified Master Key, which opens every single blue chest in the game- including post-game dungeons. You also need this for the true ending, which requires 100% town completion and beating the hidden final boss at Flamebearer's Shrine. So yeah, this is your endgame goal.
Resident Management & Optimization
Recruitment Mechanics: The Invite System
Wishvale becomes yours to rebuild the moment Tytos finishes torching it in the Prologue, which means you can start recruiting almost immediately. The best part? You won't be hunting down some hidden job shrine- your protagonist automatically gets the Inquire Path Action, no extra legwork required.
So how do you know who can move in? Keep an eye out for NPCs with a small white handshake bubble chilling in the lower-right corner of their text box; that's your signal they're recruitable. Each one has an invisible Influence threshold (typically 40-100) you'll need to clear before they'll even consider your offer.
Building Influence is pretty straightforward: every character level gives you +2, finishing side stories nets +5-15 each, and sometimes just having specific travelers in your active party gives you a bump. Once you've hit that magic number, hit them with Inquire and choose "Invite to Wishvale."
Here's the catch though: inviting them isn't the final step. You'll still need to open the village menu, pick an empty plot, and manually assign them before their Resident Skill actually kicks in.
Essential Residents for Facility Bonuses
Let me save you some trial and error: not every resident pulls their weight. The Old Miner should be your first target- stick him in the Deep-shaft Quarry and he'll double your quarry yield, which means way less grinding for crafting mats.
If you're always broke, the Traveling Merchant is non-negotiable. That 20% discount on all shop and NPC purchases adds up fast, especially when you're buying end-game gear.
For the battle grinders, Tyme and Juan are your MVPs, giving +10% EXP and +10% JP respectively. These stack with everything else and make each fight way more efficient.
Material farmers need Porter (+1 material when mining) and Yusufa (+1 item from herb-gathering spots). Small bonuses individually, but you'll feel the difference after a few runs.
On the utility side, Giselle boosts your max HP by 200 while you're in town, Azala grants whole-party Ice resistance +15 for those frozen zones, and Reggie bumps.
Advanced Resource Management
Radiant Cornerstone Farming Guide
Radiant Cornerstones are the real bottleneck for upgrading Wishvale, and you're going to need a lot of them- somewhere between 40 and 50 if you want to max out everything. The catch? They only drop from elite enemies, and each elite coughs up exactly one cornerstone before they're gone for good. No daily respawns, no second chances, which means you've got a finite pool of 38 confirmed elites across all of Orsterra.
So where do you actually find these guys? First up, the Southern Frostlands Elite Guard spawns in the Western Frozen Plain, just west of that save point above the frozen river. He won't even show up until you trigger Ophilia's Chapter 1 cutscene in Flamesgrace, so keep that in mind.
Next, head to the Windswept Highlands and trek north past the second rope bridge to a dead-end clearing- that's where you'll find the Elite Wolf lurking right before the hidden entrance to Gargan's Mining Tunnel.
If you're hunting the Sunshade Desert Elite Scorpion, you'll want to look for a small circular dune roughly two screen-widths southeast of the oasis save point. You'll know you're close when you spot three skeletal remains half-buried in the sand.
All elites look like oversized sprites with a glowing purple outline, and you'll get a "you sense a powerful presence" warning when you're near them. One kill, one cornerstone, so make each encounter count.
Material Farming Hotspots
Unlike cornerstones, lumber and stone are infinitely renewable if you know where to look. Here are the loops that actually work:
Woodfall Ravine (north of Valore): Logging Golems drop lumber at a solid 45% rate, with an 8% chance for a double drop. The gathering sparkles here respawn every three zone loads, and the Treant Thicket inside the ravine has hidden sparkles with a 70% chance for 1-3 lumber each.
Quarry Ridge (east of Crestlands Crossroads): This is your stone paradise. Ore Golems drop rough stone 50% of the time and quality stone at 10%. It's the most consistent source in the game.
Abandoned Shaft: Unlock this via the Crestlands side-quest "Tools of the Trade" and you can farm the Rubble Raptor every 10 real-time minutes for 3-5 stone bundles.
Wishvale Salvage Boxes: Once your general store hits Level 2, check the back alley for these. They cost 150 leaves each but give 2-4 materials at a 50/50 lumber/stone split.
Pro tip: Farming between 20:00-04:00 in-game time boosts drop rates by 20%, and that stacks with the Harvest Amulet for lumber or Miner's Gloves for stone. A tight 15-minute loop between Woodfall Ravine and Quarry Ridge can net you roughly 12 lumber and 14 stone.
Upgrade Priority: What to Build First
You can't just throw materials at everything at once- Wishvale's town level is an average of all buildings, so staggering upgrades keeps costs manageable. Here's the order that actually makes sense:
1. Church first
This isn't negotiable. The Church generates daily leaves and rare curios, plus every other facility's max level is gated behind the Church's level. Get this up and running immediately.
2. Inn second
Free full-party healing and SP restoration whenever you return to Wishvale is massive, and the daily EXP-boost meals are clutch for leveling your B-team.
3. Blacksmith to tier 2
Early access to mid-game weapons will carry you through the mid-game, and the Forge ability shaves 15% off enhancement costs. That adds up fast.
4. Church tier 2
Once you donate 20 Radiant Cornerstones total, you'll unlock the Cerulean Key, which opens every blue chest in the world. Do not sleep on this.
5. Training Grounds
This passively feeds EXP and JP to anyone not in your active party, scaling from 5% at level 1 to 25% at level 5. Perfect for keeping your whole roster relevant.
6. Apothecary
Daily free restorative items are nice, but level 5 is the real prize- an Olive of Life worth 2,500 leaves every single day, plus resurrection items for superboss attempts.
7. Exchange
This is your only renewable source for certain end-game weapon seals and Elixir Nuts if you're not touching post-game dungeons. Higher levels unlock more catalogue pages, so it's worth the investment.
Never try to upgrade everything at the same time unless you want to burn through your cornerstones in a hurry. Build smart, not fast.
Layout Optimization & Pro Tips
Optimal Building Placement Strategy
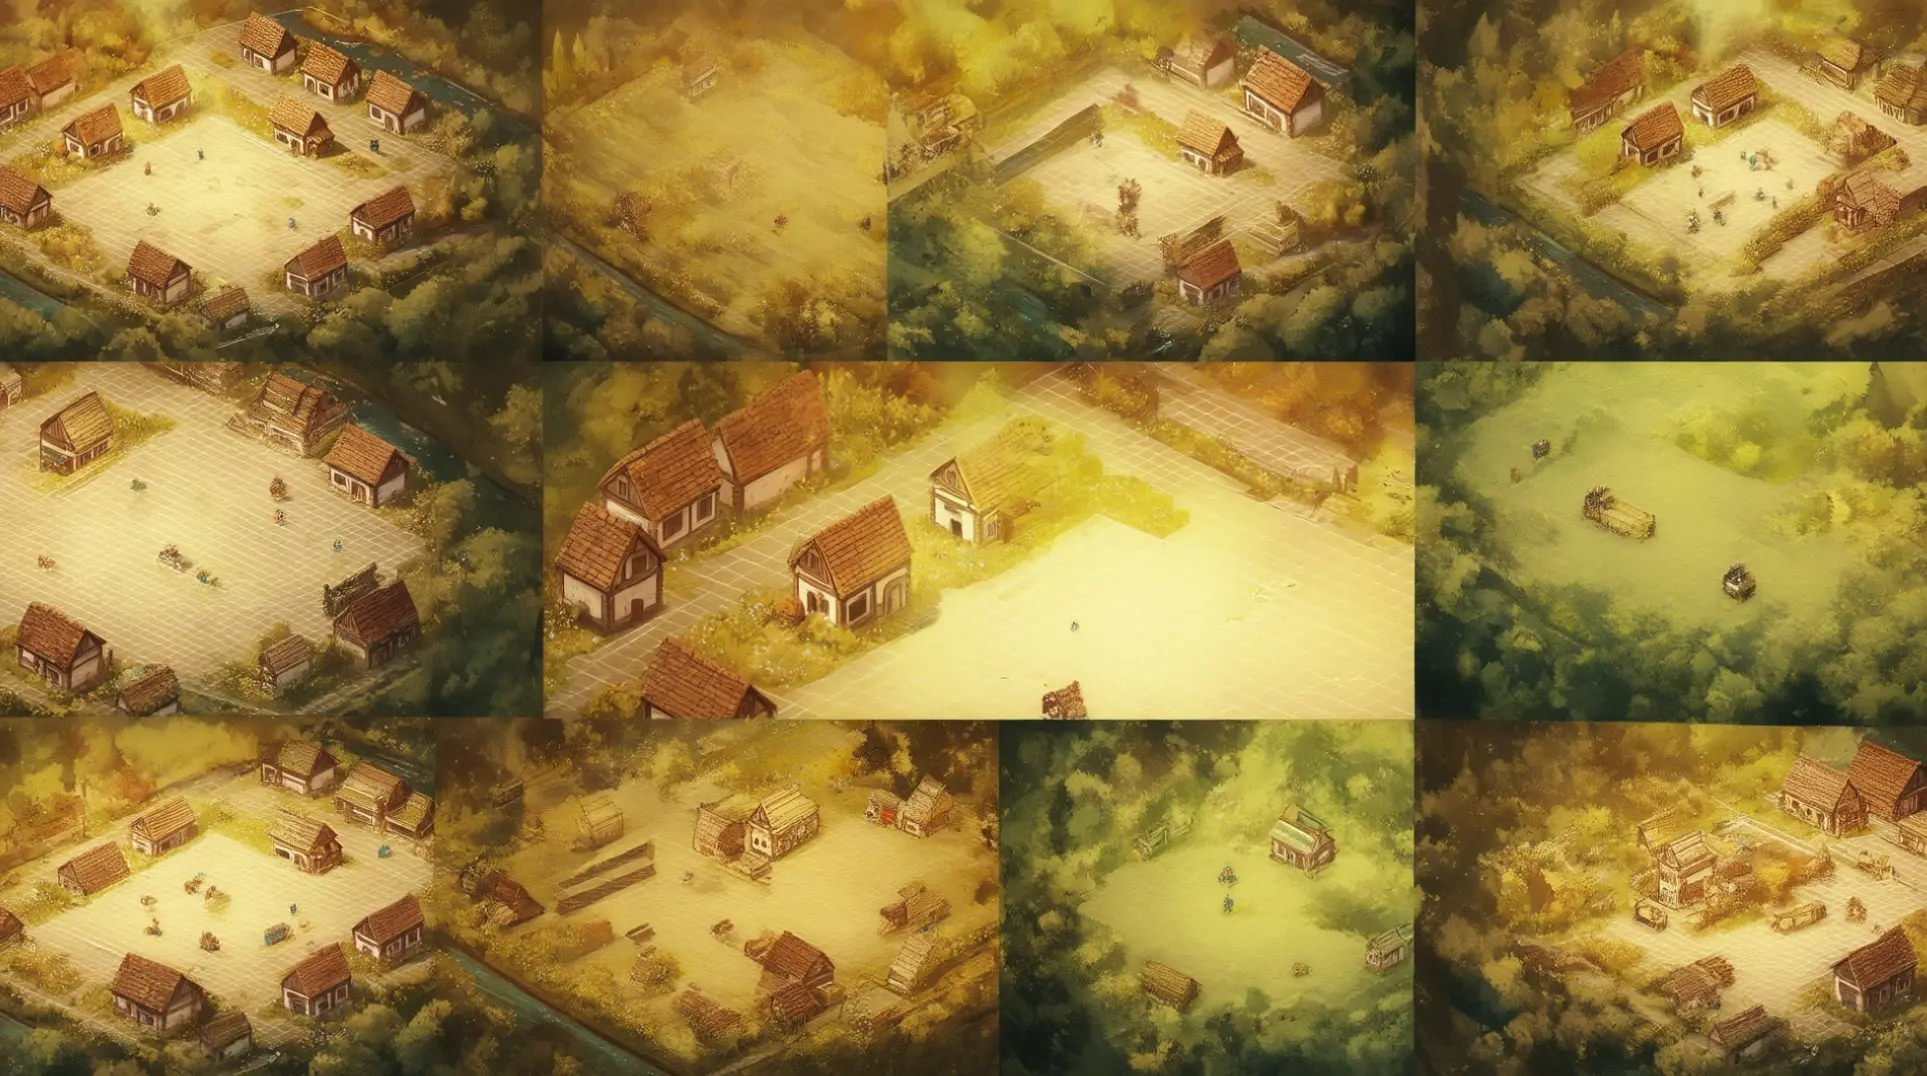
Wishvale caps out at a 6x6 grid once you've cleared every expansion quest, so you've got 36 squares total to work with. That sounds roomy until you realize the first three plots near the village gate form this tight triangle, and you can't even reach them until you clear that 13-rubble mini-quest after your Level-5 upgrade.
So here's what most players do: slap your Tavern & Hub on the large left plot, your Shop on the large right one, and stick the Fields in that medium back spot. This keeps your most-clicked buildings right at the entrance where you can actually use them.
Now for the part that'll save you a headache- don't you dare build the Church or Sacred Flame dais on those prime entrance tiles. The Kindlers quest line forces you to relocate those to cliff-side plots later, which means you're just paying to move them twice. Keep residential houses and other low-priority stuff further back, and always plan for 3-tile-wide roads early so you don't box yourself in.
Avoiding Common Mistakes
Let's talk about the stuff that'll make you want to restart your village.
First, those Crop and Dairy Bundles? Don't sell them early, no matter how tempting that quick cash looks. You need at least 30 for Housing Row unlocks, and they refine into goods worth 400-500 leaves each. Plus, turning them in at the blueprint table grants prosperity points that unlock new building tiers, so you're shooting yourself in the foot twice by selling.
Second mistake everyone makes: dumping all your early Cornerstones into decorations. I get it, you want your village to look nice, but those pretty fountains eat lumber, stone, and metals you'll desperately need for functional buildings that actually unlock mechanical rewards. Town Beauty score has zero combat relevance, and you can knock out that 12-decoration trophy in one end-game crafting sprint.
Third, watch those building dimensions like a hawk. Wedging your Ranch or Compounding Lab into 1-square-wide alleys means their tier-3 upgrade quests will never trigger, since they need 2-square-wide frontage. And for the love of all that's holy, don't fill the only remaining 3-square row with trivial buildings and lock yourself out of the 3x2 Training Ground- rearranging costs rare orichalcum that's way better spent on ultimate gear.
Efficiency Tips for Fast Progression
If you want to blaze through progression, treat the Message Board like your daily ritual. Hunt tokens show up there every day, and you can trade them for Marble at the exchange shop. The fastest farm spot is Whisperwood Trail with Riesz's Hunter's Instinct passive- you'll pull about 120 tokens per hour with double drops.
For Marble itself, Wishvale Fields with Glimmergrain seeds is your best bet. Each harvest gives 0-3 Marbles averaging 1.7 per plot, and with 16 plots running you're looking at roughly 27 Marbles per 60-second cycle. That 999 Marble cap becomes reachable in 25-40 minutes of focused farming, especially if you use the Crop-Dance emote to shave 5 seconds off each harvest animation.
Don't sleep on side stories either- completing Kindlers of the Flame Chapter 3 is the trigger that unlocks the Shop in Wishvale. And when you're hunting elite enemies for rare materials, equip the Evasive Step support skill. It raises encounter rarity by 10% and lets you flee normal mobs with 100% success, so you're only fighting the good stuff.
Rewards & Completion Benefits
Trophy/Achievement Guide (10 Total)
| Trophy Name | What You Actually Need to Do |
|---|---|
| The First Construction | Build literally anything - even a cheap fence or lamp counts. |
| The First Invitation | Invite your first NPC to live in Wishvale through dialogue. |
| The Tavern and Hub | Construct the tavern, which becomes Wishvale's central hub. |
| Freshly Grown Vegetables | Build fields that passively generate leaves every real-time hour. |
| A Dependable Merchant | Put up a shop facility in town. |
| A New Church | Build the church facility. |
| Kindler of the Flame | Construct the Sacred Flame dais. |
| A Treasure Trove of Knowledge | Build the Museum - this one's pricey, you need 30 Azure Flamestones plus other materials. |
| An Overwhelming Zeal | Build the Monster Arena, which costs 50 Azure Flamestones and rare stuff like Mythril Ore. |
| For the Future of Wishvale (Gold) | Max out Wishvale's town level by completing every building project and upgrade. |
Permanent Game-Wide Bonuses
Cathedral (Level 3) gives you a permanent +10% EXP and +10% JP boost to everyone in your party, everywhere. This stacks with other buffs like the Dancer's EXP & JP Booster skill, so you can really rake in the points.
Blacksmith facility knocks 5% off equipment prices per upgrade tier, and it stacks all the way to a 30% discount at Tier VI. That applies to every weapon and armor piece sold in Wishvale.
Palisade works the same way but for materials - 10% off per level, hitting 30% at max level. All crafting components from the Material Vendor get cheaper.
Housing Rows cut down building costs across the board, though the exact numbers are a bit fuzzy. Sources just say they make buildings "need less materials," but you're looking at up to 15% reduction based on what we can confirm.
End-Game & True Ending Requirements
First, you have to rebuild Wishvale completely. We're talking finished Cathedral here, which unlocks the doors inside and reveals the Flamebearer's Shrine dungeon.
Once the Cathedral's done, an NPC called the Wandering Priest spawns right next to it. He'll open those previously locked doors for you.
Head into the Flamebearer's Shrine and beat Aelfric the Flamebringer. Winning this fight gets you the Illuminate Path Action, and that flags your save file for the true ending route.
Here's where the path splits - instead of facing the standard final boss, you need to continue to the final dungeon and fight Or'galdera to actually get the true ending.
Oh, and one more thing - after you finish the Cathedral, make sure to rest at any tavern. That triggers a cutscene that pushes side quests forward and makes certain story NPCs appear.
Mastering Wishvale's town-building is a marathon, not a sprint. By prioritizing key facilities, recruiting essential residents, and farming materials efficiently, you'll steadily climb the Prosperity tiers. The reward is worth the grind: permanent stat boosts, exclusive gear, and access to the game's true ending. Follow this path, and your legendary town will become the foundation of your entire journey.
More octopath-traveler-0 Guides

Ultimate Guide to Stealing Battle-tested Gear in Octopath Traveler 2
Master the art of stealing powerful Battle-tested gear in Octopath Traveler 2. Skip level 60 fights and dominate early game with this comprehensive stealing guide.

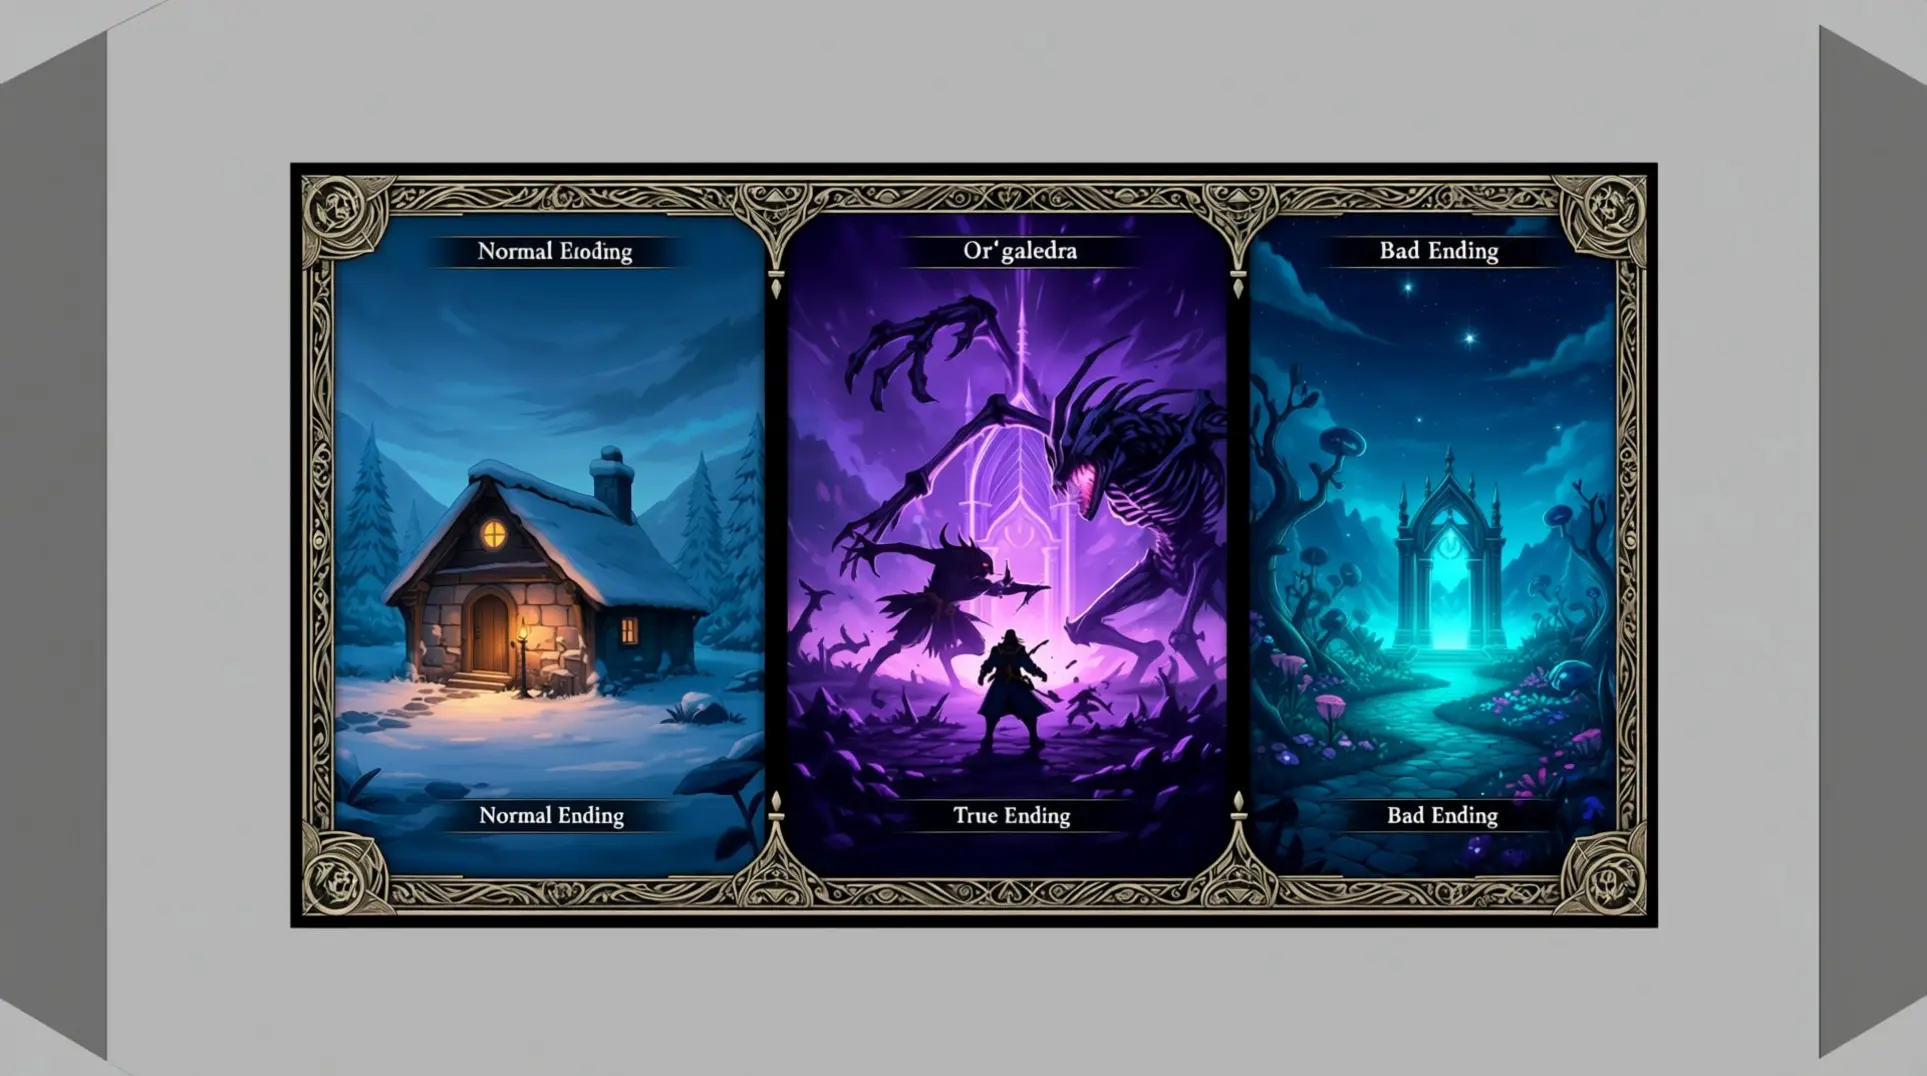
Octopath Traveler 0 Endings Guide: How to Unlock Normal, True, and Bad Endings
A complete guide to unlocking all three endings in Octopath Traveler 0. Learn the prerequisites for the True Ending, how to avoid the Bad Ending, and strategies for the final boss Or'galdera.

Octopath Traveler 0 PC Performance Guide: Fix Stutters, Crashes & Memory Leaks
Struggling with Octopath Traveler 0's PC performance? Our comprehensive guide provides fixes for memory leaks, stutters, crashes, and more to restore smooth gameplay.
AI Tactical Companion
Consult with our specialized tactical engine for octopath-traveler-0 to master the meta instantly.