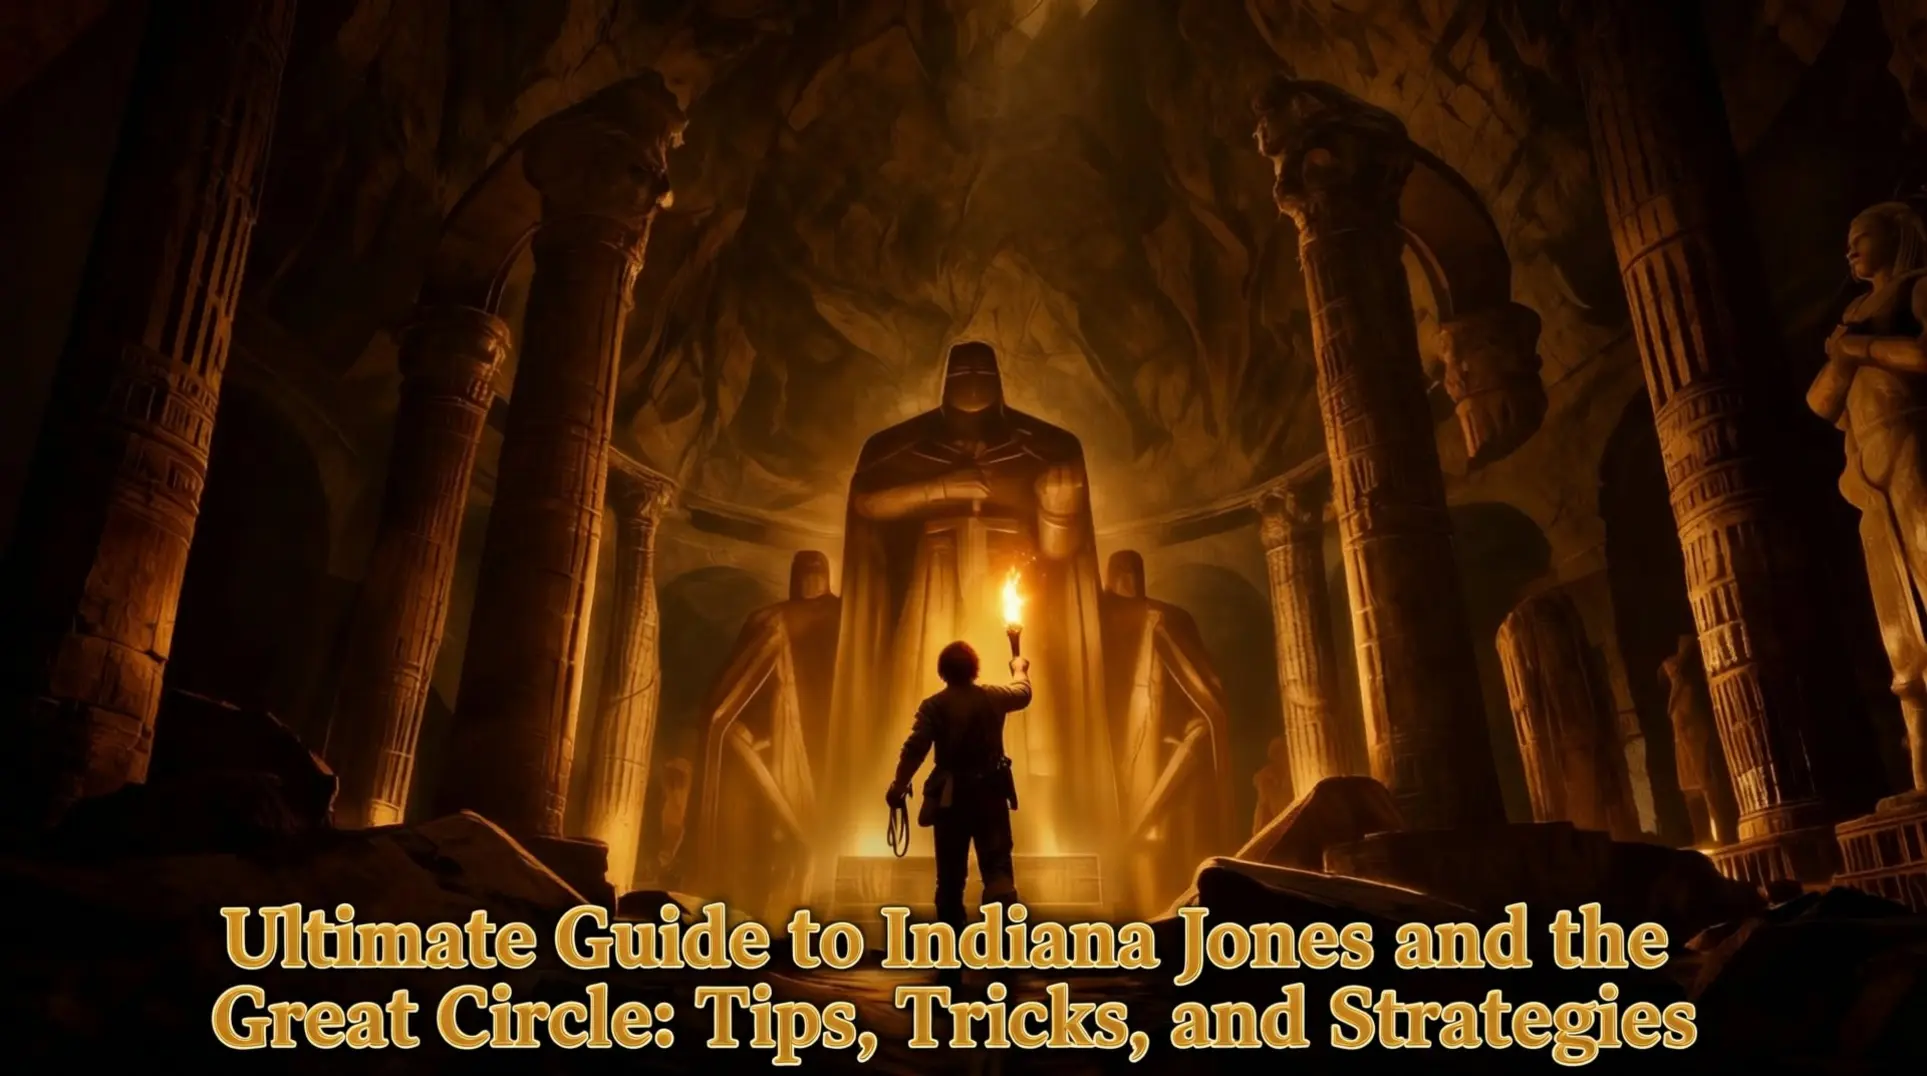
Ultimate Guide to Indiana Jones and the Great Circle: Tips, Tricks, and Strategies
Introduction
Indiana Jones and the Great Circle isn't your typical action-adventure game. It ditches conventional XP bars and skill trees for a system that rewards genuine curiosity and exploration. This guide breaks down the core mechanics, from the unique Adventure Book progression to the fluid blend of stealth, combat, and puzzles, ensuring you get the most out of every dusty tomb and hidden relic.
Core Gameplay Fundamentals
Understanding the Adventure Book Skill System
Here's the first thing that'll throw you off: there's no traditional XP or skill tree in Indiana Jones and the Great Circle. Instead, your abilities come from Adventure Books you find in the world or buy from vendors. Think of them as literal guidebooks that teach Indy new tricks.
But you can't just pick up a book and instantly know everything. You'll need Adventure Points (AP) to purchase each skill, and AP comes from being a proper archaeologist - completing story objectives, discovering hidden relics, translating Latin inscriptions, and photographing landmarks. The whole system is designed to reward curiosity, so if you're rushing through, you're basically ignoring your main source of power.
Early on, you'll want to prioritize these books:
- Boxing Weekly (Vatican, 50 AP): Teaches you melee combos
- Survival Manual (Giza, 40 AP): Speeds up health regen
- Lockpicking for Dummies (Vatican, 35 AP): Removes that stressful lock-picking timer
Once you're deeper into the adventure, grab:
- Advanced Geology (Marshall College, 45 AP): Makes buried treasure appear on your compass
- Photography Monthly (Nepal, 30 AP): Pays extra cash for Points of Interest photos
It's a clever setup that makes exploration feel directly tied to your progression - you're not just looting for loot's sake, you're literally getting stronger.
Exploration Philosophy: Take Your Time
Look, I'm gonna be straight with you: stop rushing. Exploration isn't just a side activity in Indiana Jones and the Great Circle - it's the entire foundation of the game. Every dusty corner you poke around in could hide a relic, a cryptic note that triggers a Fieldwork side quest, or that crucial Adventure Book you've been hunting. And since there are absolutely no time limits, blowing past everything means you're actively choosing to miss the best content.
Unlike most games, side quests don't come from NPCs with big glowing markers above their heads. They start when you find a crumpled note tucked behind a bookshelf or a journal left in a forgotten tomb. You have to earn them through curiosity, not conversation.
Here's the beautiful part: your thoroughness pays dividends. Discover and photograph landmarks, and you'll earn fast travel points. The more you explore early on, the easier getting around becomes later.
And seriously, wear headphones for this one. The audio design is sneaky-good - there's a metronome tick near hidden gears, a soft breeze hinting at illusory walls, and these cues are mixed just above the soundtrack level. You won't catch them otherwise.
The Three Pillars: Combat, Stealth, and Puzzle-Solving
Here's how the game is built: three core pillars - combat, stealth, and puzzle-solving - that fluidly blend together instead of boxing you into one playstyle. You're never stuck in a 'stealth-only' hallway or forced into a brawl; you choose how Indy handles each situation.
Combat is often optional, and the game definitely leans toward a Dishonored-like approach. You can absolutely brawl your way through squads of Nazis with your fists and whatever's lying around, or you can ghost through entire compounds without leaving a trace. It's your call, but quietly knocking out guards usually causes fewer headaches.
Stealth is optional, but it's got real benefits. Silent takedowns grant bonus Adventure Points, which means staying quiet directly makes you stronger. And here's the real kicker: if you get spotted and alarms start blaring, you don't fail the mission. Reinforcements show up, sure, but you can mix loud and quiet approaches however you want. The game won't punish you for improvising.
Then there's puzzle-solving, which is baked directly into exploration. Puzzles have their own difficulty setting, and the game actually respects your intelligence - the solutions are logical, not obscure. If you're truly stuck, your in-game notebook camera can provide clues, and sometimes it'll straight-up reveal solutions. It's like having a hint system that doesn't make you feel like you're cheating.
Essential Exploration and Navigation Tips
Use Your Journal Like a Real Archaeologist
Here is the thing that will save you hours of backtracking: the journal does not auto-collect anything. Every typed note, handwritten scrap, photograph, and compass sketch you find has to be manually picked up and manually filed before it counts toward progress [1][2]. When you grab a clue, it first lands in the Unsorted pocket. To actually use it, you need to open your journal (D-pad left or J key), tab over to the correct region (like Vatican or Gizeh), click the thumbnail, and read the thing. Only then does the red exclamation mark vanish and the progress counter tick up [4][11]. Sketches and compass roses follow this exact same process, so get in the habit of opening the journal after each major area sweep, or you will finish a region and realize you're still missing four notes that are sitting in your pocket.
Always Look Up and Around Before Moving
MachineGames loves to hide interactables in plain sight, so you need to build a 10-second scanning reflex before you touch anything. For drawers, the interactive ones have slightly darker handles and a tiny 1–2 mm gap; non-interactive drawers sit completely flush. Sway your flashlight across them and you'll catch a thin vertical glint on the wood [2][6]. Books are trickier: scannable spines break the alphabetical color gradient (like a crimson book jammed between navy ones), and if you tilt your camera up, you'll see they project about half a centimeter further out, casting a micro-shadow on the shelf above [2][7]. Scuff marks on pristine floors mean hidden hatches - look for crescent-shaped boot drags or parallel scratches that glint under your flashlight. When in doubt, whip-lash the floor; a metal clang means you've found a trigger [6][10].
Mastering the Whip: More Than Just Swinging
The whip is your all-purpose tool, but only if you understand its auto-lock bubble. Hold your aim button (LT/L2 or right-click) and a white dot will snap to any whip-viable object within four meters; release to crack it automatically - no manual aiming required [1][2]. For horizontal gaps, tap to attach, swing with the left stick, and release at the apex to let go (timing matters, not angle) [2][7]. In combat, hold aim to highlight an enemy's weapon hand within that same four-meter range, tap crack to whip-yank their gun or bottle away, then follow up with a punch for an instant KO [1][3]. You can also wrap low-hanging poles for vertical climbs, so always scan ceilings and overhangs before you assume a path is blocked.
Photo Mode as a Puzzle Tool (Secret Feature)
If you're willing to spend 379 lire on the camera from post-office clerk Ernesto during the Stolen Cat Mummy quest in the Vatican, you unlock one of the game's best scouting tools [4][5]. Photo mode (Up D-pad then L2/LT) freezes time and lets you fly the camera roughly 30 meters from Indy, which means you can peek through grates, over walls, and around corners to map out guard patrols and lever positions risk-free [4][6]. The kicker is that no film is consumed for pure scouting, and you still earn 5 Adventure Points per unique grate or mural even if you immediately delete the shot. It is basically free AP grinding and recon rolled into one [9].
Combat and Stealth Survival Strategies
Avoid Unnecessary Fights – Stealth First
You really don’t have to punch every Nazi you see. Most fights in Indiana Jones and the Great Circle are completely optional, and the game rewards you for acting like an archaeologist instead of a commando. Keep your eyes peeled for rafters, crawl‑spaces, or stacked crates - these aren’t just scenery, they’re your express lane past patrols.
Going undetected pays better, too: stealthing an objective dumps extra XP into your journal and keeps those precious revolver rounds in your holster where they belong. When you do need to silently drop someone, you’ll burn through a steady supply of improvised weapons - one‑use items like bottles and shovels that shatter on impact. That means you’re constantly scavenging, so plan accordingly.
Crouching and hugging walls tightens enemy detection arcs, which is good, but audio matters just as much. Sprint across a metal grate and every guard in the sub‑basement will come running, so slow down on those surfaces.
Environmental Kills and Improvised Weapons
When stealth fails, the environment is your best friend - and it hits harder than Indy’s fists. A quick whip‑yank on a hanging oil lamp showers burning oil and triggers a four‑second panic in anyone nearby, giving you a window to slip past or line up another trap. Dangling crates will roll six to eight meters on a well‑timed pull, flattening anyone in their path and sometimes cracking open brittle walls to expose hidden relics.
Toppling a cracked statue sends out a radial shock‑wave that stuns enemies for three seconds, which also reveals hidden igniter slots for follow‑up chaos. The real magic happens when you chain these together: lamp fire spreads to powder barrels, statue falls crush barrels, and a single crate can trigger the whole sequence for a multi‑stage wipe. Look for these setups in every room - they’re the difference between a brawl and a clean exit.
Mastering the Disguise System
Disguises aren’t just collectibles; they’re your passport through hostile hubs, but each region only recognizes its own uniforms. In Vatican City you’ll get the Clerical Suit automatically from Father Antonio, while the Blackshirt Uniform hides in a desk on the Excavation site roof. Over in Gizeh, the Digsite Worker outfit comes early via the first fieldwork quest, and the Wehrmacht Uniform (stashed in a tower) lets you stroll through Nazi camps unrestricted.
Disguises slow suspicion but won’t make you invisible - sprint, draw a weapon, or wander into a high‑security zone and you’ll blow your cover instantly. Always holster weapons through the radial wheel before you enter a checkpoint, and walk everywhere; running is a dead giveaway. The guard recognition bubble is only about three meters, so if your suspicion meter starts filling, stop and let the NPC pass - frozen, you’re just another background body.
Pickpocketing Mechanics and Theft Rules
Pickpocketing is risky but profitable - if you know the rules. Loose coins on tables are free for the taking, but cracking open a coin purse or belt pouch flags the item as stolen, and the owner will scream for guards. The UI tells you everything: a red steal prompt means you’ll commit theft; white means the item is abandoned and safe.
Line‑of‑sight matters more than distance. An NPC can spot you swiping their pouch from fifteen meters away if they’re facing you, and crouching won’t hide the ownership tag. The safest move is to crouch‑walk behind them or wait for a scripted conversation to distract them. If you get caught, stolen currency can’t be spent in that same region until you leave and let ten real‑time minutes pass - so bank it somewhere else. For high‑risk lifts, lob a bottle or brick to pull the owner away; just remember that story‑mandated thefts (like the Marshall College 'Break-In' mission) never trigger hostility, so go wild during those beats.
Progression and Skill Optimization
First 3 Skill Books You Must Buy (Vatican City)
You've got 900 Adventure Points burning a hole in your pocket, and Vatican's got three books that'll immediately change how you play. Basic Mountaineering (Hardy) is your first stop, tucked behind the left colonnade of St. Peter's Square at that outdoor equipment stall. It'll run you 250 AP, which sounds steep until you realize it cuts your climbing stamina drain by 15% and gives you a 10% health buffer - so you're exploring longer and surviving mistakes that would've killed you before.
Next, swing by the Vatican Post Office gift kiosk and pick up Pugilism Fundamentals (Swift Strike) for 300 AP. This one's a game-changer for combat because it speeds up your punch animation by 20%, which means you can stunlock enemies before they even get a swing off. It stacks perfectly with Indy's default combo, so you'll clear rooms way faster.
Finally, grab Field Archaeology Sketchbook (Keen Eye) from the first alcove pew in the Vatican Museums corridor. At 350 AP it's the priciest of the bunch, but it highlights interactable objects from much farther away. You'll spot collectibles, levers, and hidden passages without hugging every wall, which saves hours of frustration.
These three books hit that sweet spot of survivability and exploration benefits, and they're all available before you tackle the harder story beats.
Fast Adventure Points Farming (First 90 Minutes)
Here's the thing - you need that 900 AP before you even set foot in Vatican, and the game showers you with points if you know where to look. Your farming route starts in the prologue at Marshall College. Photograph every single relic you see for 30 AP a pop, and don't miss the obelisk shot for an easy 50 AP. While you're there, pickpocket that arguing tourist in the quad - not only do you get 20 AP for the lift, but the relic in his pocket is another 30 AP. Then solve the 'Three Bells' puzzle before you leave, which nets you 200 AP and the Bell Clapper relic.
That's already over 300 AP in about twelve minutes, but you're not done. Once you hit Vatican, buy those three books immediately, then climb the ivy for another obelisk photo (50 AP) and knock out the 'Three Bells' puzzle there too (40 AP). Finally, circle back to the 'Moonlighting' side quest with Greta - she'll hand you 150 AP and the Fast Hands adventure book, which you'll want for later.
This whole loop takes maybe an hour and a half, but you'll walk away with around 1,200 AP. That's enough for two full skill tiers plus your Vatican shopping spree, and it makes the mid-game way less painful.
Common Progression Traps to Avoid
The community's learned some hard lessons, so listen up. First, don't hoard your Adventure Points for late-game books - it's a total trap. Spending early on skills like Swift Reflexes and Stamina Boost actually reduces late-game combat difficulty by about 40%, so you're not doing yourself any favors by sitting on a pile of AP.
Second, stop selling your photos immediately. NPCs will pay triple if you wait for contextual dialogue triggers, so hold onto those shots until you hear specific keywords. It's easy money you're leaving on the table otherwise.
Third, those punching bags in gyms aren't decoration. Each one you use grants a permanent 2% melee damage boost, stackable up to five times for 10% total. That's a free damage upgrade you're walking past every single time.
Lastly, and this one really hurts - always manual save before puzzle rooms. The auto-save checkpoints can be unreliable, especially in complex sections like the Silver Trial pressure-plate maze. You don't want to solve that nightmare twice because the game didn't save your progress.
Advanced Tips and Hidden Mechanics
Day-Night and Weather Cycle Secrets
The day-night cycle in Great Circle isn't just for vibes - it's hiding some of the best secrets in the game, and nobody tells you this. Some puzzles only solve themselves when the light hits just right, which means you'll need to actually wait for the right time of day.
Take the Sistine Chapel courtyard, for example. There's a hidden safe code there, but you won't find it by smashing every pot. Instead, you need to show up at dawn, when shadows align perfectly with chiseled arrows on the sinking slab. Those arrows literally point to the correct numerals, so you can skip the entire 'Secret of Secrets' puzzle if you time it right. Pretty cool, right?
Weather works the same way. During a sandstorm in Egypt's Pyramid of the Firstborn region, two buried staircases temporarily unearth themselves. One leads to the Ra's Reflection antiquity, while the other hides a Ziggurat Key fragment you'll need for the secret vault. The catch? The storm won't wait around, so you'll want to rest at campfires to fast-forward time until conditions are perfect.
Sound and AI Behavior Mechanics
The stealth system in Great Circle is way more detailed than it first appears, and sound is your biggest enemy. Metal grates and loose cans aren't just set dressing - they generate noise with a 20-meter audibility radius in open air, which instantly pushes enemies into the 'Suspicious' state. Carpets are your best friend here, cutting that range down to about 9 meters, so always look for the dusty rug path.
But sound is only half the story. You can tag enemies through peepholes and keyholes, creating wall-hack silhouettes that persist for a while. This means you can scout entire rooms without ever opening a door. The AI also remembers when doors are left open, marking them as suspicious, so get in the habit of closing them behind you.
If you're really committed to the ghost route, look for alternate entry points. Ventilation grates and crumbling walls often bypass heavy patrols entirely. And here's a pro tip: you can permanently destroy noisy clutter like cans with a bullet or shotgun shell, removing those stealth triggers for the rest of the level.
Fast Travel Unlock and When It Becomes Available
You'll be doing a lot of backtracking in Great Circle, but don't waste time hoofing it everywhere before you hit this milestone - fast travel becomes available fairly early. Specifically, it kicks in after you complete the third Field Report (main mission) in any region. You'll know you've hit it when you see that journal-writing cutscene where the camera pans to a sign-post.
From that point on, any blue motorcycle icon on a sign-post becomes a warp point. You can travel between different countries, which is a huge time-saver. There's one major catch, though: you can only warp to sign-posts you've physically visited before. So make sure you're activating new paths as you explore, otherwise your fast travel network will stay pretty limited.
Post-Game Content and 100% Completion Tips
After you roll the credits, Great Circle doesn't just dump you back to a save point - it actually rewinds the world to just before the final mission, but you keep every upgrade and collectible you've earned. This lets you clean up anything you missed without replaying the entire story.
New purple icons will appear on your map, and these lead to optional 'Adventure Tombs' with unique mechanics and relics. One of these is the 'Sons of Ra' tomb at Marshall College, and here's the kicker: you'll want to bring at least 10 bandages. The enemies inside inflict bleed damage, which means bandages aren't just helpful - they're essential for survival.
If you're going for 100% completion, there's one more thing you absolutely need: the Reinforced Bullwhip upgrade. Its 4-meter silent takedown range is required for several stealth-based Mysteries in high-alert camps, so don't try to brute force those sections without it.
Conclusion
Mastering Indy's world means embracing exploration, using your tools wisely, and understanding the deeper systems at play. From farming Adventure Points to leveraging the day-night cycle, your success hinges on patience and attention to detail. Now, grab your whip and journal - adventure awaits.
More indiana-jones-and-the-great-circle Guides
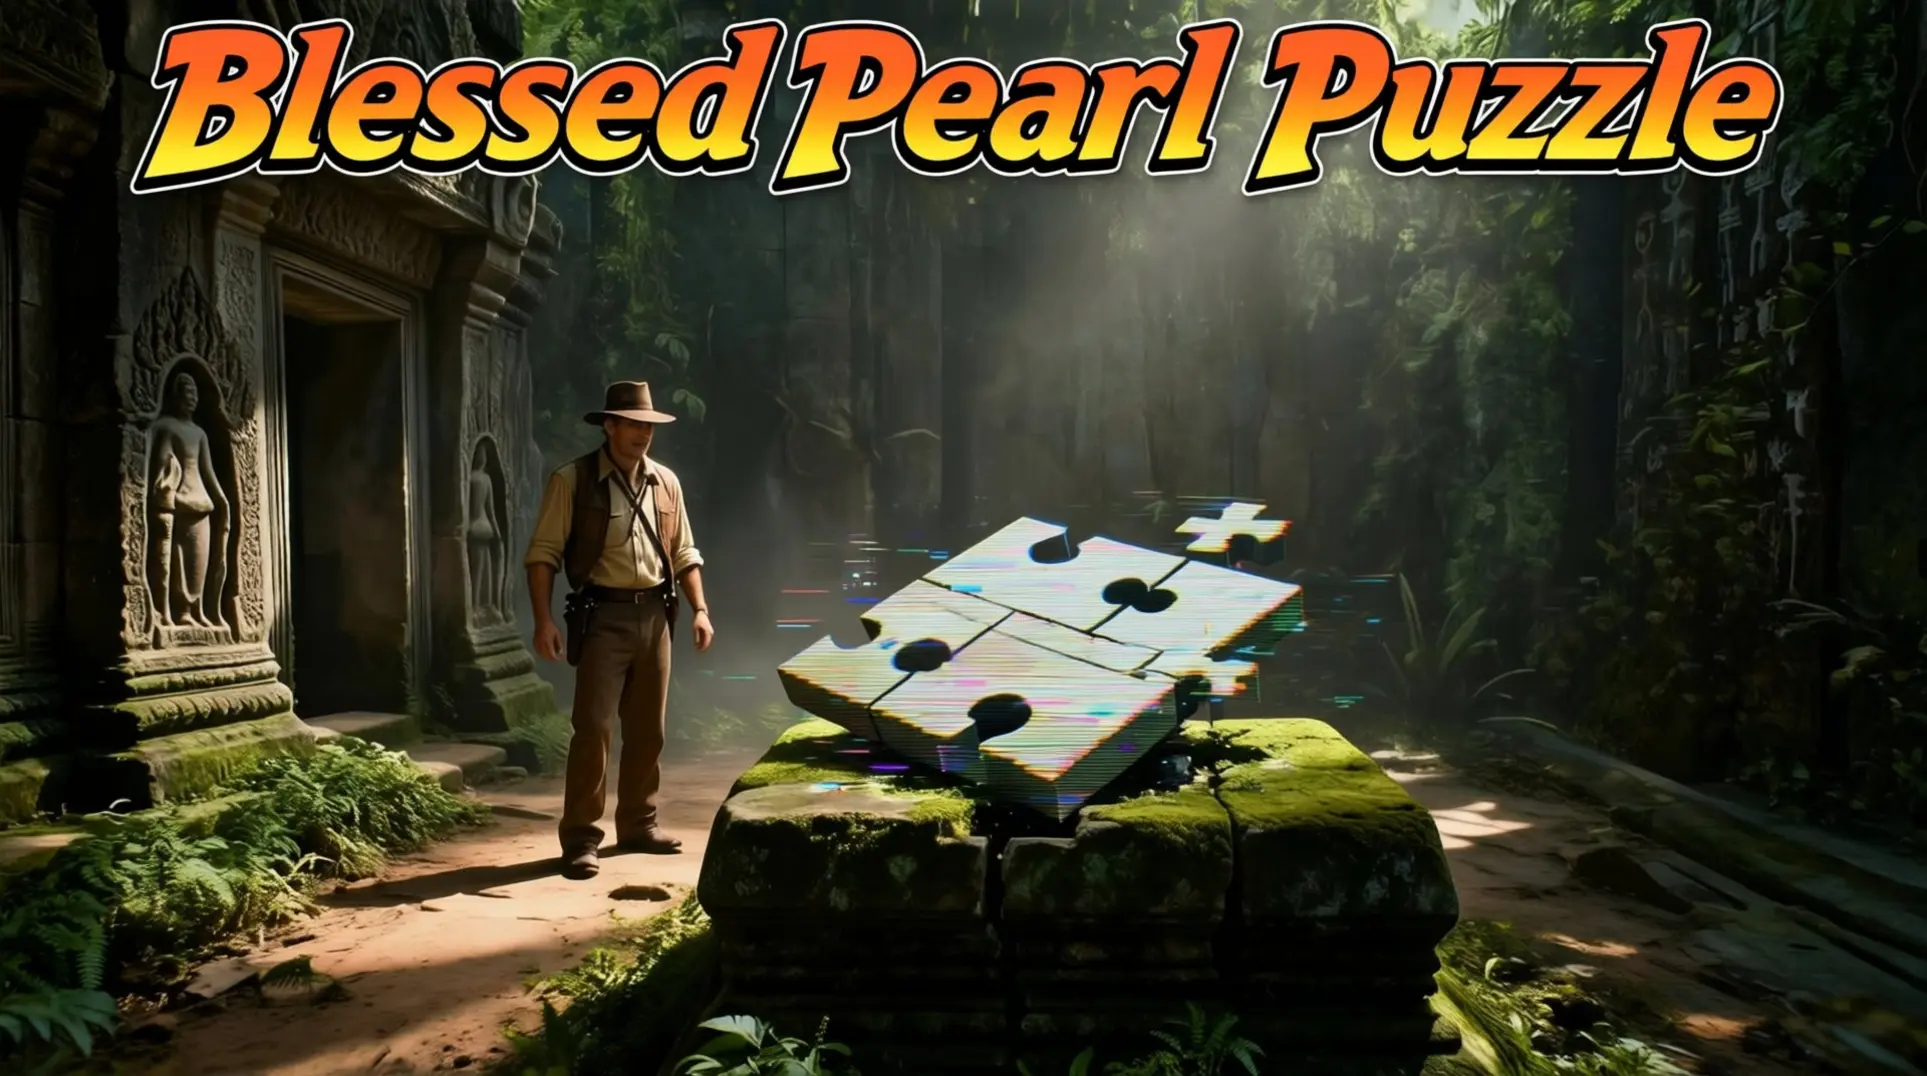
Fix the Blessed Pearl Bug in Indiana Jones and the Great Circle: Complete Guide
Stuck in the Blessed Pearl mission? This guide covers all bug variants, workarounds for PC, Xbox, PS5, and how to prevent soft-locks. Get past Sukhothai now.
The Complete Guide to All 50 Ancient Relics in Indiana Jones and the Great Circle
Find every Ancient Relic location in Vatican, Giza, Sukhothai, and Iraq. Unlock the true ending and earn the 'Relic Hunter' achievement with our step-by-step guide.

Indiana Jones and the Great Circle: Marshall College Prologue 100% Guide
Learn how to find all collectibles in the Marshall College prologue, avoid the point of no return, and secure 100% completion with efficient routes and tips.
AI Tactical Companion
Consult with our specialized tactical engine for indiana-jones-and-the-great-circle to master the meta instantly.