Ultimate Guide to Stealing Battle-tested Gear in Octopath Traveler 2
Introduction
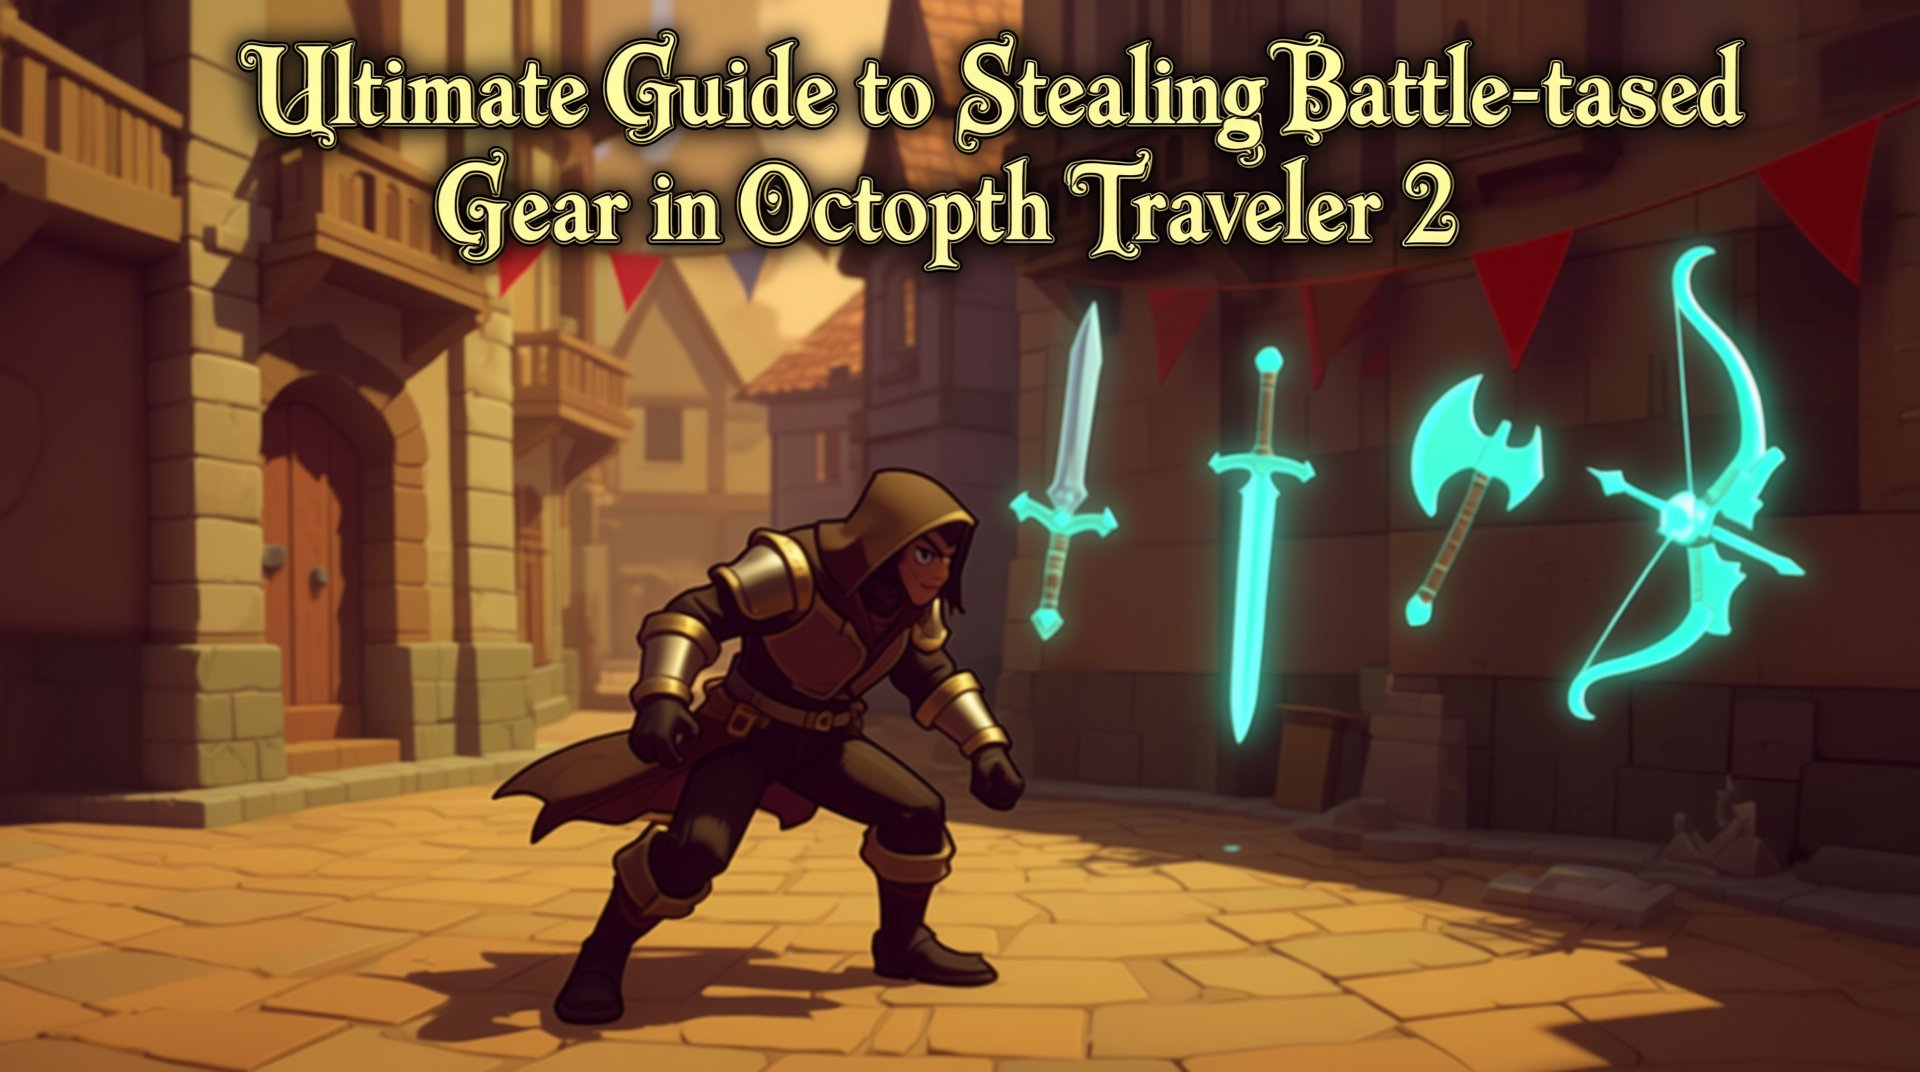
Want to dominate Octopath Traveler 2's early game without grinding to level 60? The secret is stealing the powerful Battle-tested gear. This guide reveals how to bypass brutal fights, boost your steal success rate, and grab these game-breaking weapons long before you're supposed to have them.
The Stealing Advantage: Skip Level 60 Fights
You've got two paths to those shiny Battle-tested weapons: fight for them, or steal them. Fighting means contending with level-60 NPCs who'll mop the floor with you unless you're basically at the endgame yourself. Each piece costs around 1.2 million leaves if you were to buy them, and you'll need to be leveled to hell and back just to survive the encounter.
Stealing, though? That's the smart move. You can grab most of this gear before you even finish Chapter 3, which completely breaks the early-to-mid game in your favor. The only real hurdle is the steal success rate, but there's a trick for that—it spikes way up when the target's HP is low. And if RNG isn't cooperating, you can save-scum the attempt. The game only locks your steal after the second confirmation screen, so you can reset and try again without losing reputation or progress.
Prerequisites: What You Need Before Stealing
Before you load up your save file and go on a crime spree, you need to check a few boxes. First up: story progression. Every single piece of Battle-tested gear is locked behind a traveler's Chapter 4 completion, which means you'll need to finish their full arc before the NPC even spawns with the gear in their steal pool.
Next, you'll need an actual thief. Therion is the obvious choice since he has the Steal ability natively, but you can also equip the Thief job on your protagonist. Level matters more than you'd think—a few extra levels can push your steal chance from a coin flip to almost reliable, because success scales directly with your thief's level versus the target's hidden challenge rating.
If you want to tilt the odds even further, track down the Brigand Boss in Cragspear and Entreat his Steal Mastery. It's a significant boost that'll save you hours of resetting.
Finally, don't forget the side stories. Some gear, like the Battle-tested Spear, requires finishing quests like 'Mikk and Makk Make Good' before it'll become available. Skip these and you'll be wondering why the NPC isn't showing up.
Essential Stealing Mechanics and Optimization
Understanding Steal Success Rates
Here's the dirty secret: that steal percentage you see is a filthy liar. Octopath Traveler 2 keeps the franchise's signature Steal Path Action, but the number on screen is not your real chance. Instead, the game runs a hidden calculation comparing your EffectiveLevel to the item's Steal Level, then clamps the result between 3% and 97%.
Your EffectiveLevel Formula:
- Thief's Level
- Steal skill level
- Any flat bonuses
Steal Success Rate Boosting Methods
Stack these bonuses to push your EffectiveLevel up:
| Bonus | How to Get It | EffectiveLevel Boost |
|---|---|---|
| Thief's Emblem | Chest behind waterfall in South Quarryridge Pass | +10 |
| Thieving Tips & Tricks | Complete side quest (Flamechurch Cathedral at night → Winterbloom thieves' quarter) | +10 (current town only) |
| Steal Success Berry | Rare consumable | +25% flat (next attempt only) |
| BP Boost | Spend 1 BP when triggering Steal | Two independent rolls |
Critical Mechanics to Remember
Important Caveats:
- Combat stealing applies an undisclosed negative modifier, which is why even 80% displayed chances can chain-fail
- Steal Success Berry only works on the next attempt—pop it right before you commit
- The berry empowers both rolls if you've got the BP boost active
Optimization Tips:
- Grab the Steal Mastery support skill at job tier 4
- This lets any party member steal at the same rates
- Frees up a roster slot for your preferred team composition
The 5-Minute Save-Scum Loop (Switch & Mobile)
Sometimes you just want that one NPC's rare accessory without spending three hours. That's where the save-scum loop comes in, but there's a critical step: turn off Auto-Save in System → Options → Data Management. If you don't, the game overwrites your backup slot and ruins the whole plan.
Here's the 45-second loop that actually works:
Save one tile away from the NPC or chest. Do it manually, then close the game completely—don't just suspend it. This writes the RNG seed to disk.
Relaunch the game to generate a fresh seed. The Unity engine uses System.DateTime.Now.Ticks on startup, so every launch gives independent rolls. Simply returning to the title screen does NOT re-seed—you must kill the process.
Enter the zone and examine your target. Check the item you want.
Pop a Steal Success Berry and spend 1 BP for the double roll. The berry buffs both attempts.
Attempt the steal. If you fail, immediately return to the title screen and reload your manual save from step 1.
Platform-specific tricks:
- Switch: Use the soft-reset combo PLUS → MINUS → R → A to force a full re-initialisation
- Mobile: Force-stop the app (swipe it away in recent apps) and relaunch
Pro tip: Hold 'A' to skip splash screens and the intro movie. The whole loop takes about 45-50 seconds on Switch, or 60-65 seconds on flagship phones.
Early Game Battle-tested Weapons (Chapters 1-2)
If you want to break the early game wide open, stealing these three weapons should be your first priority. They're not cheap, and you won't be buying them from any shop—you'll need Therion's sticky fingers to pry them from specific NPCs. Here's where to find them and how to actually pull it off without getting into fights you can't win.
Battle-tested Blade (Sword) - Valore Bridge
Your first target is the Battle-tested Blade on Valore Bridge, and this sword is ridiculous for how early you can get it. We're talking +400 Phys ATK and +150 Crit—enough to one-shot most enemies through Chapter 2.
The Fierce-Looking Man (basically a town guardian knight) holds it, but here's the tricky part: if you walk right up to him, he'll challenge you to a duel that you'll probably lose at low level. Instead, stand exactly two tiles away and steal from a distance. The base rate is 30%, which isn't great but it's not awful either. You'll need to have started the 'Master of Wealth' story step to even see him there, so make sure you've triggered that first.
Battle-tested Staff - Church of Flamesgrace
Next, swing by Flamesgrace Cathedral for the Battle-tested Staff—and honestly, this is your warm-up target. Lianna's chilling in the rear pew after you finish Ophilia's Chapter 4, and her steal rate is 40%, the highest of any battle-tested weapon. No special positioning, no tricks, just walk up and roll the dice.
The staff packs 212 P.Atk and a massive 399 E.Atk, plus it can slow enemies on hit. It's the perfect reward for what might be your first successful steal attempt.
Battle-tested Dagger - Emberglow Low-town (Night)
The Battle-tested Dagger is where the devs start making you work for it. You can only steal this from the Drunken Soldier on the tavern balcony in Emberglow Low-Town at night, and he won't spawn until you've completed Tithi's 1★ side story. Once that's done, save right outside the inn—you're going to be cycling day/night if you fail.
The base steal rate hovers around 35% (some guides say 30%, but either way it's a coin flip). For your trouble, you get 340 P.Atk, +100 Crit, and +50 Speed, which is absolutely bonkers for this point in the game. Just remember: he only appears at night, so don't waste time looking during the day.
Mid-Game Battle-tested Equipment (Chapter 3-4 Progression)
Battle-tested Bow - Nameless Forest Crossroads
The Aspiring Hunter at Nameless Forest Crossroads, just west of S'warkii, is your only source for the Battle-tested Bow. Unfortunately, her steal rate is brutally low—we're talking single-digit percentages—so you'll either be save-scumming or praying to the RNG gods.
Here's what makes it worse: once you successfully steal the bow, she vanishes for a full hour of in-game time. You might think resting at a campfire would reset her, but it doesn't work that way. The only consistent method is leveling up your party, which refreshes NPC inventories across the board. So if you're farming this, time it around when your characters are close to a level-up.
Battle-tested Axe - Rippletide Tavern (Day)
The Doddering Mercenary inside Rippletide Tavern carries the Battle-tested Axe, and he's only there during daylight hours. His steal rate sits at that same miserable 3%, but you're in luck—the Drunken Sailor nearby also has good steals, so you can farm both without leaving the area.
If you're sick of reloading, there's a Back-Door Trader in Rippletide who'll sell you the axe outright for 75,000 leaves. It's a steep price, but it beats slamming your head against a 3% chance for hours.
Battle-tested Shield - Copperlane Infirmary
Inside Copperlane Infirmary, the Wounded Knight leans against the east wall near a bed, and he's easy to miss if you're not looking. He holds the Battle-tested Shield with—you guessed it—a low steal rate around 3%, so you'll need Therion or a Thief-class character.
The silver lining here is that his inventory resets whenever you level up, so you can retry the steal without waiting for timers or reloading the entire area. It's still a grind, but at least it's a straightforward one.
Late Chapter 4 Battle-tested Stealing Guide
So you've finished all the Chapter 4 stories and you're eyeing that final Battle-tested gear set. Good news: you're in the endgame now. Bad news: these last three steals are the toughest in the entire game, with some of the lowest base rates you'll ever see. Here's where to find them and what you're up against.
Battle-tested Spear - Osterra Castle Gate
This one's a nightmare. The Palace Guard at Osterra Castle Gate carries the Battle-tested Spear, but you're looking at a base steal rate of just 20%—yeah, the lowest of the bunch. You simply can't attempt this without stacking both the Thief's Emblem and a Steal Success Berry, which pushes you to around 55% if everything lines up. Even then, you'll want to save before you engage because you'll probably need multiple attempts.
Battle-tested Helm - Nouveau Circus Tent
Thankfully, this one's nowhere near as painful. When the circus is in town at Nouveau, head inside the tent and look for the Traveling Minstrel—he's got the Battle-tested Helm with a much more reasonable 38% base steal rate. You still want to check your world map for the circus icon since it moves around, but you won't need to max out every buff just to have a fighting chance.
Battle-tested Armor - Nameless Town Training Yard
The Veteran Soldier in Nameless Town's training yard holds the Battle-tested Armor, and while the 26% base rate isn't great, it's at least better than that awful spear. First, though, you have to clear the 2★ story 'Aspiring Recruits'—otherwise, he won't even spawn. Once that's done, you can find him training in the yard and start working on that steal.
Prerequisites and Tip
Let's be clear: you can't access any of these until you've completed every character's Chapter 4 story. These are the final three pieces of the Battle-tested gear set, and nabbing all of them gets you the 'Battle-Tested Gear' trophy. So if you're a completionist, you don't really have a choice here—just stock up on berries, save often, and embrace the grind.
Early Game Power Spike and Build Recommendations
Stat Bonuses and Combat Impact
The Battle-Tested weapons aren't just upgrades—they're basically cheat codes for the early game. The Battle-Tested Blade alone brings +400 Physical Attack and +150 Critical, which is roughly triple what you'd find in any Chapter 1-2 shop sword. But here's the kicker: it also boosts your physical attacks by about 10%, so your damage numbers get even more ridiculous.
Then there's the Battle-Tested Bow sitting at +384 Physical Attack and +186 Critical, and it occasionally shreds the target's Physical Defense on hit. Pair that with the Battle-Tested Staff—the highest Elemental Attack staff in the entire game at +399—and you're looking at a combined +189 Physical Attack and +96 Elemental Attack over your regular early-game options.
So what does this actually mean in practice? The damage formula is integer-based, which means every single point matters. With that extra +189 P.Atk bump, you can hit 301 total attack power, and that's enough to one-shot Chapter 2 bosses like Behemoth (96 Defense, 12,000 HP) using a standard 1.35-power AoE skill. You can literally walk into Chapter 4 without grinding a single level.
Character-Specific Recommendations
Hikari gets first dibs on the Battle-tested Blade without question. His Warrior job and Sword proficiency make him the obvious choice, but it's his latent 'Learned Skills' that really seal the deal—they scale directly off Physical Attack, and his native 25% Crit passive absolutely loves the Blade's +150 Critical bonus.
Ochette should grab the Battle-tested Bow immediately. Her Capture & Provoke damage scales off both Physical Attack and Speed, so the Bow's stats feed directly into her kit. The Speed boost also helps her move earlier in turn order, and that Physical Defense down proc is basically free party-wide damage amplification.
Temenos is your prime candidate for the Battle-tested Staff. His 'Midnight Judgment' latent deals true damage based on Elemental Attack and even scales with Critical, making the Staff's +399 E.Atk and silence proc absolutely devastating for boss control.
If your main three are unavailable or you want to mix things up, you can flex the Blade onto Therion or H'aanit thanks to their Sword and Bow synergy, while Cyrus or Ophilia can put the Staff to great use as backup mages. Just keep in mind you only get one copy per save file, and you'll need to Contend those level-60 NPCs after finishing each character's Chapter 4 to claim them.
Trophy/Achievement: Battle-tested Gear
Tracking Your Collection
Keeping tabs on your Battle-tested collection isn't too painful once you know the trick. You've got nine pieces total—some weapons, a shield, helm, and armor—and they all hang out in one spot. Pop open Menu -> Journal -> Inventory, then sort by 'Weapon Type' or 'Equipment Type.' Every Battle-tested piece has that exact prefix, so they'll bunch together at the top of each list.
If something's still missing, you'll need to cross-check against the full set of nine sources. Each piece comes from a specific NPC you can steal from or buy from, and they're spread all over the world.
When an NPC refuses to battle, make sure it's actually night and that you've got Ochette's Provoke or Osvald's Scrutinize unlocked. Some targets won't even appear until you've cleared certain story milestones or side stories, so don't sweat it if someone's not around yet.
Battle-tested Gear Trophy/Achievement
Let's cut straight to the point: you need all nine pieces to earn the Battle-tested Gear trophy or achievement.
The best part? Stealing counts—you don't have to defeat the NPC at all, just swipe their gear and you're done.
One critical warning though: always create a separate save before each attempt. If you blow a Contend, that NPC can disappear for the entire chapter, and you don't want to softlock yourself out of a trophy.
Quick Reference: All 9 Battle-tested Items
These nine pieces are the best pre-endgame gear you'll find, and every single one hangs from a specific NPC's belt. You can't just buy them—you'll need to rob these folks blind or knock them down a peg. Most won't even show up until you've wrapped up the relevant Chapter 4 stories, so don't waste time hunting early.
Here's the complete lineup:
| Item | Weapon Type | NPC | Location | Base Steal % | Contend Level | Chapter Requirement |
|---|---|---|---|---|---|---|
| Battle-Tested Blade | Sword | Fierce-Looking Man | Valore Bridge | 30% | 60 | Master of Wealth story step |
| Battle-Tested Staff | Staff | Lianna | Church of Flamesgrace | 40% | 60 | Ophilia Chapter 4 complete |
| Battle-Tested Dagger | Dagger | Drunken Soldier | Emberglow Low-town (Night) | 35% | 60 | Tithi 1★ side story complete |
| Battle-Tested Bow | Bow | Aspiring Hunter | Nameless Forest Crossroads | 8% | 60 | Chapter 4 stories complete |
| Battle-Tested Axe | Axe | Doddering Mercenary | Rippletide Tavern (Day) | 3% | 60 | Chapter 4 stories complete |
| Battle-Tested Shield | Shield | Wounded Knight | Copperlane Infirmary | 3% | 60 | Chapter 4 stories complete |
| Battle-Tested Spear | Spear | Palace Guard | Osterra Castle Gate | 20% | 60 | Chapter 4 stories complete |
| Battle-Tested Helm | Helm | Traveling Minstrel | Nouveau Circus Tent | 38% | 60 | Chapter 4 stories complete |
| Battle-Tested Armor | Armor | Veteran Soldier | Nameless Town Training Yard | 26% | 60 | 'Aspiring Recruits' 2★ story complete |
Steal Success Rate Comparison
| Game Phase | Average Steal Rate | Difficulty Level | Recommended Strategy |
|---|---|---|---|
| Early Game (Ch 1-2) | 30-40% | Easy | Direct stealing, minimal setup |
| Mid Game (Ch 3) | 8-35% | Moderate | Save-scumming recommended |
| Late Game (Ch 4) | 3-26% | Hard | Full optimization required |
Conclusion
By mastering the mechanics of stealing and save-scumming, you can acquire the entire Battle-tested set and unlock its trophy without ever fighting a level 60 NPC. With this gear in hand, you'll be overpowered for the entire main story.
Remember the key points:
- Always save before attempting steals
- Use Steal Success Berries for difficult targets
- Stack Thief's Emblem and support skills
- Don't forget about the save-scum method for stubborn NPCs
Now go out there and rob those NPCs blind. Your overpowered early game awaits!