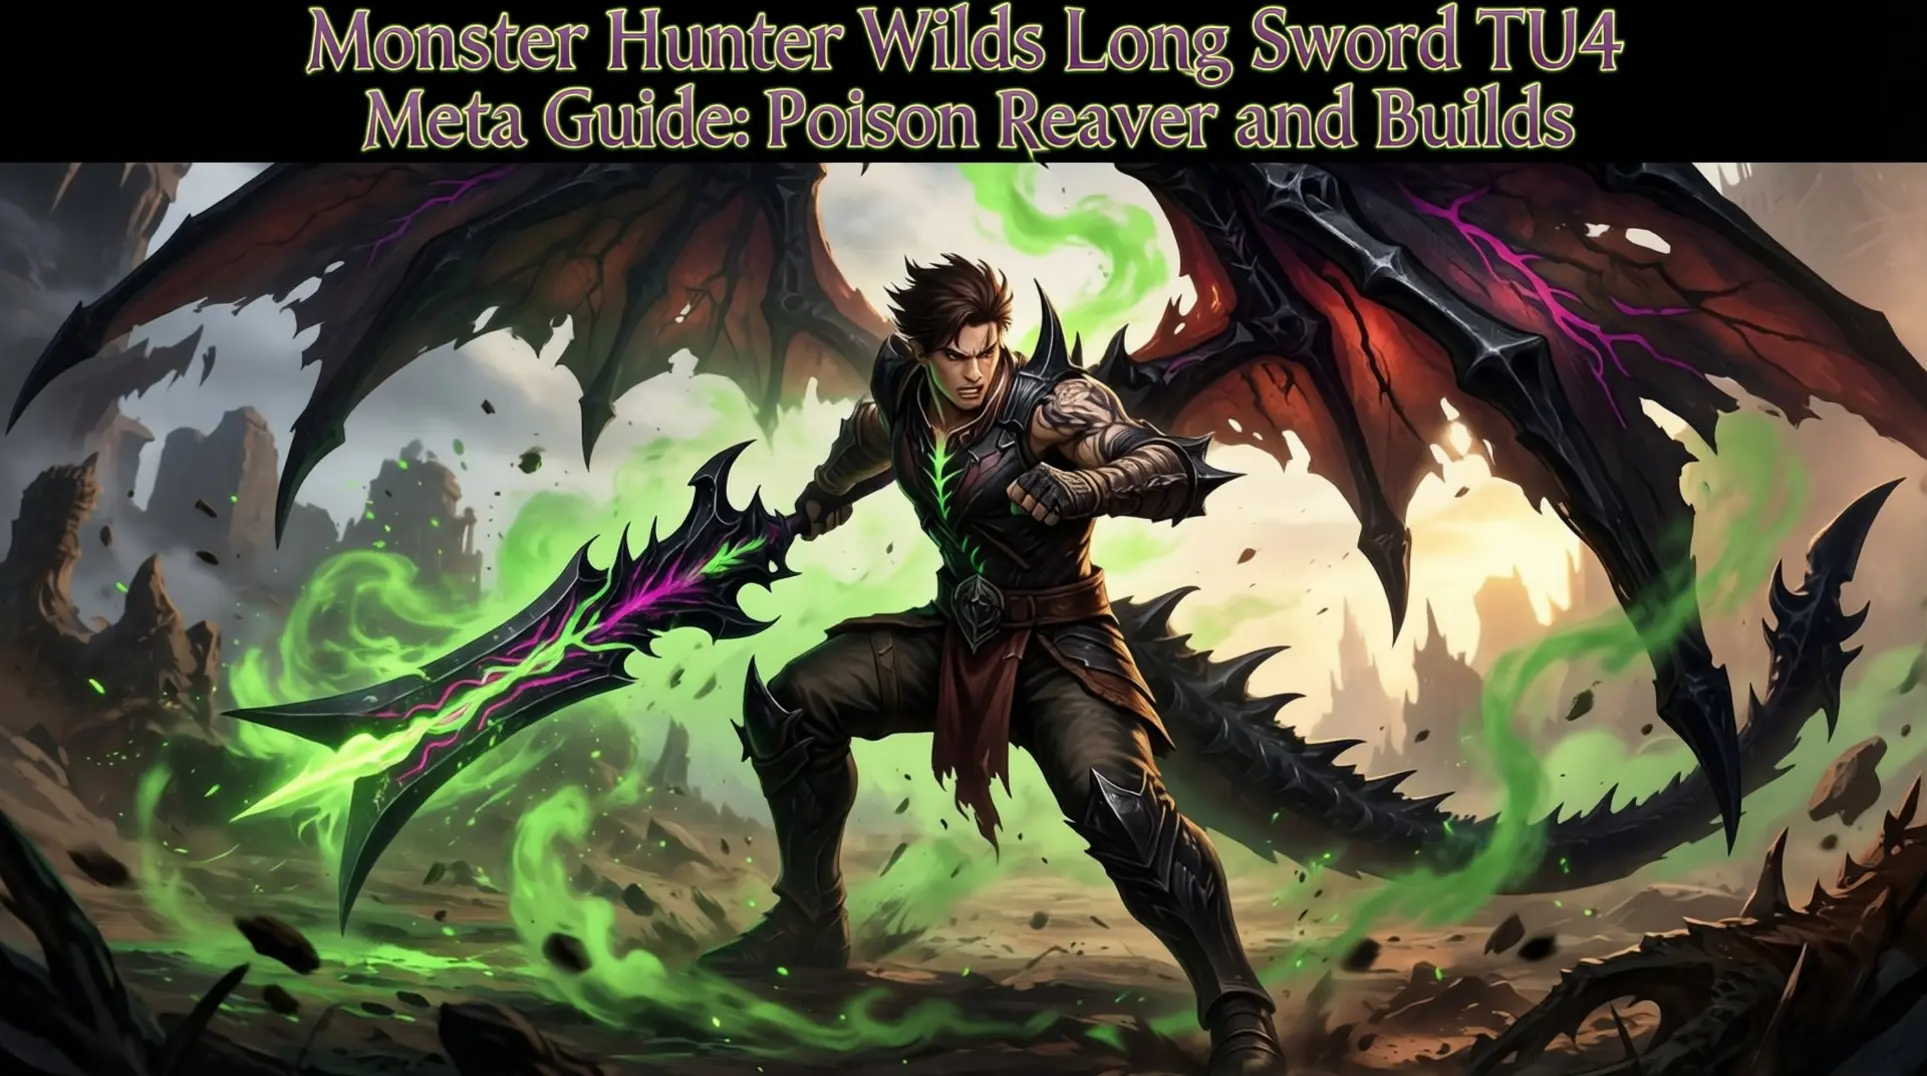
Monster Hunter Wilds Long Sword TU4 Meta Guide: Poison Reaver and Builds
Introduction
The Long Sword meta in Monster Hunter Wilds has undergone a dramatic transformation since launch, culminating in Title Update 4's game-changing reworks. If you're still using outdated builds, you're leaving significant damage and efficiency on the table. This guide breaks down the evolved meta, from the dominant Poison Reaver to the five core endgame archetypes, so you can optimize your hunts.
Meta Evolution in TU4
If you've been sleeping on Long Sword since launch, you're in for a surprise. The meta's evolved hard through the Title Updates, and TU4 flipped the script completely - especially for Poison builds.
TU4 Poison Reaver: Why Poison Surged
The meta didn't just shift in TU4 - it broke wide open. First off, the poison augment rework flattened the tick rate curve, which means monsters now hit that damage ceiling around 25% faster and stay poisoned for 15% longer. But here's the real kicker: armor transcendence finally lets you mix one-piece Delex with two-piece Rime-Scorn without sacrificing the 5-point Critical Eye breakpoint that used to force you into full Ibushi. And if that wasn't enough, the slot efficiency patch bumped those Lv-2 deco slots on arms and waist to Lv-3, so you can slot both Poison Attack 3 and Quick Sheath 3 without touching your charm.
The Five Core Archetypes Identified
Since TU4, the meta's settled into five core archetypes. Raw-Focused Critical is your go-to for general matchups, stacking the highest possible raw with Abyssal Reaver +7 and mixing Archelm β+, Valstrax Mail β+, Rathalos Vambraces β+, Arcfaulds β+, and Arcgreaves β+. Then you've got Critical Element/Status Hybrids that exploit 3-star elemental hitzones without bleeding raw - think Hellblade Katana for fire, Mizutsune LS for water, or Astalos LS for paralysis. If you're grinding those brutal 7-cart investigations, the Comfort/QoL 'Brain-Off' set has your back, running Gaismagorm LS with Golden Lunagaron Helm β+, Malzeno Mail β+, S. Magala Braces β+, plus the Arcfaulds and Arcgreaves combo so you won't cart every two minutes. For leaderboard chasers, the Speed-Run Glass-Cannon uses Orochi's Venom +7 with full Archdemon set β+ to crank out Peerless 5, Crit Eye 7, Crit Boost 3, Weakness Exploit 3, and Resentment 5 for those sub-5 solo kills. Finally, there's the Anti-Monkey Niche for monsters like Garangolm, Rajang, and Emerald Congalala, pairing Zinogre LS +6 with thunder attack and Wall Runner Boost to exploit their weird patterns.
Core Poison Reaver Build Components
Alright, so you want to make monsters choke on their own mistakes. The heart of this build is Arch-Fiend Horn α and Arch-Fiend Mail α - that combo gives you Coalescence 2 and Strife 2 right out of the gate, which means you're already halfway to the good stuff. Pair those with a four-piece set bonus like Black Eclipse from Gore Magala pieces, and you'll trigger Coalescence automatically whenever you shake off frenzy blight. It's basically free damage for getting hit, which sounds backwards but trust me, it works.
The rest of the armor fills in the gaps: Rimeguard Grips for Chain Crit, Aelucanth Elytra R9 for Poison Attack 2 and juicy slots, and Chrome Lune Greaves for Wire Step comfort. You'll want a 3-2-1 charm - either Attack or Handicraft depending on how greedy you're feeling.
Your final skill package looks disgusting: Attack Boost 7, Critical Eye 7, Weakness Exploit 3, Critical Boost 3, Poison Attack 3 (which actually hits 44 poison thanks to Coalescence), Coalescence 3, Chain Crit 3, Strife 3, Handicraft 2, and just a single point of Master's Touch from augments. For comfort, you're running Wire Step 2, Flinch Free 1, and Stun Res 1 so you're not getting clowned on.
For weapon augments, start with Status Boost I to bump your innate poison from 38 to 44, then slam Affinity IV to hit that sweet 55% baseline. Finish with a Slot Upgrade for a third 2-slot decoration - because who doesn't want more slots?
Weapon Options: Night's Crescent+ vs Venomous Gale vs Abyssal Reaver
Picking your poison is literal here, and each weapon plays differently.
Night's Crescent+ is the Long Sword choice with 330 raw, 15% affinity, natural purple sharpness (if you feed it Handicraft), and 40 poison with a 4-2-1 slot layout. It's the top dog for raw-focused poison play, giving you the best of both worlds.
Venomous Gale is for the Dual Blades crowd - 420 poison status, rapid hits, and 280 raw with hidden poison you can awaken. It chews through monsters like a lawnmower, especially in multiplayer or against poison-weak Elder Dragons. The status application is nuts.
Abyssal Reaver is a Great Sword with 360 raw but -10% affinity, plus 180 Dragon element and 35 poison. It's built for hit-and-run TCS play with Critical Draw, but you'll need Quick Sheathe 3 or the weapon feels like you're swinging through molasses.
Hunt Flow & Rotation Strategy
Here's how you actually play this thing.
Your opener is Focus Counter into Spirit Helm Breaker - that combo alone dumps about 28 poison per blade flurry, and thanks to Status Trigger giving you 30% faster application, you'll hit the 40-hit poison cap in two combos. It's disgustingly fast.
Once poison is ticking, maintain your red spirit gauge loop on Scroll B (the tempered Spirit Blade loop) to keep Strife at 100% uptime. When the monster topples or you get a big opening, swap to Scroll A with Sacred Sheathe for that juicy 1.35x raw burst window.
Now here's the spicy part: Coalescence procs on poison ticks because the game counts them as abnormal blight. Each proc gives you +18 raw and +15% status for 30 seconds, but since poison refreshes every tick, you can chain this for 60-90% uptime without deliberately poisoning yourself. It's basically always on.
For sharpness management, you're running Razor Sharp Jewel 1 and Handicraft 2 with 55% affinity to feed Master's Touch. If you luck into a 4-2-0 charm, you can actually drop Wire Step and slot Master's Touch directly via armor augments, cutting your sharpening downtime to almost zero.
TU4 Endgame Meta Builds (Title Update 4)
Title Update 4 flipped the Long Sword meta on its head, and honestly? It's the most fun we've had theorycrafting in months. Whether you're just hitting endgame or you're chasing that perfect Iai Slash, these five builds cover every playstyle without making your head spin.
Raw Critical Meta: Rathalos Slasher 95% Affinity
If you're fresh to TU4 and want something that just works, the Rathalos Flamesword+ is your best friend. This thing packs 680 raw, 28% natural affinity, and a comfy Lv 3 slot baked right in, which means you're not fighting the deco table before you even start hunting.
The classic setup uses Silver Solhelm Z (Transcended), Silver Solmail Z, Valstrax Braces Z, Silver Solcoil Z, and Ingot Greaves Z - and yeah, that's a lot of Silver Sol, but it gets you the good stuff: Critical Eye 7, Weakness Exploit 3, Attack Boost 4, plus Quick Sheath 3 and Wirebug Whisperer 3 for that smooth flow. Slot in two Affinity IV augments and one Slot Upgrade IV on the weapon itself, and suddenly you're sitting at 40% from CE, 5% from AB, 30% from WEX on softened parts, plus 10% from a Hunting Horn buff. That's 95% affinity after the 80% hard cap, which translates to purple sharpness with just Handicraft 2, solid 450 fire damage, and enough breathing room to actually learn the monster's moves. It's not flashy, but it's the most reliable all-rounder you can strap on without farming lottery tickets.
Elemental Powerhouse: Giasmagorm's End Dragon Build
When you're staring down a Dragon-weak elder and want to melt its face, Abyssal Galebrand is the move. Giasmagorm's Long Sword doesn't win on raw - 330 is modest - but the long purple with Handicraft 2 and that juicy 3-slot + 2-slot combo make it the most slot-efficient elemental stick in TU4.
Here's where it gets spicy: Dereliction 3 gives you +20 raw at three qurio (red), while Bloodlust 1 hands you +15% raw and +10 dragon after the frenzy purge. The purge also heals you, which directly offsets Dereliction's health drain, so you're not bleeding out while chasing top damage. Stack Critical Eye 7, Weakness Exploit 3, Critical Boost 3, Handicraft 2, and Chain Crit 1 from the Arch-Fiend armor pieces plus Malzeno Greaves X, and you're looking at roughly 480 effective raw with that 95% affinity on softened weak spots.
Comfort isn't an afterthought, either. Speed Sharpening 3 and Protective Polish 2 keep purple locked in, Defiance 3 cuts chip damage, and Stun Resistance 3 stops you from getting stun-locked at low HP. Redirection 2 is the secret sauce - it triggers instant qurio regen, which means you can manage Dereliction ticks mid-fight without breaking your combo. It's high-maintenance, but the damage ceiling is absolutely bonkers.
Comfort & Consistency: Lucent Nargaluna 100% Crit
Multiplayer hunts are a mess of random aggro and missed softens, which is why the Lucent Moonblade+ is such a breath of fresh air. This blade starts with 40% natural affinity and two Lv-3 slots after the TU4 upgrade, so you can hit 100% affinity without relying on your team to tenderize. Run Critical Eye 7 (40%), Weakness Exploit 3 (30%), and a single affinity augment (10%) - that's 90% already, and you can drop WE 2 for more comfort while still critting on every hit.
The real magic is Razor Sharp plus Master's Touch. Razor Sharp halves sharpness loss, Master's Touch negates it entirely on crits, and since you're critting literally every hit, your natural purple lasts the entire hunt. We're talking zero-sharpen, five-purple investigations from start to finish. Typical setup runs Arc Valstrax β+, Arch-Fiend Armor Uros β+, Golden Lune α+, another Uros β+, and Lucent Nargacuga β+ with any 3-2-1 charm.
That gives you Crit Eye 7, WE 3, Crit Boost 3, Divine Blessing 3, Stun Res 3, Free Meal 3, Quick Sheath 3, Evade Extender 2, Flinch Free 1, Spirit 1, and Redirection 1. DB3 and Stun Res 3 keep you alive when three other hunters pull aggro, Free Meal 3 cuts down on potion chugging, and EE2 helps you reposition after Spirit Slash without waiting on Redirection's cooldown. It's the set you bring when you want to focus on the fight, not your health bar.
Glass Cannon: Furious Rajang Burst Peak
If you live for that fat Iai Slash number, the Rajang Destroyer+ is your ticket to the top of the damage chart. This thing has 330 raw, +20 affinity, and a Lv-4 slot, but the real star is the Furious Rajang set bonus that adds 5% more affinity on top. That lets you sit at 95% affinity on tenderized weak points while stacking 500+ effective raw with Peak Performance.
The armor is tight: Archfiend Cerato β (Peak +2), Rime-Beard Mail β (Crit-Eye +2), Archfiend Vambrace β (Peak +1), Furious Rajang Coil β (Crit-Eye +2), and Archfiend Hessian β (Crit Boost +2). Add a CE 3 charm and decos, and you're running Crit Eye 7, Crit Boost 3, Peak 3, WE 3, Master's Touch 3, and Quick Sheathe 2.
Playstyle is pure Iai spam: Special Sheathe → Iai Slash for main DPS, then Sacred Sheathe → Iai Spirit Slash for the finisher. One full cycle - Spirit Slash I → Spirit II → Special Sheathe → Iai Slash round-slash cancel - clocks in at about 2.3 seconds and 1,150 MV/minute, which beats pre-TU4 Sacred-spam by a solid margin. The catch? Furious Rajang gear has awful resistances, so chip damage breaks Peak Performance constantly. Fixes include an Espinas/Green heal-pet, Super Recovery Dango + Immunizer, or just playing cleaner with Quick Sheathe 2 and Evade Extender 1 to avoid hits entirely. Peak uptime sits around 80-90% in good hands, and when it works, nothing else hits this hard.
Slot Efficiency: Silver Sol Mixed Set
Not everyone wants to farm Archfiend lottery, and that's where the Silver Sol mixed set shines. This is the most beginner-friendly TU4 setup that still hits the 7-4-3 decoration spread - the highest possible slot distribution in the game. You get Helm 7, Coil 4, Roots 3, which means you can cram in almost any comfort skill you want without sacrificing core damage.
Here's the trick: use Armor Transcendence to graft Silver Sol essence onto Chrome Metal Coil and Mosgharl Roots X while keeping their baked-in slots. Your final set looks like Silver Solhelm X (7), Archfiend Armor Epine (2), Silver Solbraces X (3), Chrome Metal Coil (4), and Mosgharl Roots X (3). Pair it with Talonblade 'Grief' (330 raw, 45 dragon, long white), and you're hitting Crit Eye 7, Attack 5, WEX 3, Crit Boost 3, Flawless 3 (20% affinity), Quickload 3, Chain Crit 1, and True Critical Element - that's 95% affinity on tenderized weak spots with the slot cap maxed.
Swaps are painless: drop one Crit Eye 2 for Steadfast 2 (you lose 5% affinity but still sit at 90%), swap the Talonblade to Abyssal Hino (330 raw, 40 blast) for non-dragon matchups, or replace Jumping 2 with another Attack 2 for grounded DPS while keeping that sweet 7-4-3 layout. It's the set you build first, then never really dismantle.
Progression Framework: From Early High Rank to Endgame
Early High Rank (HR9-HR20): Elemental Foundation
So you just cracked into High Rank and you're wondering where to start - well, Wyvern Blade Verde I is your first real goal. It unlocks at HR 10, which means you'll be using whatever you scraped together from Low Rank for exactly one quest before you can craft this thing. The beauty of this sword isn't just the poison - it's that it comes with Poison Duration Up Lv-1 and Critical Status Lv-2 baked right in, plus a 2+1 slot setup that gives you flexibility most early HR weapons don't have.
You're going to pair this with a weird mix of Rathian and Alloy pieces that looks janky but absolutely sings once the poison kicks in. The loop is simple: you apply poison, which lasts longer thanks to the weapon and Rathian Mail S, which means Foray stays active for more ticks, which gives you bonus affinity that feeds into Critical Status for even more poison damage. It's a feedback loop that melts early HR monsters before they even know what's happening.
Here's what you're slotting together:
| Armor Piece | Key Skill Contribution |
|---|---|
| Barroth Helm S | Foray 2 (starter) |
| Rathian Mail S | Poison Duration Up 1 |
| Rathian Vambraces S | Critical Status 2 |
| Anjanath Coil S | Decoration Slots |
| Ingot Greaves S | Critical Eye 2 (affinity) |
Your target skill spread looks like Critical Eye 4-5, Weakness Exploit 2-3, Foray 3, Critical Status 3, and Poison Duration 2. It's not fancy, but it works - you'll be re-poisoning monsters so fast that Foray's uptime feels permanent.
Mid High Rank (HR21-HR35): Critical Exploiter
Once you hit HR 21, poison starts falling off and monsters get tougher, so you need to pivot to raw damage and crits. This is where the Golden Rathalos and Blango mix comes in, built around one simple idea: wound a part, make the monster angry, and delete that wounded part.
The core weapon is Solar Siegflug from Golden Rathalos - 330 raw, 28 fire, 20 percent base affinity, and a 2-1-0 slot layout. It's not the flashiest, but it's consistent. Your armor mix looks schizophrenic on paper but it's pure math in practice:
- Blango Helm α+: Crit Boost 2, Attack 1
- Golden Rathalos Mail β+: Agitator 2, 4-slot
- Blango Vambraces β+: Weakness Exploit 2, 2-slot
- Golden Rathalos Coil β+: Agitator 2, 2-slot
- Blango Greaves β+: Crit Eye 2, 2-slot
What you're really chasing is the damage loop. You tag a weak spot with Soaring Kick to apply wound, which procs Wound Attack 3. The monster enrages, which triggers Agitator 5 for +20 affinity and +20 raw. Now your Iai Spirit Slash or Spirit Reckoning on that wounded part is sitting at 110 percent effective affinity - capped at 100, of course, but you get the idea. Every hit crits, every crit hits harder thanks to Crit Boost 3, and you're deleting health bars before the monster can catch its breath.
Late High Rank (HR36++): Raw Critical Transition
HR 36 is when you unlock Gore Magala, and that changes everything. The Arkvulcan Long Sword becomes your best friend - 330 raw, 15 percent base affinity, and long white sharpness if you can squeeze in Handicraft 2. This build is the bridge between High Rank jank and true endgame optimization; it's the first time you'll feel genuinely overpowered.
You're running almost full Gore at this stage, and for good reason:
| Armor Piece | Key Skill Contribution |
|---|---|
| Gore Mail β | Critical Boost 2 |
| Gore Braces β | Critical Boost 1 |
| Gore Faulds β | Max Might 2 |
| Gore Coil β | Antivirus 2 |
| Ingot Greaves β | Max Might 1 |
The skill target is Crit Eye 4, Max Might 3, Weakness Exploit 3, Critical Boost 3, Handicraft 2, and Antivirus 3 for the Gore set bonus. Here's the spicy part: your affinity calculation hits 140 percent on a weak spot when everything lines up - 15 from the weapon, 25 from Gore's cured frenzy, 30 from Max Might, 20 from Crit Eye, and 50 from Weakness Exploit. You're so far over the cap that you can afford to miss a weak spot and still crit constantly.
The loop is all about frenzy management. You open with a draw attack to proc Gore's virus, then hit Spirit Reckoning to cure it, which triggers Antivirus 3 for a flat +25 percent affinity. Keep your Spirit Gauge in the red and you're critting on every Iai counter forever.
Endgame (HR50++): TU1-TU4 Meta Evolution
Endgame in Wilds is defined by Title Updates, and your Long Sword build evolves almost as fast as the monsters you're hunting. Here's how the meta shifted patch by patch.
TU1 (HR50-69): Max Critical
You start with the Seregios-Gore shell. The weapon is Seregios Gale - 20 percent affinity, purple sharpness with Handicraft 2, and the Seregios Essence bonus. Mixed with Gore pieces for Antivirus and crit, this is your baseline. It's solid, but you're about to leave it behind.
TU2 (HR70-99): The Fork in the Road
Two paths emerge. Route A is the Fulgur-Gore mix, slapping on G. Fulgur Helm and Coil for Agitator 2 and those juicy Agitator-WEX dual decorations. Route B is the first iteration of Lagi-Guts, grabbing Lagiacrus Helm β and Coil β for the Guts set bonus. Both are viable, but Lagi-Guts is where the meta is heading.
TU3 (HR100): Lagi-Guts Critical
This is the peak. The weapon is Abyssal Bolt - 15 percent affinity, huge white sharpness, and it looks sick. Your armor is nearly locked:
- Lagiacrus Helm α+: Guts 2, Crit Eye 2, 4-slot
- Arch-Fiend Armor 'Gore': Crit Eye 3, 4-slot
- Arch-Fiend Arms 'Gogma': Agitator 3, 4-slot
- Lagiacrus Coil α+: Guts 2, Thunder 3, 4-slot
- Arch-Fiend Greaves 'Gore': Crit Eye 2
The skill spread is disgusting: Crit Eye 7, Agitator 7, Weakness Exploit 3, Crit Boost 3, Thunder Attack 5, Guts, Arch-Fiend Essence (+5 percent raw), and Handicraft 1. You're unkillable, you're always enraged, and you're critting for infinity.
TU4 (HR120+): Side-Grade City
No new weapon, but Gogmazios Helm β+ (Peak Performance 3, 4-2-1) and Gogmazios Vambraces β+ (Agitator 3, extra 2-slot) let you fine-tune. Speedrunners drop some comfort for more damage; everyone else just enjoys the flexibility. The Lagi-Guts shell remains king, but now you can dress it up however you want.
Skill Priority & Optimization Guide
Essential Damage Skills (★★★★★)
The Long Sword meta in Wilds isn't exactly subtle - it converges on three core damage skills that you'll want in pretty much every serious build. Critical Boost, Weakness Exploit, and Agitator form the holy trinity here, and for good reason.
Critical Boost is your biggest per-slot DPS gain at level 3, adding +15% critical damage when you do crit. Since Long Sword can push affinity sky-high, this translates to massive damage across your Spirit Gauge combos. Weakness Exploit feeds right into that by granting up to +30% affinity when you hit wounded or weak hitzones, and thanks to Focus Mode (or allies landing Burst damage), wounding happens passively - meaning you can maintain near-permanent uptime without thinking too hard about it.
Then there's Agitator, which kicks in while the monster's enraged - a state that covers roughly 40–50% of any high-rank hunt. It gives you +20 raw attack and +16% affinity, which syncs perfectly with the Long Sword's counter-heavy rhythm; you're already playing reactively, so you might as well get rewarded for it.
Beyond that trio, Critical Eye offers flat affinity (up to +30% at level 6) for consistent crits during your combo loops, while Critical Draw grants +40% affinity on your first draw attack after sheathing. That draw attack is perfect for seeding a wound right off the bat, letting you open with a meaty high-crit hit before flowing into your normal rotation.
Core Comfort Skills (★★★★☆)
Quick Sheathe 3 – This shaves precious frames off your sheathing animation, which means faster Iai Stance entries and more counter windows overall. You can get away with level 2 if you're slot-starved, but that third point trims the timing even further.
Evade Window 2–3 – Adds invulnerability frames to your rolls and Iai Spirit Slash evade steps, which smooths out Focus Mode timing and lets you face-tank lighter hits while landing counters. It's not mandatory, but it makes the whole dance feel much more forgiving.
Evade Extender 1 – Even a single point noticeably increases your roll and slide distance, helping you stick to mobile monsters without burning through your Spirit Gauge on repositioning. It's a cheap, efficient way to stay in the fight.
Sharpness Management (★★★☆☆)
The choice between Master's Touch, Razor Sharp, and Handicraft depends entirely on your weapon's natural sharpness and your overall affinity.
Master's Touch is mathematically superior when you're sitting at 40% affinity or higher - it completely prevents sharpness loss on critical hits. On a high-affinity set, you can run an entire hunt without touching your whetstone, which is huge for maintaining momentum.
Razor Sharp gives each hit a 50% chance to consume no sharpness at all. This becomes the better pick for lower-affinity or hybrid raw-element builds where Master's Touch won't proc often enough to be reliable.
Handicraft simply adds extra units of sharpness (like +20 units at level 2) but doesn't prevent loss. Think of it as a top-up skill - one or two points can push you into purple sharpness, but you always, ## Matchup-Specific Long Sword Build Adjustments
Poison-Immune Monsters (Elder Dragons)
So you're staring down Kushala Daora, Teostra, or Velkhana, and you just realized they're completely immune to poison - yeah, that means your whole build needs to pivot, hard. First things first: drop Poison Attack entirely and slam in pure raw skills instead, specifically Attack Boost 7 and Critical Boost 3.
The Bazel Coil β+ becomes your best friend here. It hands you Critical Boost 1 plus 2-2-0 slots, which lets you slot Master's Touch 3 without giving up either Crit Boost or Attack 7. That's massive for damage uptime when you can't rely on status procs.
Your charm needs to change too. Swap off that poison-focused charm and grab Critical Eye 3 (or a Crit-Eye/Handicraft hybrid) to push your affinity to 100% on wounded weak spots. The difference is night and day when you're fighting something that doesn't care about your poison.
Multiplayer Scaling Adjustments
Multiplayer hunts are a completely different animal. Monster HP and status thresholds balloon to about 2.2× normal, and poison thresholds specifically jump roughly 1.8× - we're talking 420 solo versus 760 in a four-player hunt. Because of that inflation, Poison Attack 5 isn't optional anymore; it's mandatory just to keep pace.
But raw numbers won't save you alone. You still need Status Trigger 3 for faster procs, and here's something most people miss: the Foresight Slash → Spirit Slash I → Spirit Thrust loop actually applies more poison per second than the slower Spirit Helm Breaker. Those rapid successive hits build status way faster than one big burst.
The real trick is team coordination. If two poison players proc at the same time, you waste a massive chunk of your inflated threshold. You'll need to communicate - call out when poison is about to tick so you don't overlap and ruin your own uptime.
Speed-Running vs Comfort Play
Here's where builds split into two philosophies: glass-cannon speed runs versus comfortable consistency.
Speed-run glass-cannons run Heroics 5 (+30% raw) with Resentment 3 (+25 true raw) and Peak Performance, dropping health to ≤35% before the hunt using small barrel bombs. This pushes 742 true raw up to 1,039 effective raw on wounded 80% crit weak spots after Crit Boost 3. It's pure damage math, but one mistake equals a cart.
Comfort variants ditch the risky skills for Evade Window 5 (0.43s i-frames on Spirit Slash), Divine Blessing 3, and Quick Sheathe 3 for safer heals and faster resets. Your peak DPS drops ~10%, but you gain 20-30% higher effective uptime in tough hunts because you're not constantly sheathing to heal.
| Build Type | Core Skills | DPS Benchmark | Trade-off |
|---|---|---|---|
| Speed-run | Heroics 5, Resentment 3, Peak Performance | 1,039 effective raw | One-shot potential |
| Comfort | Evade Window 5, Divine Blessing 3, Quick Sheathe 3 | ~10% lower peak | 20-30% better uptime |
The choice depends entirely on how clean you can play. If you can dodge everything, glass-cannon wins. If you're human, comfort keeps you in the fight longer.
Farming & Augmentation Roadmap
Poison Reaver Material Checklist
Here's the full shopping list for your poison blade, and where you'll actually find this stuff:
| Material | Source | Drop Rate & Pro Tips |
|---|---|---|
| Pukei-Pukei Cortex ×5 | MR Pukei-Pukei hunts | 35% slay/capture reward, but investigations with gold boxes push it close to 50%. Plan for 8–10 hunts to get your five. |
| Rathian Ruby ×1 | Rathian (MR) | Roughly 3–5% from carves or silver investigation rewards - it's miserable. Luckily, you can just meld it at the Elder Melder for 120 Research Points and 2 Gold Wyverian Prints. |
| Seltas Cortex ×3 | Seltas (MR) | 30% slay reward, 25% body carve. Seltas folds fast, so this won't take long. Bring a Partbreaker tool if you want to double-dip on breaks. |
| Hardclaw ×2 | Any flying wyvern | 65% chance when you break both claws. Ratha, Barioth, or Astalos are basically piñatas for these, so pick your favorite. |
| High-Elder Dragon Bone ×1 | Elder Dragons | 100% on your first head carve per hunt, then 25–30% from investigation boxes. Any Elder Dragon kill guarantees one, which is rare generosity. |
The real killer is that Rathian Ruby. If you're not feeling lucky, meld it and move on - your sanity is worth more than a few extra hunts.
Augmentation Priority Order
For the Poison Reaver, you're committing to status, so you want to lean into it hard. Here's the order that actually makes sense:
Status Enhance I – This adds +10 poison per hit and a 5% build-up boost, which works out to 6–8% faster procs. Solo, that's whatever, but in 4-player lobbies where status thresholds balloon, you'll notice the difference. It's niche, but on a poison weapon, it's your best opener.
Attack Increase I – After you've maxed your poison output, +10 true raw is always worth it. Unlike status, this benefits every hunt regardless of the monster's resistances, and it scales with every multiplier you're already running.
Slot Upgrade I – This jumps to #1 if you're one slot away from fitting Critical Boost 3, Quick Sheathe 3, or a Handicraft/Protective Polish deco. Otherwise, it's your third pick. Flexibility is nice, but damage and uptime come first.
The research is clear: raw Long Swords gain zero benefit from Status Enhance I, but you're building a Poison Reaver for a reason. Commit to the bit.
Talisman Farming & Optimization
| Talisman | Skills | Slots | When (or If) to Use |
|---|---|---|---|
| Golden Age Charm | Constitution 3 + Stamina Surge 2 | 4‑2‑0 | The safe, farmable pick if you hate RNG. It's reliable and covers QoL skills every Long Sword loves. |
| Challenger Charm II | Agitator 5 + N/A | 3‑1‑0 | Pulls ahead in TU4 when paired with the Arkveld 4-piece set. More raw, but you need the full set bonus. |
| Mighty Charm III | Critical Eye 3 + N/A | 2‑1‑0 | Honestly? Skip it. New weapons already have 15–20% native affinity, so you'll outgrow this fast. |
Now, about Appraised Talismans. TU4 introduced the appraisal system, and the god-roll ceiling is currently a 6-point skill + a 5-point skill + 4‑2‑1 slots. That's nuts, but the grind is real.
The good news is TU4 added a 7-star Follower quest that clears in ~4 minutes and still drops the highest-tier appraisal boxes. So you can farm efficiently without wanting to throw your controller. If you're chasing a perfect talisman, that's your loop. If you just want something functional, stick with Golden Age Charm and save your sanity.
TL;DR Archetype Recommendations
Look, choosing a Long Sword build shouldn't feel like solving a math problem - it really just comes down to what you're hunting and how you want to play.
If you're up against those bloated Afflicted or Super-Afflicted monsters with their annoying 1,000+ HP buffer, Poison Reaver is the answer. Poison ticks straight-up ignore that hidden buffer and trigger part breaks faster, which actually chips away at it mid-fight. You'll notice the hunt speed up real quick.
For everything else, Raw Critical is your workhorse. Running Gogma Artian with Archfiend armor gets you 454 Effective Raw and 85% affinity on weak spots, making it the perfect 'set it and forget it' build for about 90% of monsters. It's just stupid reliable.
Elemental builds technically win by 5–8%, but only on three ultra-specific matchups: Astalos Thunder LS against Rey Dau, Pyre Rakna Fire LS vs Arkveld, and Aurora Somnacanth Ice LS vs Doshaguma. That's the entire list. If you're not speedrunning those exact fights, don't waste your time farming five different sets.
And if you're still learning Spirit Gauge loops or the timing on Focus counters, Comfort builds are a lifesaver. Yeah, you're sacrificing some DPS, but you get Health Boost 3, Divine Blessing 3, Stun Resistance 3, and Quick Sheathe 3. That means you can practice without carting every three minutes.
So here's the breakdown: New players should run Comfort to learn the weapon's rhythm without frustration. If you're just hunting normally, Raw Critical covers almost everything. And if you're pushing speedrun times or grinding afflicted quests, you'll want Poison Reaver ready to go, plus those three niche Elemental setups gathering dust in your loadouts.
Conclusion
Ultimately, your Long Sword build should match your target and playstyle. Use Raw Critical for reliable all-purpose damage, switch to Poison Reaver for Afflicted monsters, and keep those niche Elemental sets for specific speedrun matchups. Master your chosen archetype's hunt flow, and you'll be topping damage charts in no time.