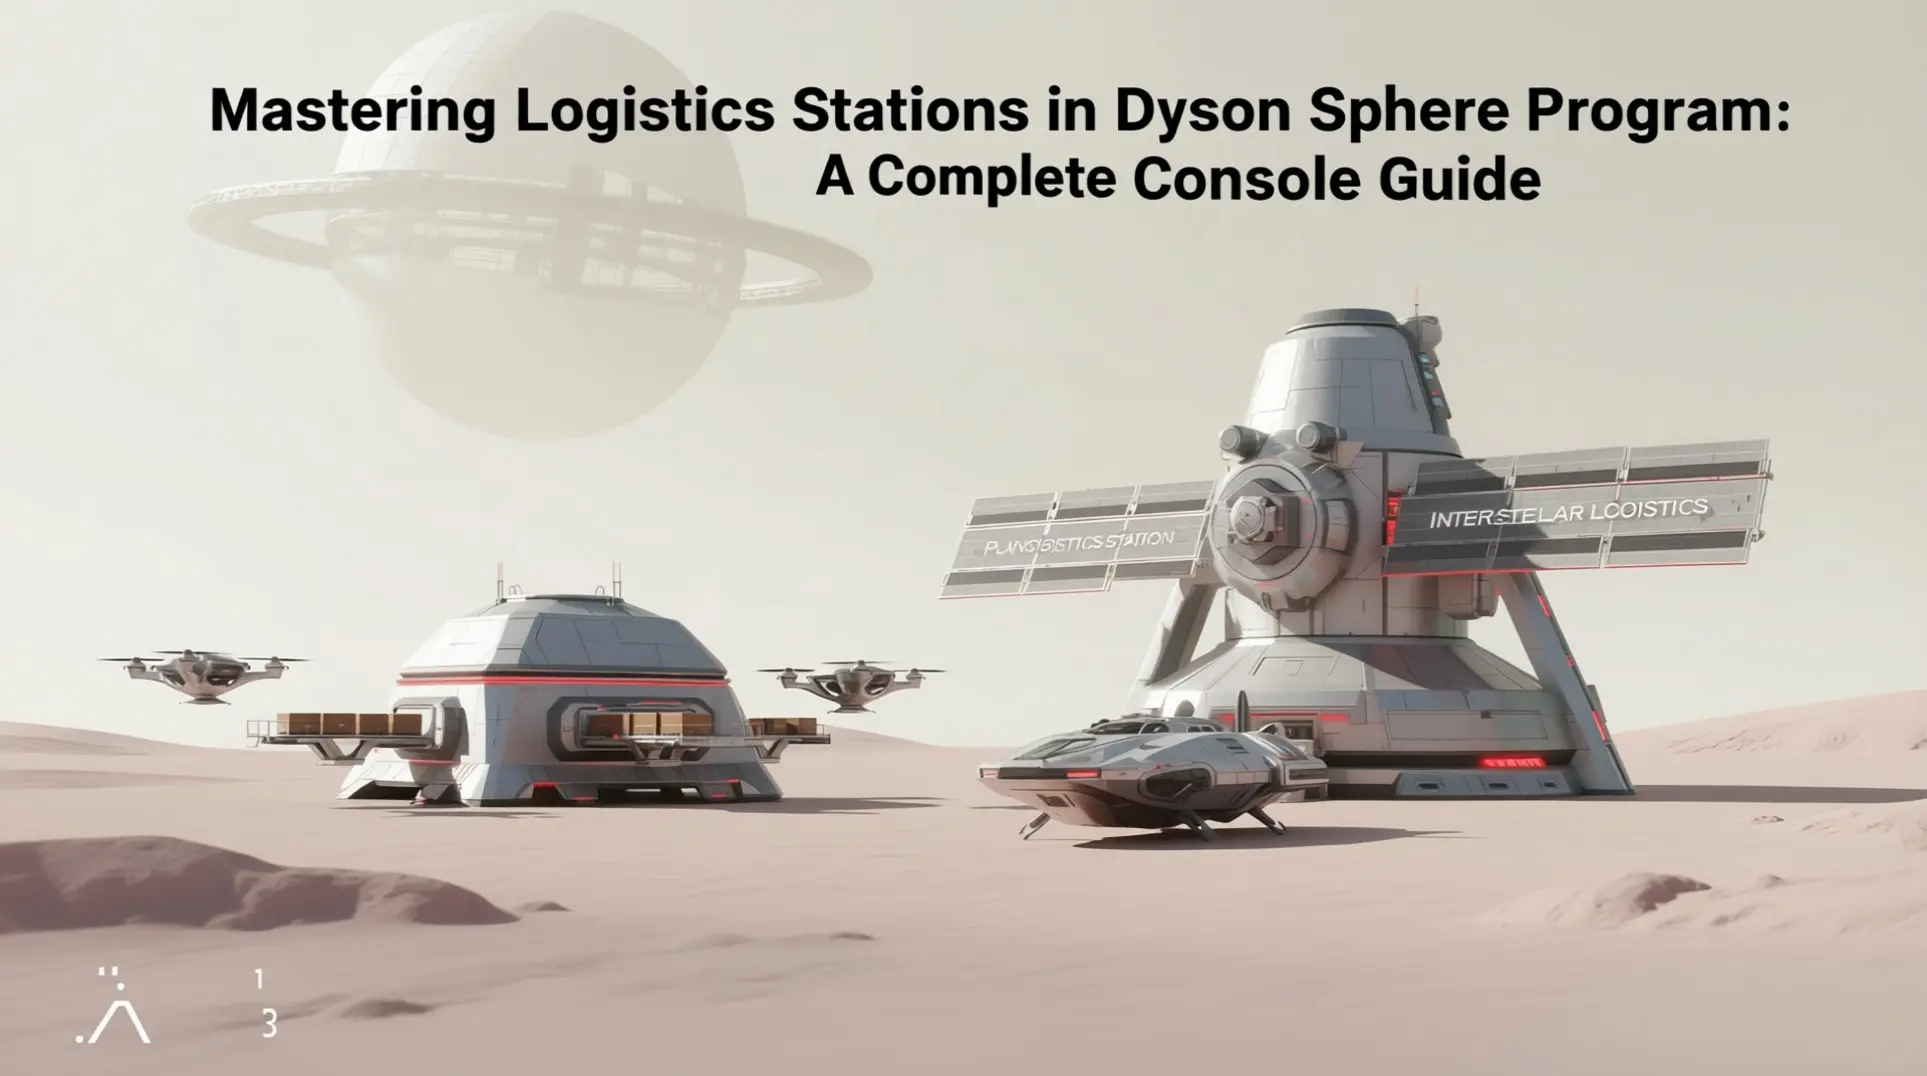
Mastering Logistics Stations in Dyson Sphere Program: A Complete Console Guide

Introduction
Mastering logistics stations is the key to unlocking true automation in Dyson Sphere Program, but the console interface adds unique challenges. Whether you're setting up your first Planetary Logistics Station or managing a sprawling interstellar network, understanding the specific mechanics and UI quirks is essential. This guide breaks down the three station types and provides a step-by-step setup process tailored for console players.
Understanding the 3 Logistics Station Types
Planetary Logistics Station (PLS) - Your First Automation Hub
Here is where your factory really starts breathing on its own. The Planetary Logistics Station is the first real hub you'll unlock, and it only works on the same planet—no space travel yet. To even place one, you'll need to research Planetary Logistics System from the tech tree, then hop into the Logistics radial menu (R1 on console) to build it.
The station holds 50 Logistics Drones maximum, which is the hard cap on both PC and console, so you won't be cramming more in later. Each of its four slots can store 5,000 items and you'll switch them between Supply, Demand, or Storage modes depending on what you're automating. Throughput gets better as you level Logistics Carrier Capacity—this tech pushes drones from carrying 25 items all the way up to 200 at Level 13, which makes a massive difference when you're hauling Titanium Ingots across the map.
Power management on console has a nice twist: the station pulls hard while its 180 MJ capacitor charges, but once it's nearly full the draw drops to just 1/20th of the maximum. Console UI navigation is straightforward—press △ to open the Logistics Panel, then □ to assign items to slots. You'll be setting these up every few minutes once you hit mid-game, so get comfortable with the shortcut.
Interstellar Logistics Station (ILS) - Galactic Supply Chains
The Interstellar Logistics Station is basically a PLS that went to space camp. You unlock it via Interstellar Logistics System near the top of the tech tree, and it keeps all the PLS features while adding a sixth item slot and the ability to host 10 Logistics Vessels alongside the same 50 drones. That vessel count defaults to zero on console though, which trips a lot of people up—you have to manually nudge the slider with RS/R3 to actually assign ships.
Idle power draw is a constant 60 kW, even when nothing's happening, so you'll want to plan for that. When a vessel lands, the station spikes to 120 kW for about three seconds while it recharges the ship, which can flicker small power grids if you're not careful. Early-game you can run an ILS off four Wind Turbines (15 kW each) or a single Thermal Generator burning Fire Ice, but you'll outgrow that setup fast.
Interstellar travel needs Space Warpers, and you've got to manually drop them into the dedicated warper slot using the D-Pad and X/□ on console. Without warpers, your vessels crawl between stars at snail speed, so don't skip this step. When you're ready to build, select the ILS from the Production radial, snap it with RT/R2, and place it with A/X. It's the same muscle memory as belts, just with higher stakes.
Logistics Distributor - Personal Bot Network
This one's not a true station, so don't get confused. The Logistics Distributor snaps onto any Depot, Tank, or Silo and deploys 10 Logistics Bots for short-range delivery. Think of it as your personal Amazon fleet for moving items between storage or directly into Icarus' inventory.
Placement on console is simple: open the Logistics radial, pick the Distributor, and it magnetically locks to the roof of a Depot. Power draw is 300 kW when bots are flying, so keep a small local grid on the same island or you'll get brownouts. Base range is 40° (around 110 tiles), but Distribution Range V tech stretches that to 180°, which covers most starter planets.
Bot speed starts at 6 m/s and doubles to 12 m/s with Logistics Carrier Engine upgrades. Need to refill bots quickly? Hold Y/△ on a Distributor to pop open the bot-count slider without digging through menus. Just remember: bots are intra-planet only, they cannot cross space at all. Use these for mall automation or feeding nearby assemblers, not for shipping Silicon across the solar system.
Step-by-Step Setup Process for Console Edition
Step 1: Research & Unlock Requirements
You can't just plop these stations down from the start, so let's break down what you'll actually need to research first. The full chain starts with Electromagnetism (10 Blue cubes), which unlocks Basic Logistics System (20 Blue cubes)—that's your planetary station foundation. But here's the gate: you absolutely need Structure Matrix (30 Yellow cubes) before anything else, since titanium doesn't exist on your starter planet. Once you've got yellows flowing, you can tackle Improved Logistics System for 60 Purple cubes, and that finally gives you both the Planetary and Interstellar stations.
For production pacing, most veterans run a 3:6:8:10 lab ratio (Red:Blue:Yellow:Purple), which keeps research humming at 60 Hz. If you're rushing specifically for logistics, ten Purple labs can crank out those 60 cubes in about 60 seconds of real time—so you won't be waiting long once you've got the infrastructure.
Step 2: Pre-Build Components Checklist
Before you start slapping down stations, stockpile these exact materials so you don't get halfway through and realize you're short on titanium alloy.
Planetary Logistics Station (PLS):
- 40 Steel
- 40 Titanium Ingots
Interstellar Logistics Station (ILS):
- 20 PLS (so craft those first)
- 20 Titanium Alloy
- 20 Particle Containers
That titanium alloy recipe trips everyone up—you'll need a Chemical Plant mixing 4 Titanium Ingots + 1 Steel + 8 Sulfuric Acid to produce just 2 units, so scale accordingly.
Fleet Crafting:
- Logistics Drones: 2 Electromagnetic Turbines + 4 Super-Magnetic Rings + 4 Titanium Alloy
- Logistics Vessels: 2 Electromagnetic Turbines + 4 Particle Containers
Step 3: Location Selection & Power Planning
Power is where console players get burned, so budget aggressively. A station idles at 60 kW, but an active ILS with five vessels and ten drones spikes to 540 kW—and if everything warps simultaneously, you'll see 1.2 MW peaks. The rule of thumb is 1 MW for every two fully-loaded ILS on a 200 MW grid, plus a 0.5 MW cushion if you're running more than 30 drones per planet.
Placement matters just as much. Console cursor snapping needs a 5x5 tile clearance around each ILS to prevent the infamous 'vessel stuck' bug on Xbox Series S, and you'll want to position pads about 1.5 grid-units above terrain. Clustering stations saves serious power: ten sparse ILS cost 600 kW idle, but five well-supplied stations can shave off 300 kW by consolidating duty cycles.
Step 4: Console UI Navigation for Supply/Demand
The radial menu feels clunky at first, but there's a rhythm to it. Hold □ (PS) / X (Xbox) to open the full-screen logistics dashboard, then use the left stick to select cargo pie slices. Once you've got an item highlighted, tap △ / Y to cycle through Supply (Green), Demand (Orange), and Storage (Grey)—hold it for 0.3 seconds to cycle backwards, which is way faster for correcting mistakes.
To set storage caps, hit R1 to open the numeric dial. The left stick moves in 100-unit ticks, while L2/R2 jumps ±1,000. Note that PLS slots max out at 5,000 units, but ILS can hit 10,000 per slot. Here's the real console trick: click L3 (stick-click) on a configured station to copy its entire layout, then R3 on another station to paste it—massive time-saver for late-game scaling.
Step 5: Drone & Vessel Management
This is the setting that kills most newbies: Min. Load defaults to 100%, which means your ships sit around waiting for completely full cargo holds. Drop that slider to 10-30% and you'll see response times skyrocket without clogging space with traffic. On console, the slider moves in 5% increments, and it takes about 18 right-stick ticks to hit 10%—so yeah, it's a pain, but it's worth it.
For fleet sizes, keep it lean but effective:
- 10 drones for planetary-only ILS
- 5-8 vessels for interstellar exporters
- 10-12 vessels for hybrid stations
- 0-1 vessel for pure importers (they rarely need to leave)
Each vessel holds 200 units, so at 10% Min. Load they only need 20 items before launching—perfect for keeping rare materials flowing between systems.
Step 6: Belt & Sorter Connections
Belt direction mistakes are the number-one cause of 'why isn't this working?' rage. When connecting sorters, tap △ / Y to see the holographic arrow before placement—hold the same button to engage belt bridge mode for elevated segments. Brief taps only rotate, which is why people get 'belt collision' errors when they meant to build a bridge.
Throughput matters too: Mk.III belts carry 30 items/s, and you'll need five Mk.III sorters (6 items/s each) to actually saturate one belt. That's a frequent console oversight since the UI doesn't highlight the bottleneck. For filtered sorting, R1 / RB opens the filter panel on single-item sorters, and if you've got the Pile Sorter Upgrade, you can stack up to 4 items on one belt tile—huge for dense smelting arrays.
Step 7: Warper Configuration for Interstellar Routes
Warpers are the hidden gotcha of interstellar logistics. Vessels burn 2 Space Warpers per round-trip (one outgoing, one return), which works out to roughly 1 warper per 1,000 AU minimum distance. The ILS has a hidden warper slot that holds 50 units—access it via △ / Y on the bottom row's rhombus-shaped icon (you'll need Logistics Carrier Engine Level 4 researched first).
To stock warpers automatically, belt-feed any ILS docking port and open that warper icon, then set it to Local Demand with a max of 20-50. This prevents remote stations from stealing your entire warper supply. For stable operations, always keep at least 2 warpers in stock—the vessel auto-consumes 2 per trip, and if you hit zero, your entire interstellar network grinds to a halt.
Console-Specific Optimization & Troubleshooting
Common Console Setup Mistakes & Fixes
Console logistics stations have this annoying habit of looking like they're working when they're absolutely not, and most headaches trace back to the same five setup mistakes. The UI just doesn't spell this stuff out.
First—and this trips up almost everyone—you've probably mixed up the Local and Remote rows. Only the Local row controls your drones, which means if your Demand station has its Local row set wrong (or not at all), nothing's moving. Both stations need Local set to Supply or Demand for the magic to happen.
Then there's the silent killer: zero drones at your Demand station. The game won't auto-populate that slot, so you have to manually add at least one charged drone by hitting Square (or X on Xbox). No drone, no delivery.
Power dips are another brutal one. A planet-wide brownout can freeze drone launch logic, and the infuriating part is it stays frozen after power returns. Just cycle the station off and back on with Y/△ to reset it.
Oh, and those cargo filters? They're tucked away in a sub-menu, and mismatched icons will silently block trips without any error message. Always verify filters match on both ends.
Last but not least, console path-finding caps around 180 km (roughly seven large grid squares), so anything beyond that gets ignored. Also, if you've got a warper sitting in the pad, that tells the station to look for interstellar routes and disables local drones completely—so pull it out.
Power Management for Console Performance
Let's talk power management, because this is where console players get blindsided. That 60 kW idle readout on each tower? It's actually 30 kW for the building plus another 30 kW trickle-charging a 6 MJ capacitor. Sounds fine—until a vessel launches and that entire capacitor empties in one 60 UPS tick.
That translates to roughly 360 MW of instantaneous draw per vessel, which can absolutely collapse your grid if you're not prepared. The fix is building a dedicated power line for your ILS row and avoiding splitters or T-junctions entirely. This keeps path length at 1 and removes the surge from the global solver.
You can also cap vessels per tower at two, which halves the spike amplitude since each additional dock adds another 6 MJ surge window. And watch your distances: there's a hard floor of 6 MJ for any route under 0.5 AU, then it adds 1 MJ per AU up to 6 AU, and 0.5 MJ per AU beyond that. Shortening routes under 0.5 AU won't save you any energy, but keeping them under 6 AU definitely helps.
If you're still hitting power issues, the 5-GW buffered substation mod is available in the Console Edition mod browser. It adds a 5 GJ internal store that absorbs the 6 MJ tick without waking up the grid solver. And here's a sneaky tip: disabling Dyson Sphere Visuals in the graphics menu frees up GPU time, which lets the power-supply reserve dedicate more headroom to CPU-side surge calculations.
Performance Optimization for Large Networks
Once your logistics network crosses **300, ## Advanced Logistics Strategies for Console Players
Scaling from Planetary to Interstellar Networks
First things first—you can't even place a logistics station until you've cracked the 'Planetary Logistics System' in the yellow matrix tab. That's your ticket to automated drones, but don't get too excited just yet because you won't be leaving your starter world until you've researched the 'Interplanetary Logistics System' with blue matrices and crafted your first 20 Logistics Vessels in an Assembler. It's a bit of a grind, but that's when the real game begins.
Once you drop your first Planetary Logistics Station (PLS), placement is everything. You'll want to put it on the same grid as your existing smelters or assemblers since drones only fly within a planet's atmosphere—no cross-continental journeys here. And here's something the game doesn't advertise: there's a hidden 10-drone-per-station cap, which is why speedrunners live by the rule of one PLS per finished product instead of building some massive central hub. Shorter flight paths mean faster production, simple as that.
While you're setting these up, always leave one empty slot in your supplying PLS. Trust me, you'll thank yourself later when you can just slot in a warper without tearing down and rebuilding the entire array. That foresight pays off big time when you finally obtain interplanetary travel.
Speaking of which, to go interplanetary you'll need to research 'Interplanetary Logistics System', 'Logistics Vessel', and 'Space Warper'—all sitting in that blue matrix tree. Once you've got those, the real magic happens: set your mining world's raw ores to 'Local Supply + Remote Storage', then flip over to your factory world and set the same ores to 'Remote Demand + Local Demand'. Your vessels will automatically start shuttling resources between planets, and you'll feel like a proper space industrialist.
Just don't forget the power budget—each Interstellar Logistics Station needs at least 100 MW if you're running five or more vessels, and console power math is identical to PC so there's no sneaky optimization there. When you start pushing past 1,500 items per minute from a pure ore patch, install two ILS towers instead of one; the vessels will automatically split between ident
Conclusion
From avoiding common setup mistakes to managing power spikes and scaling your network, effective logistics on console requires careful planning and an understanding of the specific mechanics. By applying these strategies, you can build a robust and efficient supply chain that powers your journey across the stars. Now, go optimize your factory and watch your production soar.
More dyson-sphere-program-console-edition Guides

The Complete Guide to Defeating the Dark Fog in Dyson Sphere Program
A comprehensive guide covering Dark Fog enemy types, turret defenses, Icarus weapons, military tech, and strategies from early to end-game.

The Ultimate Guide to Building a Dyson Sphere in Dyson Sphere Program
A step-by-step guide to constructing a Dyson Sphere in Dyson Sphere Program, from tech unlocks to multi-system scaling. Learn production ratios, construction mechanics, and optimization.

The Hidden Story of Dyson Sphere Program: Digital Immortality and Corporate Hubris
Uncover the profound narrative of Dyson Sphere Program, where building Dyson Spheres powers a simulation containing humanity's last remnants. Explore digital afterlife and COSMO's legacy.
AI Tactical Companion
Consult with our specialized tactical engine for dyson-sphere-program-console-edition to master the meta instantly.