Advanced Combo System Guide: Master Rush Combos and Character-Specific Techniques in Dragon Ball: Sparking! Zero
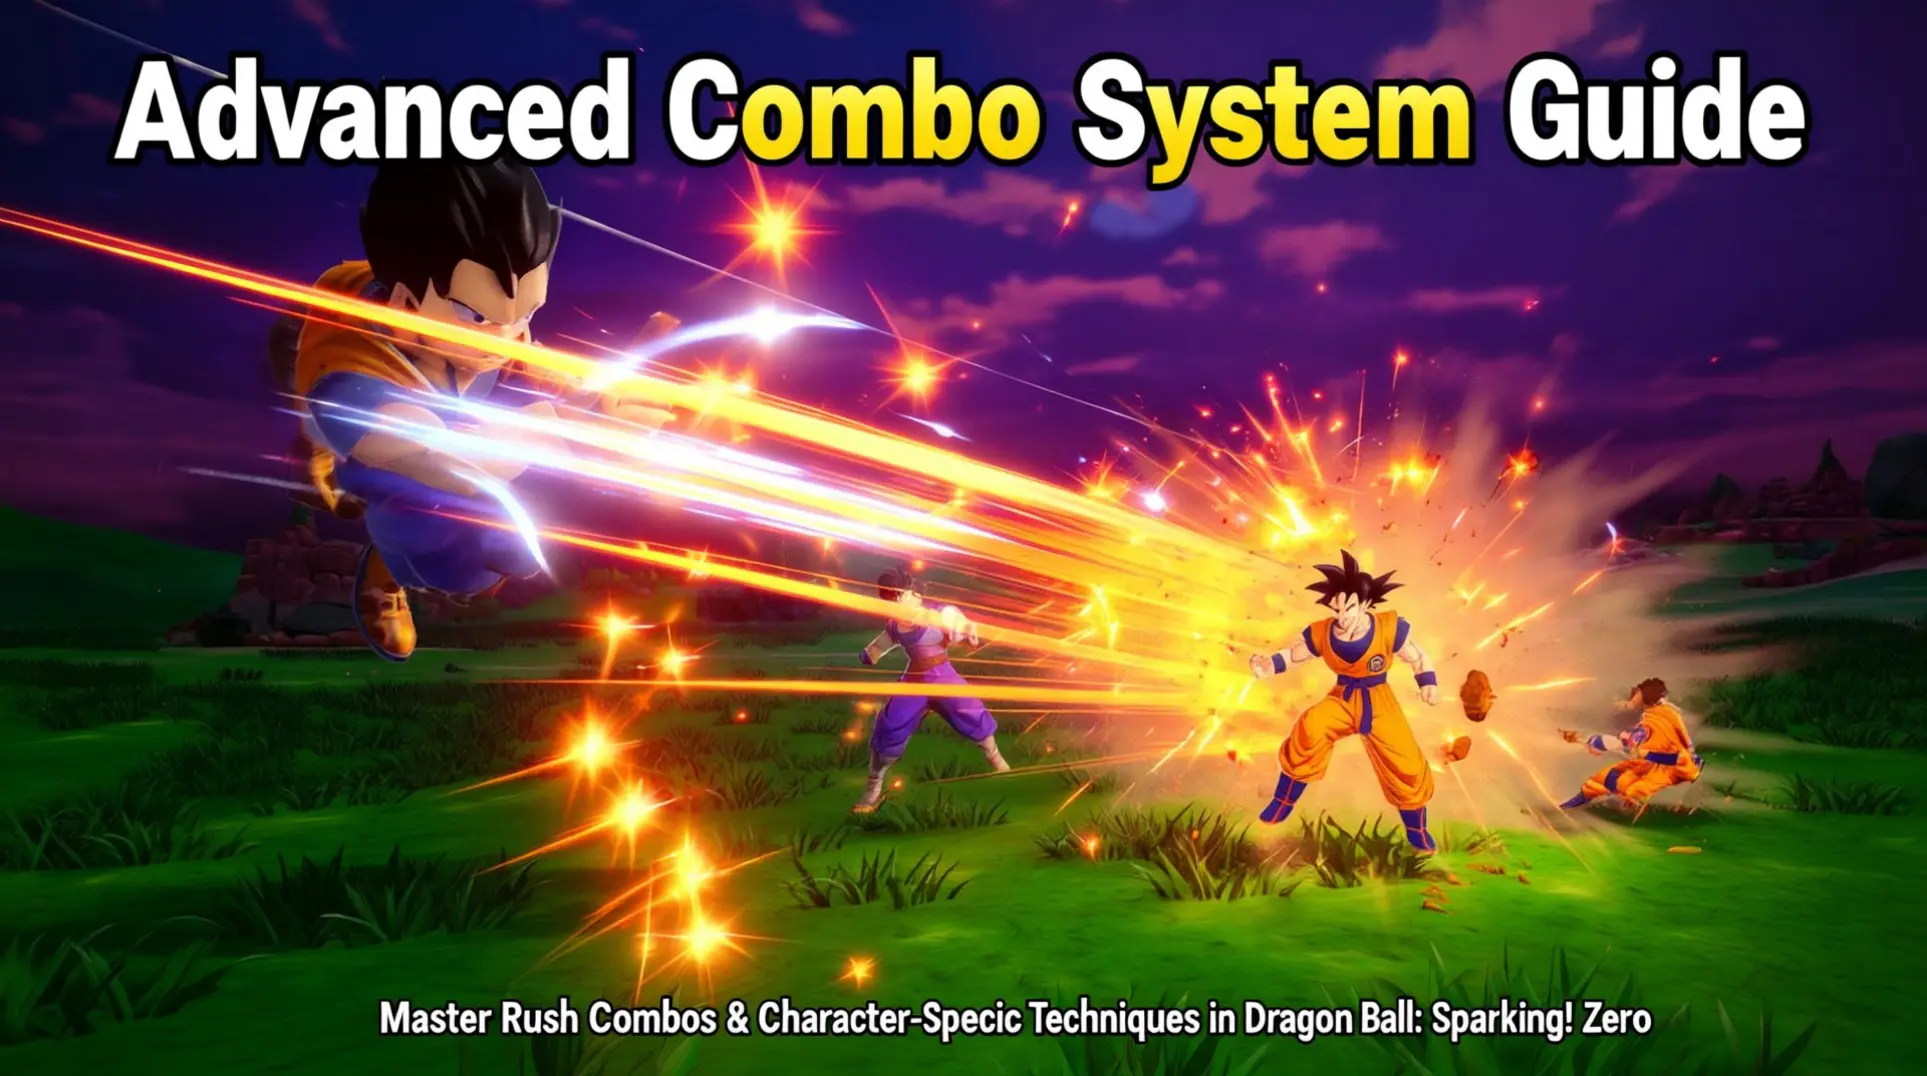
Dragon Ball: Sparking! Zero, released on November 14, 2025, presents a deceptively accessible fighting system that hides incredible depth beneath its surface. While newcomers can enjoy satisfying combat with basic inputs, the true competitive edge comes from mastering advanced techniques that separate casual players from tournament champions. This guide focuses on the sophisticated combo system that allows skilled players to chain devastating sequences, extend damage beyond standard limits, and adapt to any opponent's strategy. Understanding rush combos, character-specific extensions, and defensive maneuvers transforms the game from a simple brawler into a strategic masterpiece where every input matters.
The Foundation: Mastering Rush Combos
Basic Rush Combo Execution
Rush Chain combos can be activated by pressing [☐/X] up to four times maximum, followed by [△/Y] to finish. Longer combos deal more damage to opponents, making full extensions optimal when possible.
Rush Chain: A sequence of light attacks that can be chained up to four hits before finishing with a strong attack.
A basic Rush Attack sequence is performed by pressing [✖/A] [☐/X] [☐/X] [☐/X] to initiate movement into a standard rush combo. If you're close to an opponent, pressing the dash button initiates an invulnerable quick step and an attack will start a standard rush combo.
- Press [☐/X] up to four times for light attack strings
- Finish with [△/Y] for a strong attack finisher
- Alternative input: [✖/A] [☐/X] [☐/X] [☐/X] to initiate with movement
- Close range: Use dash button for an invulnerable quick step into combo
Advanced Rush Extensions: Dash Combos
Advanced combo strategy involves being charged to send opponents flying, then combo into a rush combo, followed by two special combo strings called dash combos. This maintains pressure and extends damage beyond the initial string.
Dragon Dash Cancel: A technique performed by canceling a Perfect Smash into a Dragon Dash, allowing you to extend combos that would otherwise end.
To perform Dragon Dash Cancel, execute Perfect Smash by holding heavy attack until your character glows, then release and immediately cancel into Dragon Dash to continue the combo. During Dragon Dash, you can perform High-Speed Movement by pressing the dash button again, consuming more Ki but allowing instant repositioning behind opponents for mix-ups.
- Execute Perfect Smash (hold heavy attack until character glows, then release)
- Immediately cancel into Dragon Dash to extend the combo
- Press dash again during Dragon Dash for High-Speed Movement (costs more Ki)
- Z-Burst Dash extensions can be used to beat afterimage strikes
Rush Combo Limitations and Strategy
Dragon Ball Sparking Zero is full of "fake combos" that can be escaped, requiring players to learn how to perform real, inescapable combos with proper timing and move links. You cannot repeat the same rush chain twice in one combo or it will drop, requiring varied attack sequences.
Damage Scaling: There is damage reduction the longer a combo continues, with successive hits dealing progressively less damage to prevent excessively powerful combos.
Knockback Recovery allows characters to quickly regain composure after being hit by powerful blows that send them flying, preventing opponents from capitalizing on the opening to extend combos. Impact Recovery is the primary tool for escaping combos, which can halt the opponent's offensive string and create opportunities for counter-attacks.
- Avoid repeating the same rush chain twice to prevent combo drops
- Learn proper timing and move links to create real, inescapable combos
- Be aware of damage scaling reducing combo effectiveness over time
- Opponents can use Knockback Recovery and Impact Recovery to escape
Essential Defensive Techniques
Mastering the Z Counter
The Z Counter, also known as the Revenge Counter, is a powerful defensive maneuver. It is performed by pressing [R3/R] (clicking the right analog stick) at the precise moment you are about to be hit.
Z Counter: A parry technique that allows you to retaliate against incoming attacks.
The timing window for this technique is extremely tight. It is approximately 4 frames (1/15th of a second at 60 FPS), requiring near-perfect execution. This defensive tool can counter any attack type. It works against both melee strikes and ki blast attacks while you are being attacked in a combo.
- Instantly breaks your character out of incoming attack animation
- Delivers a guaranteed counter-attack when successful
- Particularly effective against aggressive players who constantly press their advantage
- Allows you to reverse match momentum
Perfecting the Vanish Technique
Vanish is executed by pressing the heavy attack button just as an enemy's attack is about to hit you. This technique teleports you behind the opponent for counter-attack opportunities.
Vanish: A teleportation technique that costs one bar of Ki to use.
The timing must be at the very last moment before impact. Pressing too early results in a standard dodge, while pressing too late means taking the hit. Vanish serves multiple strategic purposes. It can extend combos by teleporting behind staggered opponents to continue assault sequences.
- Counter Perfect Smashes and active Rush Chains by timing Vanish as the opponent's attack is about to connect
- In Sparking Mode, your regular rush combo lasts much longer before enemies get knocked out
- This creates extended windows to integrate Vanish for devastating combo chains
Character-Specific Combo Techniques
| Character | Key Transformation | Unique Combo Property | Advanced Technique |
|---|---|---|---|
| Goku | Super Saiyan 2 | Heavy finish requires Triangle x2 + Square + directional input | Z-Burst Dash for repositioning |
| Vegeta | Super Saiyan Blue | Guard break options after blocked attacks | Ki-blast integration in combos |
| Frieza | Golden Form | Zoning and projectile control | Deceptive startup techniques |
| Gohan | Ultimate/Mystic | Potent ki attacks | Guard break strategies |
Training Mode: The Path to Mastery
Setting Up Effective Practice Sessions
Training Mode is accessible from the Main Menu by using L1/R1 or LB/RB buttons to shift to the 'Battle And...' section where training options are located. For defensive practice, set the training CPU to focus aggressively on combos at maximum difficulty.
Just Guard: This technique involves tapping the block button at the precise moment attacks land.
Optimal combo training configuration includes setting CPU opponent behavior to 'Guard' or 'Counter' mode. This tests combo strings against opponents that will try to block or escape.
- Set CPU difficulty to maximum for realistic defensive timing practice
- Use 'Guard' mode to test combo viability against blocking opponents
- Enable 'Counter' mode to practice against opponents attempting escapes
Training mode has a reset function in the menu that allows quick restart of scenarios after dropping combos. This makes practice sessions highly efficient. You can customize defensive drills by setting the CPU to use specific, predictable attack patterns.
Vanishing Attacks: This teleport dodging technique can be practiced repeatedly against predictable rush attacks.
Common Execution Mistakes to Avoid
Players often struggle with execution errors that disrupt their performance. Understanding these common mistakes helps create more effective practice sessions.
- Button Mashing: Pressing buttons without understanding specific timing windows results in incomplete combos and leaves you vulnerable to counterattacks. Focus on learning proper timing instead of mashing.
- Input Delay Issues: Delay can make button presses feel unregistered, causing you to get caught in enemy combos with little recourse. Review your control settings to improve responsiveness.
- Mis-timed Character Swaps: Swapping characters at the wrong time during combos breaks the flow and resets opponent's hit stun. This opens your newly swapped-in character to immediate counterattacks.
- Suboptimal Control Settings: Poor control configuration contributes to execution errors in fast-paced combat. Adjust your settings to improve responsiveness.
- Skipping Basic Training: Attempting complex multi-character combos before mastering basic combos and special move cancels leads to frequent drops. Master fundamentals first for more efficient practice.
Advanced Strategy: Flow and Adaptation
Creating Natural Combo Flow
Natural combo flow involves building momentum by landing attacks. This generates the resources needed for transformations and Sparking Mode activation.
Sparking Mode: A special state that can be activated during an existing combo to extend your rush combo significantly longer before the enemy gets knocked out.
When activated mid-combo, Sparking Mode creates extended damage opportunities. It allows you to chain extra hits and crush opponents' defenses when they are most vulnerable.
- Mid-combo activation extends rush combos for longer damage sequences
- Free Ki Blasts during Sparking Mode maintain pressure without consuming resources
Strategic Transformation Timing
Strategic transformation timing requires balancing offense and defense. You must steadily fill the transformation gauge through landing hits and avoiding damage.
Active Frames: The specific timing window during which Sparking Mode activation must occur to yield the combo extension effect.
The timing for Sparking Mode activation must occur during the active frames of your combo. Activating too early or too late will not yield the extension effect.
Ultimate Ability: A powerful move whose availability and strength depend on your character's current transformation state.
Sparking Mode powers up your ultimate ability, with the specific ultimate available depending on your character's current transformation state or era. Character transformation state directly influences which ultimate abilities are available, making transformation timing crucial for accessing specific finishers during extended combos.
- Activate during active frames to successfully extend combos
- Transformation state determines which ultimate abilities you can access
Mastering Dragon Ball: Sparking! Zero's advanced combo system requires dedication to practice and a deep understanding of character-specific mechanics. The key takeaways from this guide emphasize the importance of proper timing over button mashing, strategic transformation usage during critical moments, and consistent training to build muscle memory.
Remember that rush combos serve as your primary damage engine, while defensive techniques like Z Counter and Vanish provide essential escape options. Character-specific properties add layers of complexity that reward specialization, and training mode remains your most valuable tool for improvement. With these advanced techniques in your arsenal, you'll be well-equipped to compete at the highest levels and experience the full depth of what this exceptional fighting game has to offer.
More Dragon-Ball-Sparking-Zero Guides
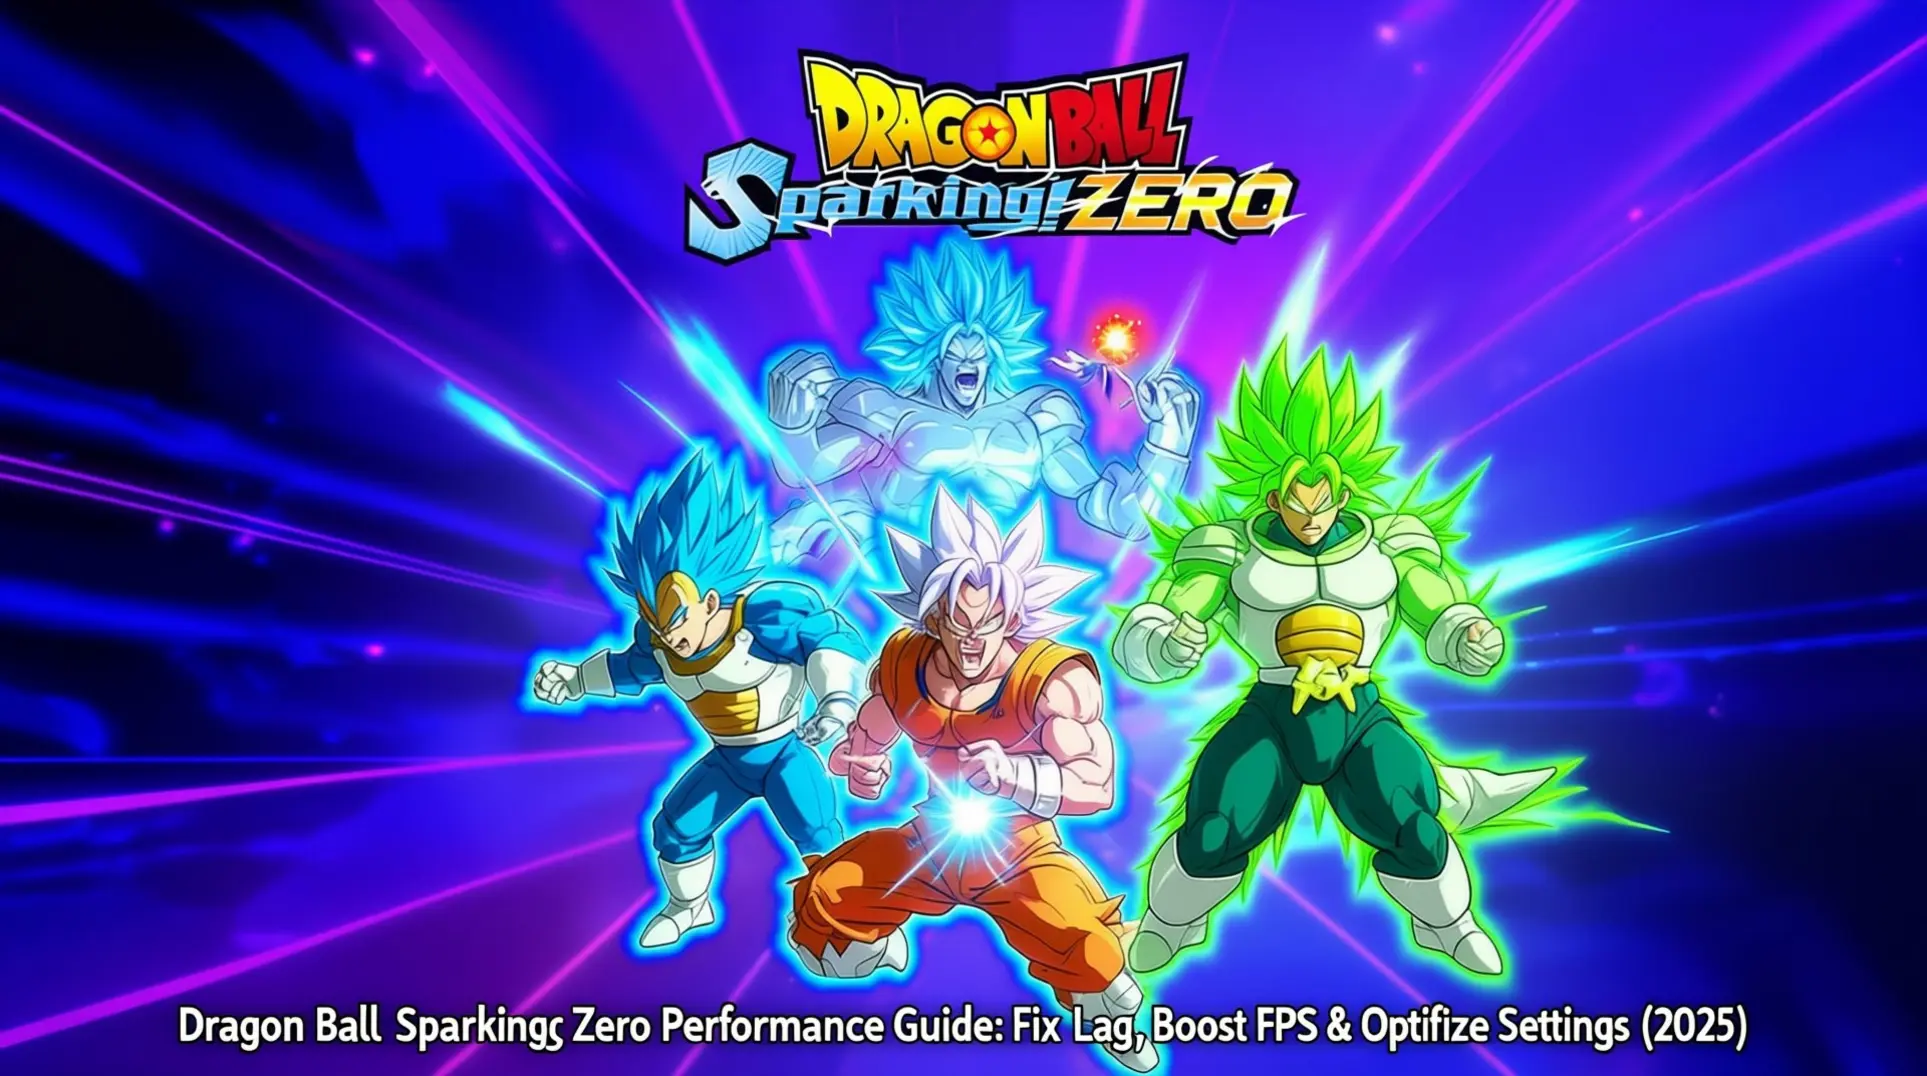
Dragon Ball Sparking Zero Performance Guide: Fix Lag, Boost FPS & Optimize Settings (2025)
Complete performance optimization guide for Dragon Ball Sparking Zero with PC and Steam Deck settings to fix lag, boost FPS, and optimize graphics configuration for maximum performance.
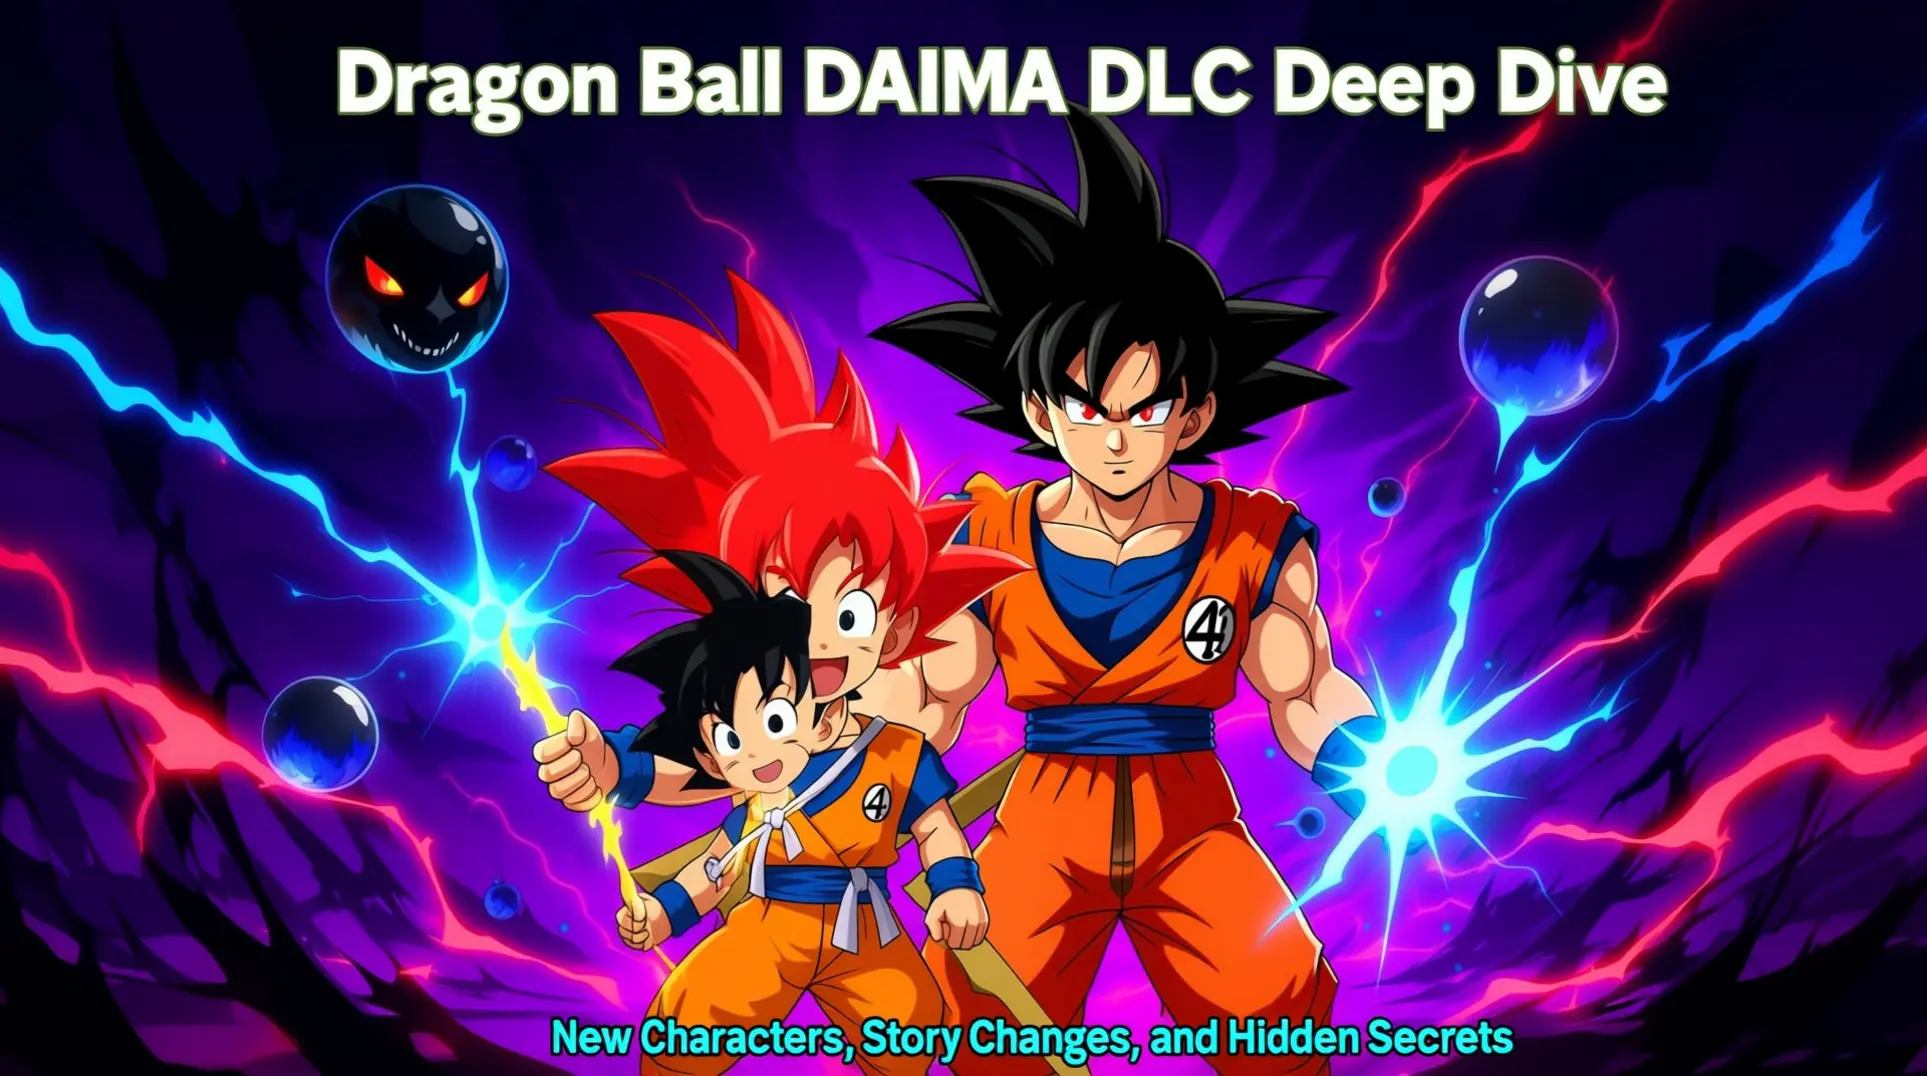
Dragon Ball DAIMA DLC Deep Dive: New Characters, Story Changes, and Hidden Secrets
Complete guide to Dragon Ball DAIMA DLC content across Sparking! ZERO and Kakarot, covering character packs, story expansions, gameplay updates, and hidden secrets.

Dragon Ball Sparking Zero: Complete Character Unlock Guide (All 160+ Characters)
Learn how to unlock every character in Dragon Ball Sparking Zero with our comprehensive guide covering Zeni costs, Player Level requirements, Super Shenron wishes, and story progression unlocks.
AI Tactical Companion
Consult with our specialized tactical engine for Dragon-Ball-Sparking-Zero to master the meta instantly.